

Page 1

3.5” SATA / USB2.0 & eSATA
External Enclosure
RX35-AT-SC BLK / SLV
User Manual
Page 2
3.5” SATA / USB2.0 & eSATA External Enclosure
RX35-AT-SC BLK / SLV
User Manual
1
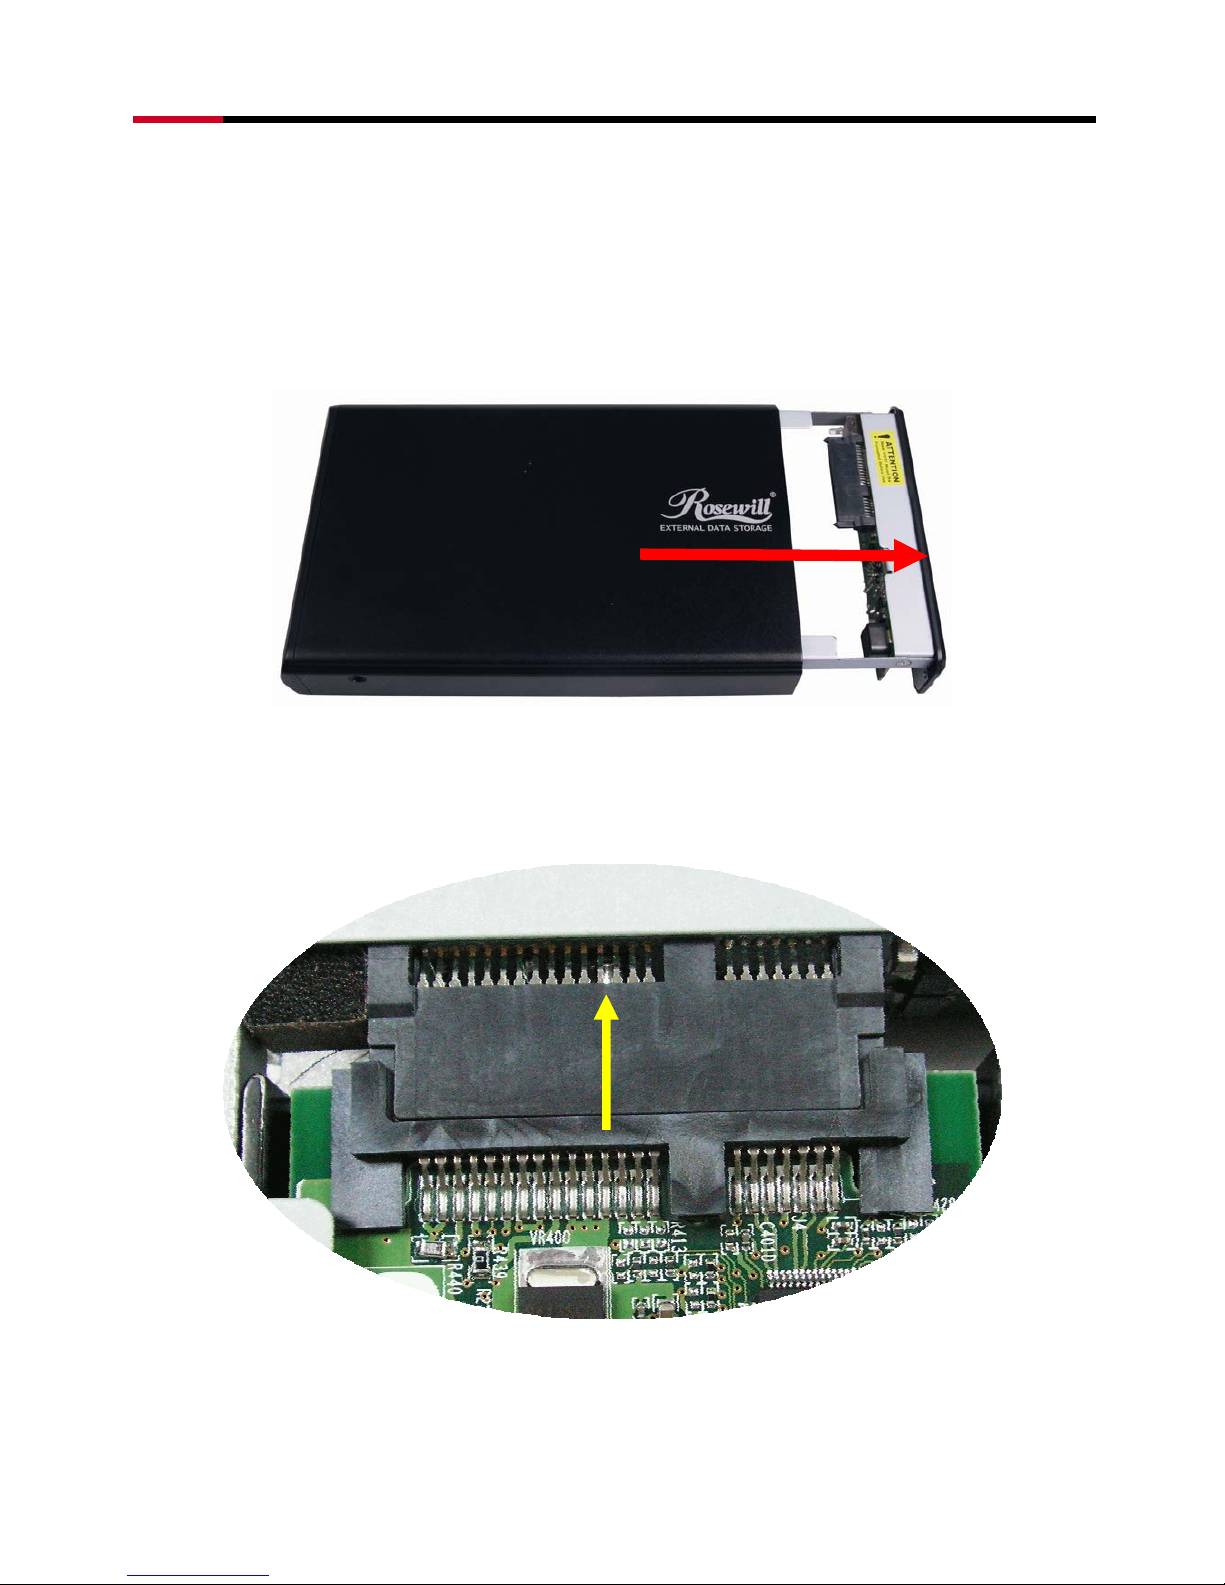
Hardware Installation Guide
Note: Please refer to the pictures shown below.
STEP1: Pull out the rear panel. You will see the internal structure
of the external enclosure.
STEP2:
Slide the HDD to connect to the connector on the device.
Page 3
3.5” SATA / USB2.0 & eSATA External Enclosure
RX35-AT-SC BLK / SLV
User Manual
2
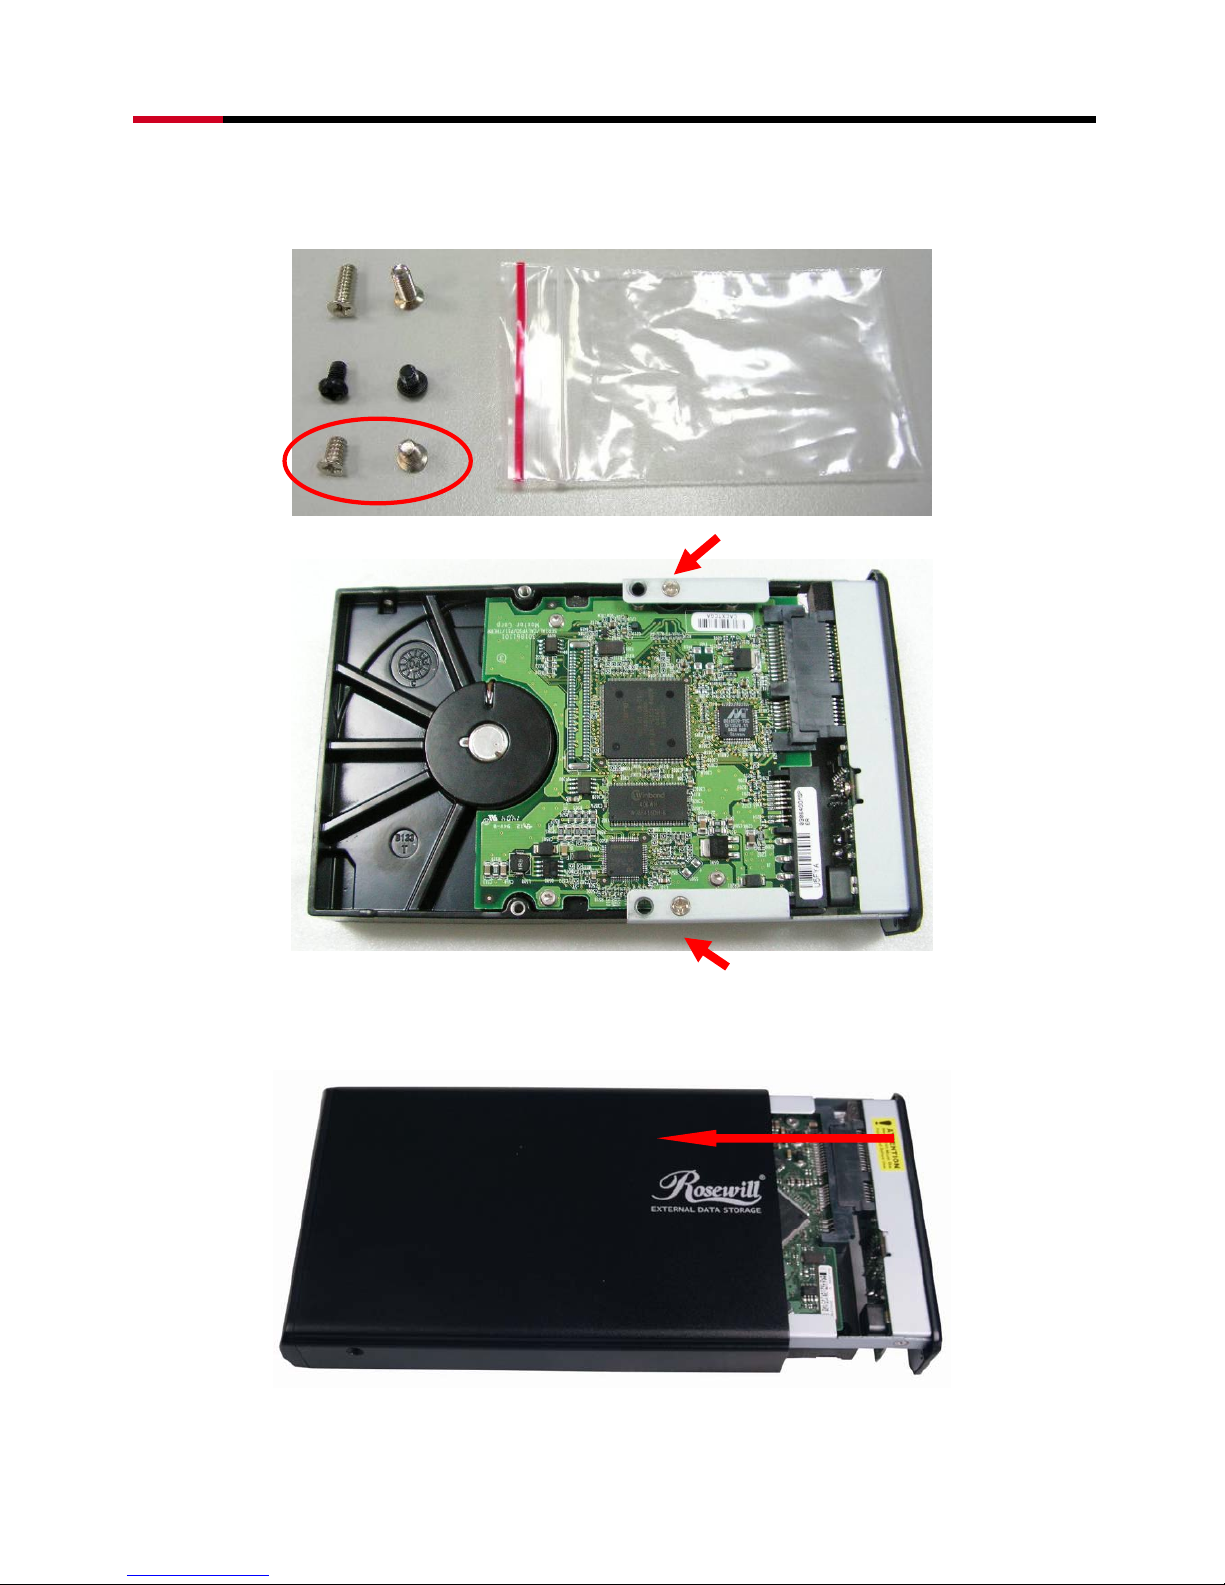
STEP3: Screw the HDD to the tray tightly.
STEP4: Push the tray into the aluminum case.
Page 4

3.5” SATA / USB2.0 & eSATA External Enclosure
RX35-AT-SC BLK / SLV
User Manual
3
STEP5: Screw both side of the case to lock the HDD.
STEP6: Screw the rear panel to the external enclosure.
Page 5

3.5” SATA / USB2.0 & eSATA External Enclosure
RX35-AT-SC BLK / SLV
User Manual
4
HDD Formatting Guide
☆ You may format your external HDD through USB2.0 connection.
☆ Please make sure your external HDD is turned on and well connected
to the PC before formatting the HDD.
STEP1: Right-click “My Computer” icon and select the “Manage”
column.
Page 6

3.5” SATA / USB2.0 & eSATA External Enclosure
RX35-AT-SC BLK / SLV
User Manual
5
STEP2: Select “Disk Management” and you will see your External
HDD showed “Unallocated”.
STEP3: Right-click on the “Unallocated” block and selects “New
Partition”.
Page 7

3.5” SATA / USB2.0 & eSATA External Enclosure
RX35-AT-SC BLK / SLV
User Manual
6
STEP4: The “New Partition Wizard” will appear. Please follow the
instruction of the wizard to complete.
STEP5: When new partition is completed, the external HDD will be
recognized as a “New Volume”.
Page 8

3.5” SATA / USB2.0 & eSATA External Enclosure
RX35-AT-SC BLK / SLV
User Manual
7
STEP6: Double-click “My Computer”. You will see the new volume
appears on your PC.
Thank you for purchasing a quality Rosewill Product.
Please register your product at : www.rosewill.com for complete warranty information and future support for your
product.
 Loading...