

Page 1

Wireless N Adapter RNX-N250UB
Quick Installation Guide
Page 2

Wireless N Adapter RNX-N250UB Quick Installation Guide
About This Guide
This Quick Installation Guide only provides you some basic configuration instructions.
For more detailed information, please refer to the Wireless Network Adapter User Manual.
Before you begin, you must check the following minimum system requirements
A notebook /desktop pc with an available USB port
At least a 300MHz processor and 32MB of memory
An 802.11n、802.11g or 802.11b Access Point (for infrastructure Mode) or another
802.11n、802.11g or 802.11b wireless adapter (for Ad-Hoc; Peer-to-Peer networking
mode.)
Package Contents
Open the package carefully, and make sure that none of the items listed below are missing.
Do not discard the packing materials, in case of return; the unit must be shipped in its
original package.
One Wireless LAN USB Adapter
One CD-ROM with Drivers and User’s Manual Included
One Quick Installation Guide
1.3 USB Adapter Description
The USB adapter is a standard USB adapter that fits into any USB interface.
USB Connector
PWR and LINK
LED Ind
icator
1
WPS button
Page 3
Wireless N Adapter RNX-N250UB Quick Installation Guide
Installation Guide
Before You Begin
Note: WiFi Alliance certification recommends WPA2 AES to be the
security mechanism under 11N mode. System driver will
automatically bring down wireless data rate to 54Mbps if
other security method such as WEP or WPA is used under 11n
mode.
If your 11N router is using security mechanism other than
WPA2 AES, you are recommended to disable security setting
or change it to WPA2 AES to fully utilize 11N capability. This
policy has no effect if connecting with b/g only wireless
access point.
During the installation, XP may need to copy systems files from its installation CD.
Therefore, you may need a copy of the Windows installation CD at hand before installing
the drivers. On many systems, instead of a CD, the necessary installation files are
archived on the hard disk in C:\WINDOWS \OPTIONS\CABS directory.
Installing the Drivers for XP, Vista, and Win7
Follow the steps below in order to install the USB adapter drivers:
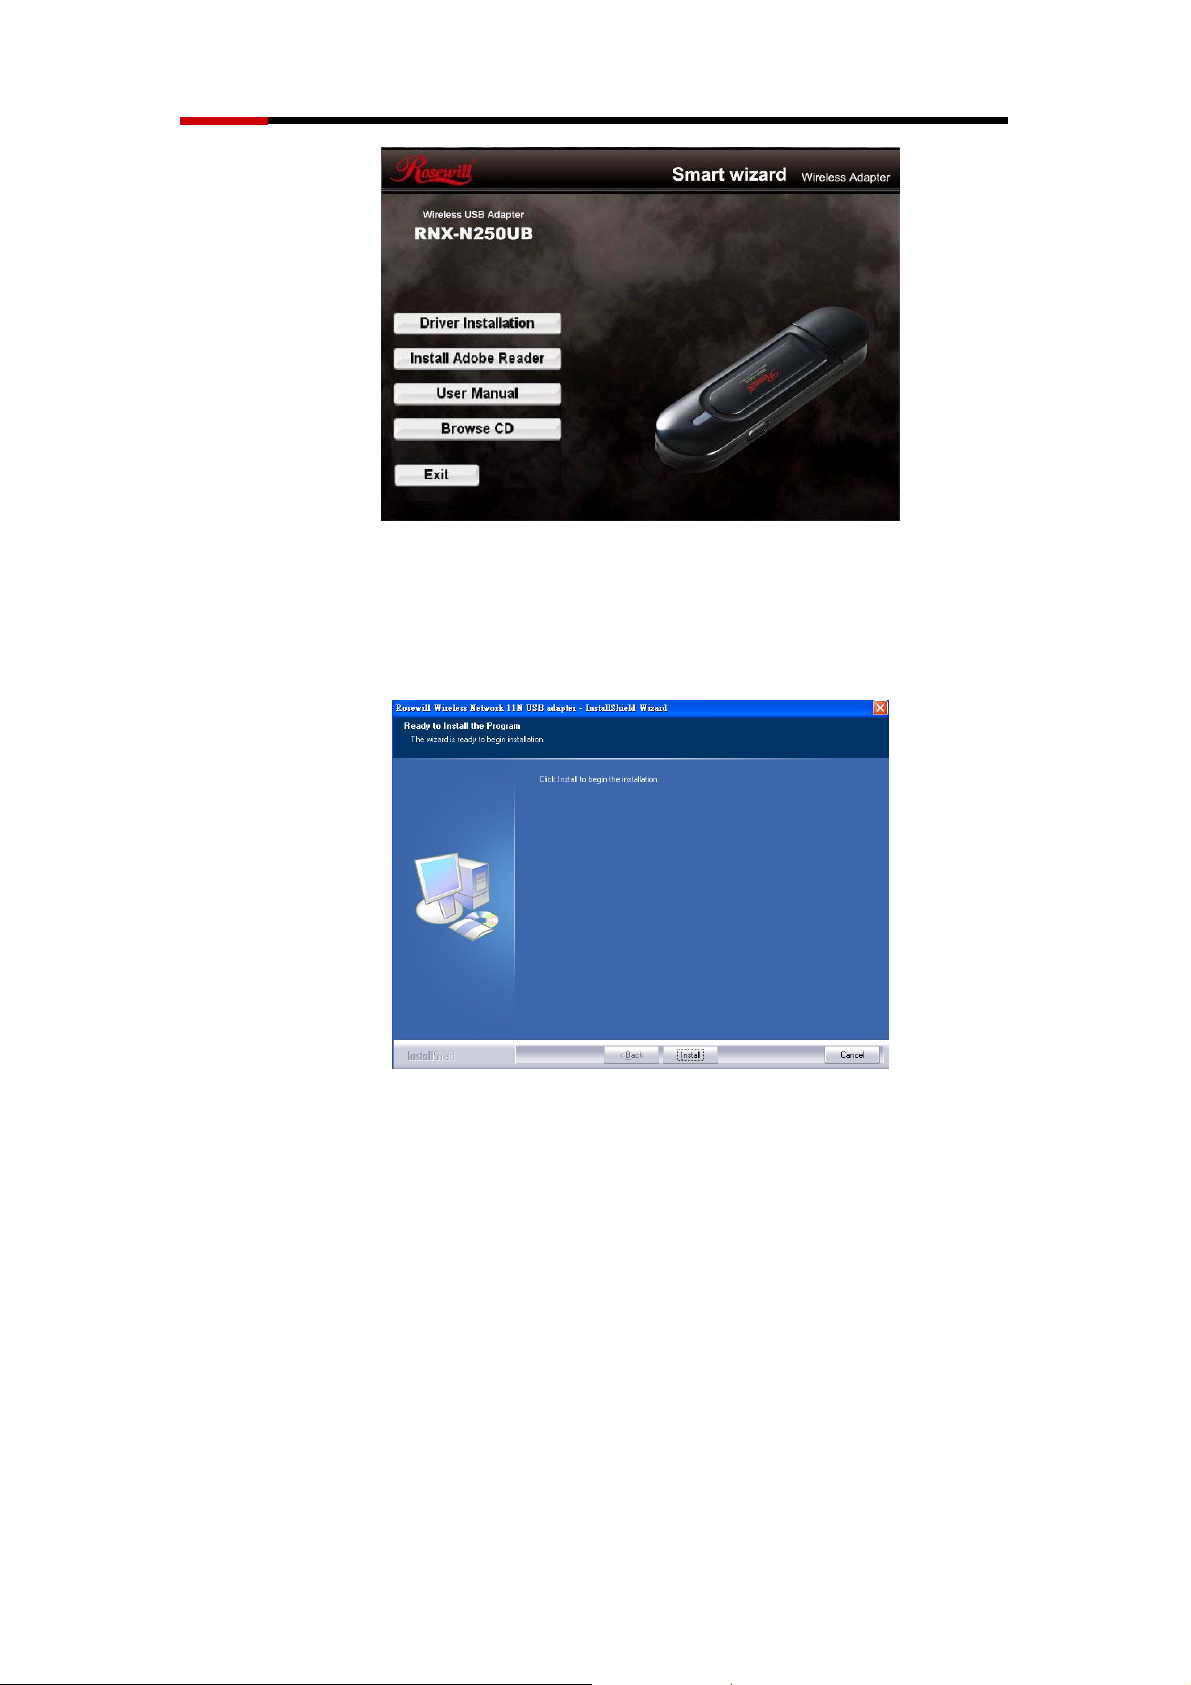
1. Insert the CD-ROM that was provided to you in this package. The setup should
run automatically. If the setup does not run automatically, then must manually
select the setup.exe file from the CD-ROM drive.
2
Page 4
Wireless N Adapter RNX-N250UB Quick Installation Guide
Figure 2-1
2. Click on Windows Driver to start the install process. Once the setup begins you
will see the InstallShield Wizard. Select Install driver and Rosewill WLAN
Utility and then click on the Next> button.
Figure 2-2
3. Wait for a few seconds until the driver and client utility is installed.
3
Page 5
Wireless N Adapter RNX-N250UB Quick Installation Guide
Figure 2-3
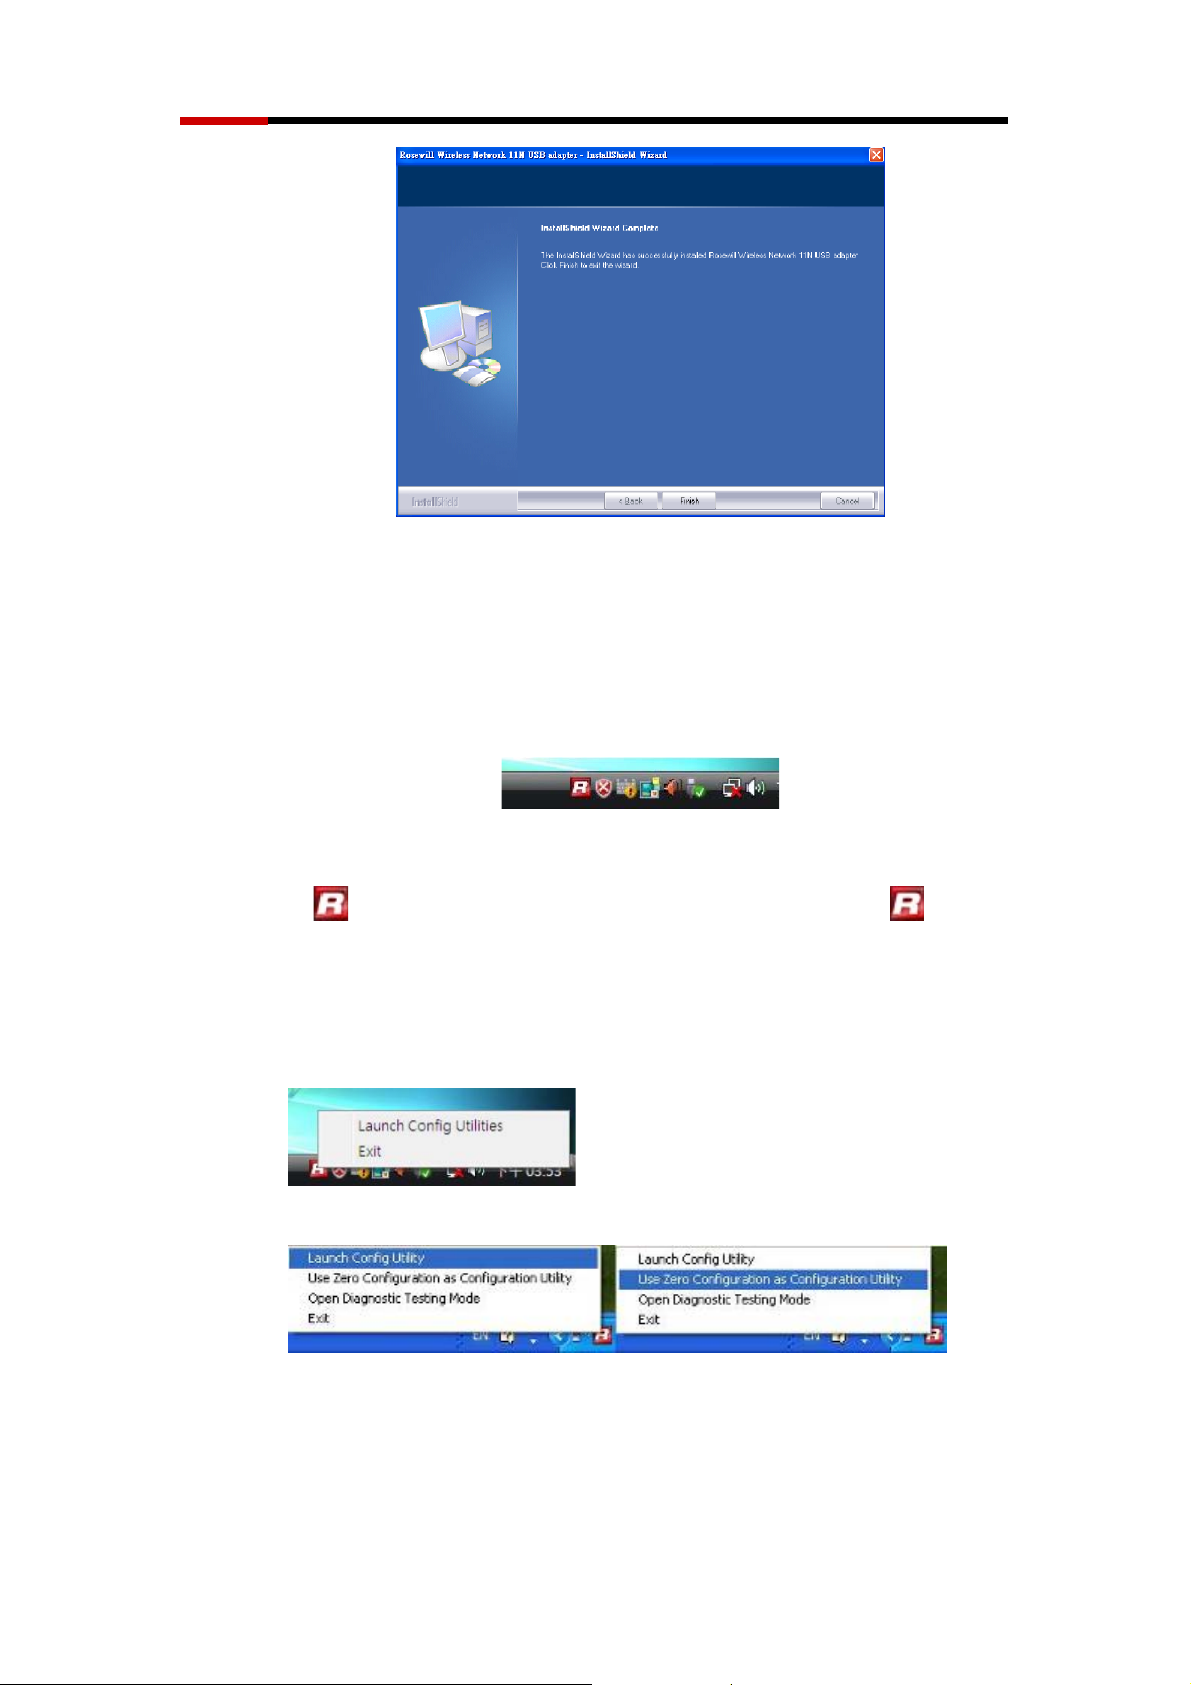
4. The installation is complete. Click on the Finish button.
5. Carefully insert the USB adapter into the USB port. Windows will then detect and
install the new hardware.
Figure 2-4
6. A
icon will then appear in the system tray. Right click on the icon and
then click on Launch Config Utility.
Note: Click on Use Zero Configuration as Configuration Utility if you would like to use
Windows Zero Configuration (XP only feature).
Vista
Installing the Drivers for Mac OS X
Follow the steps below in order to install the USB adapter drivers:
4
XP
Page 6
Wireless N Adapter RNX-N250UB Quick Installation Guide
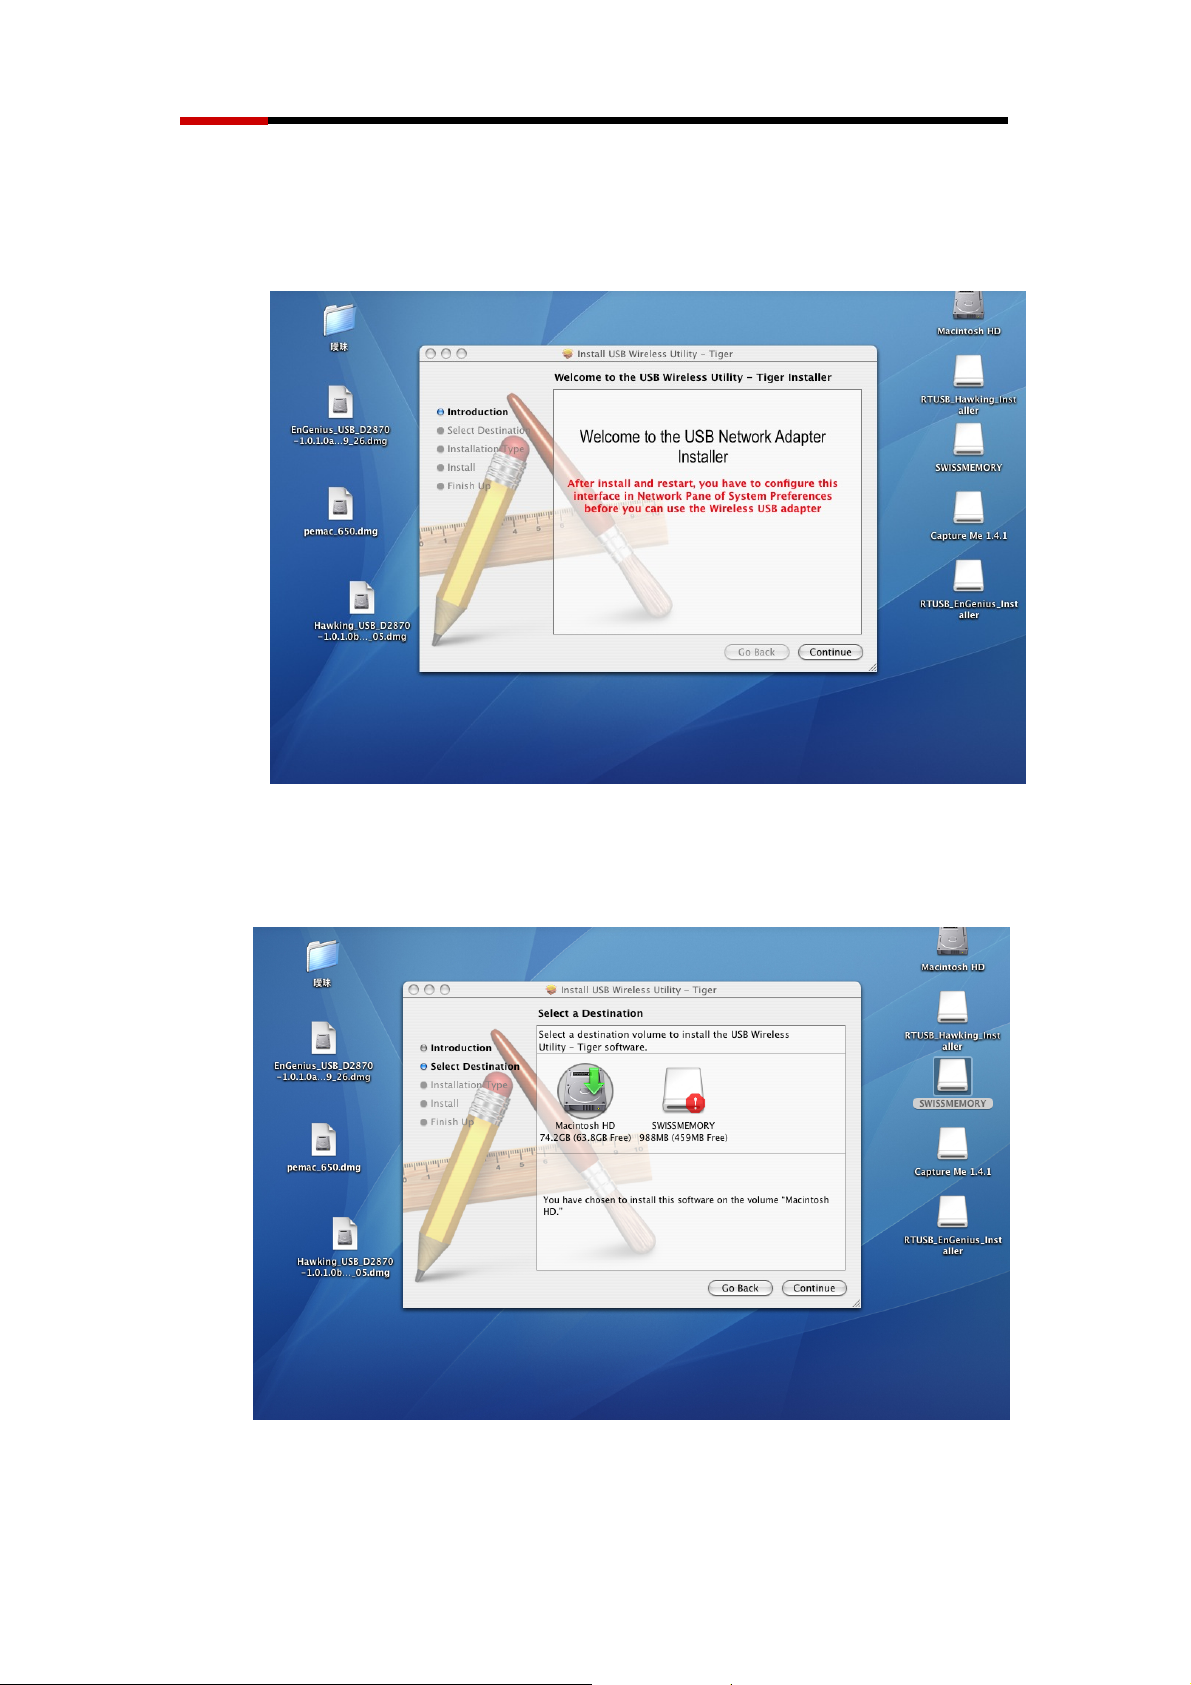
1. Insert the CD-ROM that was provided to you in this package. The setup should run
automatically. If the setup does not run automatically, then you must manually select
the setup file from the CD-ROM drive.
Figure 2-5
2. Click on the Continue button to configure the next step.
Figure 2-6
3. Select the Macintosh HD and then click on the Continue button.
5
Page 7

Wireless N Adapter RNX-N250UB Quick Installation Guide
Figure 2-7
4. Click on the Continue button to configure the next step.
Figure 2-8
5. The installation is complete. Click on the Restart button.
6. Carefully insert the USB adapter into the USB port. MAC OS X will then detect and
install the new hardware.
7. The Client Utility is installed in the Applications folder.
6
Page 8

Wireless N Adapter RNX-N250UB Quick Installation Guide
Uninstall the Drivers & Client Utility
If the USB client adapter installation is unsuccessful for any reason, the best way to
solve the problem may be to completely uninstall the USB adapter and its utility and
repeat the installation procedure again.
Follow the steps below in order to uninstall the client utility:
1. Click on Start > Rosewill Wireless > Uninstall Rosewill Wireless USB
Adapter
Figure 2-9
2. The un-installation process will then begin.
Figure 2-10
3. Click on the Yes button to confirm the un-installation process and then click on
the Next button.
Figure 2-11
Figure 2-12
7
Page 9

Wireless N Adapter RNX-N250UB Quick Installation Guide
4. The un-installation process is complete. Select Yes, I want to restart my
computer now radio button and then click on the Finish button. Then remove the
USB adapter.
Figure 2-13
8
Page 10

Wireless N Adapter RNX-N250UB Quick Installation Guide
Connection Guide
Connecting with Microsoft Zero Configuration (XP only)
1. After specifying the Microsoft Zero Configuration tool to configure your
wireless network, right click on the icon
“View available wireless Networks” to specify your wireless network.
Figure 3-1
on system tray as below. Select
2. The tool shows the available wireless networks. Select your network SSID to
connect with like Figure 3-2.
Figure3-2
3. If your wireless Network has encryption enable, you will be ask to enter the
password like Figure 3-3. Please enter your wireless password at “Network
key” section twice and click “Connect” to confirm.
9
Page 11

Wireless N Adapter RNX-N250UB Quick Installation Guide
Figure 3-3
4. If your wireless Network does not contains encryption, select the intended
access point and click "Connect". Then click "Connect Anyway" like Figure
3-4
Figure 3-4
5. Once completed, you should see like Figure 3-5 as your computer is now
“Connected” with your wireless Network.
10
Page 12

Wireless N Adapter RNX-N250UB Quick Installation Guide
Figure 3-5
6. You should see the pop-up window on your low right hand corner indicate the
connected status. As shown in Figure 3-6
Figure 3-6
Connecting through Rosewill Utility
We provide this utility for users to connect to a wireless network easily. It provides
more information and configuration for this adapter. As default, the utility is
started automatically upon starting your computer and connects to a connectable
wireless network with best signal strength. Please refer to the following chapters to
get information regarding to the functions of this utility.
Clicking the Rosewill icon on your desktop will bring up the utility main
window. Users can find the surrounding AP signal in the list. The currently
connected AP will be shown with a blue icon beside it, as shown in Figure 3-7.
You can use the advanced tab to configure other advanced features provided by
Rosewill's wireless NIC. For details on configuring the advanced features, please
check with Chapter 5.
11
Page 13

Wireless N Adapter RNX-N250UB Quick Installation Guide
Figure 3-7
Steps to add wireless signal with Rosewill Utility for one time use
This section will lead you to link your wireless signal with your RNX-N250UB.
Please follow the Figure 3-8 in adding the signal.
i. Click“Rescan": Click on Rescan to search for all wireless signals
near you.
ii. Select your desire SSID: Click to select your wireless signal, in this
example, you can see
our desired SSID.
iii. Click“Add to Profile"or“Connect":
1. Add to Profile: This part will help your wireless adapter
memorize the signal and password for your future use. Please see
Next Section for more detail.
next to AP1; meaning we have select AP1 as
2. Connect: This is when you are in locations where you do not need
your adapter to remember the signal.
12
Page 14

Wireless N Adapter RNX-N250UB Quick Installation Guide
Figure 3-8
Steps to add wireless signal into Profile and keep for future record
Add to profile will help to store your wireless signal’s information with your
RNX-N250UB. Please follow the Figure 3-9 to add the signal into your profile so
you don’t have to enter them in the future.
There are two ways to “Add to Profile”. You can add through Network
tab or add through
tab.
Adding to Profile through Network Tab. (Figure 4-10):
1. First select “Add to Profile”
2. Choose the SSID you want to connect to. eg: Rosewill-1.
3. Key in your desired Profile Name, eg, HOME.
4. Or you can choose SSID with the pull-down window.
5. When complete, please select “Auth.\ Encry” to enter your password.
13
Page 15

Wireless N Adapter RNX-N250UB Quick Installation Guide
Figure 3-9
6. In Auth.\Encry., First select Authentication of your wireless signal, Like
Figure 3-10
7. Enter your Wireless Network’s password.
Click OK to complete the process.
Note: you could also add a new profile quickly by selecting an available
network in the “Network” function then press the “Add to Profile” button.
Figure 3-10
Adding to Profile through Profile Tab. (Figure 3-11):
1. First select “Add”
2. Key in your desired Profile Name, eg, HOME.
3. Choose the SSID by selecting the pull-down window.
4. When complete, please select “Auth.\ Encry” to enter your password.
14
Page 16

Wireless N Adapter RNX-N250UB Quick Installation Guide
Figure 3-11
5. In Auth.\Encry. Like Figure 3-12
6. First select Authentication of your wireless signal. This should
automatically provided to you when select your desired SSID.
7. Enter your password.
8. Click OK to complete the process.
Connecting with Mac OS
The Connection Utility can also help you connect through Mac OS.
Figure 3-12
15
Page 17

Wireless N Adapter RNX-N250UB Quick Installation Guide
Figure 3-13
1. Upon opening the Wireless Utility program, first click open “Site
Survey”
2. Select your desired AP signal under the AP List. You can further search
the signal by clicking “RESCAN”
3. After selecting the AP signal, you can select either “CONNECT” or
“ADD PROFILE”
CONNECT: This is for connecting only once which best use for
places other than your regular use areas such as coffee shop,
libraries, and etc.
ADD PROFILE: This is for adding the signal into your most
common use list. Once wireless adapter plug-in, the utility will
automatically connect to the profile.
16
Page 18

Wireless N Adapter RNX-N250UB Quick Installation Guide
4. Once click Profile, you will be prompt to ask for your personal settings
such as “System Configuration” and “Authentication & Security”.
You have the choice to select “Authentication & Security” and
enter the password for connecting to the signal.
Please make sure that your settings for Authentication & Security are the same
as your Wireless Router’s setting
Figure 3-14
17
Page 19

Wireless N Adapter RNX-N250UB Quick Installation Guide
Figure 3-15
5. For WEP, Select Open or Shared from the Authentication Type‘s
drop-down list.
Then select WEP from Encryption’s drop-down list.
WEP Key: Type a character string into the field.
For 64-bit enter 5 alphanumeric or 10 hexadecimal
characters.
For 128-bit enter 13 alphanumeric or 26 hexadecimal
characters.
Click on the OK button to save the changes.
18
Page 20

Wireless N Adapter RNX-N250UB Quick Installation Guide
Figure 3-16
6. For WPA or WPA2, please select from Authentication’s drop-down
list.
Select TKIP or AES from Encryption’s drop-down list.
WPA Preshared key: Enter a pass phrase which is between 8 and
32 characters long.
Click on the OK button to save the changes.
Show Password check box. If you want to make sure the accuracy
of password you type, click the Show Password box to check it.
Congratulations! You’ve successfully configured your wireless adapter and
connected to a wireless network!
19
 Loading...