

Page 1

Wireless N Adapter RNX-N180UBE
Quick Installation Guide
Page 2

Wireless N Adapter RNX-N180UBE Quick Installation Guide
About This Guide
This Quick Installation Guide only provides you some basic configuration
instructions. For more detailed information, please refer to the Wireless Network
Adapter User Manual.
Before you begin, you must check the following minimum system requirements
A notebook /desktop pc with an available USB port
At least a 300MHz processor and 32MB of memory
An 802.11n、802.11g or 802.11b Access Point (for infrastructure Mode) or
another 802.11n、802.11g or 802.11b wireless adapter (for Ad-Hoc;
Peer-to-Peer networking mode.)
1
Page 3
Wireless N Adapter RNX-N180UBE Quick Installation Guide
Install Driver and Utility
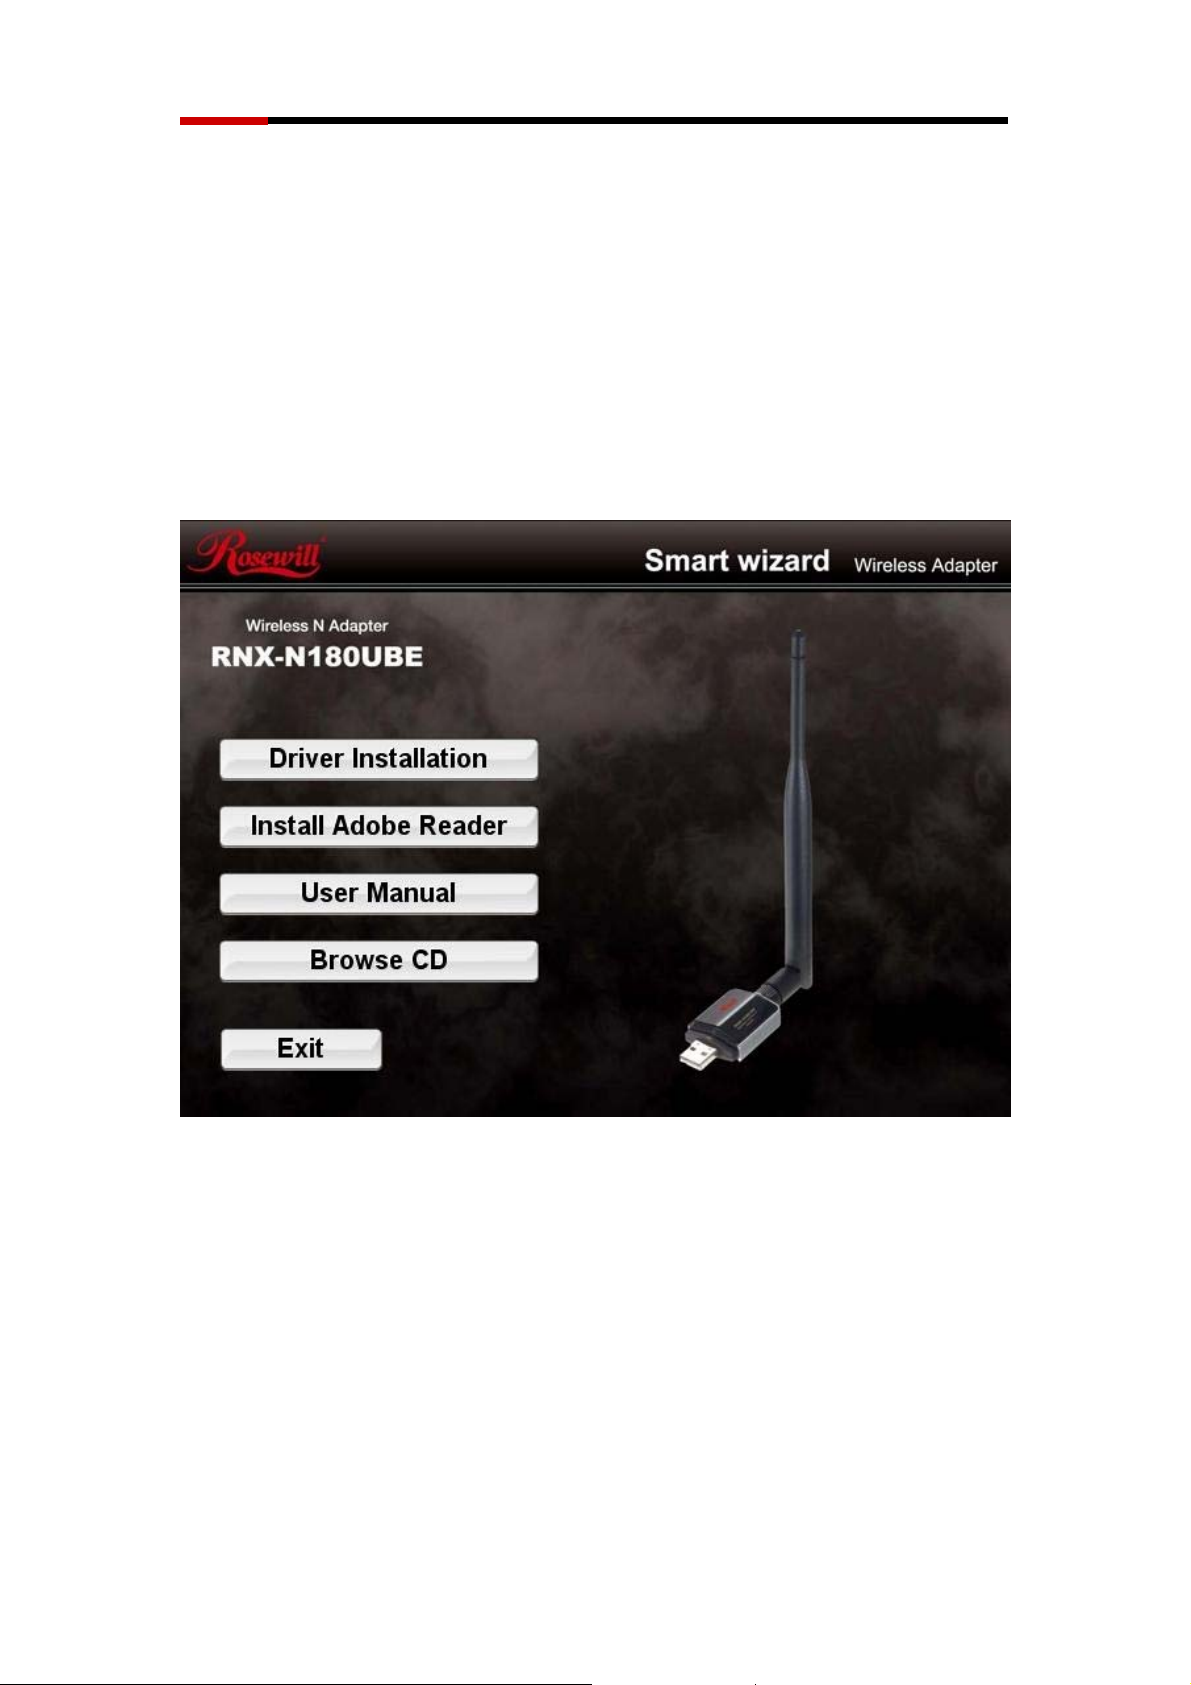
Insert the Driver and Utility CD-ROM into the CD-ROM driver.
The Wizard should run automatically, and Error! Reference source not
found. should appear. If not, click the Start button and choose Run. In the
field that appears, enter D:\autorun.exe (if ‘’D’’ is the letter of your CD-ROM
drive).
Click Install Driver & Utility for USB Wireless Adapter on the Wireless
Client Configuration Utility dialogue box, and then select the installing
language from the next screen and click Next button.
2
Page 4

Wireless N Adapter RNX-N180UBE Quick Installation Guide
Click Next
Click Install to start installing
3
Page 5

Wireless N Adapter RNX-N180UBE Quick Installation Guide
You may encounter this window, please click Continue Anyway to proceed.
Follow the InstallShield Wizard steps, and click Finish when done.
Now your PC or notebook will restart automatically.
4
Page 6

Wireless N Adapter RNX-N180UBE Quick Installation Guide
Install Wireless Adapter
The wireless USB Adapter supports up to 300 Mbps wireless connection. This
USB adapter is fully compliant with the specifications defined in IEEE802.11n
standard. It is designed to complement USB2.0 computers and supports
Windows98SE/Me/2000/XP/Vista.
USB adapter
The status LED indicators of the USB wireless adapter are described in the
following.
Lnk/Act ON (Green): Indicates a valid connection
Lnk/Act Flashing: Indicates the adapter is transmitting or receiving data.
Install USB adapter
Power on your PC, let the operating system boot up completely, and log in
as eeded.
Hold the adapter and insert it into a USB slot.
If the Welcome to Found New Hardware Wizard displays, choose install
the software automatically (Recommended), and click Next button. The
5
Page 7

Wireless N Adapter RNX-N180UBE Quick Installation Guide
Now you have completed the driver and hardware installation for the adapter.
6
Page 8

Wireless N Adapter RNX-N180UBE Quick Installation Guide
Configure your wireless adapter
Double-click the icon on your desktop to run
Select Available Network tab and click Refresh button to refresh
current available wireless network
Double-click a wireless network which you want to connect
Choose the Network Authentication Mode and Data encryption from
7
Page 9

Wireless N Adapter RNX-N180UBE Quick Installation Guide
the drop-down menu and import the network key in popup window.
Then click OK button.
Congratulations! You’ve successfully configured your wireless adapter
and connected to a wireless network!
8
 Loading...