

Page 1

Wireless Router RNX-GX4
Quick Installation Guide
Page 2
Wireless Router RNX-GX4 Quick Installation Guide
CHECK BEFORE YOU PROCESS:
Thank you very much for choosing Rosewill’s Wireless products. Please carefully go through this
Quick Installation Guide (QIG) before using this wireless router. Please note that this QIG only
provides you with basic connection guide. If you need more advance setup, please refer to your
user manual or link to www.rosewill.com
contact Rosewill 1-800-575-9885 and techsupport@rosewill.com
to download the latest User Manual for RNX-GX4 or
.
You will need:
z A standard CD-ROM drive
z Internet connection should be setup & ready to use (ADSL or cable modem
ready to connect).
z Modem must provide RJ45 port to connect with RNX-GX4.
z Microsoft Windows compatible PC/Notebook with UPnP enabled network
adapter
z CAT 5 network cable(s), RJ45 port on PC/Notebook.
Package Content:
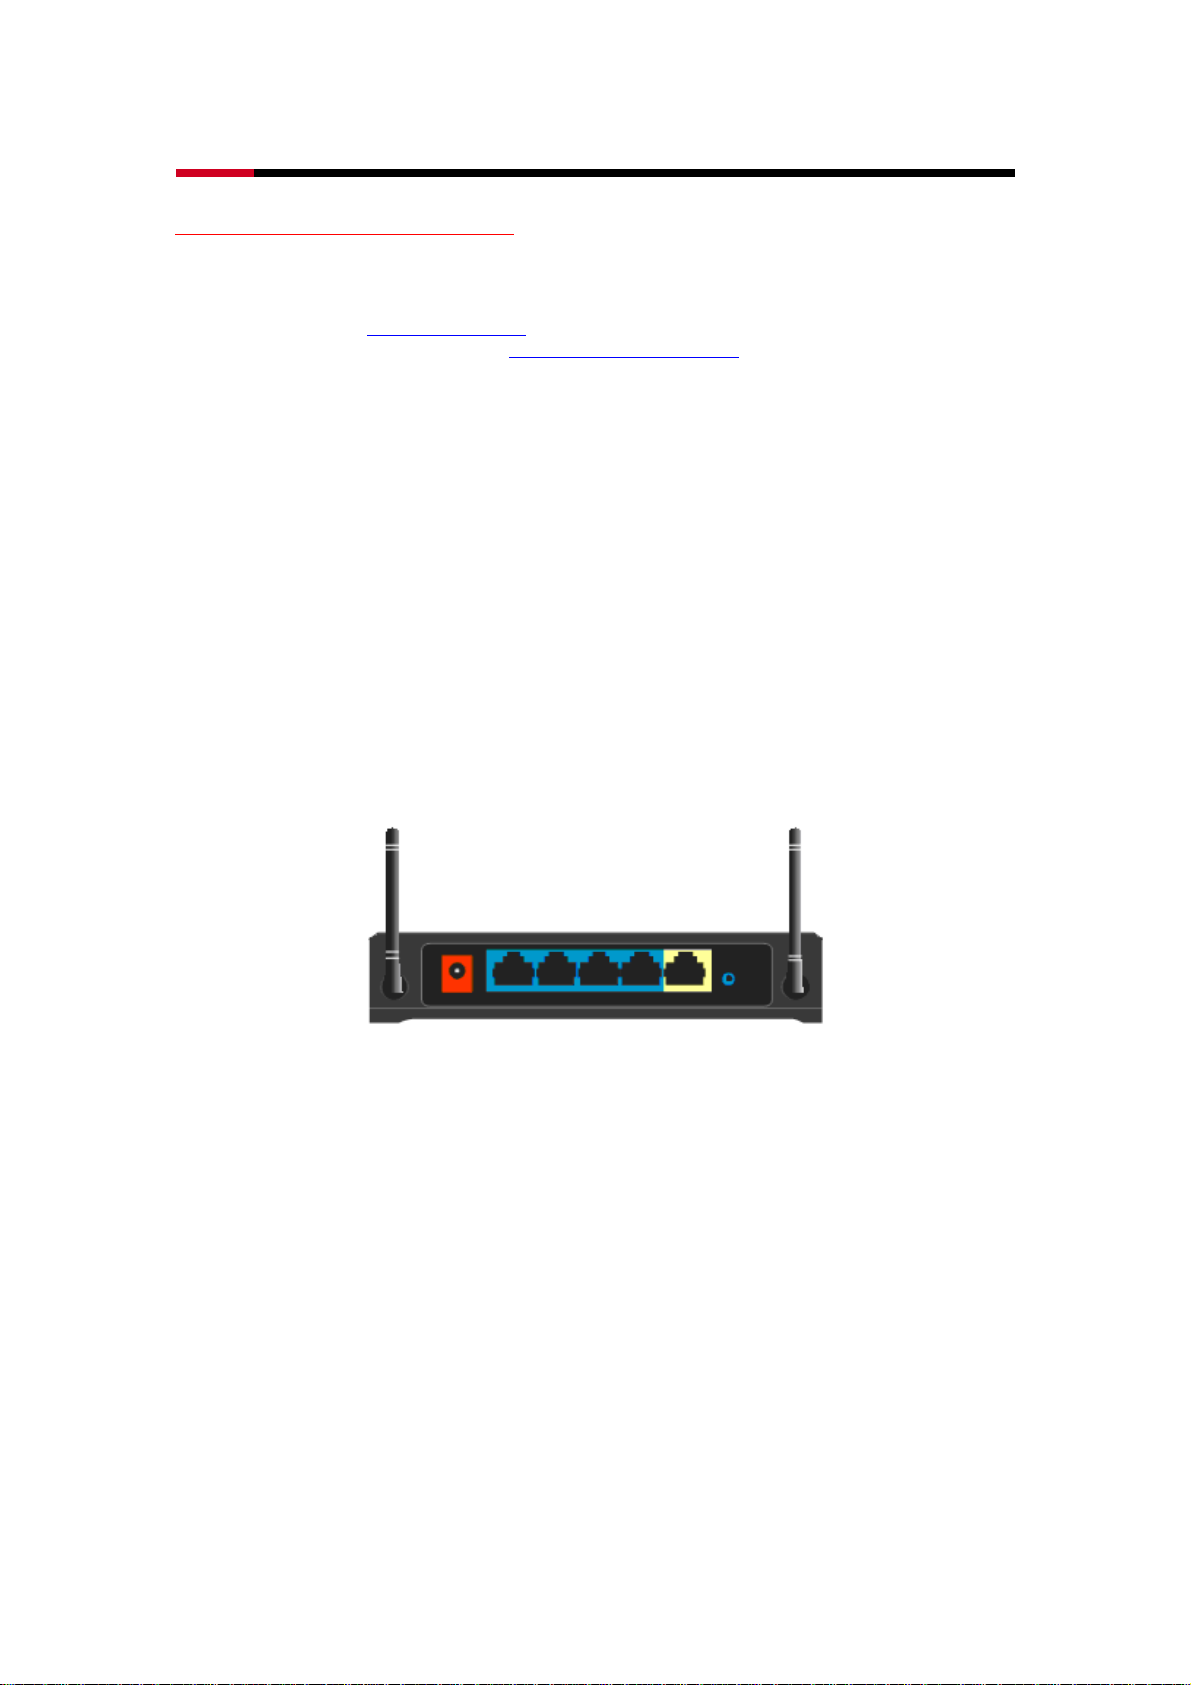
1. IEEE 802.11 b/g RNX-GX4 wireless router x 1
2. 9V Power adapter x 1
3. QIG x 1
4. 2 dBi 2.4 GHz External detachable Antenna x 2
5. User’s Manual x 1
1
Page 3
Wireless Router RNX-GX4 Quick Installation Guide
Wireless Router LED light indication:
LED Description
SYS
System function Indication
Light
Light
Indication
On System On
Off System Off
On WAN Port is connecting
Function Note
System light flash
indicates wireless router
in process
WAN WAN Port Indication Light
LAN
1~4
LAN Port Indication Lights
Flash Data Transmitting
Off WAN Port is not connecting
On LAN Port is connecting
Flash Data Transmitting
Off LAN Port is not connecting
INSTALLATION PROCESS:
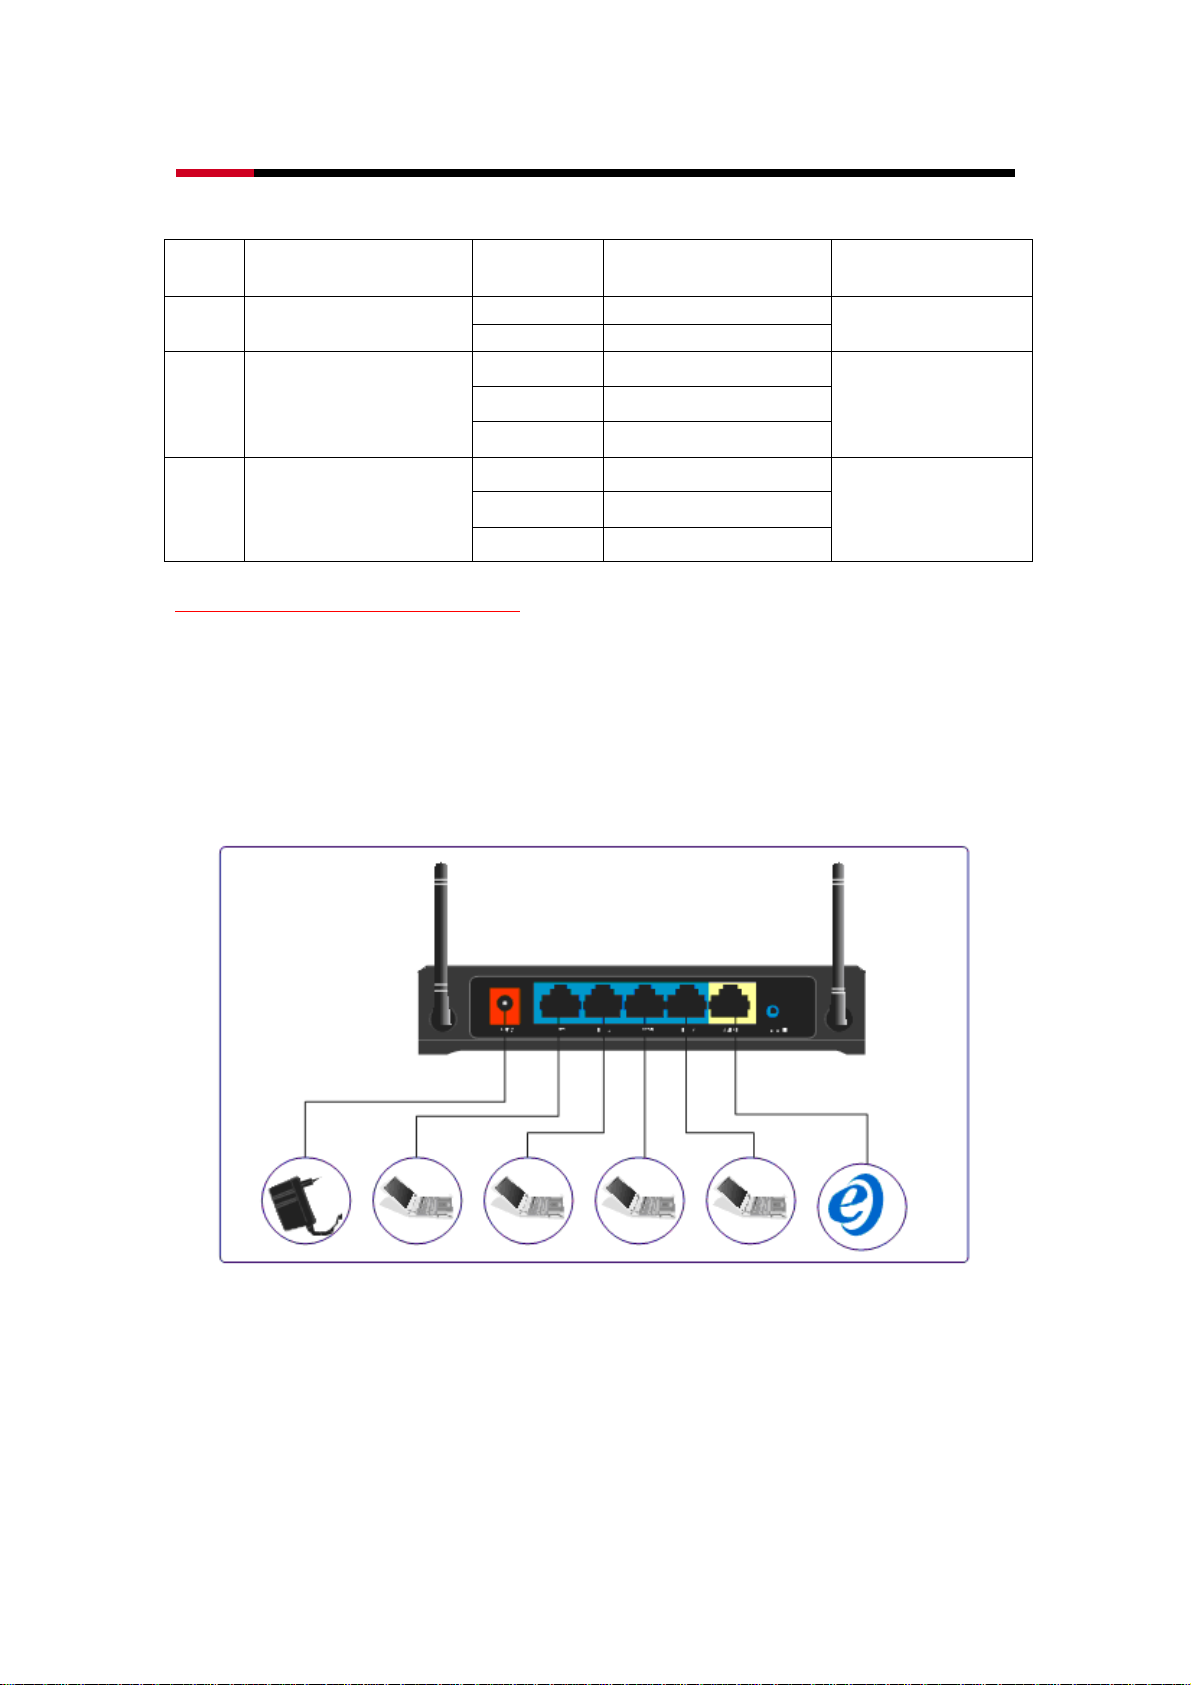
1. Device Connection Diagram:
WAN Port: For connecting to your modem.
LAN Port: For connecting to you computer.
Adapter Port: For connecting to the power adapter.
Default Button: For bringing the device back to factory default setup. Please
use sharp and pointing item to press the Default button for
about 10 seconds to restore back to factory setup.
2. Computer Setup
1. After connecting your computer’s LAN port with RNX-GX4. Please Click START, then
choose Connect To and open Show all connections.
2
Page 4

Wireless Router RNX-GX4 Quick Installation Guide
2. Upon opening Network Connections, right click on your Local Area Connection and
select Properties.
3
Page 5

Wireless Router RNX-GX4 Quick Installation Guide
3. Left Click on Internet Protocol (TCP/IP) in the new popup window, and select
Properties.
4. When Internet Protocol (TCP/IP) Properties popup, first click on Use the following IP
address. Then type in as follows:
z IP address: 192.168.1.xxx (1<xxx<255)
z Subnet mask: 255.255.255.0
z Default gateway: 192.168.1.1
Then click on Use the following DNS server addresses:
z Preferred DNS server: 192.168.1.1
4. When done, please click OK twice to complete.
3. Wireless Router setup
4
Page 6

Wireless Router RNX-GX4 Quick Installation Guide
1. Open your Internet browser, type in http://192.168.1.1 in Address, and press Enter.
2. When a new window pop-up, please type in User Name: admin, Password: guest; then
click OK.
3. When first entered the RNX-GX4’s web management page, you will see “Convenient
Setup” page. Please select your connection method from the 3 options. If you are not sure
your internet connection method, please contact your ISP provider.
4. Convenient Setup has provided you with three methods to choose from:
1. DHCP user (Cable Modem): When you are connected using Cable Modem, you
don’t have to type anything, just click “Save Settings”.
5
Page 7

Wireless Router RNX-GX4 Quick Installation Guide
2. PPPoE user (ADSL): PPPoE method is mostly for DSL internet users. When
selecting this method, you will need to enter your PPPoE Username and PPPoE
Password provided by your ISP provider, then click “Save Settings”.
PPPoE Username and Password is provided by your ISP provider, they are not
the same as the login name and password when entering to the wireless router’s
web management page. When entering the Username and Password, please make
sure that the characters are in the same format as your ISP provided.
3. Static User: When using Static IP to connect to the internet, you will need to enter
“WAN IP address”, “Subnet Mask”, “Default Gateway”, “Primary DNS”, and even
“Secondary DNS”. All these information should be provided by your ISP provider.
When finishing entering, click “Save Settings”.
5. When finish setting the wired connecting method, we can now set wireless for your router.
Please select “Primary AP Setup” on the left hand corner under “Wireless Management”.
Change the SSID to your desired name, then Click Save Settings.
Next Click “Security” to select your preferred “Security Mode” and type in your Wireless
6
Page 8

Wireless Router RNX-GX4 Quick Installation Guide
connection Password in “Key”.
When connecting to the wireless signal, the SSID and the Key will be the
Network name and connecting Password.
4. Checking Internet Connection:
1. After Wireless Router’s basic setting, please click “System Information”.
2. Using PPPoE as an example, upon connecting to the internet, you should be able to
see updated information on your IP address, Subnet Mask, Default Gateway,
Primary DNS, and/or Secondary DNS which gathered from your modem by your
wireless router. This means your internet connect is now ready to use.
Thank you for purchasing a quality Rosewill Product.
Please register your product at : www.rosewill.com for complete warranty information and future support for your
product.
7
 Loading...