

Page 1

Wireless G USB Adapter RNX-G100
Wireless G PCMCIA Adapter RNX-G200
Wireless G PCI Adapter RNX-G300(E)
Quick Installation Guide
Page 2
RNX-G100 / RNX-G200 / RNX-G300(E) User Manual
1 . About This Guide
This Quick Installation Guide only provides you some basic instructions. For more detailed
information, please refer to the User Manual.
Before you begin, you must have at least the following:
z A notebook /desktop pc with an available 32-bit Cardbus/PCI/USB slot
z At least a 300MHz processor and 32MB of memory
z Cardbus/PCI/USB controller properly installed and working in the computer
z An 802.11g or 802.11b Access Point (for infrastructure Mode) or another 802.11g or 802.11b
wireless adapter (for Ad-Hoc; Peer-to-Peer networking mode.)
2 . Install Driver and Utility
Windows Vista
z The operating system will install all necessary driver files when a wireless adapter is plugged
into your computer. After approximately 1 minute, a message will appear at the lower
right-hand corner “Your new hardware is now installed and can be used.” The hardware and
software installation is completed.
Windows 98SE/ME/2000/XP/VISTA
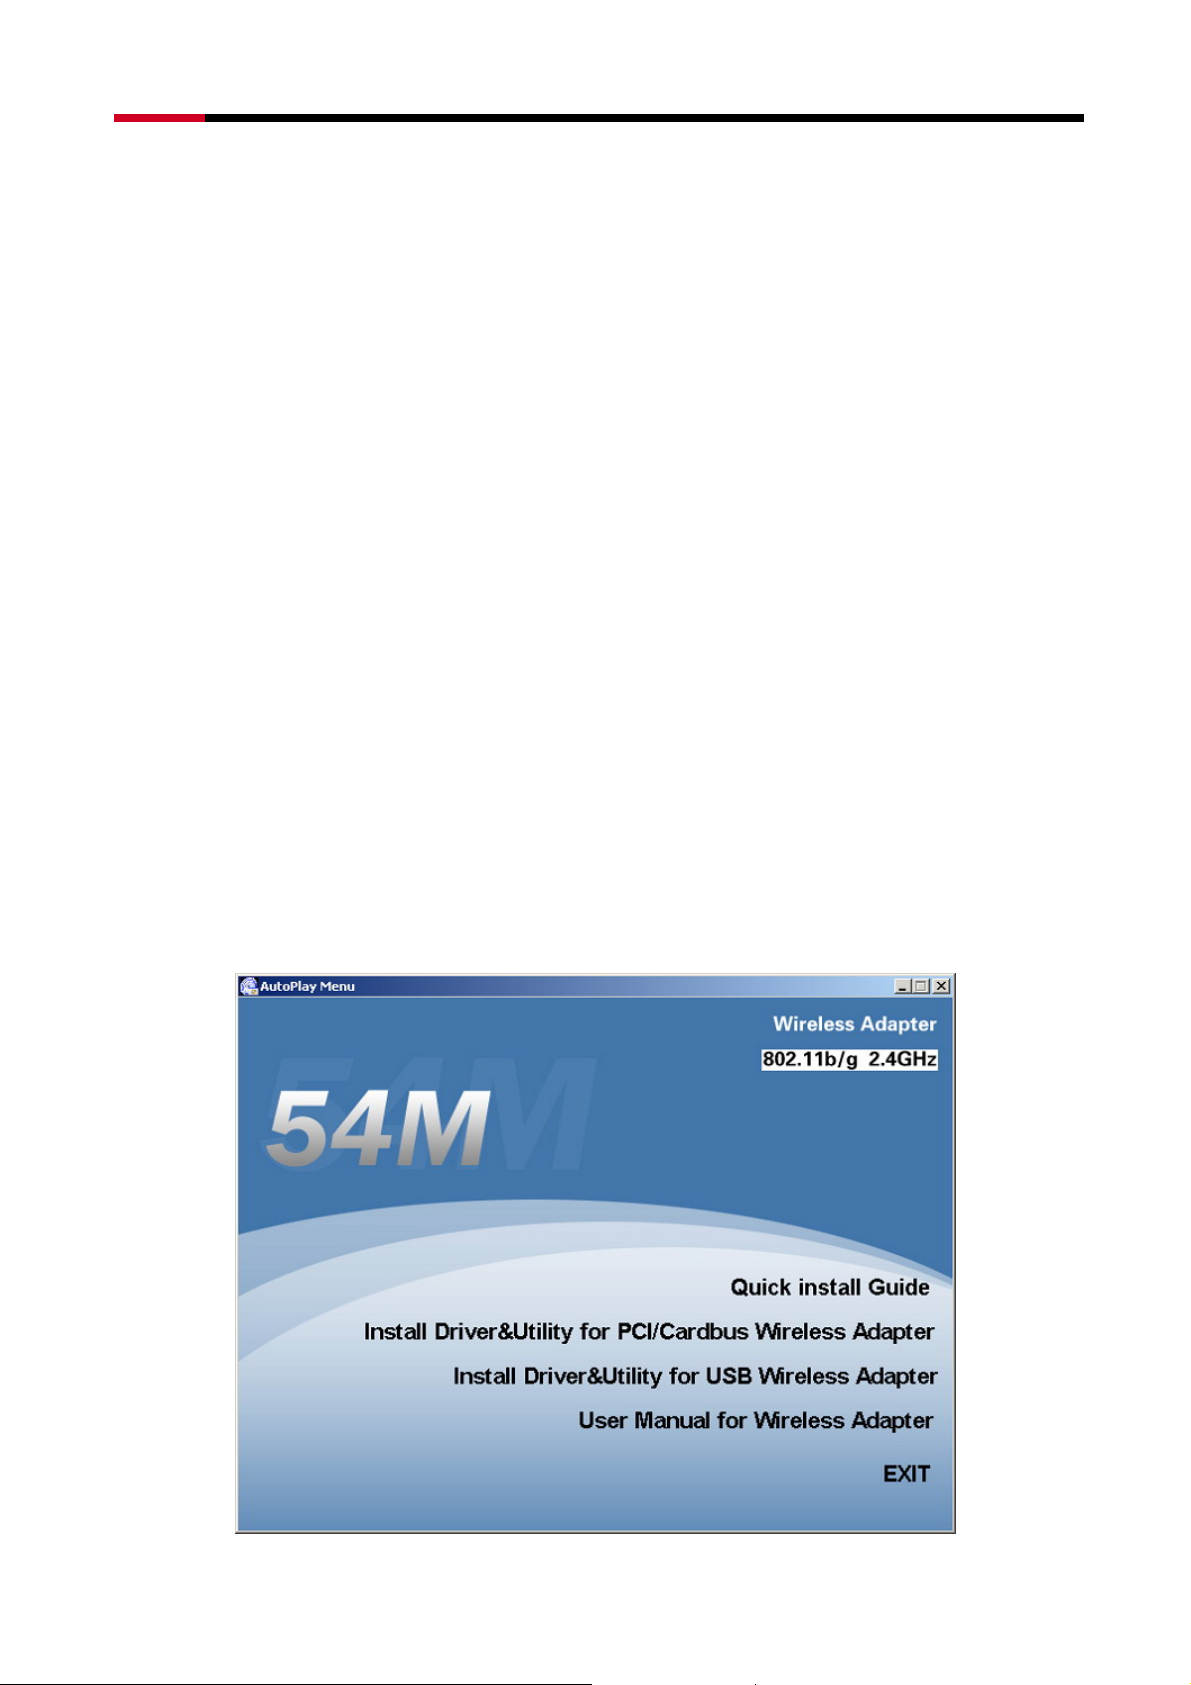
z Insert the Driver and Utility CD-ROM into the CD-ROM driver.
z The Wizard should run automatically, and Figure 2-1 should appear. If it doesn’t, click the
Start button and choose Run. In the field that appears, enter C:\autorun.exe (if ‘’C’’ is the
letter of your CD-ROM drive).
Figure 2-1
2
Page 3
RNX-G100 / RNX-G200 / RNX-G300(E) User Manual
z Click Install Driver & Utility on the Wireless Client Configuration Utility screen
Figure 2-2
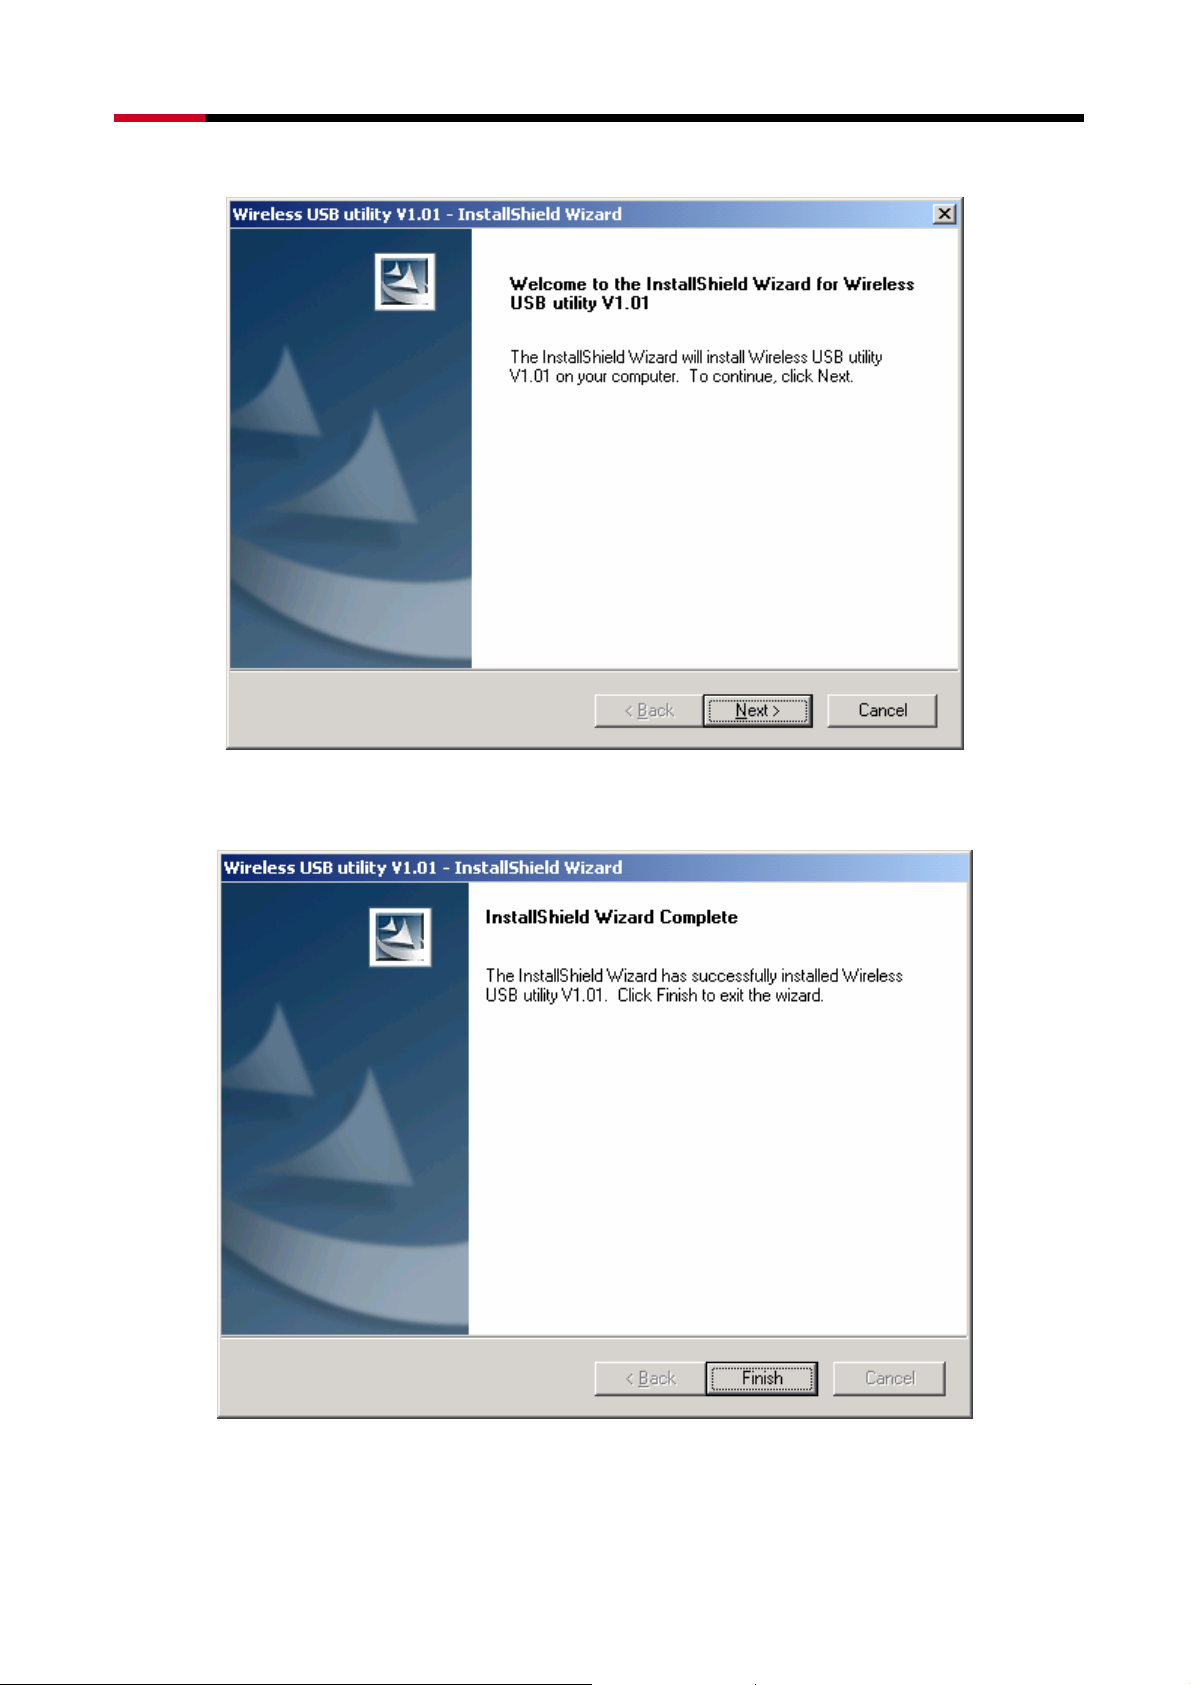
z Follow the Install Shield Wizard steps, and click Finish when done.
z Now the installation is complete
Figure 2-3
3
Page 4
RNX-G100 / RNX-G200 / RNX-G300(E) User Manual
3 . Install Wireless adapter
3.1 Cardbus Adapter - RNX-G200
z Power on your notebook, let the operating system boot up completely, and login as needed.
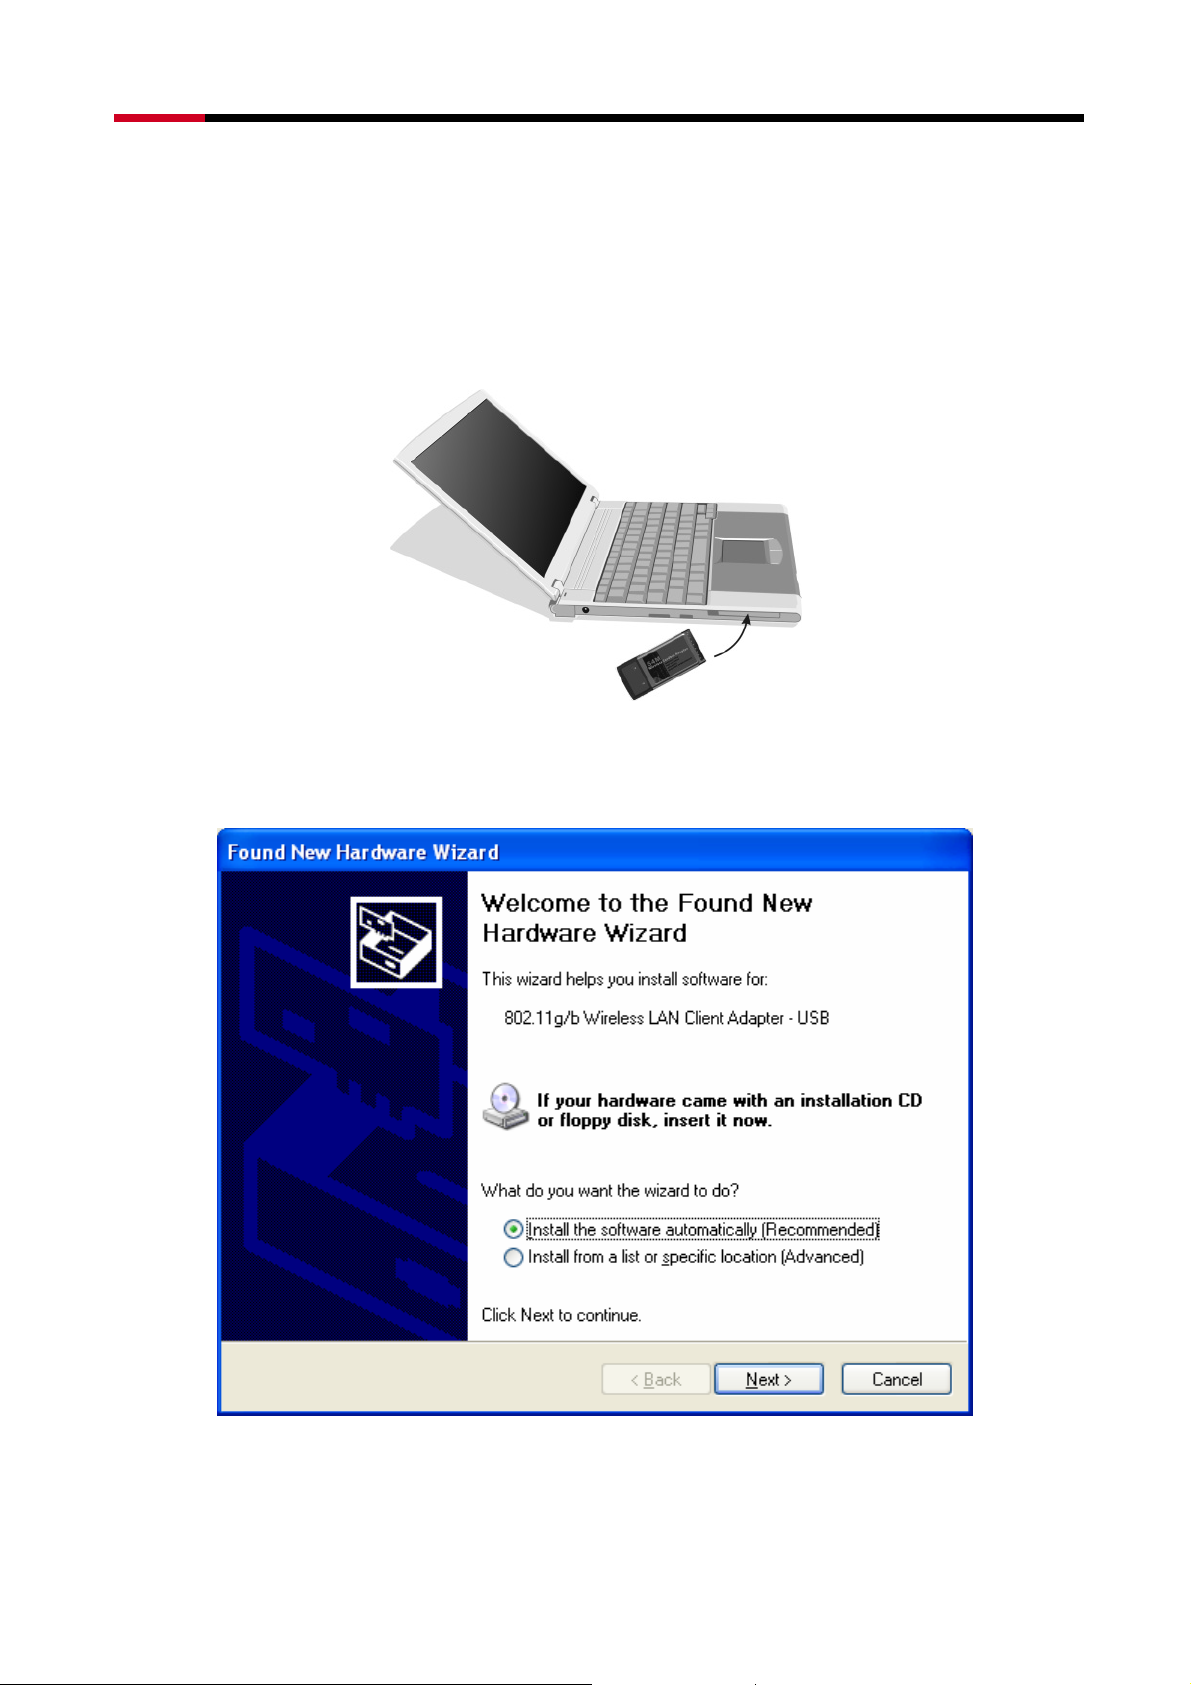
z Hold the adapter with the LOGO facing up and insert it into a Cardbus slot.
Figure 3-1
z If the Found New Hardware Wizard displays, choose install the software automatically
(Recommended), and click Next button. The driver will be installed automatically.
Figure 3-2
4
Page 5

RNX-G100 / RNX-G200 / RNX-G300(E) User Manual
3.2 PCI Adapter - RNX-G300(E)
z Open your PC case and locate an available PCI on the motherboard.
z Slide the PCI Adapter into the PCI slot. Make sure that all of its pins are touching the slot’s
contacts. You may have to apply a bit of pressure to slide the adapter all the way in. after the
adapter is firmly in place, secure its fastening tab to your PC’s chassis with a mounting screw.
Then close your PC.
z Attach the external antenna to the adapter’s antenna port.
z Power on the PC.
Figure 3-3
z If the Found New Hardware Wizard displays, choose install the software automatically
(Recommended), and click Next button. The driver will be installed automatically.
3.3 USB Adapter - RNX-G100
z Power on your PC, let the operating system boot up completely, and login as needed.
z Hold the adapter and insert it into a USB slot.
z If the Found New Hardware Wizard displays, choose install the software automatically
(Recommended), and click Next button. The driver will be installed automatically.
Figure 3-4
You have now completed the driver and hardware installation for the Adapter
4 Configuration your wireless adapter
z The Wireless Client Configuration Utility screen will appear automatically.
5
Page 6

RNX-G100 / RNX-G200 / RNX-G300(E) User Manual
Figure 4-1
z Click the Site Survey tab then click the Refresh button to search for available wireless
networks.
6
Page 7

RNX-G100 / RNX-G200 / RNX-G300(E) User Manual
Figure 4-2
z To connect to one of the networks on the list, select the wireless network, and click Associate
button.
Congratulations! You’ve successfully configured your wireless adapter!
Please read detail user manual and trouble shooting from the driver disk.
Or contact
support@rosewill.com for more support.
Thank you for purchasing a quality Rosewill Product.
Please register your product at : www.rosewill.com for complete warranty information and future support for
your product.
7
 Loading...