

Page 1

Quick Installation Guide
Wireless Adapter RNX-EasyN1
Page 2
Quick Installation Guide
Wireless Adapter yN1 RNX-Eas
The high-speed wireless USB 2.0 client adapter is the most convenient way to let you put a
desktop/notebook computer almost anywhere without the hassle of running network cables.
Now you don’t need to suffer from drilling holes and exposed cables. Once you are connected,
you can do anything, just like the wired network. This USB client adapter operates seamlessly in
2.4GHz frequency spectrum supporting the 802.11b, 802.11g, and 802.11nwireless standards.
It’s the best way to add wireless capability to your existing wired network or simply surf the web.
For advanced configuration, refer to the User’s Manual in the CD-ROM provided.
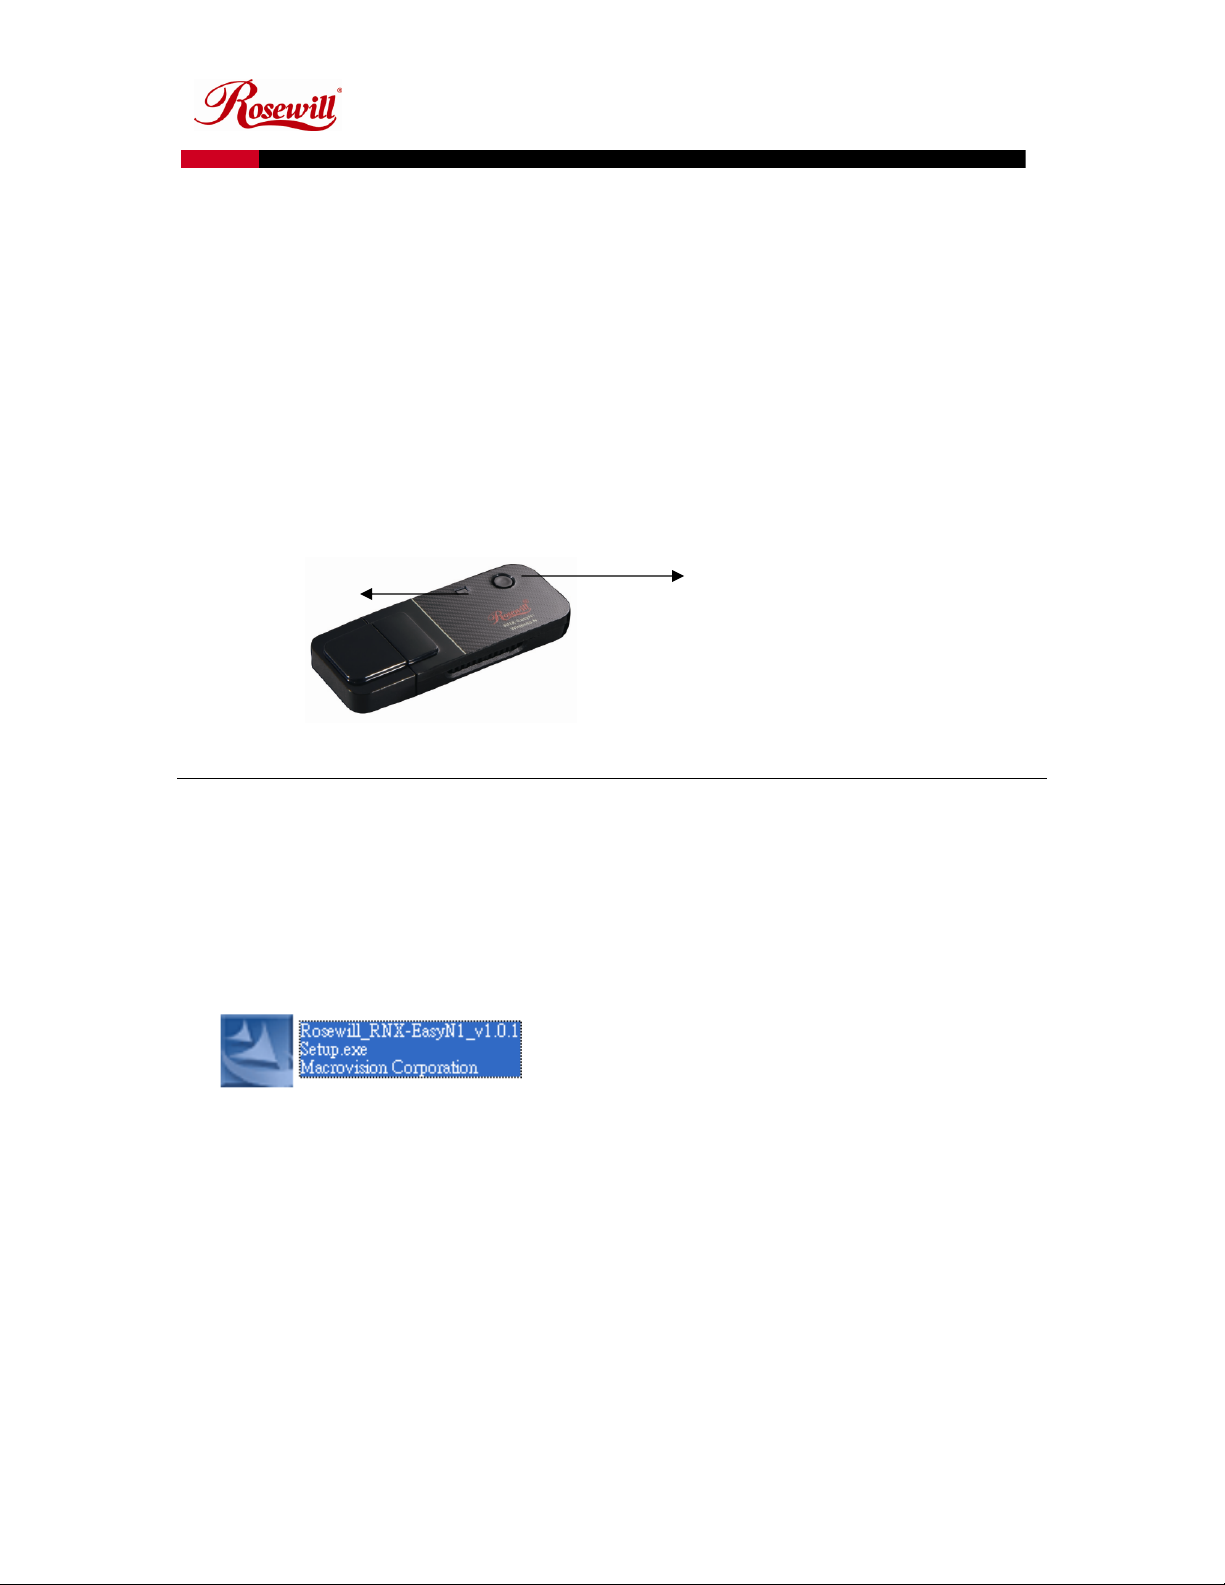
USB Adapter Description
The USB adapter is a standard USB adapter that fits into any USB interface. The USB adapter has one
LED indicator and one WPS button.
PWR and LINK
LED Indicator
WPS button
USB Adapter for Windows 2000/XP/Vista – Installation
During the installation, Vista may need to copy systems files from its installation CD. Therefore,
you may need a copy of the Windows installation CD at hand before installing the drivers.
Follow the steps below in order to install the USB adapter drivers:
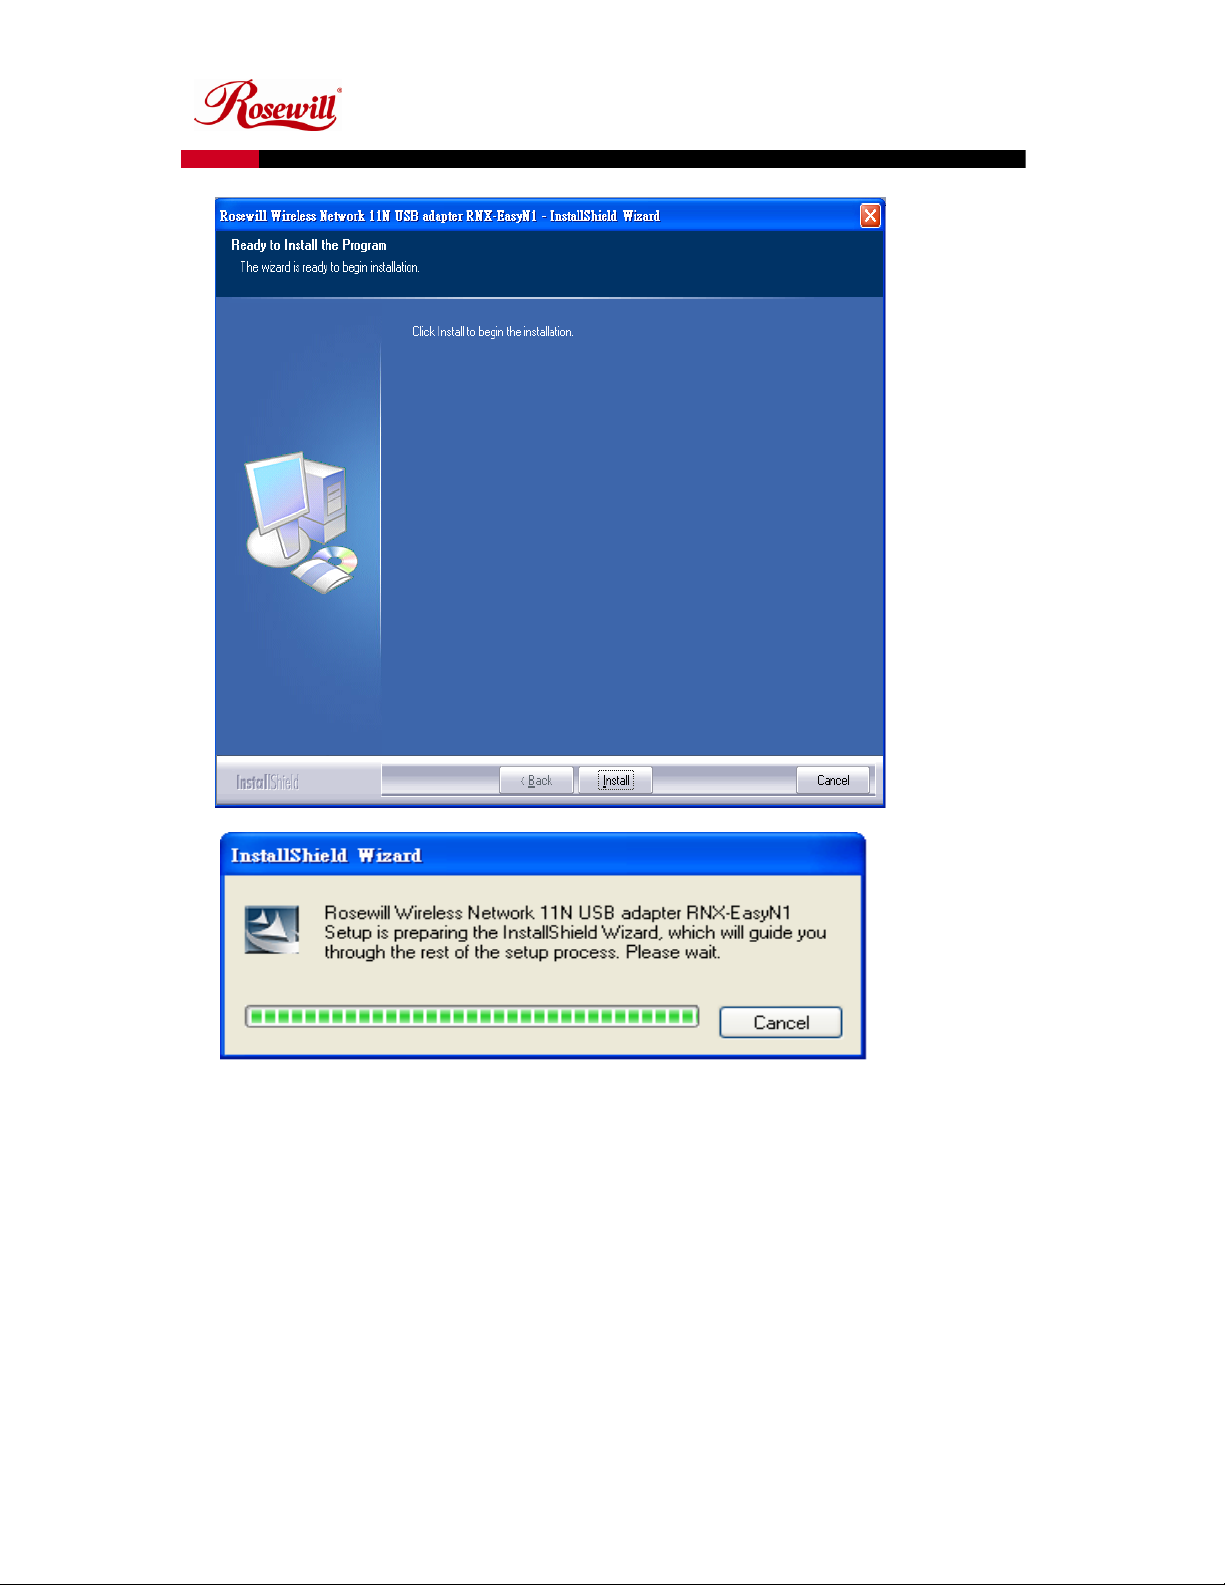
1. Insert the CD-ROM that was provided to you in this package. The setup should run
automatically. If the setup does not run automatically, then you must manually select the
setup.exe file from the CD-ROM drive.
2. Once the setup begins you will see the InstallShield Wizard. Select Rosewill Configuration
Tool and then click on the Next> button.
3. Click on the Install button to begin the installation.
2
Page 3
Quick Installation Guide
Wireless Adapter yN1 RNX-Eas
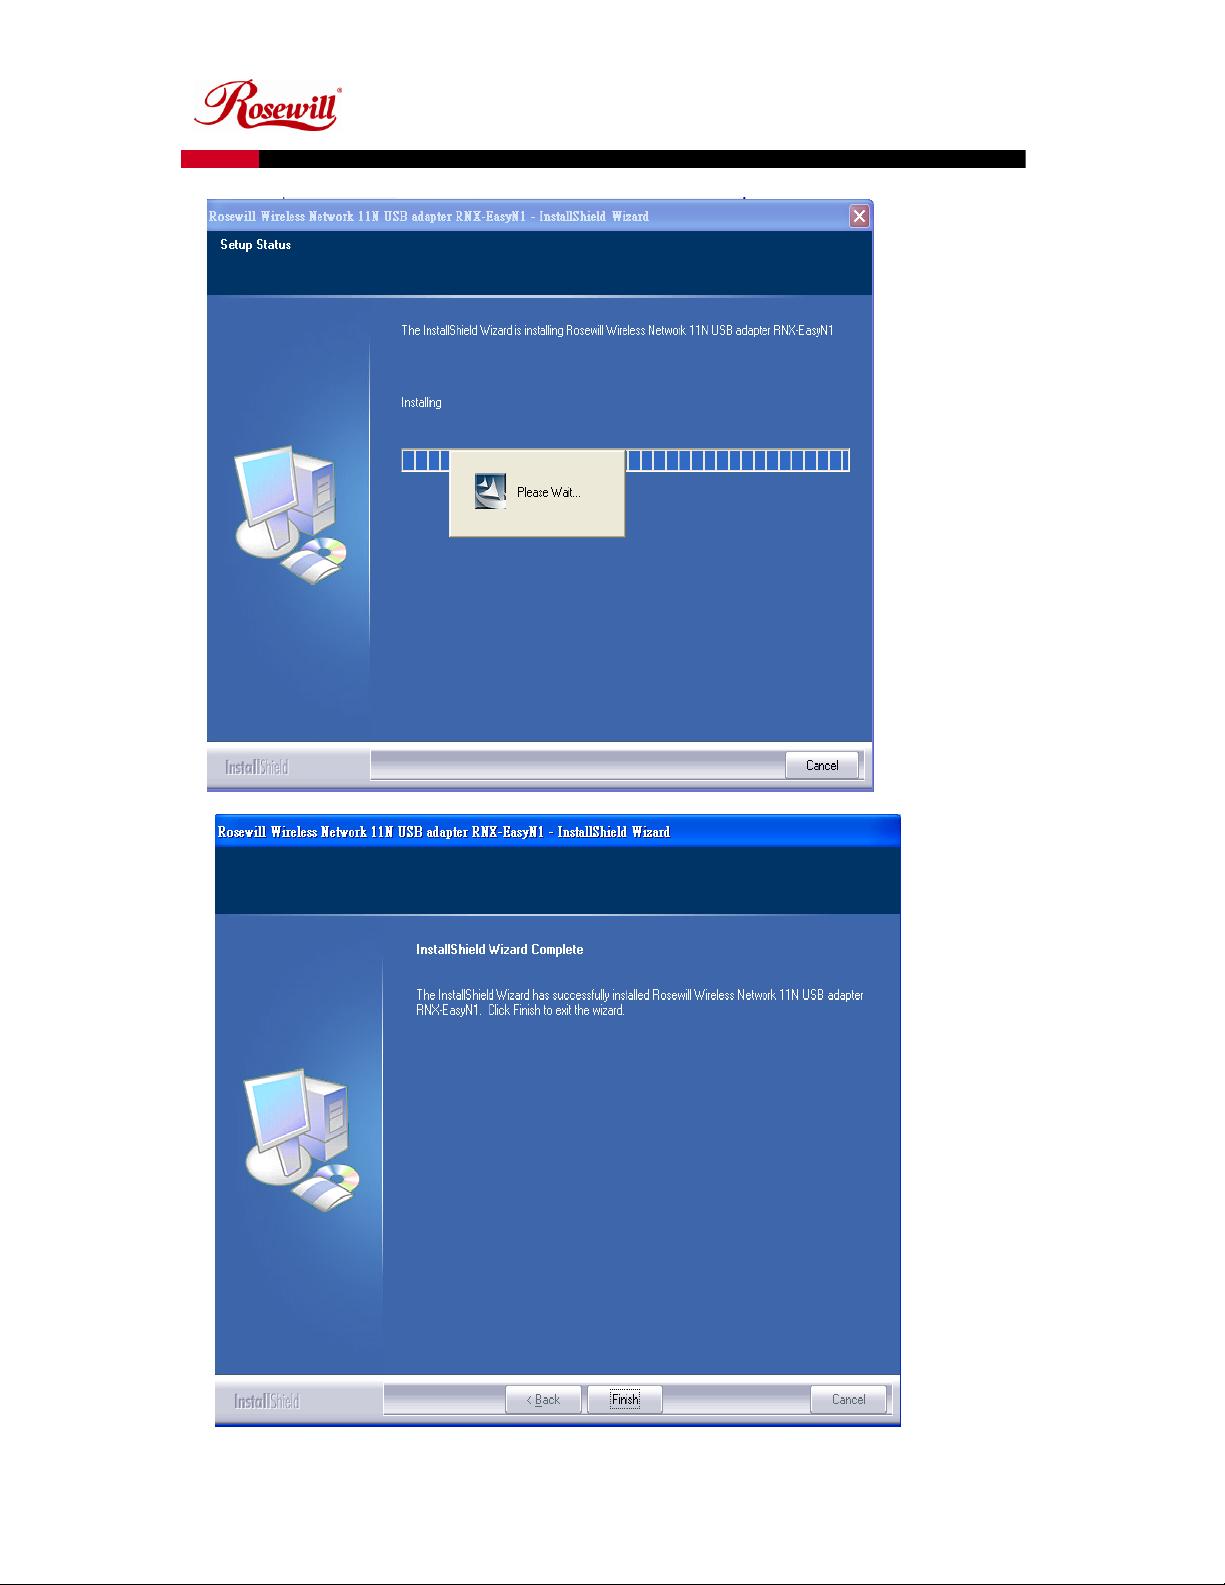
4. The installation is complete. Click on the Finish button.
3
Page 4
Quick Installation Guide
Wireless Adapter yN1 RNX-Eas
4
Page 5

Quick Installation Guide
Wireless Adapter yN1 RNX-Eas
5. Carefully insert the USB adapter into the USB port. Windows will then detect and
install the new hardware.
6. An R icon will then appear in the system tray. Right click on the R icon and then click on
Launch Config Utilities.
Note: Click on Use Zero Configuration as Configuration Utility if you would like to use
Windows Zero Config.
USB Adapter Adding a Profile – Windows 2000/XP/Vista
The Profile tab is used to store the settings of multiple Access Points such as home,
office, café, etc. When adding a profile you are required to enter a profile name and
SSID as well as configure the power-saving mode, network type, RTS/fragmentation
threshold and encryption/authentication settings.
1. Profile: Enter a name for the profile; this does not need to be the same as the SSID.
2. SSID: Enter the SSID of the network or select one from the drop-down list.
3. Network Type: Select Infrastructure from the drop-down list.
4. TX Power: Select a transmit power from the drop-down list..
5. Click on the Apply button to save the changes.
5
Page 6
Quick Installation Guide
Wireless Adapter yN1 RNX-Eas
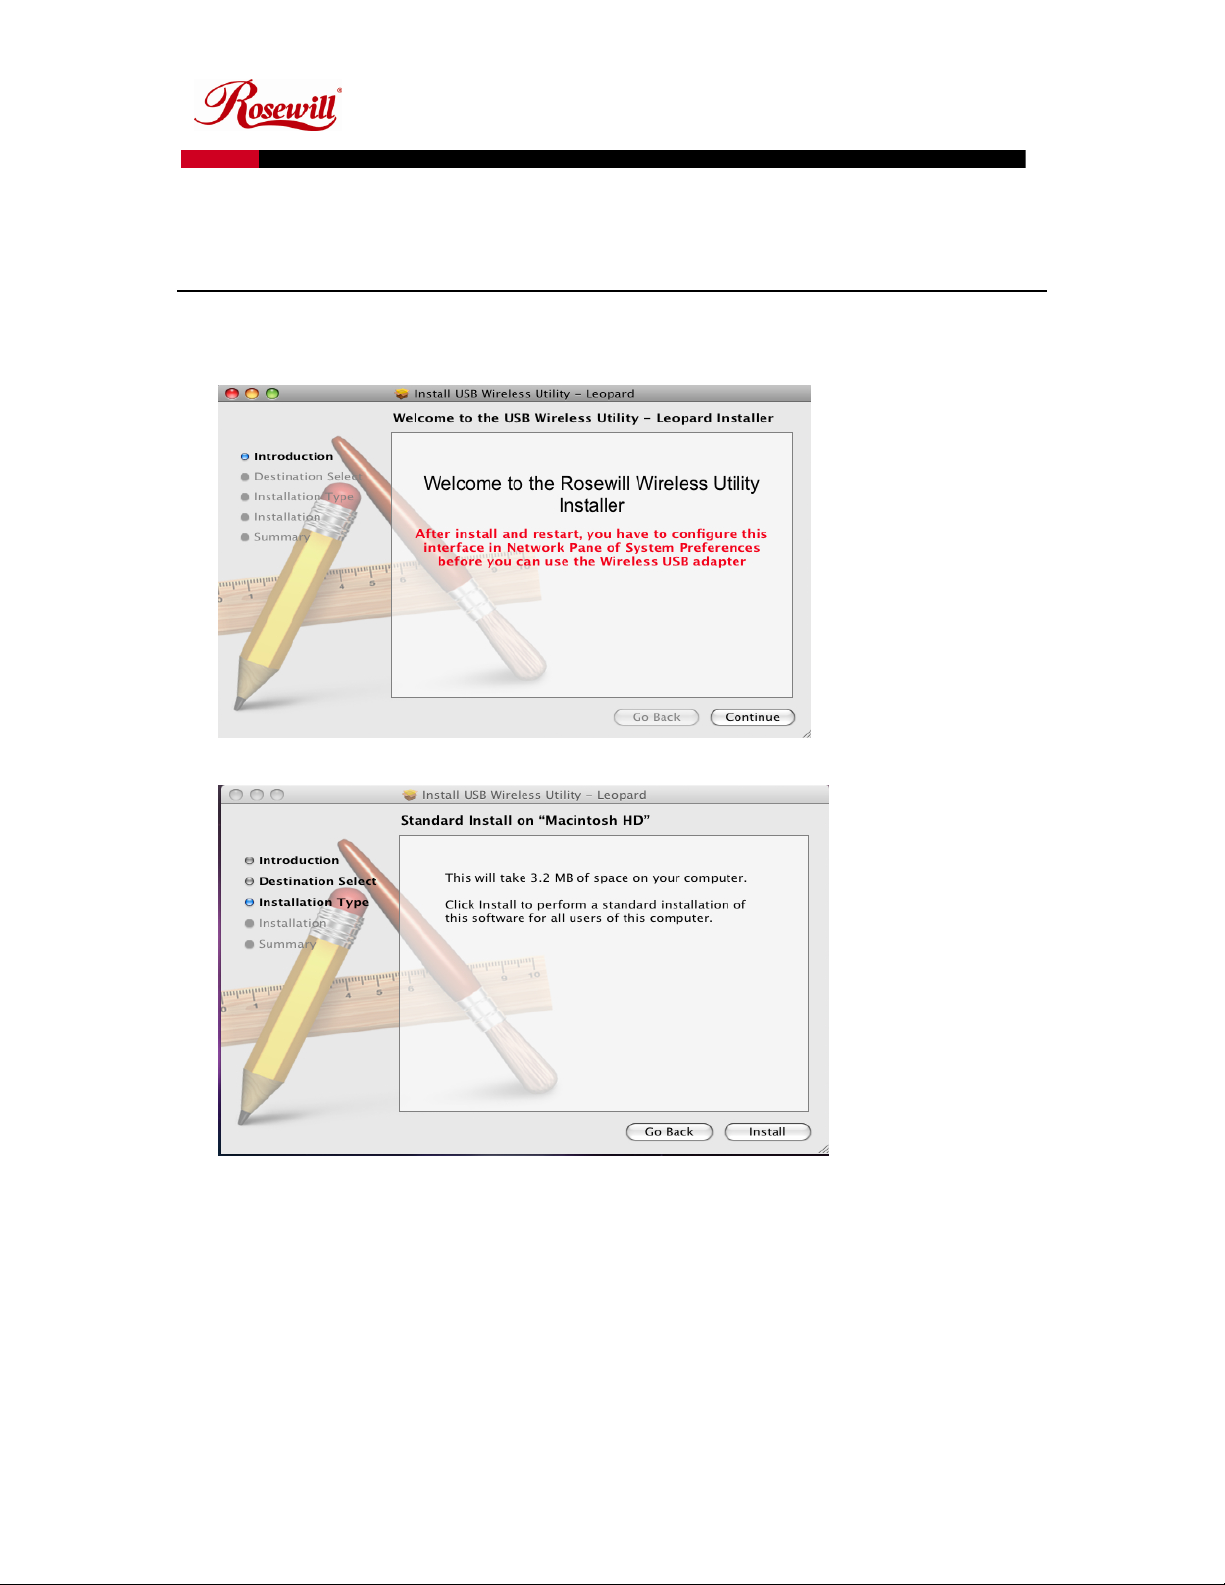
USB Adapter for MAC OS 10.3, 10.4 and 10.5– Installation
1. Insert the CD-ROM that was provided to you in this package. The setup should run
automatically. If the setup does not run automatically, then you must manually select the
setup file from the CD-ROM drive.
2. Click on the Continue button to configure the next step.
Select the Macintosh HD and then click on the Continue button.
6
Page 7

Quick Installation Guide
Wireless Adapter yN1 RNX-Eas
3. The installation is complete. Click on the Restart button.
4. Carefully insert the USB adapter into the USB port. MAC OS X will then detect and
install the new hardware.
5. The Rosewill Client Utility is installed in the Applications folder.
USB Adapter Adding a Profile – MAC OS 10.3 10.4 10.5
The Profile tab is used to store the settings of multiple Access Points such as home, office, café,
etc. When adding a profile you are required to enter a profile name and SSID as well as configure
the power-saving mode, network type, RTS/fragmentation threshold and
encryption/authentication settings.
7
Page 8

Quick Installation Guide
Wireless Adapter yN1 RNX-Eas
1. Profile: Enter a name for the profile; this does not need to be the same as the SSID.
2. SSID: Enter the SSID of the network or select one from the drop-down list. The SSID
is a unique name shared among all points in your wireless network. The SSID must
be identical for all points in the network, and is case-sensitive.
3. PSM: Select a power saving mode (PSM) option.
CAM (Continuously Awake Mode): Select this option if your notebook is
always connected to the power supply.
PSM (Power Saving Mode): Select this option if your notebook uses its battery
power. This option minimizes the battery usage while the network is idle.
4. Network Type: Select Infrastructure from the drop-down list.
5. TX Power: Select a transmit power from the drop-down list. If your notebook is
connected to external power then select 100% or auto, if not, select one of the
lower values for power saving.
6. RTS Threshold: Place a check in this box if you would like to enable RTS Threshold.
Any packet in the RTS/CTS handshake larger than the specified value (bytes) will be
discarded.
7. Fragment Threshold: Place a check in this box if you would like to enable Fragment
Threshold. Any packet larger than the specified value (bytes) will be discarded.
8. Click on the Apply button to save the changes.
For advanced configuration, refer to the User’s Manual in the CD-ROM provided.
8
 Loading...