

Page 1

User’s Manual
ATX & Micro ATX CASE
Power Supply
The power supply installed in the case has a single 20-pin power, 6-pin AUX, and 4-pin ATX12V connector for
the motherboard. It also has 4 to 6 peripheral and 1 to 2 floppy drive connectors. Some models may have serial
ATA and/or fan signal connectors. The power supply has a main power switch next to the AC inlet. Make sure
the power has been switched to the ON (I) position before the first boot up.
Motherboard
The brass standoffs have to be installed on the chassis before the motherboard can be installed. Make sure all
standoffs line up with the motherboard. The case comes with standard I/O back plate. The back plate can be
replaced with the one came with the motherboard.
Front Panel Connector
The case comes with a standard set of switch and LED connectors. Please refer to the user’s manual for the
motherboard for more specific pin layout. The typical labels for the connectors are HDD LED (hard drive
activity), POWER LED (system on), RESET SW (reset), and POWER SW (power on). Some models may
have 4-pin peripheral power connector instead of POWER LED.
3.5” and 5.25” Drive Bay
The case has several 3.5” and 5.25” drive bays. The external 3.5” are typically for Floppy drives and 5.25” are
for CD/DVD ROM devices. The internal 3.5” are for Hard Disk drives.
Audio Port (see picture below)
The front audio ports allow the user to install front-oriented speaker and microphone jacks for easy access. Not
all motherboard will support front audio port access. Check the motherboard specification for more detail.
Although the labels on the audio connectors in the case may be different than the motherboard, they all provide
the same functions. Refer to the following chart for clarification.
Case 1 Case 2 Mainboard 1 Mainboard 2
MIC-IN MIC-IN AUD-MIC MIC2
MIC-PWR AUD-VCC
GROUND GROUND AUD-GND AGND
R-OUT R-OUT AUD-FPOUT-R Line out_R
L-OUT L-OUT AUD-FPOUT-L Line out_L
RET-R R-IN AUD-RET-R
RET-L L-IN AUD-RET-L
USB Port (see picture below)
Each USB port consists of 4 wires. Refer to the motherboard user’s manual for USB sequence layout.
Case Mainboard
VCC USB POWER
D- DATA-/USBD+ DATA+/USB+
GROUND GND
Page 2
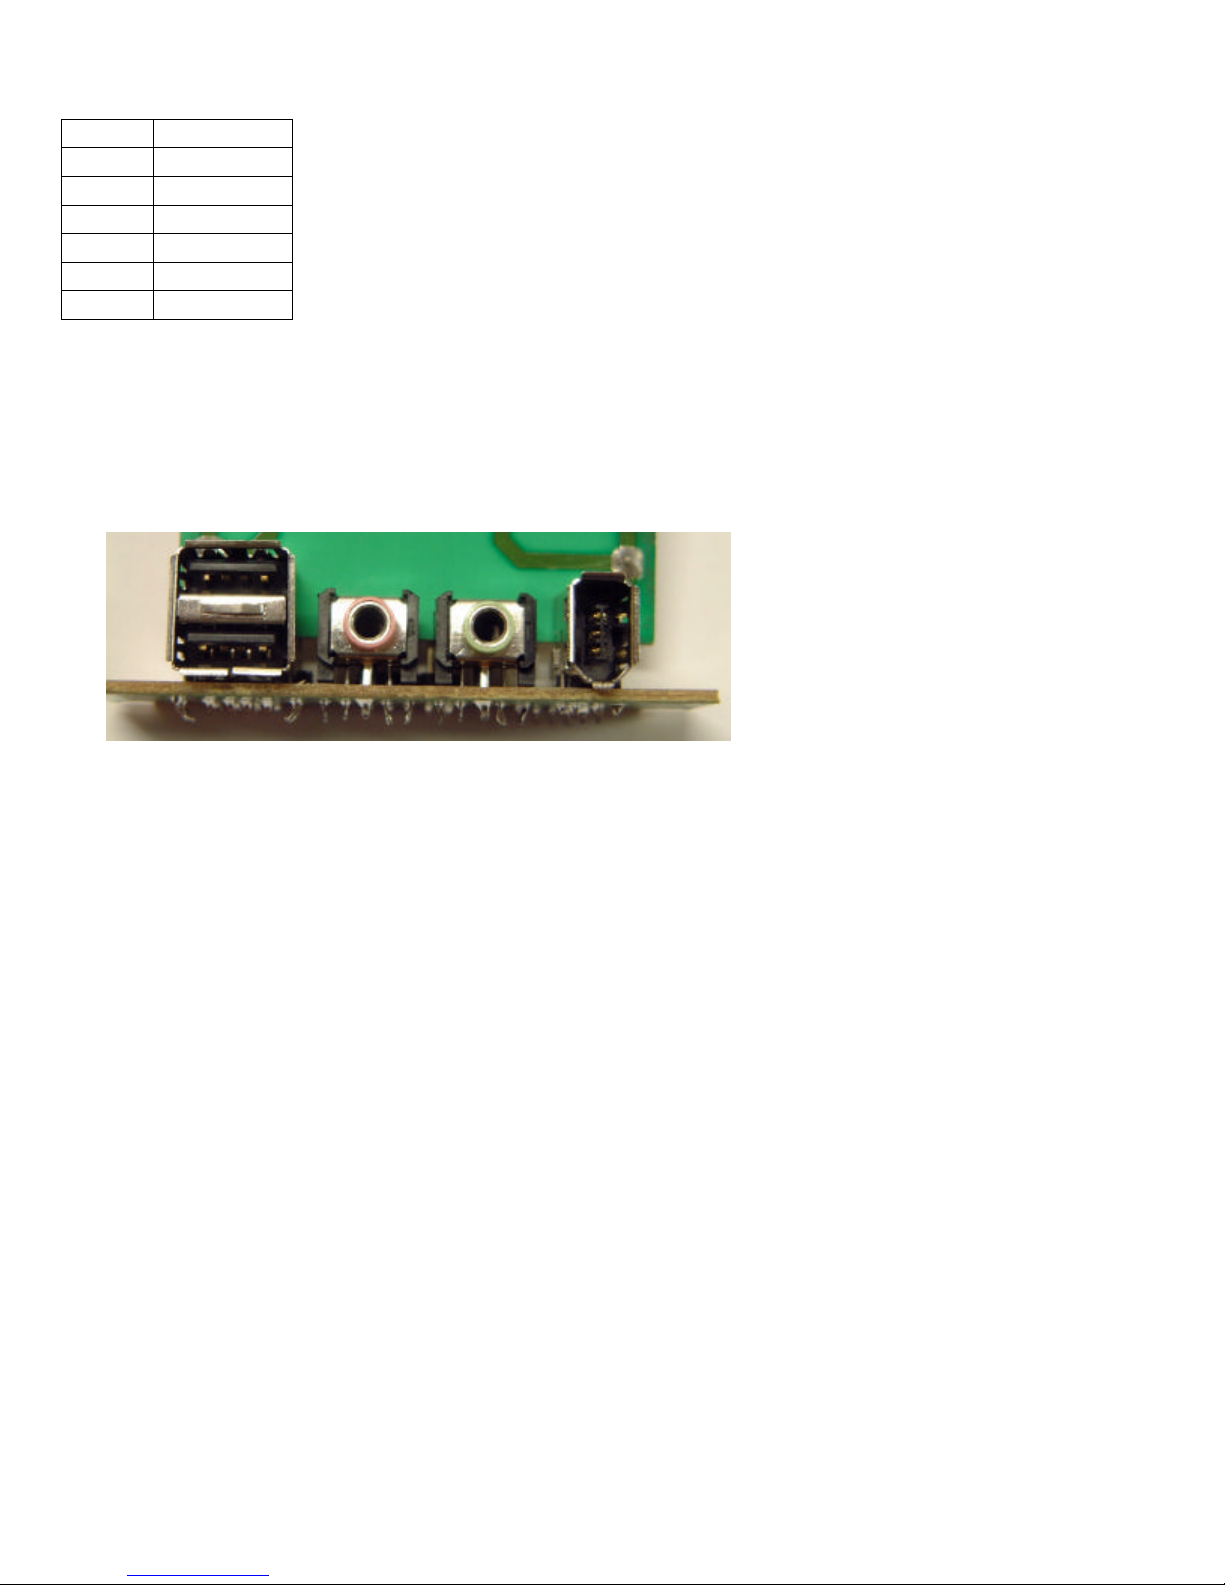
IEEE 1394 – FireWire (see picture below)
Some model may come with front FireWire port. The typical layout is shown in the following.
Case Mainboard
TPA- TPATPA+ TPA+
TPB- TPBTPB+ TPB+
VCC VCC
GND GND
Case Fan
The case can support 120mm or 80mm cooling fan. To install the fan in the front, the front bezel has to be
removed first. If both front and rear fans are installed, make sure the air flow is consistent. Typically, the rear
fan is blowing air out of the case and the front fan is blowing air into the case.
USB AUDIO PORTS FIREWIRE
 Loading...