

Rosendahl nanoclocks GL User Manual
Instruction Manual
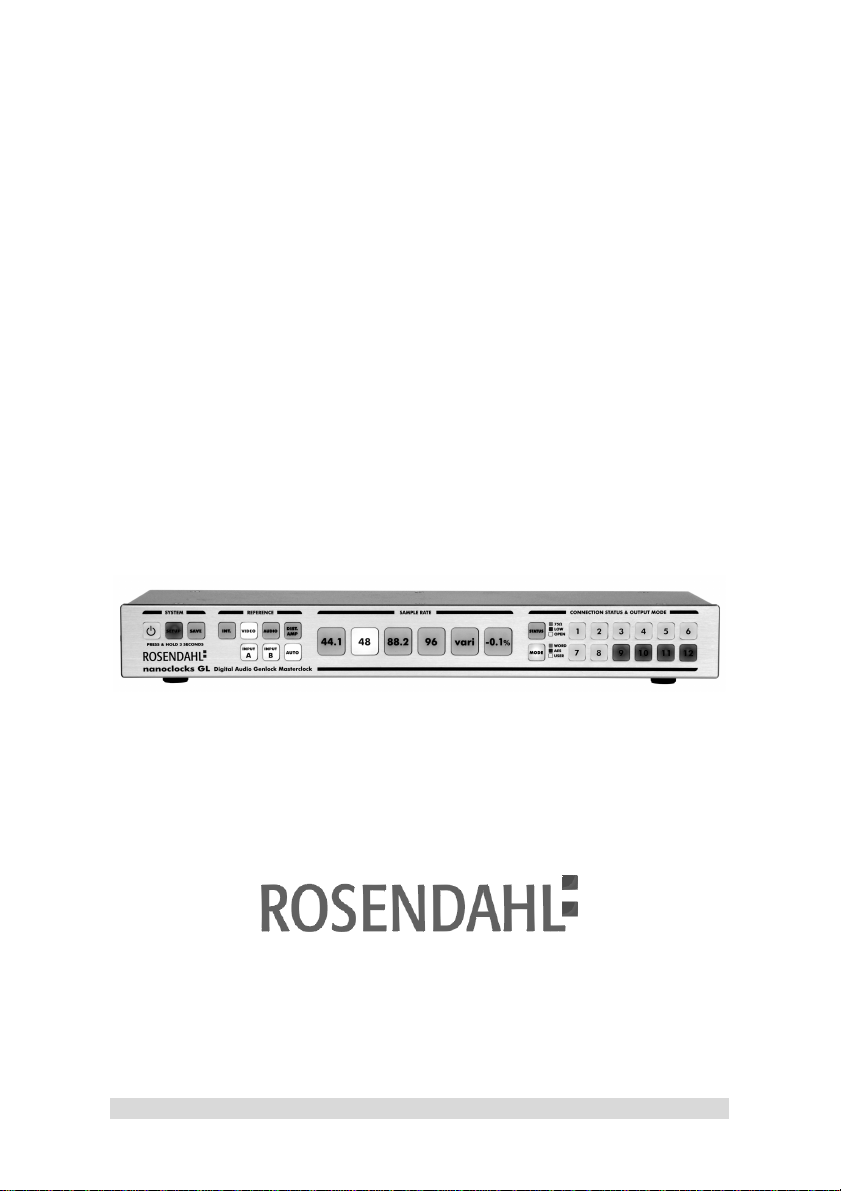
nanoclocks GL
nanoclocks GL is a digital audio genlock masterclock with
12 word clock / AES11 DARS outputs and
2 reference inputs for SD video syncs, HD tri-level syncs,
AES11 or word clock signals.
www.rosendahl-studiotechnik.com
- 1 -

- 2 -

Contents
1. Unpacking and Mounting into a 19" Rack page 4
2. Connection to Power Supply page 5
3. Installation & Connection Status page 6
4. System Settings page 7
5. Reference page 8
6. Sample Rate page 11
7. Output Mode page 11
8. Setup Utility page 12
9. Declaration of Conformity page 13
10. Specifications page 14
- 3 -
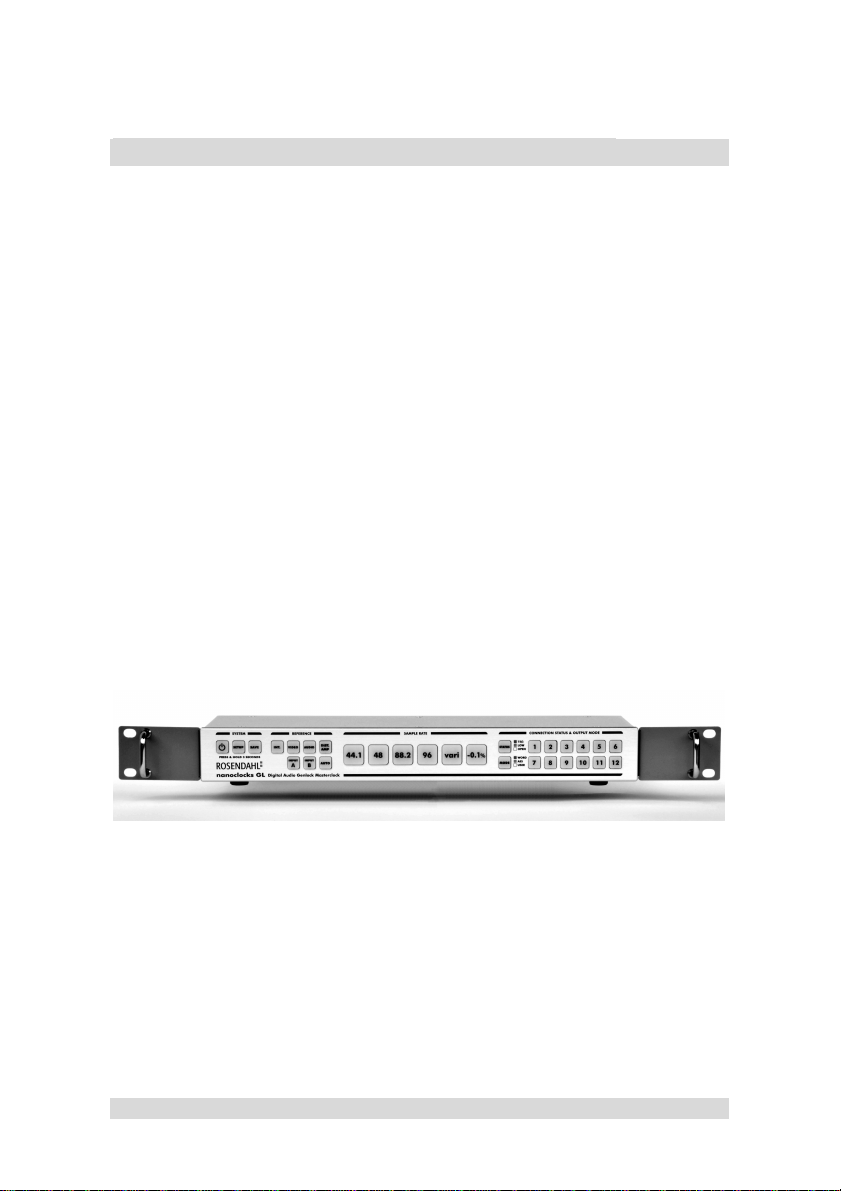
1. Unpacking and Mounting into a 19" Rack
nanoclocks GL comes with the following accessories:
1 pcs IEC 60320/C14 power cable
1 pcs USB cable
2 pcs 1U rack mount brackets, mounted
1 pcs user manual that you are now reading
The unit is shipped with four small plastic feet mounted underside
with Philips screws.
If you want to rack mount your nanoclocks GL please detach the four
plastic feet.
For desktop use please detach the rack mount brackets using a
metrical hex-wrench.
- 4 -

2. Connection to Power Supply
Attention! Before connecting to mains please check the voltage
selector on the left side panel.
Disconnect from mains before switching. Make sure the 115 / 230V
setting matches to your local mains voltage.
Use 230 VAC setting in the UK, EU.
Use 115 VAC setting in the US, Japan.
nanoclocks GL can also be powered by a 12 volt DC supply using
the 4-pin XLR connector, pin 1 is Ground (-) and pin 4 is Vcc (+) 12V.
The power button lights up green when the unit is powered by mains
and changes to red when the power source is DC.
If the DC supply drops below 10,6 Volts the red power LED starts
blinking.
Primary power source is always mains.
Feed mains and DC supply simultaneously to power the unit from
two redundant sources. When one of the sources fails the unit will
keep working without disruption.
- 5 -
 Loading...