

Page 1
Quick Start Guide
LIQ-QSG-Hx438, Rev A
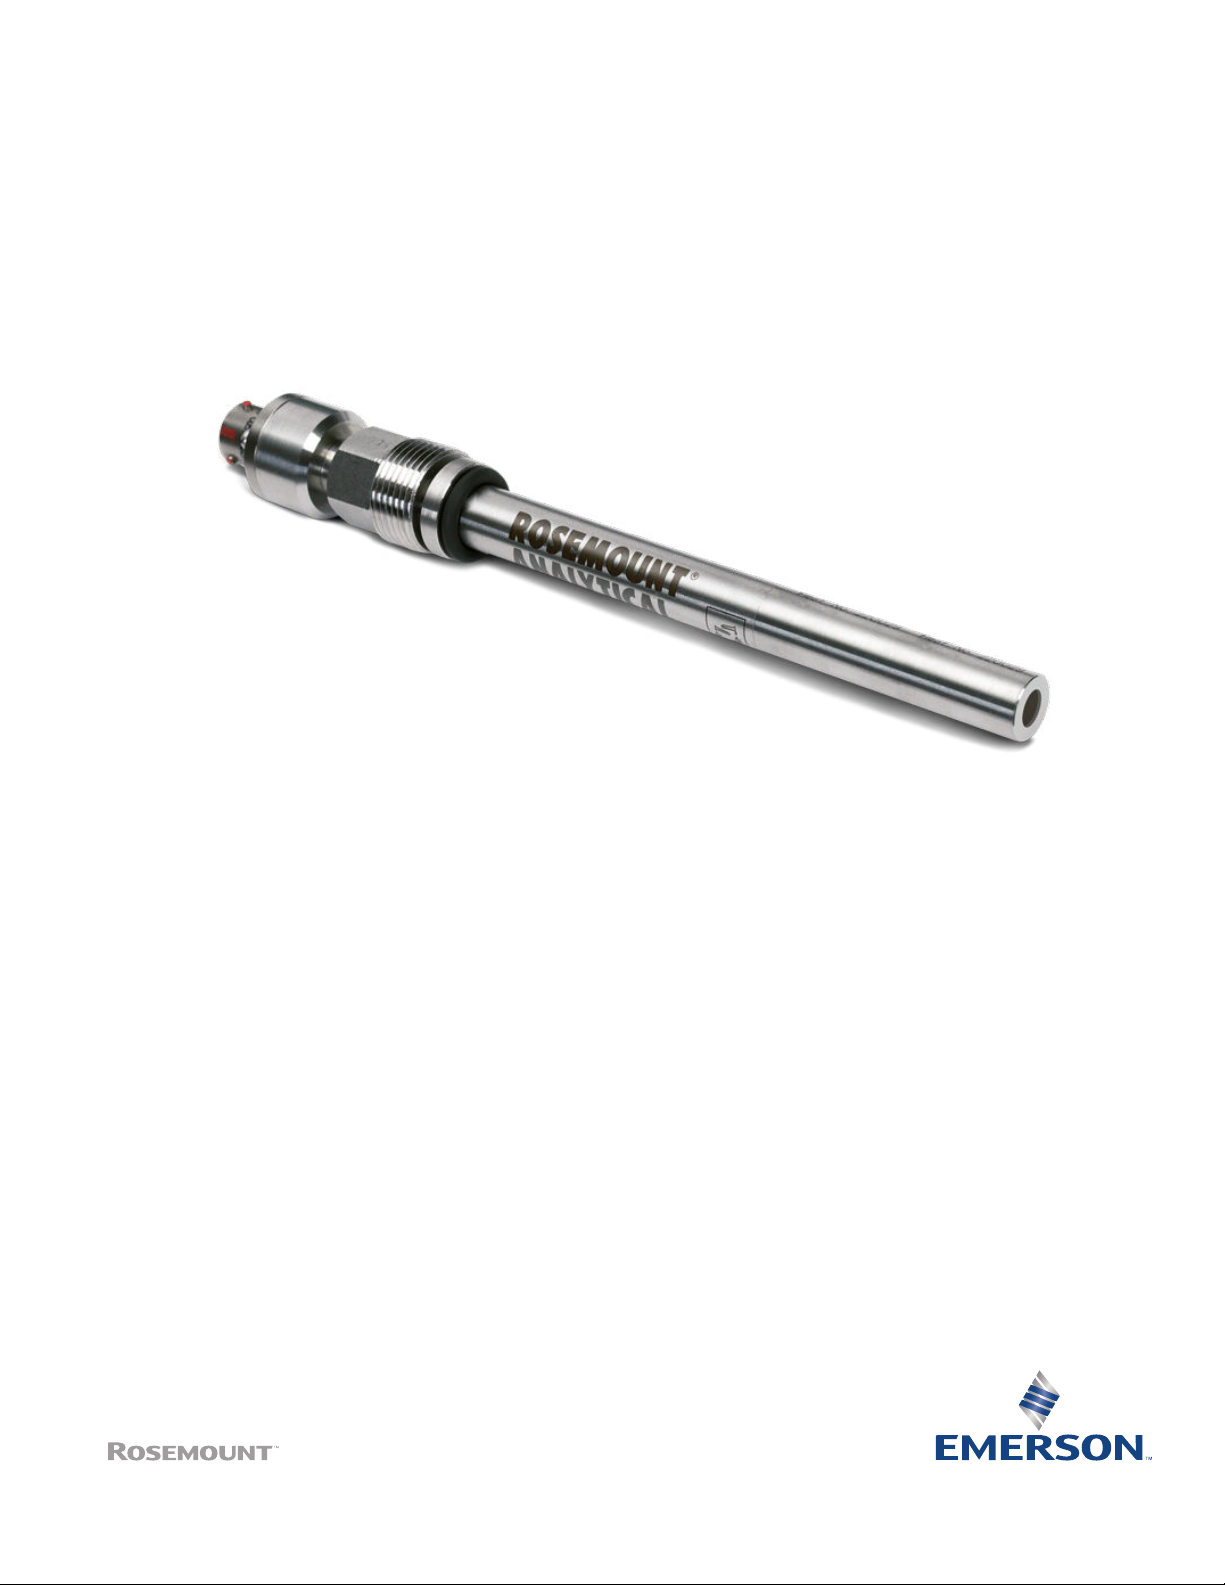
Rosemount™ Hx438
Amperometric Steam Sterilizable Dissolved Oxygen Sensors
June 2017
Page 2

Safety Information
WARNING!
Do not exceed temperature and pressure limitations of 266 °F (130 °C) and 43 psig (400 kPa, 4 bar).
WARNING!
HIGH PRESSURE AND TEMPERATURE HAZARD
Before removing the senosr, reduce the process pressure to 0 psig and cool down the process temperature.
Failure to reduce the pressure and temperature may cause serious injury to personnel.
WARNING!
The electrolyte is highly alkaline. Protect your hands with gloves and use safety goggles. Avoid contact of the electrolyte with the skin,
eyes, and mucous membranes
Page 3

Contents
Contents
Chapter 1 Plan ..................................................................................................................................1
1.1 Unpacking and Inspection .............................................................................................................. 1
1.2 Specifications .................................................................................................................................1
Chapter 2 Install ...............................................................................................................................3
2.1 Preparing the sensor ...................................................................................................................... 3
2.2 Connecting the sensor to the trasmitter .........................................................................................3
2.3 Mounting the sensor ...................................................................................................................... 4
2.4 Wiring the sensor to the transmitter .............................................................................................. 5
Chapter 3 Calibration and maintenance ...........................................................................................7
3.1 Sterilizing the sensor ...................................................................................................................... 7
3.2 Dismounting the sensor ................................................................................................................. 7
3.3 Calibrating the sensor .................................................................................................................... 8
Chapter 4 Troubleshooting .............................................................................................................. 9
4.1 Maintaining the sensor ...................................................................................................................9
4.2 Replacing the electrolyte and the membrane cartridge ..................................................................9
4.3 Replacing the cathode ..................................................................................................................10
4.4 Troubleshooting .......................................................................................................................... 12
Chapter 5 Accessories .................................................................................................................... 13
Rosemount™ Hx438 Dissolved Oxygen Sensors i
Page 4

Contents
ii Quick Start Guide
Page 5

1 Plan
1.1 Unpacking and Inspection
1. Inspect the outside of the carton for any damage.
2. If damage is detected, contact the carrier immediately.
3. Inspect the hardware.
4. Make sure all the items in the packing list are present and in good condition.
5. Notify the factory if any part is missing.
1.2 Specifications
Rosemount Hx438 dissolved oxygen sensor specificationsTable 1-1:
Plan
Hx438 Dissolved Oxygen Sensor Material and Units
Operating Temperature Range 32 to 266 °F (0 to 130 °C)
Maximum Pressure 43 psig (400 kPa abs, 4 bar)
Measurement Range 0 to 20 ppm or 0 to 250% saturation, depending
on instrument
Wetted Materials Stainless steel and EPDM
Process Connections PG 13.5 thread
Cable Connector Standard 4-pin
Cable Compatibility Standard 4-pin connector cable
Compatible Mounting Accessory Insertion Mounting Assembly
Compatible Transmitters Rosemount Transmitter Models 56, 1056, 5081,
and 1066
Temperature Compensation 22K NTC
Rosemount™ Hx438 Dissolved Oxygen Sensors 1
Page 6

Plan
2 Quick Start Guide
Page 7

2 Install
2.1 Preparing the sensor
1. Remove the plastic cap carefully which covers the sensing end of sensor.
2. Avoid causing a vacuum by gently and slowly twisting the sensor and cap until it is
removed.
3. Sensor is shipped dry, so electrolyte must be added prior to installation.
4. Remove membrane cartridge.
5. Add 1.5 ml of electrolyte to the membrane cartridge.
6. Screw membrane cartridge back onto sensor body.
2.2 Connecting the sensor to the trasmitter
Install
1. Wire the sensor to the transmitter.
2. Apply power to the transmitter.
3. Make the sensor ready for calibration after two hours.
The polarization time is necessary to get stable signals from the sensors
4. If the sensor is disconnected from the transmitter for a short time, allow the sensor
to stabilize for at least two times longer than the time was disconnected.
Time needed for stabilization should not exceed two hours.
Rosemount™ Hx438 Dissolved Oxygen Sensors 3
Page 8

Install
2.3 Mounting the sensor
Use PG 13.5 process thread to mount the sensor.
NOTICE
Do not install the sensor upside down.
Dimension drawing for Rosemount Hx438-01Figure 2-1:
4 Quick Start Guide
Page 9

2.4 Wiring the sensor to the transmitter
Wire the sensor to the transmitter. See wiring diagrams below.
Wiring for Rosemount 1056 and 56 transmitterFigure 2-2:
Install
Wiring for Rosemount 1066 transmitterFigure 2-3:
Rosemount™ Hx438 Dissolved Oxygen Sensors 5
Page 10

Install
Wiring for Rosemount 5081 transmitterFigure 2-4:
6 Quick Start Guide
Page 11

Calibration and maintenance
3 Calibration and maintenance
3.1 Sterilizing the sensor
1. Before autoclaving the sensor, cover the connector end of the sensor with a tight
protective cap (PN 242000).
2. If the connector end gets wet despite the protective cap, dry the connector with
pressurized air or hair dryer.
Drying prevents corrosion and damage to insulation.
Note
No protection is necessary, when doing in-situ sterilization.
3.2 Dismounting the sensor
1. Unscrew the free rotating PG 13.5 threaded connector.
2. Pull the sensor out of the process or mounting assembly.
Rosemount™ Hx438 Dissolved Oxygen Sensors 7
Page 12

Calibration and maintenance
3.3 Calibrating the sensor
Prerequisites
Before calibrating the sensor, refer to the transmitter instruction manual for more details
on calibration.
Prerequisites
Make sure that the sensor is operated for at least two hours before zeroing and calibrating.
Procedure
1. Place the sensor in nitrogen gas or in water containing about 5% sodium sulfite to
make it zero.
If using nitrogen gas, make sure that the membrane is dry.
2. Once the reading is stable, zero the sensor. Refer to transmitter instruction manual.
3. If sodium sulfite is used to zero the sensor, rinse the sensor with water and gently
dry the membrane.
4. Place the sensor in water-saturated air. Once the reading is stable, complete the full
scale calibration. Refer to transmitter instruction manual.
5. Calibration can also be done using air-saturated water or air-saturated medium.
Altough the sensor has an extremely low oxygen consumption rate, the liquid
should be gently stirred during calibration.
8 Quick Start Guide
Page 13

Troubleshooting
4 Troubleshooting
4.1 Maintaining the sensor
1. Periodically check the sensor response in air and nitrogen.
2. Place the sensor in air. Allow the reading to become stable and note the value.
Also, note the sensor current, which should be between 40 and 80 nA.
3. Place the sensor in nitrogen. A small plastic bag with a stream of nitrogen gas
discharging into the bottom works well.
4. After one minute, the sensor current should be less than 2% of the value in air.
4.2 Replacing the electrolyte and the membrane cartridge
Replace the membrane cartridge (membrane kit PN 9160487) as follows:
1. Hold the sensor vertically with the membrane pointing down. Carefully unscrew the
membrane cartridge.
2. Carefully clean the tip of the glass body with the polishing cloth included with
membrane kit, or clean with the polishing tool in one direction only.
CAUTION!
Glass Body Damage
Do not polish in circular motion. Failure to correctly polish the glass body may result in
permanent damage to the equipment.
NOTICE
When replacing the membrane cartridge, do not touch the anode wire.
Rosemount™ Hx438 Dissolved Oxygen Sensors 9
Page 14

Troubleshooting
3. Rinse the sensor under running water and dry it carefully.
4. Check the small O-ring above the glass body. If it is damaged, replace it.
5. Use the plastic pipette in the membrane kit to add 2 ml of electrolyte solution to the
new membrane cartridge.
6. Carefully screw the cartridge onto the sensor shaft.
If too much electrolyte solution was used, the excess will be pushed out.
7. Wash off the excess electrolyte with water.
4.3 Replacing the cathode
If the sensor stil lhas a sluggish response to saturated air and/or too small current in air,
then the cathode should be replaced.
1. Put the sensor in an upright position and carefully unscrew the membrane cartridge.
Note
The membrane should be changed whenever the cathode is replaced.
2. Flush the replaceable cathode with deionized water then dry the metal parts. Do not
touch anode and cathode.
10 Quick Start Guide
Page 15

Troubleshooting
Replacing the cathodeFigure 4-1:
A. Sensor shaft thread
B. Cathode - metal part
C. Sensor shaft
D. Cathode O-ring
3. Hold the cathode on the metal part (B) in front of the thread (A) and the sensor on
the shaft (C) and pull apart. Just pull, do not turn.
4. Check that all contacts are dry and clean.
5. Replace cathode. (Part number 24262-00) Rotate the cathode until the correct
position is found and then push cathode into the shaft.
6. Check the small O-ring (D) above the cathode. Replace if damaged.
7. Add 1.5 ml of electrolyte into the new membrane cartridge.
NOTICE
The pipette must NOT touch the membrane itself.
Rosemount™ Hx438 Dissolved Oxygen Sensors 11
Page 16

Troubleshooting
8. Screw the membrane cartridge onto the sensor shaft.
Any spillage of electrolyte should be rinsed away with water.
4.4 Troubleshooting
TroubleshootingTable 4-1:
Current in air too high (>80
nA at 25 °C) Sluggish response
Problem Solution Problem Solution Problem Solution
Very thin or
defective
membrane
Defective
glass body or
connector
Poisoned
anode
Cathode contaminated by
silver
- - - - Defective
Replace with
new membrane cartridge
Return to
Emerson
Return to
Emerson
Clean cathode
with polishing
paper. If cleaning does not
restore the
sensor, then
replace the
cathode
Contaminated, fouled, or
dirty membrane
Loose membrane
Dried out electrolyte film
Cathode contaminated by
silver
Clean membrane or replace with
new membrane cartridge
Replace with
new membrane cartridge
Loosen membrane cartridge and
tighten
Clean cathode
with polishing
paper. If cleaning does not
restore the
sensor, then
replace the
cathode
Current in air too low (<40 nA
at 25 °C)
Contaminated, fouled, or
dirty membrane
Dried out electrolyte film
Cathode contaminated by
silver
Exhausted
electrolyte
glass body or
connector
Clean membrane or replace with
new membrane cartridge
Loosen membrane cartridge and
tighten
Clean cathode
with polishing
paper. If cleaning does not
restore the
sensor, then
replace the
cathode
Return to
Emerson
Fill with new
electrolyte
FDA Approved Membrane replacement kit, which includes electrolyte solution and
polishing paper, is PN 9160487.
12 Quick Start Guide
Page 17

5 Accessories
Rosemount Hx438 dissolved oxygen sensors accessories informationTable 5-1:
Part number Description
Cable Accessories
9160493 5 m (16.4 ft). 4-pin connector, bare wire on transmitter end
Mounting Accessories
9160478 Insertion 70 mm insertion, use 120 mm sensor
9160484 Service kit for insertion mounting assembly
9160483 15° weld-in socket, G 1¼ in. thread, 44 mm
Servicing Accessories
9160487 Service kit for sensors, includes three FDA approved membranes
9160489 30 ml bottle electrolyte
242000 Third party labeled connector cap for 4-pin connector for autoclav-
24262-00 Third party labeled replacement anode/cathode cartridge
Accessories
modules, O-rings, polishing tool, 20 ml electrolyte
ing (compatible with Hx438-01)
The 4-pin connector cable is offered in three lengths.
The insertion mounting assembly can be used to mount the Hx438-01 into the process
tanks or pipes.
The weld-in socket is used to mount the insertion mounting assembly into tanks or pipes.
Weld-in socketFigure 5-1:
Rosemount™ Hx438 Dissolved Oxygen Sensors 13
Page 18

Accessories
14 Quick Start Guide
Page 19

Accessories
Rosemount™ Hx438 Dissolved Oxygen Sensors 15
Page 20

www.Emerson.com/RosemountLiquidAnalysis
Emerson Automation Solutions
8200 Market Blvd
Chanhassen, MN 55317
Toll Free +1 800 999 9307
F +1 952 949 7001
liquid.csc@emerson.com
www.Emerson.com/RosemountLiquidAnalysis
EUROPE
Emerson Automation Solutions
Neuhofstrasse 19a P.O. Box 1046
CH-6340 Baar
Switzerland
T + 41 (0) 41 768 6111
F + 41 (0) 41 768 6300
liquid.csc@emerson.com
www.Emerson.com/RosemountLiquidAnalysis
LIQ-QSG-Hx438
Rev A
2017
MIDDLE EAST AND AFRICA
Emerson Automation Solutions
Emerson FZE
Jebel Ali Free Zone
Dubai, United Arab Emirates, P.O. Box 17033
T +971 4 811 8100
F +971 4 886 5465
liquid.csc@emerson.com
www.Emerson.com/RosemountLiquidAnalysis
ASIA-PACIFIC
Emerson Automation Solutions
1 Pandan Crescent
Singapore 128461
Singapore
T +65 777 8211
F +65 777 0947
liquid.csc@emerson.com
www.Emerson.com/RosemountLiquidAnalysis
©
2017 Rosemount. All rights reserved.
The Emerson logo is a trademark and service mark of Emerson
Electric Co. Rosemount is a mark of one of the Emerson Process
Management family of companies. All other marks are the property
of their respective owners. The contents of this publication are
presented for information purposes only, and, while effort has been
made to ensure their accuracy, they are not to be construed as
warranties or guarantees, express or implied, regarding the
products or services described herein or their use or applicability.
All sales are governed by our terms and conditions, which are
available on request. We reserve the right to modify or improve the
designs or specifications of our products at any time without
notice.
 Loading...