

Page 1
Quick Start Guide
00825-0100-4828, Rev DC
July 2014
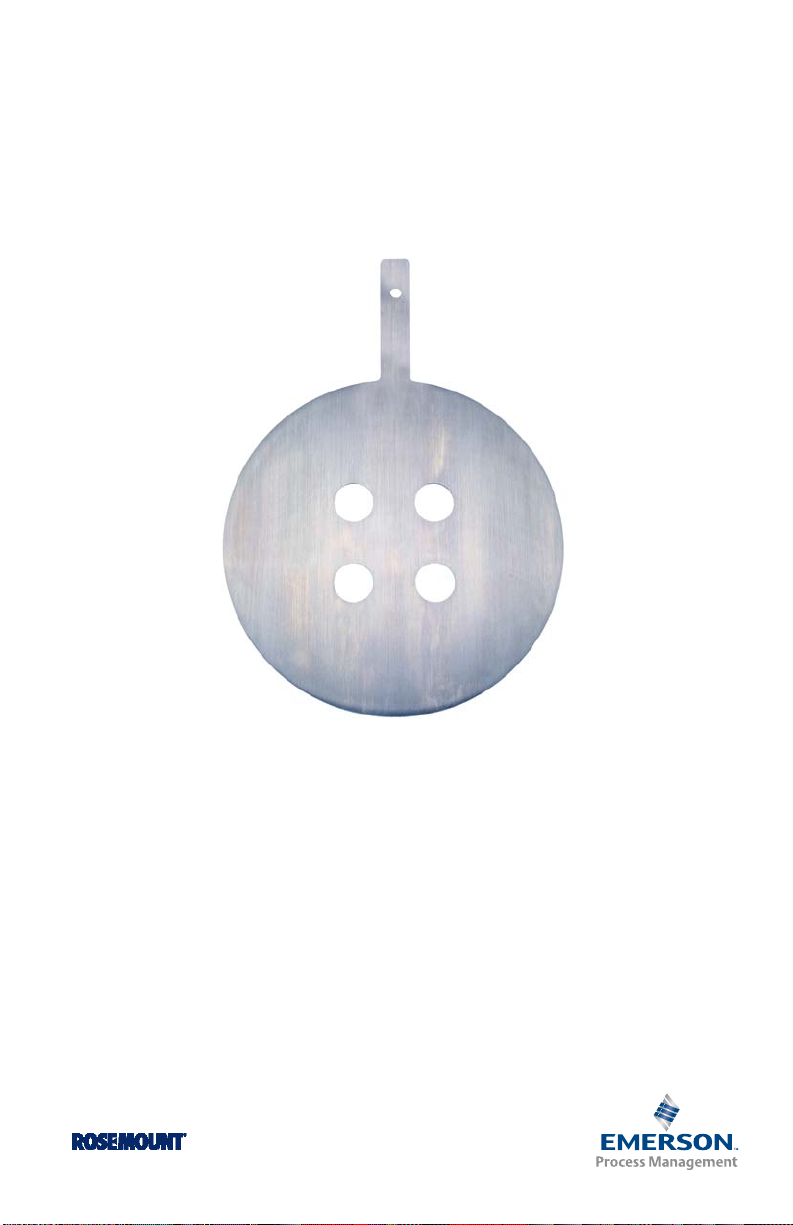
Rosemount 1595 Conditioning Orifice
Plate
Page 2

Quick Start Guide
July 2014
NOTICE
This installation guide provides basic guidelines for Rosemount 1595 Conditioning Orifice
Plate. It does not provide instructions for configuration, diagnostics, maintenance, service,
troubleshooting, Explosion-proof, Flame-Proof, or intrinsically safe (I.S.) installations. Refer to
the 1595 reference manual (document number 00809-0100-4828) for more instruction.
This manual is also available electronically on www.rosemount.com.
WARNING
Process leaks may cause harm or result in death.
To avoid process leaks, only use gaskets designed to seal with the corresponding flange and
o-rings to seal process connections.
Contents
Primary element location . . . . . . . . . . . . . 3
Primary element orientation . . . . . . . . . . 4
2
Primary element installation . . . . . . . . . . .6
Product Certifications . . . . . . . . . . . . . . . 10
Page 3

July 2014
Quick Start Guide
Step 1: Primary element location
Install the 1595 in the correct location within the piping branch to prevent
inaccurate measurement caused by flow disturbances.
1
(1)
Table 1. 1595 Straight Pipe Requirements
Beta 0.20 0.40 0.50 0.65
Single 90° bend or tee
Two or more 90° bends in the same plane
Two or more 90° bends in different plane
Up to 10° of swirl
side of primary
Upstream (inlet)
Reducer (1 line size)
Butterfly valve (75% to 100% open)
Downstream (outlet) side of primary
1. Consult an Emerson Process Management representative if disturbance is not listed.
2. Not applicable in line sizes greater than 24-in. (600 mm).
(2) 2
(2)
(2)
Pressure tap orientation
Orient the 1595 Conditioning Orifice Plate so the pressure taps are centered
between any two (of four) orifice bore holes. In addition, the pressure taps should
be located at 90° to the plane of the last elbow.
2222
2 2 2 2
2222
2 2 2 2
2222
2 2 5 5
2222
Centering requirements
The 1595 should be installed so that it is centered in the pipe as recommended by
ISO-5167.
3
Page 4

Quick Start Guide
30°
Recommended
Zone 120°
30°
F
l
o
w
F
l
o
w
Step 2: Primary element orientation
The following drawings show paddle style conditioning orifice plate, but
orientation pertains to both paddle and universal plate styles.
Horizontal pipe installation
Figure 1. Gas in Horizontal Pipes
FLOW
Figure 2. Liquid or Steam in Horizontal Pipes
July 2014
4
Page 5

July 2014
Flow
FLOW
Flow
Vertical pipe installation
Figure 3. Gas in Vertical Pipes
FLOW
Figure 4. Liquid or Steam in Vertical Pipes
Quick Start Guide
5
Page 6

Quick Start Guide
July 2014
Step 3: Primary element installation
Use the following steps to install the 1595 Conditioning Orifice Plate (paddle or
universal plate style).
1. Determine location and orientation (see page 4).
2. Install the orifice plate.
a. Depressurize the line using site-specific requirements.
b. Loosen all studs and nuts.
c. Remove the studs in one-half of the flange union.
d. Spread flange union by turning jackscrews clockwise.
e. For line sizes > 24-in (600 mm), refer to Figure 7 and instructions using
alignment tool.
f. Install the new plate or remove the existing plate for replacement or
inspection.
g. Install the new gaskets when installing the plate. It is recommended that
new gaskets be installed each time the orifice flange union is separated.
h. Center the plate in the pipe I.D.
i. Release the flange union by turning the jackscrews counter-clockwise.
j. Replace the studs.
k. Tighten studs in a star pattern.
Note
Standa rd 1/16-in. thick fiber gaskets are recommended for use with the 1595. Using other gaskets
could potentially affect the measurement.
6
Page 7

July 2014
A
I
G
F
E
C
B
A
H
D
D
F
l
o
w
Quick Start Guide
Figure 5. Rosemount 1595P Installation
A. Nuts F. Pipe Section
B. Plug G. Stud
C. Jackscrew H. Gasket
D. Jackscrew Nut I. Transmitter
E. Rosemount 1595
1. The installation drawings applies when using the Rosemount 2051C, Rosemount 3051C, Rosemount 3051S and
Rosemount 3051SMV. See the following documents for quick installation instruction of the transmitters.
Rosemount 2051C: document number 00825-0100-4101
Rosemount 3051C: document number 00825-0100-4001
Rosemount 3051S: document number 00825-0100-4801
Rosemount 3051SMV: document number 00825-0100-4803
1
(1)
7
Page 8

Quick Start Guide
A
G
F
E
A
C
B
D
H
Figure 6. Rosemount 1595U with Plate Holder (PH) Installation
A. Nuts E. Pipe Section
B. Jackscrew F. Stu d
C. Universal Plate Screw G. Transmitter
D. Rosemount 1595
1
(1)
H. Jackscrew Nut
July 2014
1. The installation drawings applies when using the Rosemount 2051C, Rosemount 3051C, Rosemount 3051S and
Rosemount 3051SMV. See the following documents for quick installation instruction of the transmitters.
Rosemount 2051C: document number 00825-0100-4101
Rosemount 3051C: document number 00825-0100-4001
Rosemount 3051S: document number 00825-0100-4801
Rosemount 3051SMV: document number 00825-0100-4803
Note
For 1595U Universal Conditioning Orifice Plate style, refer to manufacturer’s orifice fitting
installation manual for installation details.
For sizes > 24-in. (600 mm) and use with alignment tool
1. When an alignment tool is provided, install the alignment tool on the flange
studs shown in Figure 7.
2. For horizontal installation, use the horizontal lift hole (stamped HLH on
paddle) to lift the conditioning orifice plate from a horizontal position and
guide into location between the flanges.
3. For vertical installation, first use the horizontal lift hole (HLH) to lift the
conditioning orifice plate from a horizontal position to vertical, then use the
vertical lift hole (stamped VLH on paddle) to lift the conditioning orifice plate
vertically and guide into location between the flanges.
8
Page 9

July 2014
A
C
B
A
F
B
C
H
D
G
I
E
DETAIL “A”
D
E
H
DETAIL “A”
Figure 7. Rosemount 1595P (sizes > 24-in (600 mm)) Installation
A. Nuts F. Pipe Section
B. Jackscrew G. Stud
C. Jackscrew Nut H. Gasket
D. Rosemount 1595
E. Alignment Tools
1
(1)
I. Transmitter
Quick Start Guide
1. The installation drawings applies when using the Rosemount 2051C, Rosemount 3051C, Rosemount 3051S and
Rosemount 3051SMV. See the following documents for quick installation instruction of the transmitters.
Rosemount 2051C: document number 00825-0100-4101
Rosemount 3051C: document number 00825-0100-4001
Rosemount 3051S: document number 00825-0100-4801
Rosemount 3051SMV: document number 00825-0100-4803
Note
To ensure the best possible flow measurement accuracy, Rosemount provides an Official DP
Calculation Sheet with every 1595 Conditioning Orifice Plate. The Official DP Calculation sheet
uses the calibration factor which is unique to that device and is also stamped on the orifice plate.
The Official DP Calculation Sheet displays the expected full scale flow value and the calculated full
scale DP value and is corrected for the unique calibration factor which is also displayed on the
sheet. This full scale DP value should be used to range a DP transmitter for the referenced
application. Or, the calibration factor should be used as a correction factor when configuring a flow
computer for the Rosemount Conditioning Orifice Plate.
9
Page 10

Quick Start Guide
Product Certifications
Approved Manufacturing Locations
Rosemount Inc. — Chanhassen, Minnesota USA
European Directive Information
The EC declaration of conformity for all applicable European directives for this product can
be found on the Rosemount website at www.rosemount.com. A hard copy may be obtained
by contacting our local sales office.
European Pressure Equipment Directive (PED) (97/23/EC)
Rosemount 1595 Conditioning Orifice Plate
— Sound Engineering Practice (SEP)
Pressure Transmitter
— See appropriate Pressure Transmitter QIG
Hazardous Locations Certifications
For information regarding the electronics product certification, see the appropriate
transmitter QIG:
Rosemount 3051SF Series Flowmeter Electronics with HART Protocol (document
number 00825-0100-4801)
Rosemount 3095MF Mass Flowmeter Electronics (document number
00825-0100-4716)
July 2014
10
Page 11

July 2014
File ID: DSI C E Marking Page 1 of 3 DSI 1000I-DoC
EC Declaration of Conformity
No: DSI 1000 Rev. I
We,
Emerson Process Management
Heath Place - Bognor Regis
West Sussex PO22 9SH
England
declare under our sole responsibility that the products,
Primary Element Models 405 / 1195 / 1595 & Annubar®
Models 485 / 585
manufactured by,
Rosemount / Dieterich Standard, Inc.
5601 North 71
st
Street
Boulder, CO 80301
USA
to which this declaration relates, is in conformity with the provisions of the European
Community Directives as shown in the attached schedule.
Assumption of conformity is based on the application of the harmonized standards and, when
applicable or required, a European Community notified body certification, as shown in the
attached schedule.
As permitted by 97/23/EC, Annex 7, the authorized signatory for the legally binding declaration of
conformity for Rosemount/Dieterich Standard, Inc. is Vice President of Quality, Timothy J. Layer.
20-Oct-2011
Timothy J. Layer
Vice President, Quality
(signature)
(date of issue)
Quick Start Guide
11
Page 12

Quick Start Guide
File ID: DSI C E Marking Page 2 of 3 DSI 1000I-DoC
Schedule
EC Declaration of Conformity DSI 1000 Rev. I
PED Directive (97/23/EC)
Models: 405 / 485 / 585/ 1195 / 1595
QS Certificate of Assessment – CE-0041-H-RMT-001-10-USA
IV* Flo Tap - 485/3051SFA/3095MFA: Sensor Size 3 600# 60" to 72" Line (Category IV Flo Tap will require a B1
Certificate for design examination and H1 Certificate for special surveillance)
All other models:
Sound Engineering Practice
Summary of Classifications
Model/Range
PED Category
Group 1
Fluid
Group 2
Fluid
585M - 2500# All Lines
N/A
SEP
585S - 1500# & 2500# All Lines
III
SEP
MSL46 - 2500# All Lines
N/A
SEP
MSR: 1500# & 2500# All Lines
III
SEP
1195, 3051SFP, 3095MFP: 150# 1-1/2
I
SEP
1195, 3051SFP, 3095MFP: 300# & 600# 1-1/2
II
I
1195, 3051SFP, 3095MFP: 1-1/2” Threaded & Welded
II
I
DNF - 150# 1-1/4”, 1-1/2” & 2
I
SEP
DNF - 300# 1-1/4”, 1-1/2” & 2
II
I
DNF, DNT, & DNW: 600# 1-1/4”, 1-1/2” & 2”
II
I
Flanged 485/3051SFA/3095MFA: 1500# & 2500# All Lines
II
SEP
FloTap 485/3051SFA/3095MFA: Sensor Size 2 150# 6to 24 Line
I
SEP
FloTap 485/3051SFA/3095MFA: Sensor Size 2 300# 6to 24 Line
II
I
FloTap 485/3051SFA/3095MFA: Sensor Size 2 600# 6to 16 Line
II
I
FloTap 485/3051SFA/3095MFA: Sensor Size 2 600# 18to 24 Line
III
II
FloTap 485/3051SFA/3095MFA: Sensor Size 3 150# 12to 44 Line
II
I
FloTap 485/3051SFA/3095MFA: Sensor Size 3 150# 46to 72 Line
III
II
FloTap 485/3051SFA/3095MFA: Sensor Size 3 300# 12” to 72 Line
III
II
FloTap 485/3051SFA/3095MFA: Sensor Size 3 600# 12to 48 Line
III
II
FloTap 485/3051SFA/3095MFA: Sensor Size 3 600# 60 to 72 Line
IV*
III
July 2014
12
Page 13

File ID: DSI C E Marking Page 3 of 3 DSI 1000I-DoC
Schedule
EC Declaration of Conformity DSI 1000 Rev. I
Pressure Equipment Directive (93/27/EC) Notified Body:
Bureau Veritas UK Limited
[Notified Body Number: 0041]
Parklands, Wilmslow Road, Didsbury
Manchester M20 2RE
United Kingdom
July 2014
Quick Start Guide
13
Page 14

00825-0100-4828,RevDC
Quick Start Guide
00825-0100-4828, Rev DC
July 2014
Emerson Process Management
Rosemou nt Inc.
8200 Market Boulevard
Chanhassen, MN USA 55317
T (US) (800) 999-9307
T (Intnl) (952) 906-8888
F (952) 906-8889
Emerson Process Management
Asia Pacific Priva te Limited
1 Pandan Crescent
Singapore 128461
T (65) 6777 8211
F (65) 6777 0947/65 6777 0743
Emerson Process Management
GmbH & Co. OHG
Argelsrieder Feld 3
82234 Wessling Germany
T 49 (8153) 9390, F49 (8153) 939172
Beijing Rosemount Far East
Instrument Co., Limited
No. 6 North Street, Hepingli,
Dong Cheng Distric t
Beijing 100013, China
T (86) (10) 6428 2233
F (86) (10) 6422 8586
00825-0100-4828, Rev DC, 07/14
Emerson Process Management
Latin America
1300 Concord Terrace, Suite 400
Sunrise Florida 33323 USA
Tel + 1 954 846 5030
www.rosemount.com
© 2014 Rosemount Inc. All rights reserved. All marks property of owner.
The Emerson logo is a trade mark and service mark of Emerson Electric Co
Rosemount and the Rosemount logotype are registered trademarks of Rosemount
Inc.
 Loading...