

Page 1
™
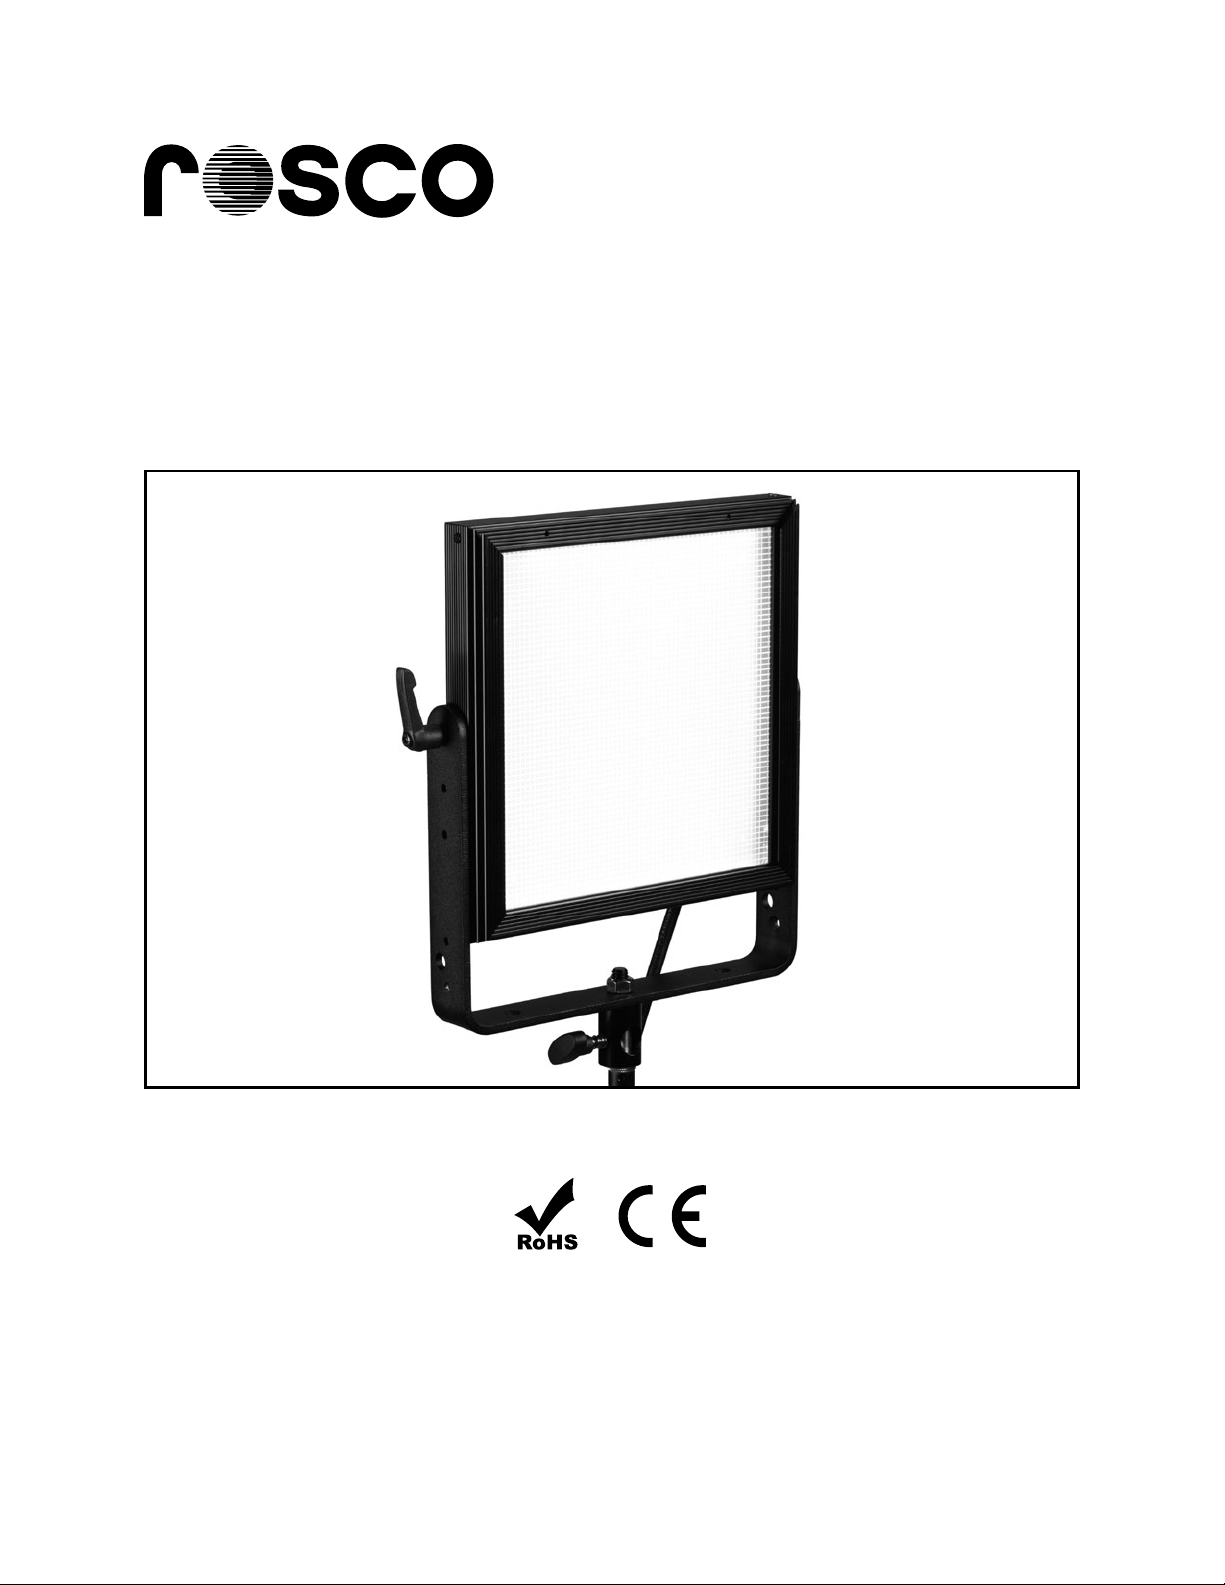
LitePad Vector
User’s Guide
www.rosco.com
(rev.1 April2015)
Copyright © Rosco
Page 2

TABLE OF CONTENTS
Introduction ........................................................................................................................... 3
Important Safeguards ........................................................................................................... 3
Unpacking .............................................................................................................................. 5
Controls ................................................................................................................................. 6
Operation ............................................................................................................................... 6
Powering On .................................................................................................................................................. 6
Manual Control ............................................................................................................................................ 7
DMX Operation ............................................................................................................................................. 8
Troubleshooting .................................................................................................................... 9
Accessories ............................................................................................................................. 9
Specifications ....................................................................................................................... 10
Warranty ............................................................................................................................... 11
Information and specifications in this document are subject to change without notice.
Rosco assumes no responsibility or liability for any errors or inaccuracies that may appear in
this manual.
2
LITEPAD VECTOR USER’S GUIDE
Page 3
INTRODUCTION
Congratulations on your purchase of a Rosco LitePad VectorTM. Designed to meet the broad
demands of illuminating studios and mobile media locations, LitePad Vector offers the perfect
balance of performance, reliability and affordability.
Rosco’s LitePad Vector has been designed for use by lighting professionals in television &
feature film productions, interviews, documentaries and photo shoots. LitePad Vector is an
edge-lit LED light source that generates a large volume of soft light for key, fill and backlighting
needs. The high quality light output, and smooth, flicker-free dimming – coupled with its
lightweight, compact form factor and optional battery operation – make LitePad Vector the
ultimate portable light source. Operational control using DMX 512 protocol makes LitePad
Vector a versatile light source for studio environments.
LitePad Vector is available in CCT (Variable White) and fixed Daylight models.
To ensure efficient and safe operation, please take a few moments to read this manual
completely.
IMPORTANT SAFEGUARDS
The symbols below are used throughout this manual to identify important safety information.
Heed all warnings and safety information.
Warning, Danger or
Caution.
Risk of personal injury.
Risk of Electric Shock.
Risk of severe electric shock.
www.rosco.com
3
Page 4

Preventing Electric Shock
• This machine uses mains electrical power at 100-240VAC. When directly
contacted, such voltages are hazardous to human life. Follow all local electrical
codes and take precautions when using this product.
• This product is designed to operate from three-wire power systems, where
one of the wires is a safety ground. DO NOT disconnect the safety ground, or
use extension cords or adapter plugs to connect this machine to a two-wire
system. Operation without a safety ground may result in hazardous electrical
shock.
• Use only extension cords that are of appropriate length and are rated for
LitePad Vector’s specified voltage and current. If an extension cord shows
signs of wear or gets warm to the touch, discontinue its use and obtain a cord
with a higher current rating. Improper extension cords are hazardous and may
result in poor performance due to excessive voltage drop.
• Disconnect unit from power source before servicing and when not in use.
Maintaining Safe Operation
• Use only ROSCO spare parts and accessories so as to not void the system
warranty.
• Allow the unit to cool before attempting to service. LitePad Vector must only
be serviced by a qualified technician.
• LitePad Vector is not intended for residential use. Use only in a professional
studio or mobile broadcast environment.
• LitePad Vector reaches a maximum surface temperature of 149°F (65ºC). Keep
minimum 4 inches (10cm) distance away from flammable materials/objects.
• LitePad Vector is IP61 rated – for indoor use and/or a dry environment. Do not
operate outdoors in a wet environment.
• LitePad Vector is not certified for use in hazardous locations.
• LitePad Vector is designed for operation within the range of 32° to 95°F (0° to
+35°C).
• Ensure LitePad Vector is stored within the range of -4° to 140°F (-20° to +60°C).
• Do not look directly into LitePad Vector for long periods of time, as prolonged
exposure may be harmful to the eyes.
4
LITEPAD VECTOR USER’S GUIDE
Page 5

UNPACKING
Carefully remove the unit from the box.
Do not attempt to operate LitePad Vector if there are any signs of physical damage. In case of
damage, contact your local Rosco dealer.
Ensure the Light Stand Receiver is securely mounted onto the yoke before rigging.
Your Rosco LitePad Vector will arrive with a power supply attached to the back of the unit, and
the power cord detached from the unit. Plug the IEC connector into the power supply.
Always use suitable length/size safety cables when hanging LitePad Vector, keeping in mind
the weight of the unit = 4.5 lb (2 kg)
Ensure that the yoke locking handle is correctly tightened after positioning LitePad Vector. If
the locking handle is not tightened correctly, the fixture may swing.
Rear Control
Panel
Yoke Locking
Handle
Power Supply
5/8” (16mm)
Light Stand
Receiver
www.rosco.com
5
Page 6

CONTROLS
LitePad Vector can be controlled via the on-board, Rear Control Panel located on the back of the
fixture, or via user-supplied DMX512 data input.
Rear Control Panel
DMX Address Boost Indicator DMX Presence
Indicator
Output
(Dimming)
Dimming
Control
DMX In/Out
(RJ45)
Color Temp (K)
Color Temp Control
(CCT Only)
& DMX Addressing
OPERATION
Powering On
1. LitePad Vector is supplied with a standard 12-24VDC switching power supply, which is
mounted in a cradle on the rear of the unit. A 2.1mm barrel connector brings DC power
from the power supply to the LitePad Vector.
a) LitePad Vector can be powered by V-Mount batteries. Remove the power supply
and cradle, and then replace it with an optional V-Mount Cheeseplate Battery Holder,
which includes a D-tap to 2.1mm barrel adapter.
b) LitePad Vector can be powered by Anton/Bauer batteries. An optional Anton/
Bauer Cheeseplate Battery Holder can be mounted onto either side of the yoke using
the mounting holes provided. The Anton/Bauer Cheeseplate Battery Holder includes a
D-tap to 2.1mm barrel adapter.
6
LITEPAD VECTOR USER’S GUIDE
Page 7

2. Make sure the 2.1mm barrel connector from the power supply is plugged into the
LitePad Vector, and then plug the power supply into mains power: 100 – 240 VAC.
a) The rear display will illuminate.
b) Settings will default to those in use when the unit was last powered down.
3. If desired connect the LitePad Vector to a DMX console using the RJ45 ports on the rear
control panel.
a) The presence of a DMX input signal is automatically detected.
b) “DMX On” will show in the upper right corner of the display.
Manual Control
1. Select Output/Dimming level by rotating the left-hand knob until the desired set point
has been achieved.
a) The current set point will be shown in the lower left-hand portion of the LED display.
b) The Output/Dimming level can also be adjusted by depressing the left-hand knob.
Each push of the knob lowers the output by 10% (100% - 90% - 80% - etc.).
c) Pressing both the left-hand and right-hand knobs simultaneously for 1 second places
the fixture into “Boost” mode, increasing the output by 20%.
i) “Bst on” will flash in the bottom center of the LED display.
i) Depressing both knobs simultaneously for 1 second confirms “Boost” mode;
“Bst On” stops flashing.
ii) Rotating the left-hand knob will disable “Boost” mode and allow normal
Output/Dimming adjustment.
2. Select Color Temp (CCT version only) by rotating the right-hand knob until the desired
set point has been achieved.
a) LitePad CCT can be set to color temperatures ranging from 3000K to 6000K.
b) The current set point will be shown in the lower right portion of the LED display.
c) Seven pre-set color temperatures are stored in the CCT control logic. Push the right-
hand knob to index to the desired pre-set color temperature:
3000K / 3200K / 3600K / 4300K / 5000K / 5600K / 6000K
NOTE: The rear LED display will automatically dim after several seconds if no inputs have
been entered. The display will resume full illumination the next time any of the controls are
operated.
www.rosco.com
7
Page 8

DMX Operation
LitePad Vector can be operated via DMX512 protocol using the RJ45 DMX In and DMX Out
connectors on the Rear Control Panel.
DMX Control uses two channels:
• DMX Channel 1 = Output (Dimming) Intensity
(DMX value 0-255 = level 0-100%)
• DMX Channel 2 = CCT Color Temperature
(DMX value 0 = 3000K, 255 = 6000K)
1. When a valid DMX signal is detected, “DMX On” will appear in the upper right portion of
the LED display.
2. Press the left-hand and right-hand knobs simultaneously for 2 seconds until the word
“Adr” flashes in the upper left corner of the display.
a) Rotate the right-hand knob to the desired DMX address (001 to 511). The current DMX
address is shown in the upper left portion of the LED display.
b) Press both knobs simultaneously for 1 second to confirm DMX address setting. “Adr”
will stop flashing once this action has been completed.
NOTE: LitePad Vector will maintain its current Color Temperature and Output/Dimming
settings in the event of an interruption to the DMX signal.
8
LITEPAD VECTOR USER’S GUIDE
Page 9

TROUBLESHOOTING
SYMPTOM
Unit does not respond
to DMX control, but
Display indicates “DMX
O n ”.
Unit does not respond
to DMX, display
indicates “DMX Off”.
POSSIBLE CAUSE
Unit set to incorrect DMX
address.
No DMX signal is being
received.
Bad Cable
No DMX plugged in.
Power off at the console.
Check DMX address.
Check cable and DMX run from
the console.
SOLUTION
ACCESSORIES
V-Mount Cheeseplate Battery Holder Part # 291103050102
Anton/Bauer Cheeseplate Battery Holder Part # 291103050101
LitePad Vector Honeycomb Eggcrate Part # 292008080200
LitePad Vector Rain Cover Part # 292000808300
OPTI-FLECS LED Enhancement Filter Kit Part # 292000808200
(Filters are sized to 8”x8” (20cm x 20cm) for the LitePad Vector
LitePad Carabiner Bottle Holder Part # 292000808500
www.rosco.com
9
Page 10

SPECIFICATIONS
Power
Input Voltage: 12VDC
AC Power Transformer
Power Supply: Universal 100-240VAC input/12VDC-24VDC output
Power Consumption: 65W
DC Operation via standard Anton/Bauer or V-Mount batteries
(owner supplied)
Physical Characteristics
Dimensions: 8.25” x 8.25” x 2.82” (210 mm x 210 mm x 72 mm)
(excluding Yoke)
Dimensions: 9.7” x 12.5” x 2.82” (246 mm x 318 mm x 72 mm)
(including Yoke
& Receiver)
Weight: 4.5 lb (2 kg)
(including Power
Supply, Yoke & Receiver)
Optical Characteristics
Color Temperature Range -
LitePad Vector CCT: 3000K – 6000K
LitePad Vector Daylight: 6000K
Data: DMX 512 - RJ45 In/Out
Approvals: TUV/UL1573 and 8750
CE
RoHS
IP61 Rated
Environmental:
Disposal of Old Electrical & Electronic Equipment
This symbol on the product or on its packaging indicates that
this product shall not be treated as household waste.
10
LITEPAD VECTOR USER’S GUIDE
Page 11

1 YEAR LIMITED WARRANTY
Rosco Laboratories warrants to the first retail purchaser that this Product will be free from
defects in workmanship and material for a period of twelve (12) months from the date of
original purchase. For warranty service you must be able to provide proof of purchase. Should
this Product prove defective during the warranty period, please contact your local Rosco office
for Return Authorization. No warranty service will be performed without Return Authorization.
At Rosco’s sole discretion, covered Products will be repaired or replaced with new or refurbished
equipment or a model of like kind and quality. Exchanged or replaced parts and Products
assume the remaining warranty period of the original product covered by this limited warranty.
You are responsible for securely packaging the defective Product and returning it to Rosco
as per the instructions of the Return Authorization. Within North America, Rosco will ship the
repaired or replaced Product to you freight prepaid. Shipments to other locations will be made
freight collect.
This warranty is non-transferable and does not extend beyond the first retail purchase of the
Product.
This warranty does not cover damage to the Rosco Product caused by parts not manufactured,
distributed or certified by Rosco.
Rosco is not obligated to provide warranty service should the Product fail to be properly
maintained or fail to function properly as a result of misuse, abuse, improper installation, neglect,
improper shipping, damage caused by disasters such as flood, fire and lightning, improper
electrical current or unauthorized service repairs other than those by a Rosco Authorized
Servicer.
If a claimed defect cannot be identified or reproduced, you will be held responsible for the
costs incurred. Unless otherwise stipulated by state law, all warranties expressed or implied are
limited to the twelve (12) month period of this warranty.
THE WARRANTY AND REMEDY PROVIDED ABOVE ARE EXCLUSIVE AND IN LIEU OF ALL
OTHER EXPRESS OR IMPLIED WARRANT IES INCLUDING BUT NOT LIMITED TO THE
IMPLIED WARRANTIES OF MERCHANTABILITY, NON-INFRINGEMENT OR FITNESS FOR A
PARTICULAR PURPOSE. EXCEPT AS PROVIDED IN THIS WRITTEN WARRANTY AND UNLESS
EXCLUSIONS ARE SPECIFICALLY FORBIDDEN BY STATE LAW, NEITHER ROSCO NOR ITS
AFFILIATES WILL BE LIABLE FOR ANY LOSS, INCONVENIENCE, OR DAMAGE, INCLUDING
DIRECT, SPECIAL, INCIDENTAL OR CONSEQUENTIAL DAMAGES, INCLUDING INJURY TO
PERSONS OR PROPERTY, RESULTING FROM THE USE OR INABILITY TO USE THE ROSCO
PRODUCT, WHETHER RESULTING FROM BREACH OF WARRANTY OR ANY OTHER LEGAL
THEORY.
www.rosco.com
11
Page 12

www.rosco.com
 Loading...