

Roper REL4622BL1, REL4632BL1, REL4622BW0, REL4632BQ1, REL4632BW0 Use And Care Manual
...
Home Appliances
UseAndCare
A Note To You 2
Understanding
Safely
3
Knowin Your
Dryer’s eatures 5
F
Operating Your Dryer 6
piirg For Your
12
Laundry Tips
16
If Yy Need
E2tE
22
Warranty 24
MOO-b&ROPER
Call us with questions or comments.
ELECTRIC AND GAS DRYERS
PART NO. 3396309
A Note To You
Thank you for buying a Roper@ appliance.
You have purchased a quality, worldclass home appliance. Years of engineering experience have
gone into its manufacturing. Use this Use and Care Guide to safely and efficiently operate and
maintain your appliance. Complete and mail the Ownership Registration Card provided with your
appliance. This will help us notify you about any new information on your appliance.
Your safety is important to us.
This guide contains safety symbols and statements. Please pay special attention to these symbols
and follow any instructions given. Here is a brief explanation of the use of each symbol.
This symbol will help alert you to such
(scratches, dents, etc.) and damage to
Our toll-free number, l-800-44-ROPER (l-800-447-6737),
is available 24 hours a day.
If you have a question concerning your appliance’s operation, or if you need service, first see
‘If You Need Assistance Or Service” on page 22. If you need further help, call us. When calling,
you will need to know your appliance’s complete model number and serial number. You can find
this information on the model and serial number label (see diagram on page 5). For your convenience, we have included a handy place below for you to record these numbers, the purchase
date from the sales slip and your dealer’s name and telephone number. Keep this book and the
sales slip together in a safe place for future reference.
Model Number
Serial Number
Purchase Date
Dealer Name
Dealer Phone
2

Understanding Safety
For your safety the information in this manual must
be followed to minimize the risk of fire or explosion
or to prevent property damage, personal injury or
loss of life.
-Do not store or use gasoline or other flammable vapors and liquids
in the vicinity of this or any other appliance.
-WHAT TO DO IF YOU SMELL GAS:
l
Do not try to light any appliance.
l
Do not touch any electrical switch; do not use any phone in your
building.
l
Clear the room, building or area of all occupants.
l
Immediately call your gas supplier from a neighbor’s phone.
Follow the gas supplier’s instructions.
l
If you cannot reach your gas supplier, call the fire department.
Installation and service must be performed by a qualified installer,
service agency or the gas supplier.
IMPORTANT SAFEW INSTRUCTIONS
l Read all instructions before using your dryer.
l Do not machine wash or machine dry items
cleaned, washed, soaked in, or spotted with
wax, paint, gasoline, oil, dry cleaning
solvents, and other flammable fluids. The
fumes can create a fire hazard or explosion.
Always hand wash and line dry items
containing these materials.
l Do not allow children to operate, play with or
crawl inside your dryer. Supervise children
when your dryer is used near children.
l Do not reach into a dryer if the drum
is moving.
l When removing from service or discarding
a dryer, always remove the door to prevent
accidental entrapment.
l Do not dry rubber, rubber-like, and heat-
sensitive materials with heat.
l Install an&or store dryer where it will not
be exposed to the weather.
l Do not tamper with the controls.
l You are responsible for making sure that
your dryer is installed, repaired and has
parts replaced by a qualified person.
l Use only fabric softeners specifically
labeled as not being harmful to the dryer.
l Do not allow lint to build up inside the dryer
or exhaust system. Cleaning should be
done periodically by a qualified person.
l Clean lint screen before or after each load.
l Do not let dust, lint, paper, rags, chemicals,
etc. pile up around or under the dryer.
l Dryer must be electrically grounded. See
the Installation Instructions.
Understanding your responsibilities
l Never operate the dryer if:
-it is not working right (i.e. noisy, too hot).
-it is damaged.
-parts are missing.
-all panels are not in place.
-the lint screen is loose, damaged or
missing.
l Unplug the power supply cord or turn off
electrical power before attempting to
service your dryer. Shut off gas valve if
you have a gas dryer.
l Do not wash or dry items that are soiled
with vegetable or cooking oil. These items
may contain some oil after laundering.
Due to the remaining oil, the fabric may
smoke or catch fire by itself.
l Store flammable solvents or fluids away
from your dryer.
l Dry cleaning solvents or fluids should
never be put directly into your dryer.
l Be sure that your dryer:
-is properly installed and leveled on a
floor that can support the weight in a
well-ventilated room.*
-is connected to the proper outlet and
electrical supply.’
-is properly connected to fuel and
exhaust systems (gas dryers must be
vented outdoors).*
-is not installed against draperies or
curtains, or on carpet.’
-is located in an area where the temperature is above 45°F (7°C).
-is properly maintained.
-is used only for jobs normally expected
of home clothes dryers.
-is not used by anyone unable to operate
it properly.
*See the Installation Instructions for com-
plete information.
- SAVE THESE INSTRUCTIONS -
4

Knowing Your Dryer’s
Features
The parts and features of your dryer are illustrated below. Become familiar with all parts and
features before using your dryer.
NOTE:
The drawings in this book may vary from your dryer model. They are designed to show the
different features of all models covered by this book. Your model may not include all features.
Temperature selector*
Cycle control knob
temperature settings’)
Side-swing door*
Model and serial
number label
tint signal’
End of cycle signal selector*
Other doors:
Full-width hamper door*
Mini-hamper door’
*Available on some models
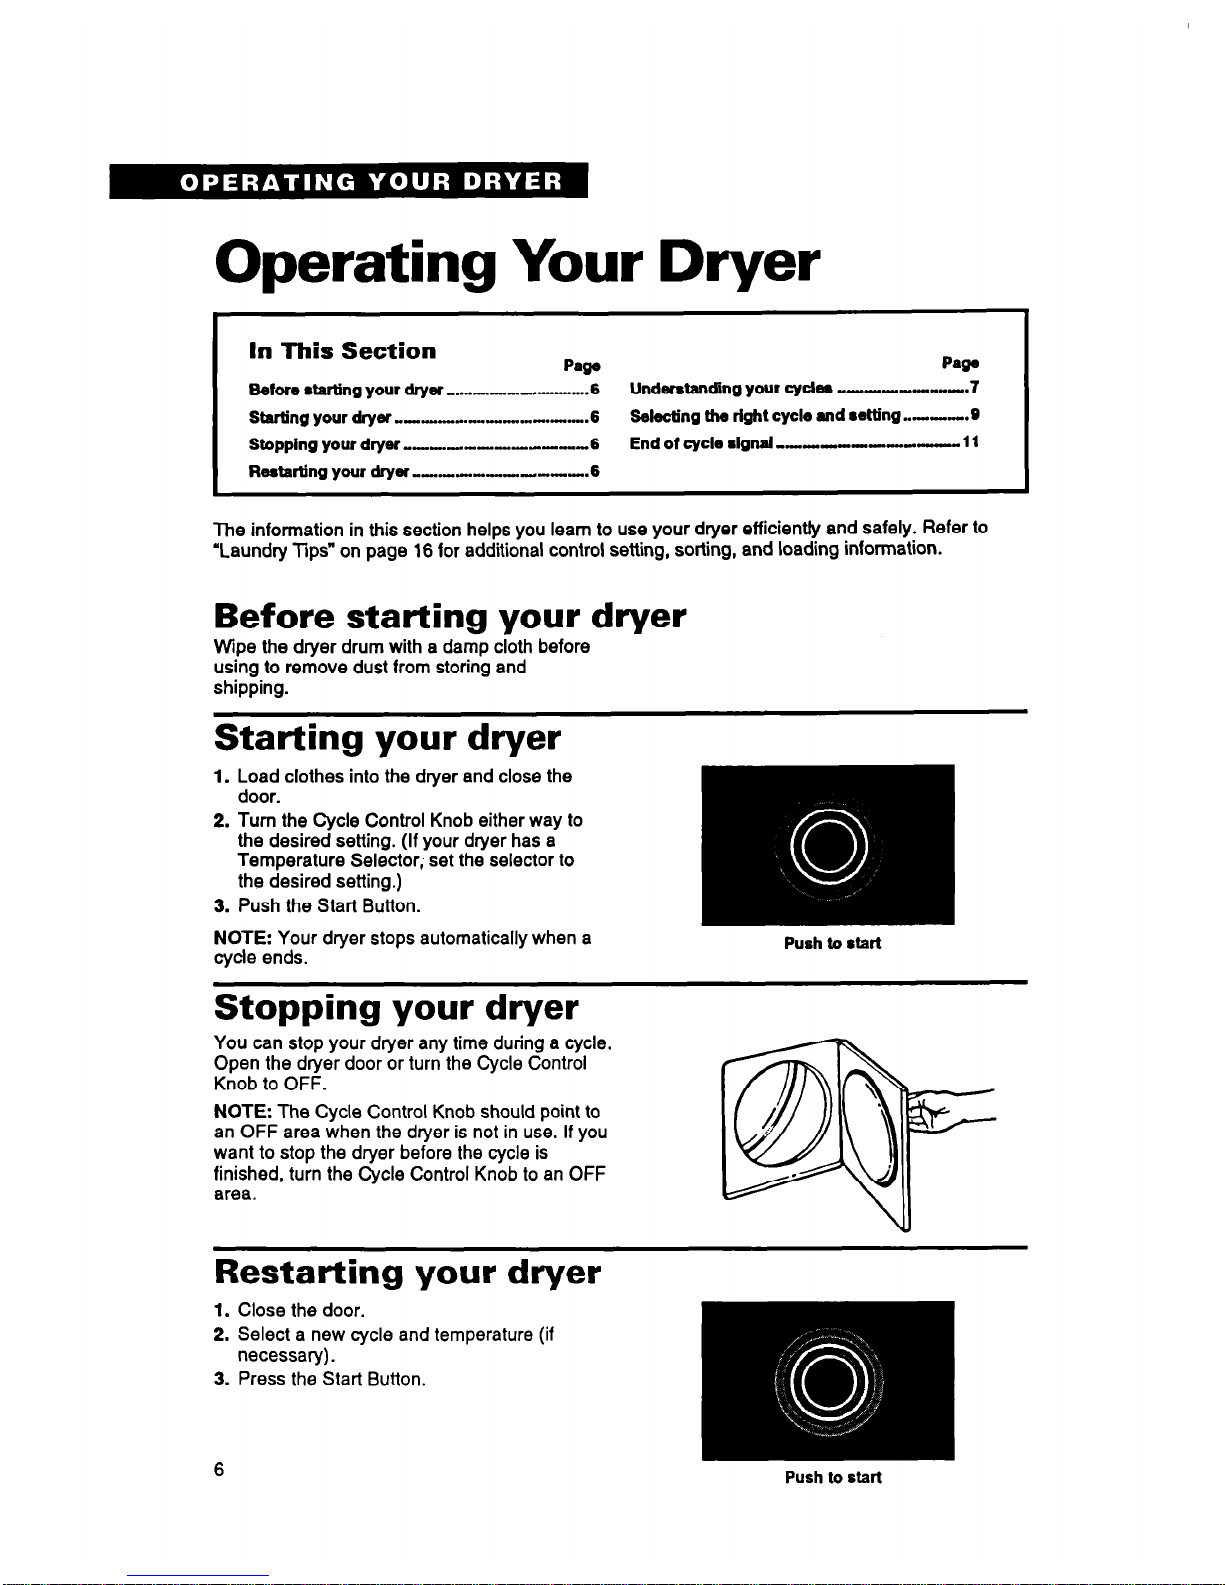
Operating Your Dryer
I
In This Section
Paw
Bet~aB~ngyourdry#,,,-.-.-- ---. 6
Undentanding your cyder -..--.........M-.7
Startingyourdrysr,- . . . . . . ..--......-.... --.6
Meeting the right cycle and l etting ,.-.--.g
Stopping your dryer ,-,,,---,--...6
End of cycle signal --..------_y 11
Restarting your drycw -.._-_l.-...l --.6
The information in this section helps you learn to use your dryer efficiently and safely. Refer to
“Laundry TIPS” on page 16 for additional control setting, sorting, and loading information.
Before starting your dryer
Wipe the dryer drum with a damp cloth before
using to remove dust from storing and
shipping.
Starting your dryer
1. Load clothes into the dryer and close the
door.
2. Turn the Cycle Control Knob either way to
the desired setting. (If your dryer has a
Temperature Selector, set the selector to
the desired setting.)
3. Push the Start Button.
NOTE:
Your dryer stops automatically when a
cyde ends.
Stopping your dryer
You can stop your dryer any time during a cycle.
Open the dryer door or turn the Cycle Control
Knob to OFF.
NOTE:
The Cycle Control Knob should point to
an OFF area when the dryer is not in use. If you
want to stop the dryer before the cycle is
finished, turn the Cycle Control Knob to an OFF
area.
Restarting your dryer
1.
Close the door.
2. Select a new cycle and temperature (if
necessary).
3. Press the Start Button.
6
Push to start
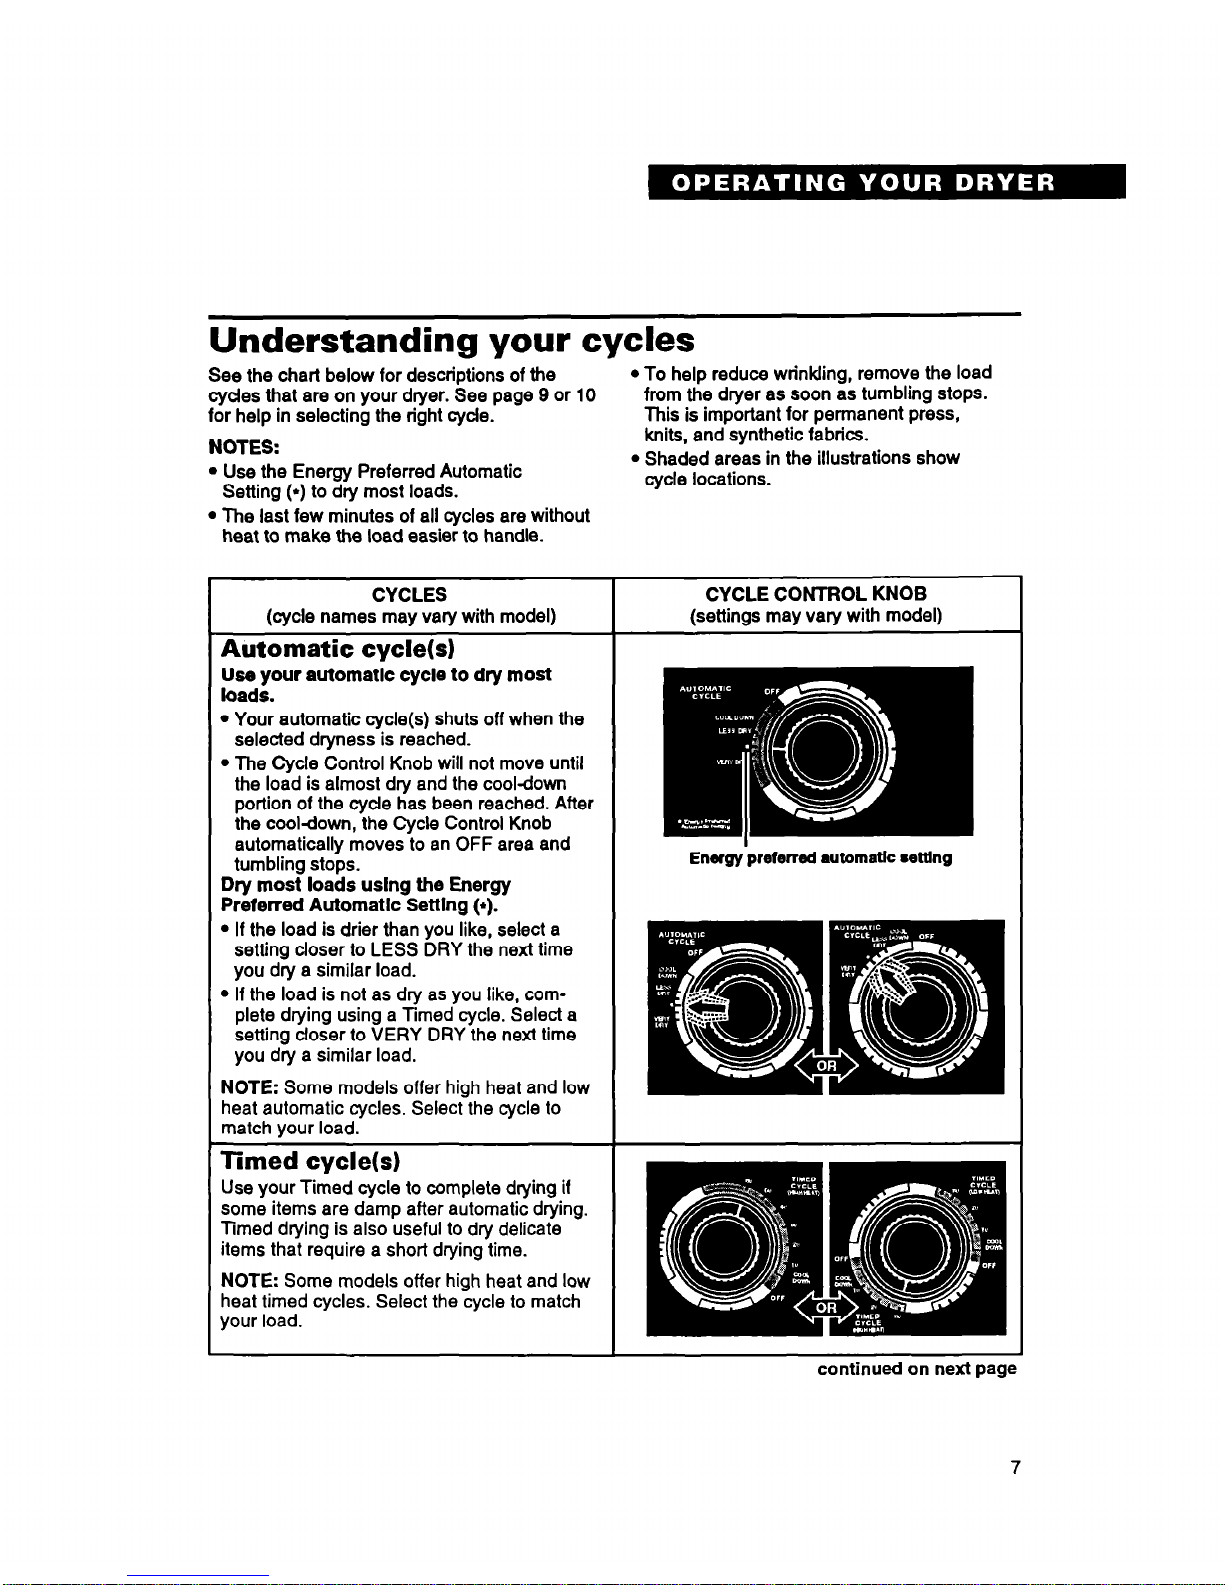
Understanding your cycles
See the chart below for descriptions of the
cycles that are on your dryer. See page 9 or 10
for help in selecting the right cycle.
NOTES:
l
Use the Energy Preferred Automatic
Setting (*) to dry most loads.
l
The last few minutes of all cycles are without
heat to make the load easier to handle.
l
To help reduce wrinkling, remove the load
from the dryer as soon as tumbling stops.
This is important for permanent press,
knits, and synthetic fabrics.
l
Shaded areas in the illustrations show
cycle locations.
Use your automatic cycle to dry most
loads.
l
Your automatic cycle(s) shuts off when the
selected dryness is reached.
l
The Cycle Control Knob will not move until
the load is almost dry and the cool-down
portion of the cycle has been reached. After
the cooldown, the Cycle Control Knob
automatically moves to an OFF area and
tumbling stops.
Dry most loads using the Energy
Preferred Automatic Settlng b).
l
If the load is drier than you like, select a
setting closer to LESS DRY the next time
you dry a similar load.
l
If the load is not as dry as you like, com-
plete drying using a Timed cycle. Select a
setting closer to VERY DRY the next time
you dry a similar load.
NOTE:
Some models offer high heat and low
heat automatic cycles. Select the cycle to
match your load.
Use your Timed cycle to complete drying if
some items are damp after automatic drying.
Timed drying is also useful to dry delicate
items that require a short drying time.
NOTE: Some models offer high heat and low
heat timed cycles. Select the cycle to match
your load.
continued on next page
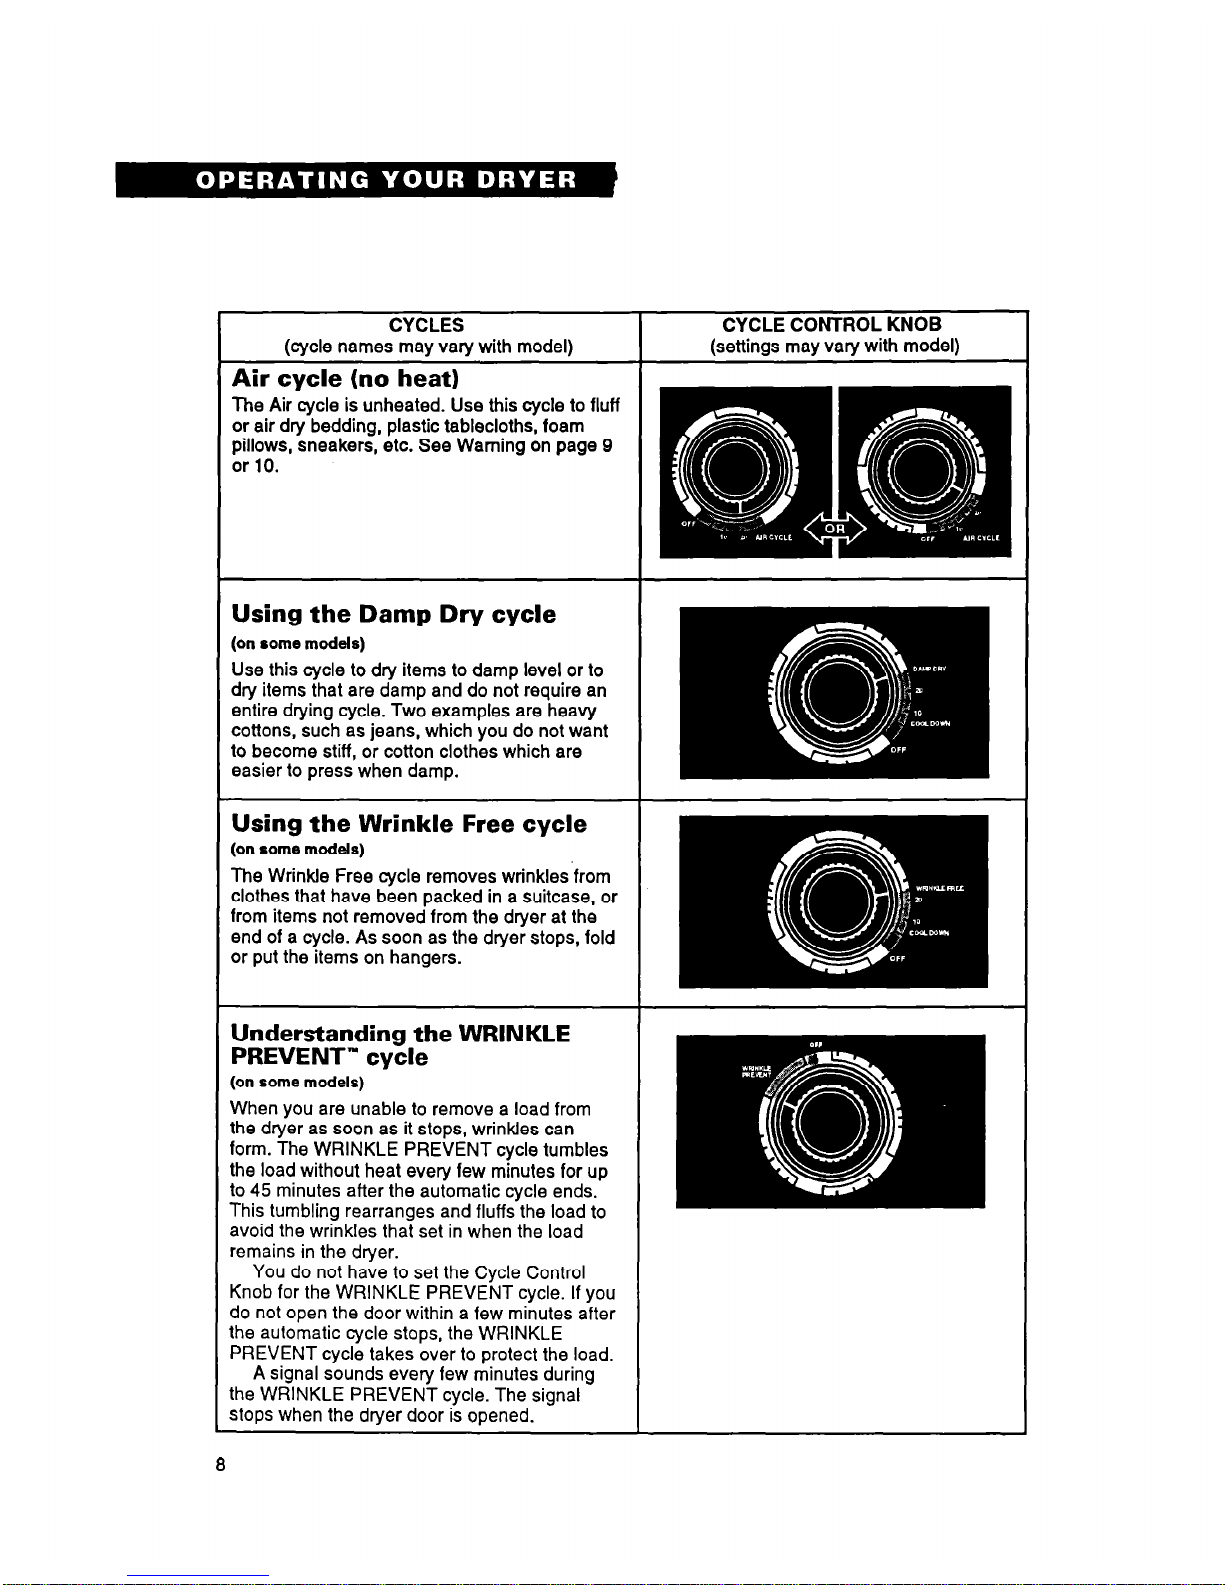
The Air cycle is unheated. Use this cycle to fluff
or air dry bedding, plastic tablecloths, foam
pillows, sneakers, etc. See Warning on page 9
or 10.
(on some models)
Use this cycle to dry items to damp level or to
dry items that are damp and do not require an
entire drying cycle. Two examples are heavy
cottons, such as jeans, which you do not want
to become stiff, or cotton clothes which are
easier to press when damp.
(on some models)
The Wrinkle Free cycle removes wrinkles from
clothes that have been packed in a suitcase, or
from items not removed from the dryer at the
end of a cycle. As soon as the dryer stops, fold
or put the items on hangers.
(on some models)
When you are unable to remove a load from
the dryer as soon as it stops, wrinkles can
form. The WRINKLE PREVENT cycle tumbles
the load without heat every few minutes for up
to 45 minutes after the automatic cycle ends.
This tumbling rearranges and fluffs the load to
avoid the wrinkles that set in when the load
remains in the dryer.
You do not have to set the Cycle Control
Knob for the WRINKLE PREVENT cycle. If you
do not open the door within a few minutes after
Ihe automatic cycle stops, the WRINKLE
PREVENT cycle takes over to protect the load.
A signal sounds every few minutes during
the WRINKLE PREVENT cycle. The signal
8
 Loading...