

Roper RAL5144BG0 Use And Care Manual

Home Appliances
UseAndCare
A Note To You
Understanding
Washer Safety
Knowing Your
Washer’s Features
Operating Your
Washer
Other Features
Laundry Tips
tf You Need
27Ez
I
Warranty
2
3
4
5
10
12
22
24
l-800-&ROPER
Call us with questions or comments
ONE SPEED AUTOMATIC WASHERS
ANoteToYou
Thank you for buying a Roper appliance.
You have purchased a quality, world-class home appliance. Years of engineering experience have
gone into its manufacturing. To ensure that you will enjoy many years of trouble-free operation, we
have developed this Use and Care Guide. It is full of valuable information on how to operate and
maintain your appliance properly and safely. Please read it carefully. Also, please complete and
mail the Ownership Registration Card provided with your appliance.
Your safety is important to us.
This guide contains safety symbols and statements. Please pay special attention to these symbols
and follow any instructions given. Here is a brief explanation of the use of each symbol.
This symbol will help alert you to such
dangers as personal injury, burns, fire and
electrical shock.
This symbol will help you avoid actions which
could cause product damage (scratches,
dents, etc.) and damage to your personal
property.
Our toll-free number, I-SOO-44-ROPER (l-800-447-6737), is
available 24 hours a day.
If you have a question concerning your appliance’s operation, or if you need service, first see “If
You Need Assistance Or Service” on page 22. If you need further help, call us. When calling, you
will need to know your appliance’s complete model number and serial number. You can find this
information on the model and serial number plate (see diagram on page 4). For your convenience,
we have included a handy place below for you to record these numbers, the purchase date from
the sales slip and your dealer’s name and telephone number. Keep this book and the sales slip
together in a safe place for future reference.
Model Number __~
Serial Number _._
Purchase Date _
Dealer Name
Dealer Phone
2
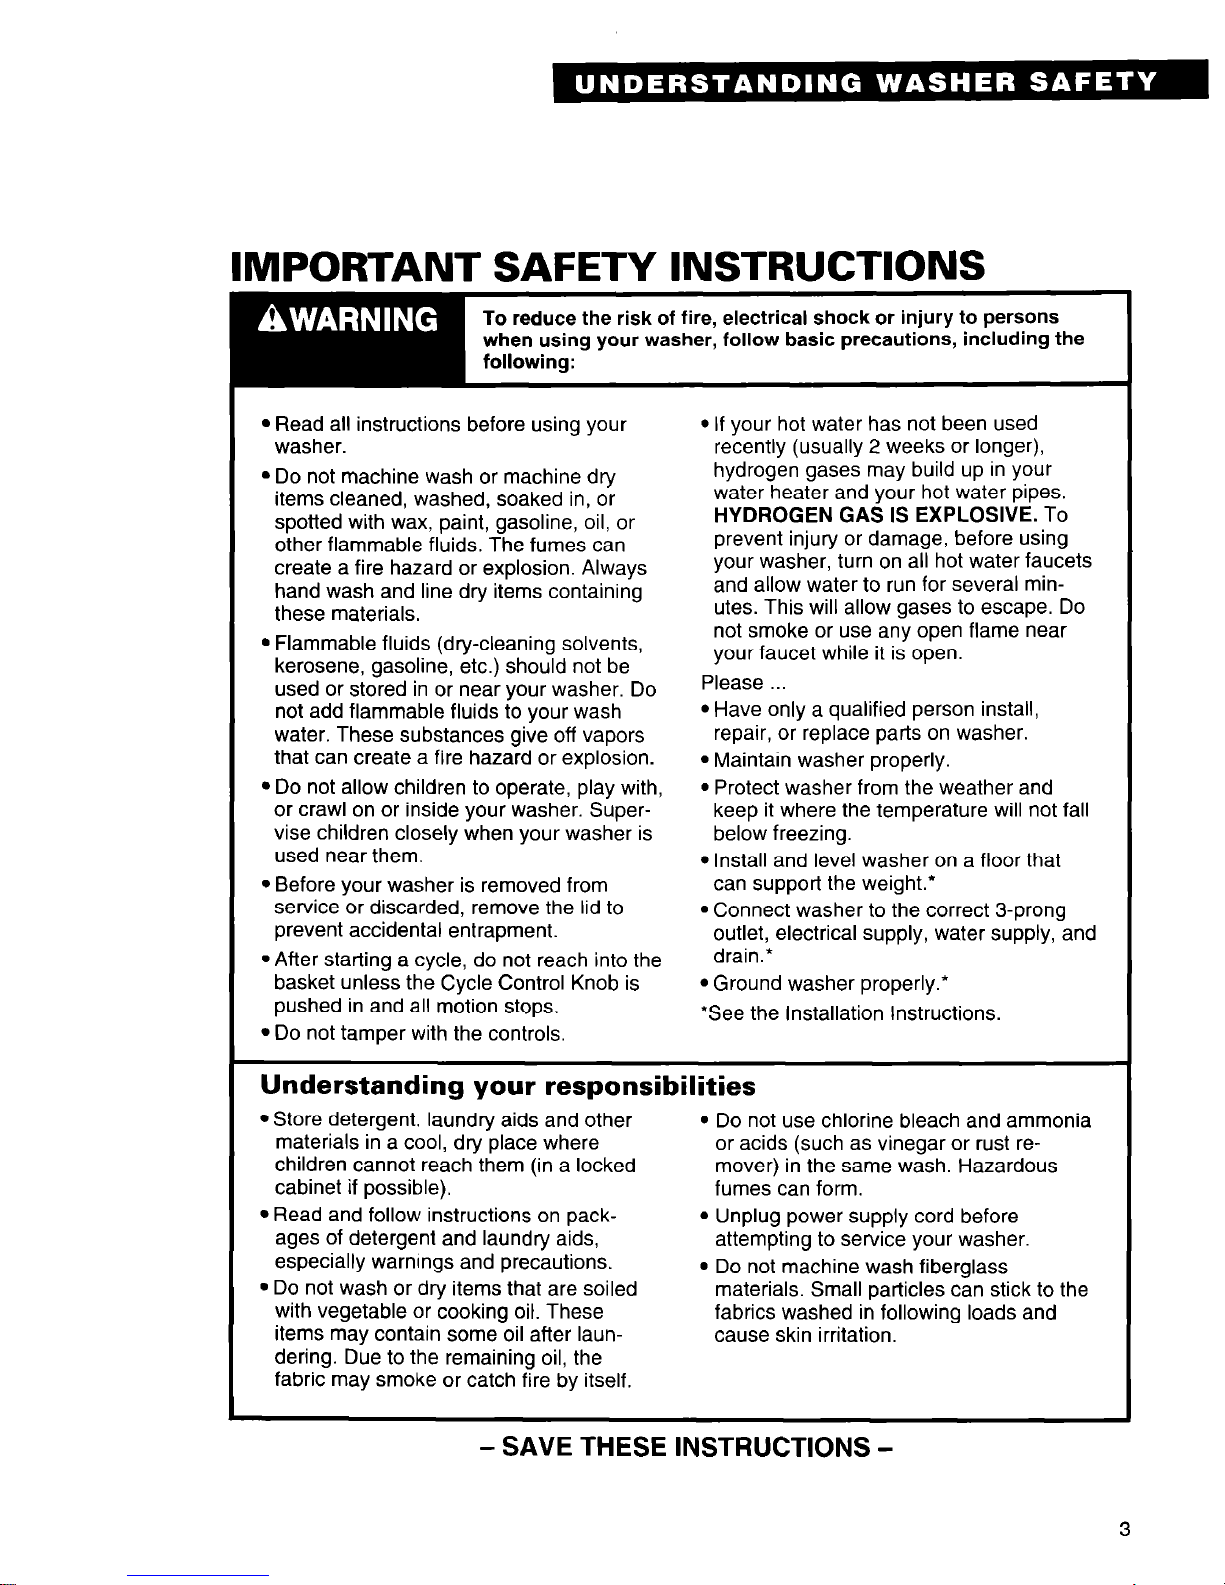
IMPORTANT SAFETY INSTRUCTIONS
To reduce the risk of fire, electrical shock or injury to persons
when
using your washer, follow
basic precautions, including the
l Read all instructions before using your
l If your hot water has not been used
washer.
recently (usually 2 weeks or longer),
l Do not machine wash or machine dry
hydrogen gases may build up in your
items cleaned, washed, soaked in, or
water heater and your hot water pipes.
spotted with wax, paint, gasoline, oil, or
HYDROGEN GAS IS EXPLOSIVE.
To
other flammable fluids. The fumes can
prevent injury or damage, before using
create a fire hazard or explosion. Always
your washer, turn on all hot water faucets
hand wash and line dry items containing
and allow water to run for several min-
these materials.
utes. This will allow gases to escape. Do
l Flammable fluids (dry-cleaning solvents,
not smoke or use any open flame near
kerosene, gasoline, etc.) should not be
your faucet while it is open.
used or stored in or near your washer. Do
Please
not add flammable fluids to your wash
l Have only a qualified person install,
water. These substances give off vapors
repair, or replace parts on washer.
that can create a fire hazard or explosion.
l Maintain washer properly.
l Do not allow children to operate, play with,
l Protect washer from the weather and
or crawl on or inside your washer. Super-
keep it where the temperature will not fall
vise children closely when your washer is
below freezing.
used near them.
l Install and level washer on a floor that
l Before your washer is removed from
can support the weight.*
service or discarded, remove the lid to
l Connect washer to the correct 3-prong
prevent accidental entrapment.
outlet, electrical supply, water supply, and
9 After starting a cycle, do not reach into the
drain.’
basket unless the Cycle Control Knob is
l Ground washer properly.*
pushed in and all motion stops.
‘See the Installation Instructions.
l Do not tamper with the controls.
Understanding your responsibilities
l Store detergent. laundry aids and other
materials in a cool, dry place where
children cannot reach them (in a locked
cabinet if possible).
l Read and follow instructions on pack-
ages of detergent and laundry aids,
especially warnings and precautions.
9 Do not wash or dry items that are soiled
with vegetable or cooking oil. These
items may contain some oil after laundering. Due to the remaining oil, the
fabric may smoke or catch fire by itself.
l Do not use chlorine bleach and ammonia
or acids (such as vinegar or rust remover) in the same wash. Hazardous
fumes can form.
. Unplug power supply cord before
attempting to service your washer.
l Do not machine wash fiberglass
materials. Small particles can stick to the
fabrics washed in following loads and
cause skin irritation.
- SAVE THESE INSTRUCTIONS -
3
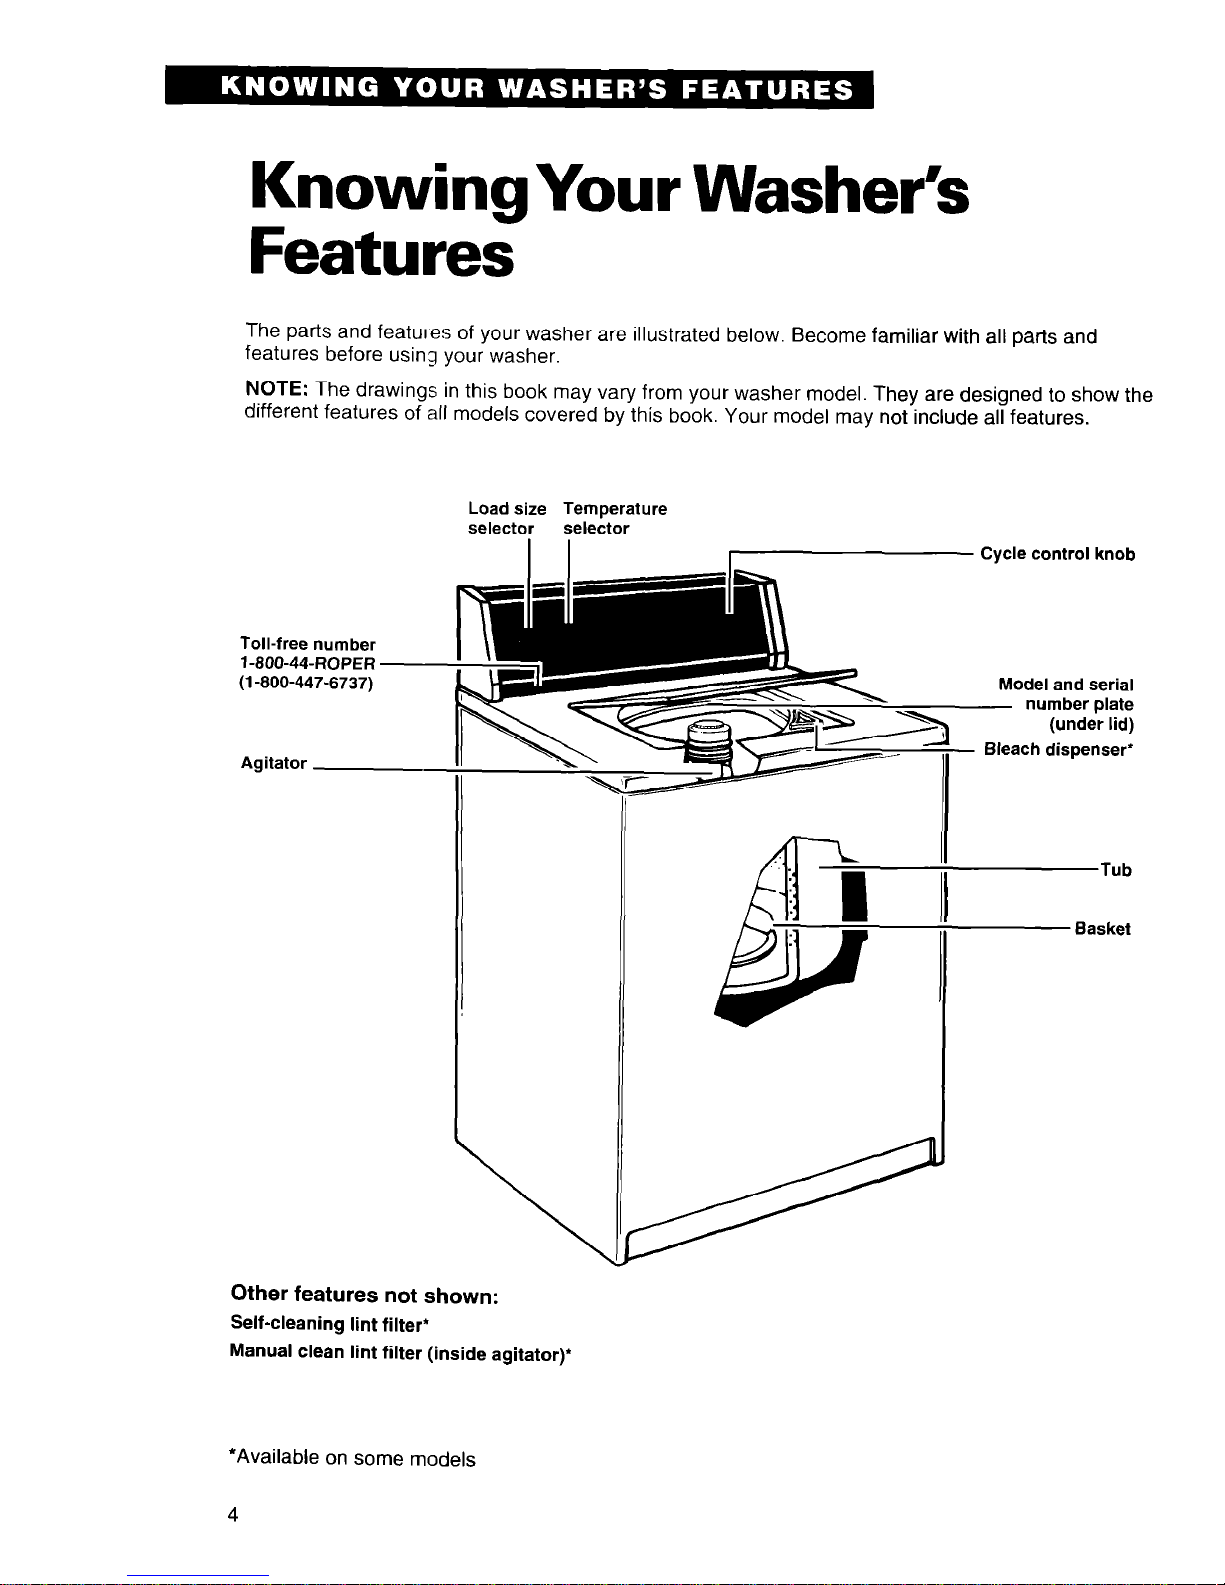
KnowingYour Washer’s
Features
The parts and features of your washer are illustrated below. Become familiar with all parts and
features before using your washer.
NOTE: The drawings in this book may vary from your washer model. They are designed to show the
different features of all models covered by this book. Your model may not include all features.
Load size Temperature
selector selector
I I
I
Cycle control knob
Other features not shown:
Self-cleaning lint filter’
Manual clean lint filter (inside agitator)*
.. .
I
46
(under lid)
- Bleach dispenser*
Tub
Basket
*Available on some models
4
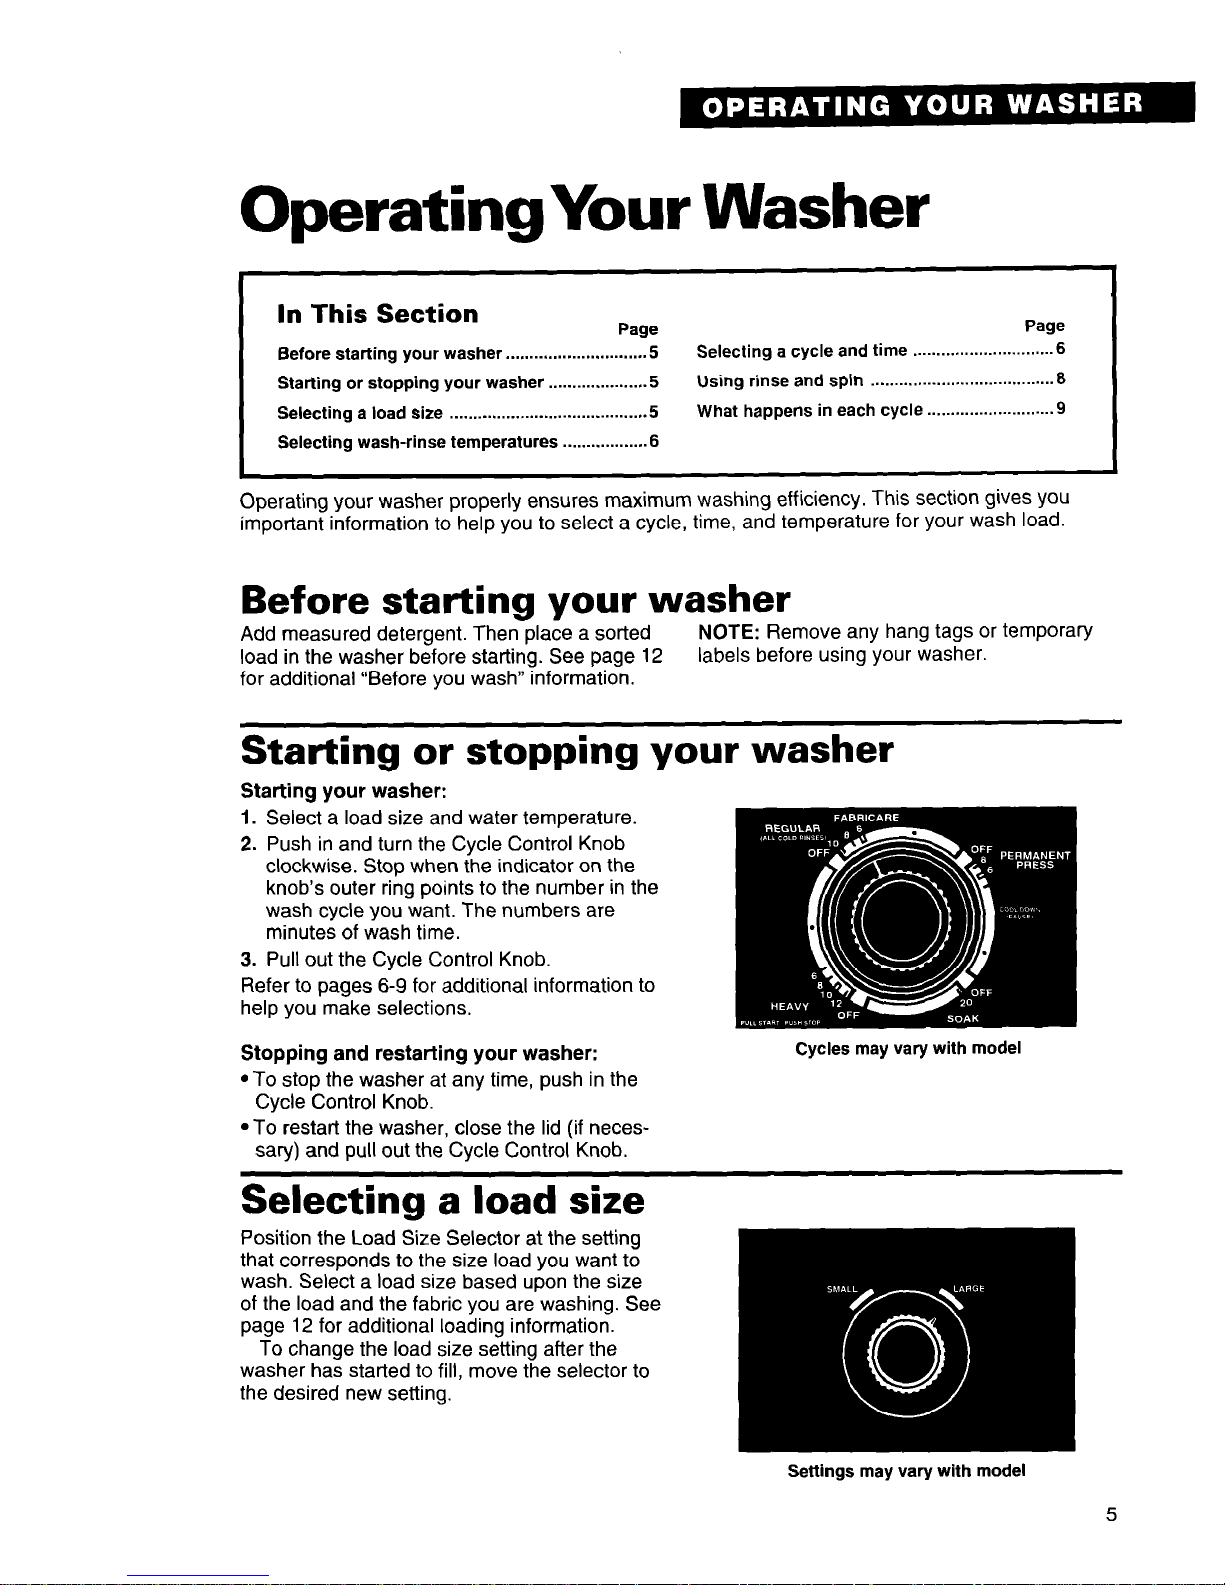
OperatingYour Washer
I
In This Section
Page
Page
I
Before starting your washer
-5 .
Selecting a cycle and time
..............................
6
.............................
Starting or stopping
your washer .5
Using rinse and spin
....................................... 8
....................
Selecting a load size
.......................................... 5
What happens in each
cycle ...........................
g
Selecting wash-rinse temperatures
..................
6
Operating your washer properly ensures maximum washing efficiency. This section gives you
important information to help you to select a cycle, time, and temperature for your wash load.
Before starting your washer
Add measured detergent. Then place a sorted
NOTE: Remove any hang tags or temporary
load in the washer before starting. See page 12
labels before using your washer.
for additional “Before you wash” information.
Starting or stopping your washer
Starling your washer:
I. Select a load size and water temperature.
2. Push in and turn the Cycle Control Knob
clockwise. Stop when the indicator on the
knob’s outer ring points to the number in the
wash cycle you want. The numbers are
minutes of wash time.
3. Pull out the Cycle Control Knob.
Refer to pages 6-9 for additional information to
help you make selections.
Stopping and restarting your washer:
*To stop the washer at any time, push in the
Cycle Control Knob.
Cycles may vary with model
.To restart the washer, close the lid (if neces-
sary) and pull out the Cycle Control Knob.
Selecting a load size
Position the Load Size Selector at the setting
that corresponds to the size load you want to
wash. Select a load size based upon the size
of the load and the fabric you are washing. See
page 12 for additional loading information.
To change the load size setting after the
washer has started to fill, move the selector to
the desired new setting.
Load size tips
. Items should move freely in the washer. Do
not overload the machine or select a load size
that is too small for the wash load.
l Use a large load size setting for best results
with permanent press clothes.
l Reduce wash time when using a small load
size setting. Loads with only a few items need
less wash time.
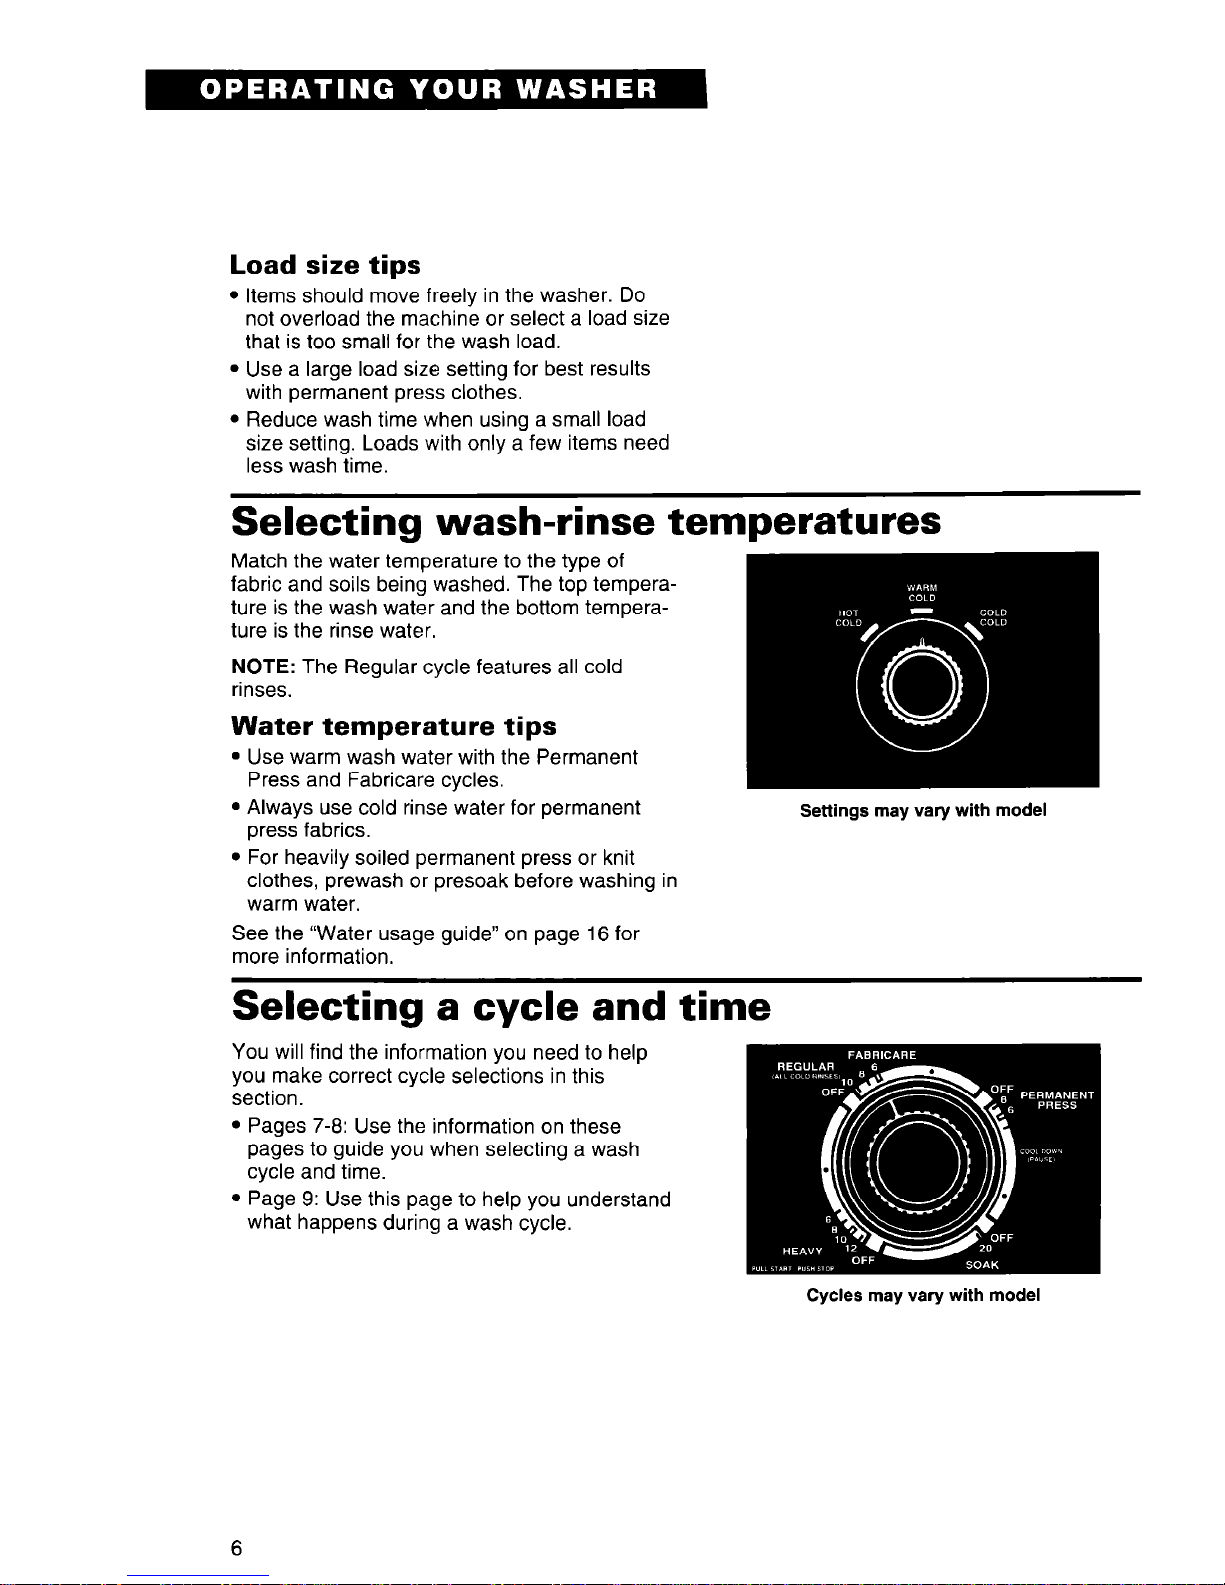
Selecting wash-rinse temperatures
Match the water temperature to the type of
fabric and soils being washed. The top temperature is the wash water and the bottom temperature is the rinse water.
NOTE: The Regular cycle features all cold
rinses.
Water temperature tips
l Use warm wash water with the Permanent
Press and Fabricare cycles.
l Always use cold rinse water for permanent
press fabrics.
Settings may vary with model
l For heavily soiled permanent press or knit
clothes, prewash or presoak before washing in
warm water.
See the “Water usage guide” on page 16 for
more information.
Selecting a cycle and time
You will find the information you need to help
you make correct cycle selections in this
section.
l Pages 7-6: Use the information on these
pages to guide you when selecting a wash
cycle and time.
l Page 9: Use this page to help you understand
what happens during a wash cycle.
Cycles may vary with model
6
Heavy cycle
The Heavy cycle features longer spins to
shorten drying time.
l Use lo-12 minutes of wash time to clean
large loads of sturdily constructed fabrics that
are heavily soiled.
l Use 6-8 minutes of wash time to clean
sturdily constructed fabrics that are moderately soiled.
Regular cycle
The Regular cycle features longer spins to
shorten drying time. All rinses are cold.
l Use 10 minutes of wash time to clean cotton
and linen fabrics that are heavily soiled.
l Use 8 minutes of wash time to clean cotton
and linen fabrics that are moderately soiled.
NOTE: The Regular cycle features all cold
rinses.
Fabricare cycle
The Fabricare cycle features a brief wash cycle
and shorter spins for gentle soil removal.
l Use 6 minutes of wash time to clean delicate
items and washable knits that are lightly to
moderately soiled.
Permanent Press cycle
The Permanent Press cycle features a cool-
down rinse, and shorter spins to reduce
wrinkling.
l Use 8 minutes of wash time to clean perma-
nent press and some synthetic fabrics that
are moderately soiled.
l Use 6 minutes of wash time to clean perma-
nent press and some synthetics that are
lightly soiled.
NOTE: The washer pauses briefly during the
wash cycle. This is normal for washer
operation.
Heavy cycle
Fabricare
Permanent press cycle
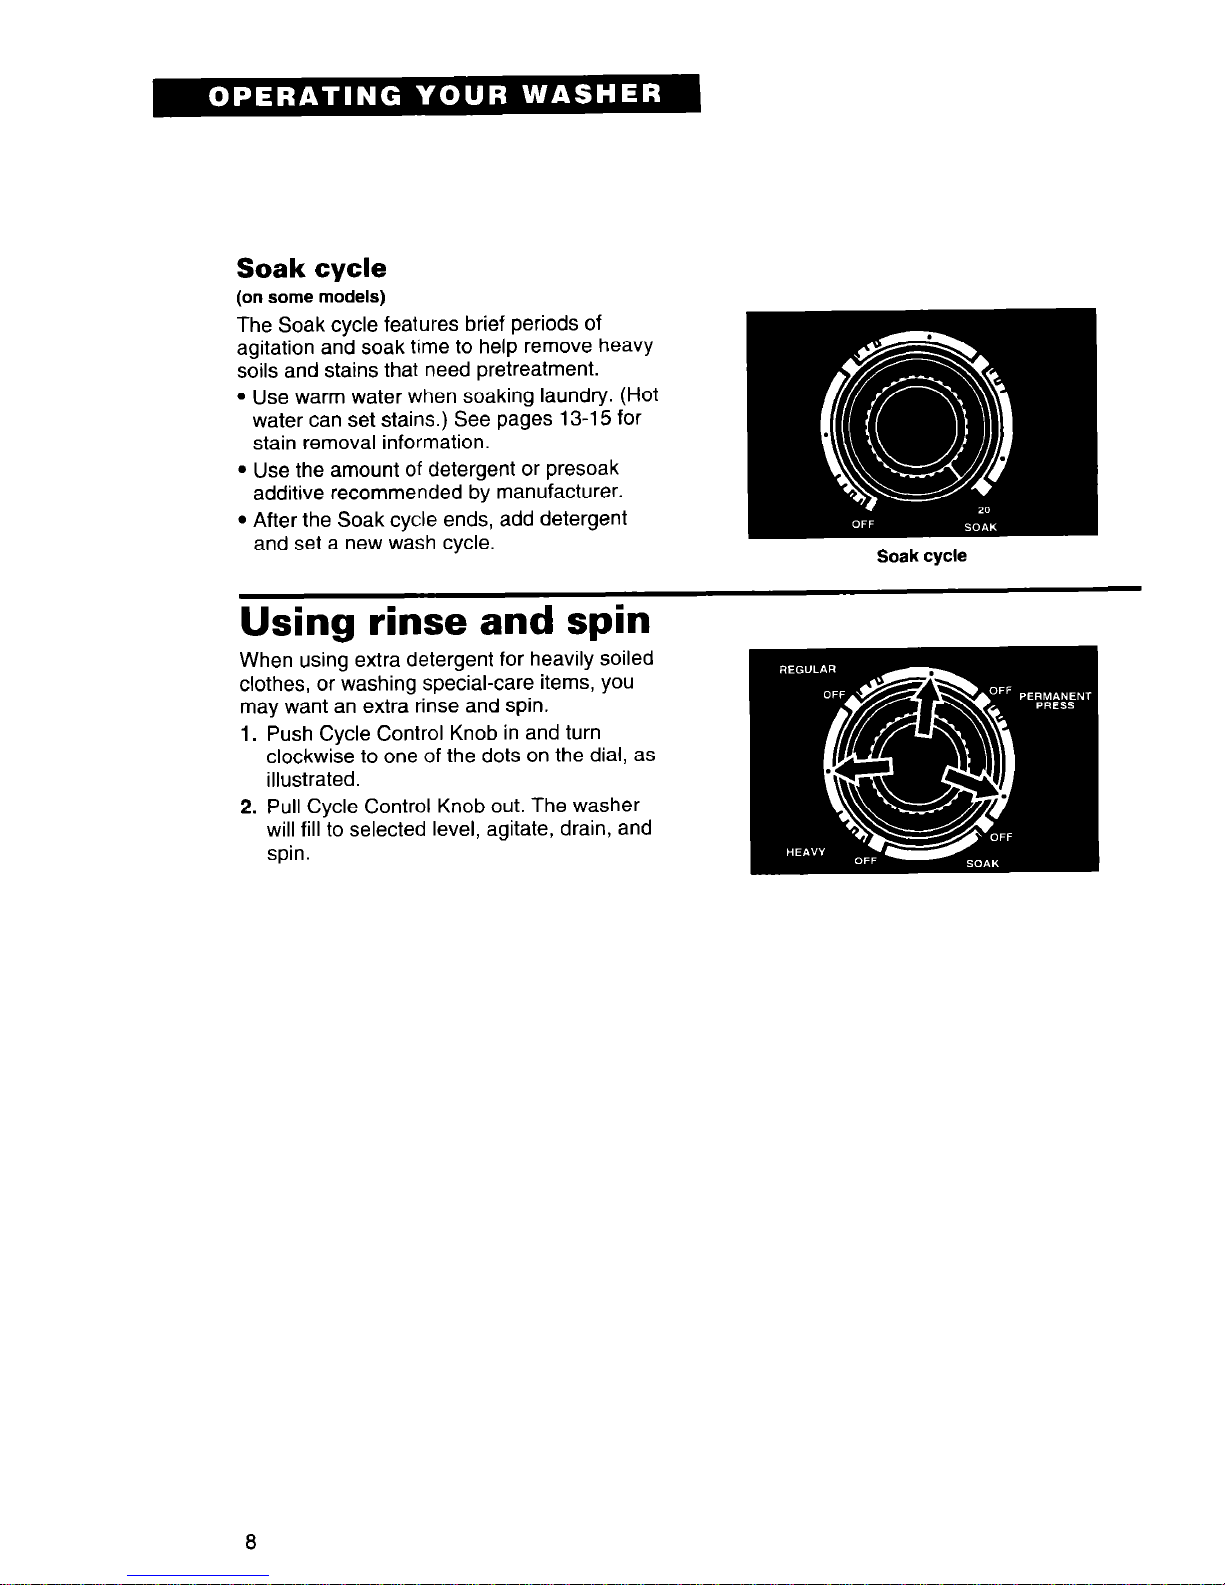
Soak cycle
(on some models)
The Soak cycle features brief periods of
agitation and soak time to help remove heavy
soils and stains that need pretreatment.
l Use warm water when soaking laundry. (Hot
water can set stains.) See pages 13-l 5 for
stain removal information.
l Use the amount of detergent or presoak
additive recommended by manufacturer.
l After the Soak cycle ends, add detergent
and set a new wash cycle.
Using rinse and spin
When using extra detergent for heavily soiled
clothes, or washing special-care items, you
may want an extra rinse and spin.
1. Push Cycle Control Knob in and turn
clockwise to one of the dots on the dial, as
illustrated.
2. Pull Cycle Control Knob out. The washer
will fill to selected level, agitate, drain, and
spin.
8
 Loading...