

Roper F8858W0, F8958W1, F8858L0, F8858X0, F8857W0 Use And Care Manual
...
FREE STANDING, SELF CLEANING
GAS RANGE
USE AND CARE MANUAL
Copy Your Model and Serial Numbers
IN THE BOX BELOW
Model and Serial Numbers can be
found on a tag, behind the storage
drawer, on the range front frame. If you
call for service, or with a question, have
this information ready.
Keep this book, your installation guide,
your warranty and the sales slip
together.
Model No
Senal No
Purchase Dale
-
I
PART NO. 338979 (4348360)
SAFETY RULES.,
_, _. _. _. -2-4
BURNER IGNITION............................,..........5
HOW TO USE YOUR RANGE. .6-10
l
Using Cooktop Burners
l
Energy Saving Tips
i
l
Clock and Oven Controls
7. 8
l
Oven Light and Panel Light
l
Oven Vent
i
l
New Oven Odor
9
l
Moisture
. Adjusting Oven Temperature
l
Rack and Pan Arrangement. :.
i
.I0
l
Preheating..
IO
COOKING
HINTS. _
.ll-14
l
Using FOII
l
Roasting TIPS
l
Using a Meal Thermo’A&er:.. 1.. ,,
;:
12
* Posltlonlng Broiler Pan..
l
Brolllng Tips..
lg
l
Common Baking Problemsanb’Causesj. .:: ..
.13
l
Choosing Cookware Chart
14
CLEANING AND CARE .15-22
l
Oven Cleaning
l
Cleaning Instructions..
ITT::
l
Replacing Panel Ltght
18
l
Lift Up/Off Cooktop
. Removable Cooktop Burners’ :
18
19
l
Removable Oven Door
l
Removable Oven Botlom
;i
l
Replacing Oven Li ht.
l
Removable Oven
8
acks
.‘I ,.I. ;..:;;
l
Removable
Storage
Drawer
.22
PREVENTING SERVICE CALLS .22,
23
Warranties Are Based On Time, Not Usage.
YOU should try each feature and control on your new range soon
after installation.
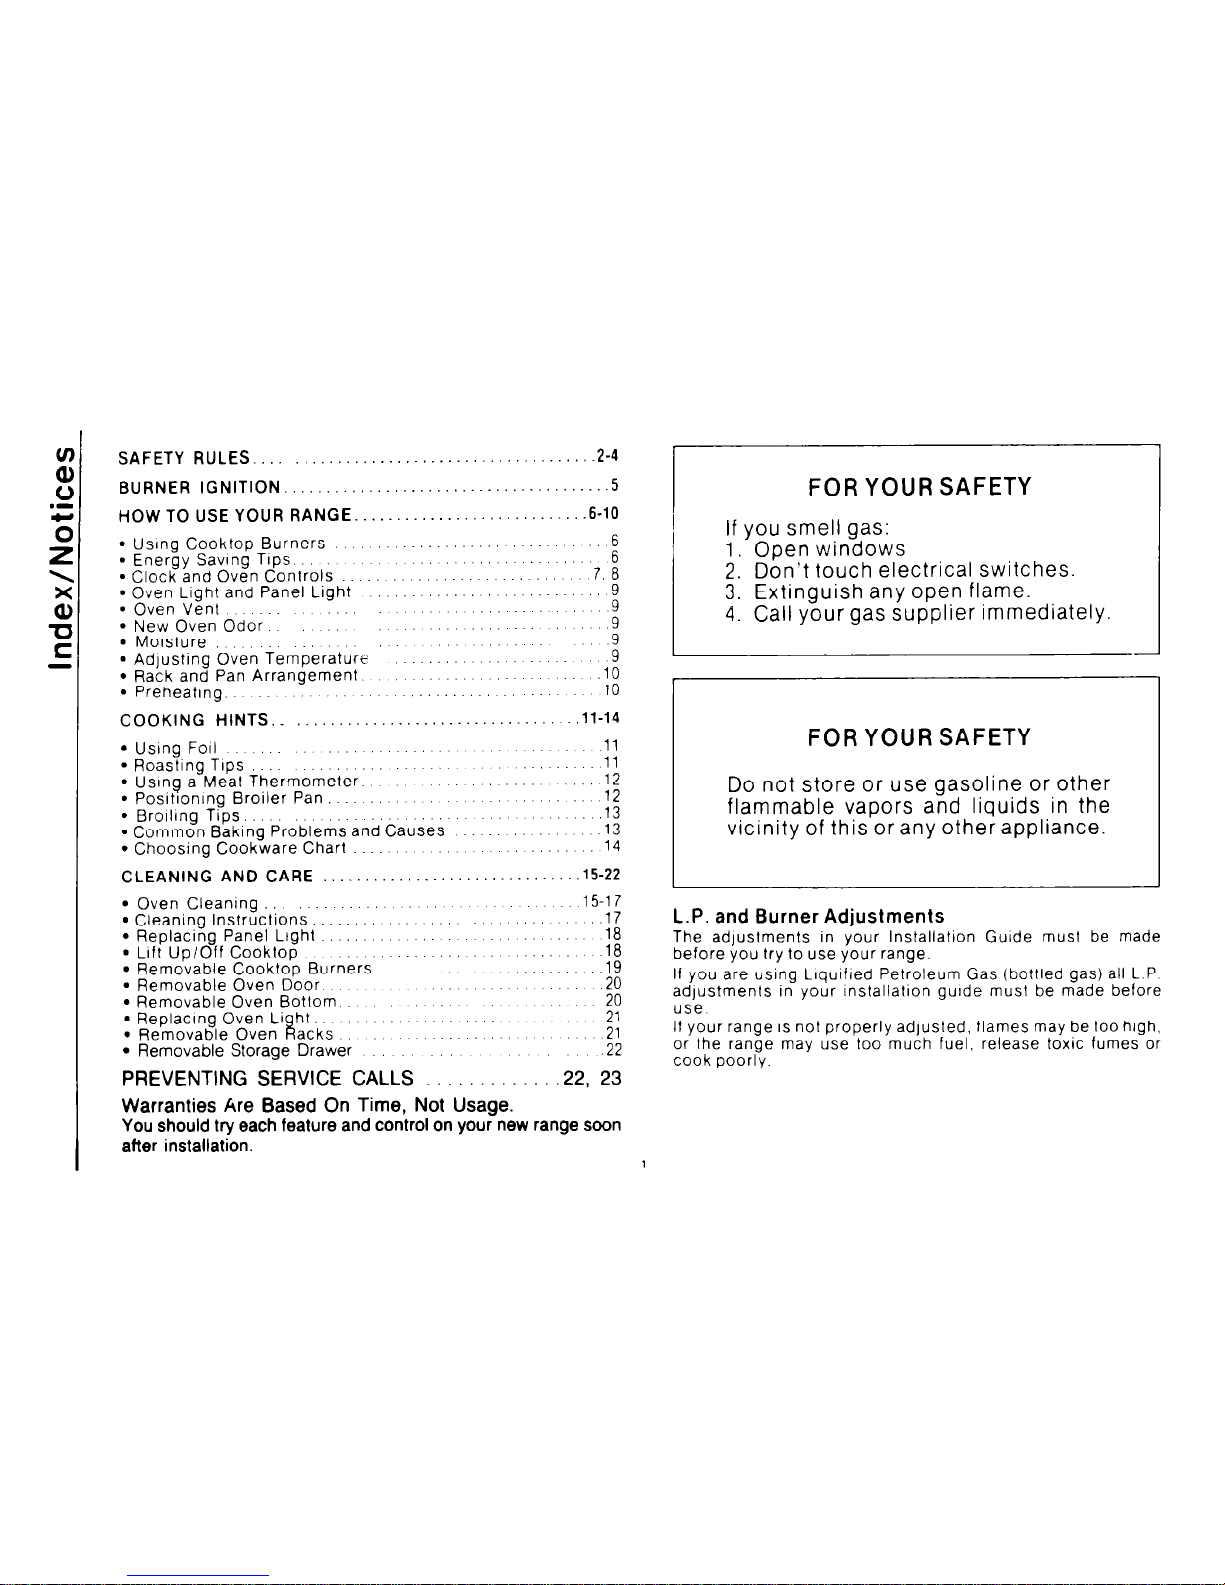
FOR YOUR SAFETY
If you smell gas:
1. Open windows
2. Don’t touch electrical switches.
3. Extinguish
any open flame.
4. Call your gas supplier immediately.
-
FOR YOUR SAFETY
Do not store or use gasoline or other
flammable vapors and liquids in the
vicinity of this or any other appliance.
L.P. and Burner Adjustments
The adjustments in your Installation Guide must be made
before you try to use your range.
If you are using Llqutfled Petroleum Gas (bottled gas) all L.P
adjustments in your installation guide must be made before
use.
If your range
IS
not properly adjusled, flames may be loo high,
or the range may use too much fuel, release toxic fumes or
cook poorly.
IMPORTANT INSTRUCTIONS
ONLY YOU CAN PREVENT ACCIDENTS! Read the Safety Rules
below and all operating instructions before using this appliance.
GENERAL
Keep this book for later use.
Be sure
your range IS put In and grounded by a skilled
technician.
Never try to fix or replace any part of the range unless this
book tells you to. All other work should be done by a skriled
technician
Never block free air flow thru the oven vent (see page 9) or to
the cooktop burners.
Only
some kinds of glass and ceramic pans can be used for
cooktop cooking. Be sure that the pan you use WIII not break
when heated on the cooktop burner See page 14 for tips on
cookware.
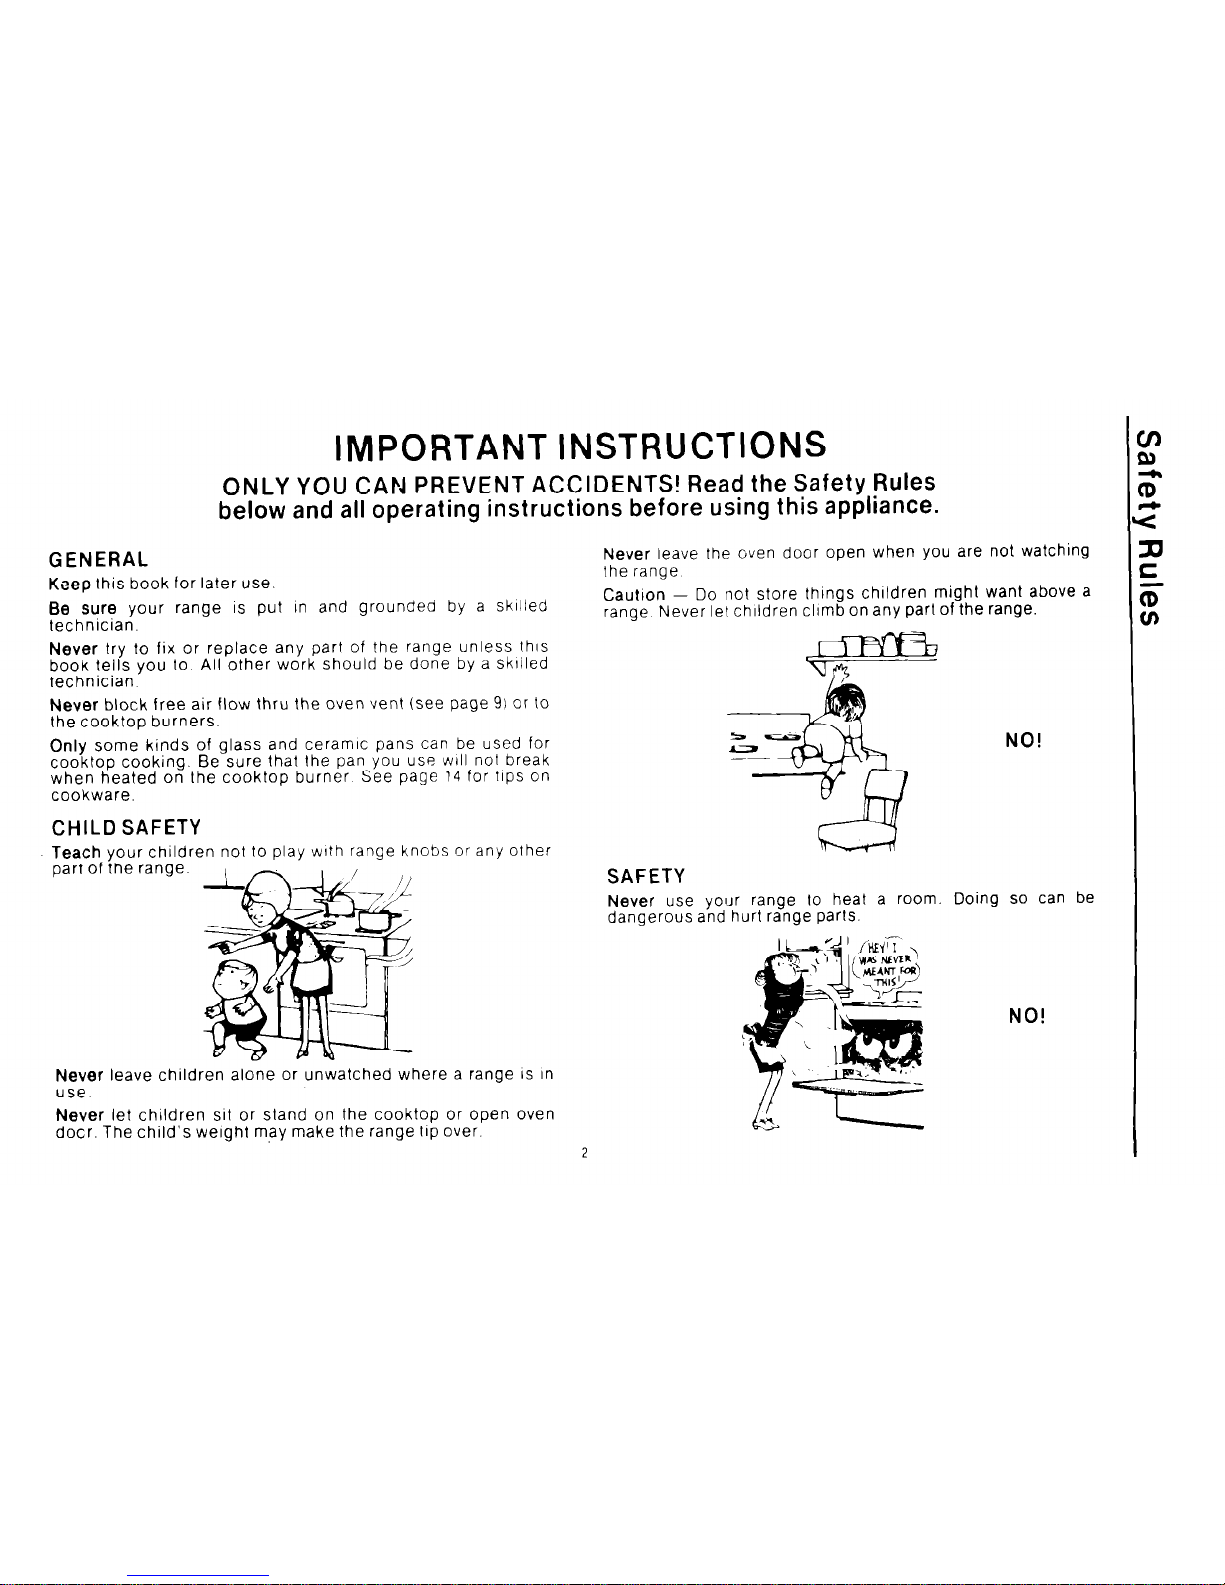
CHILD SAFETY
Teach
your children not to play wrth range knobs or any other
part of the range
Never leave children alone or unwatched where a range IS In
use.
Never
let children
sit
or stand on the cooktop or open oven
doer. The child’s weight may make the range
lip
over.
2
Never leave the oven door open when you are not watching
the range
Caution - Do not store thongs children might want above a
range Never let children clrmb on any part of the range.
NO!
SAFETY
Never use your range to heat a room. Doing so can be
dangerous and hurt range parts
NO!
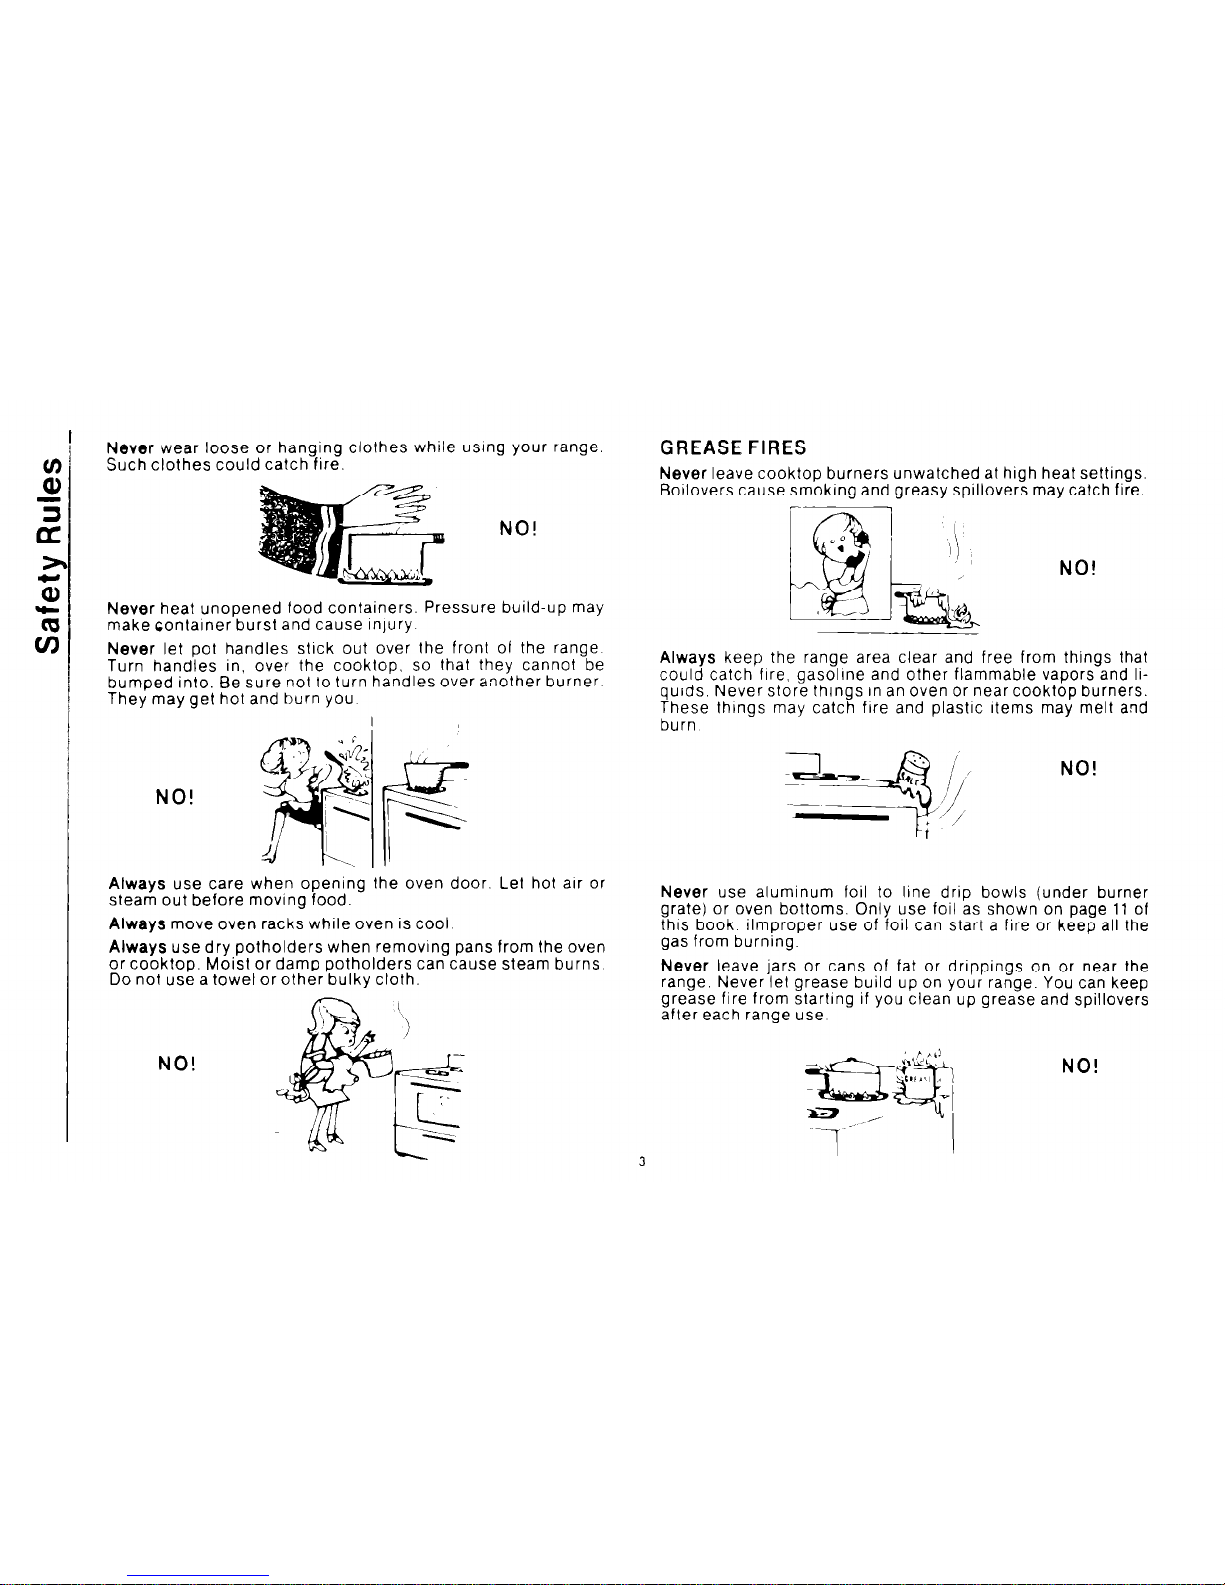
Never wear loose or hanging clothes while usrng your range.
Such clothes could catch fire.
NO!
Never heat unopened food containers. Pressure build-up may
make container burst and cause in)ury.
Never let pot handles stick out over the front of the range
Turn handles in, over the cooktop. so that they cannot be
bumped into. Be sure not to turn handles over another burner
They may get hot and burn you
NO!
Always use care when opening the oven door. Let hot arr or
steam out before moving food.
Always move oven racks while oven is cool.
Always use dry potholders when removing pans from the oven
or cooktop. Moist or damp potholders can cause steam burns
Do not use a towel or other bulky cloth.
NO!
GREASE FIRES
Never leave cooktop burners unwatched at high heat settings.
Botlovers cause smoking and greasy spillovers may catch fire.
NO!
Always keep the range area clear and free from things that
could catch fire, gasolrne and other flammable vapors and liquids. Never store things In an oven or near cooktop burners.
These things may catch fire and plastic Items may melt and
burn
NO!
Never use aluminum foil to line drio bowls (under burner
grate) or oven bottoms. Only use foil as shown’on page 11 of
this book. ilmproper use of foil can start a fire or keep all the
gas from burning.
Never leave jars or cans of fat or drippings on or near the
range. Never let grease build up on your range. You can keep
grease fire from starting if you clean up grease and spillovers
after each range use
1
NO!
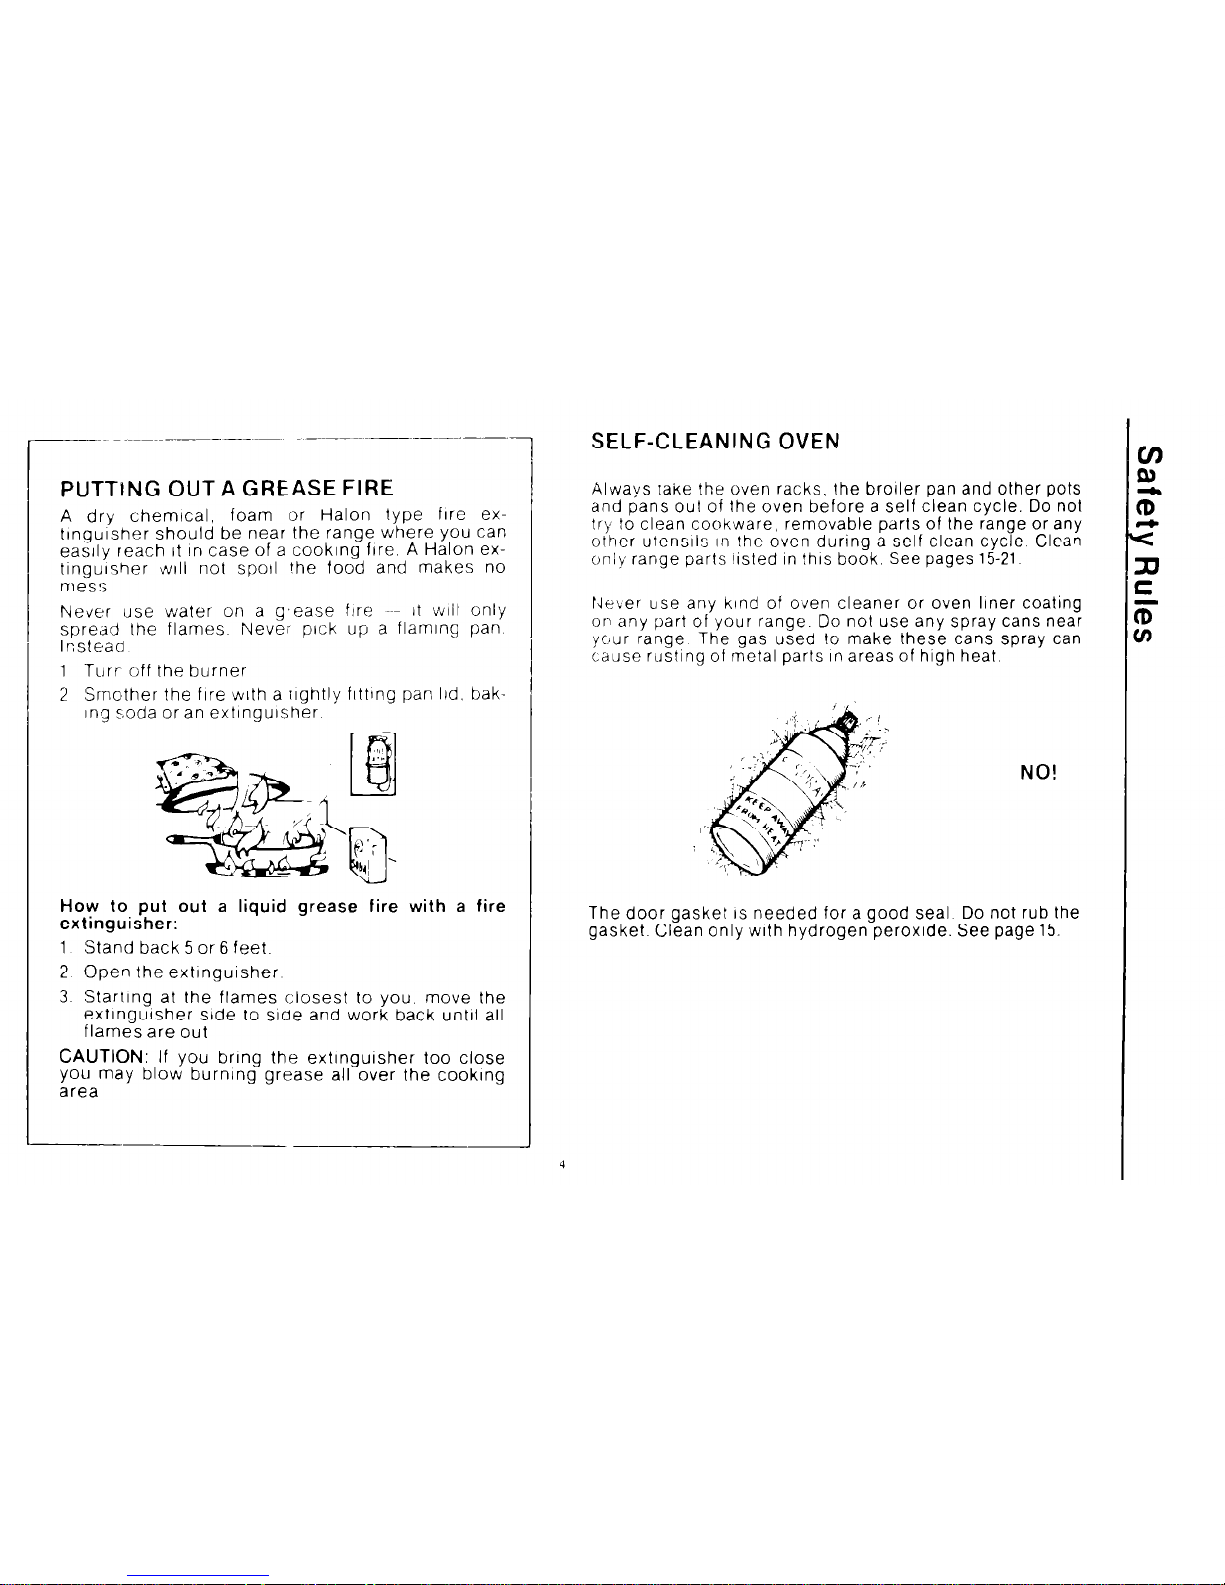
PUTTING OUT A GREASE FIRE
A dry chemical, foam or Halon type fire extlngulsher should be near the range where you can
easily reach It in case of a cooking fire. A Halon extinguisher WIII not spool the food and makes no
nleS:;
Never use water on a g’ease ftre it bvlil only
spread the flames Never pick up a flaming pan
IFstead
1 Turr off the burner
2 ISrnother the fire with a ilghtly flttlng pan IId. bak
1ng soda or an extinguisher
How to put out a liquid grease fire with a fire
extinguisher:
1 Stand back 5 or 6 feet
2 Open the extinguisher
3 Starting at the flames closest to you. move the
extinguisher side to sloe and work back until all
flames are out
CAUTION:
If you bring the extinguisher too close
you may blow burning grease all over the cooklng
area
--
4
SELF-CLEANING OVEN
Always rake the oven racks, the broiler pan and other pots
and pans out of the oven before a self clean cycle. Do not
try to clean cookware, removable parts of the range or any
other utensils II? the oven during a self clean cycle. Clean
only range parts listed In !his book. See pages 15-21
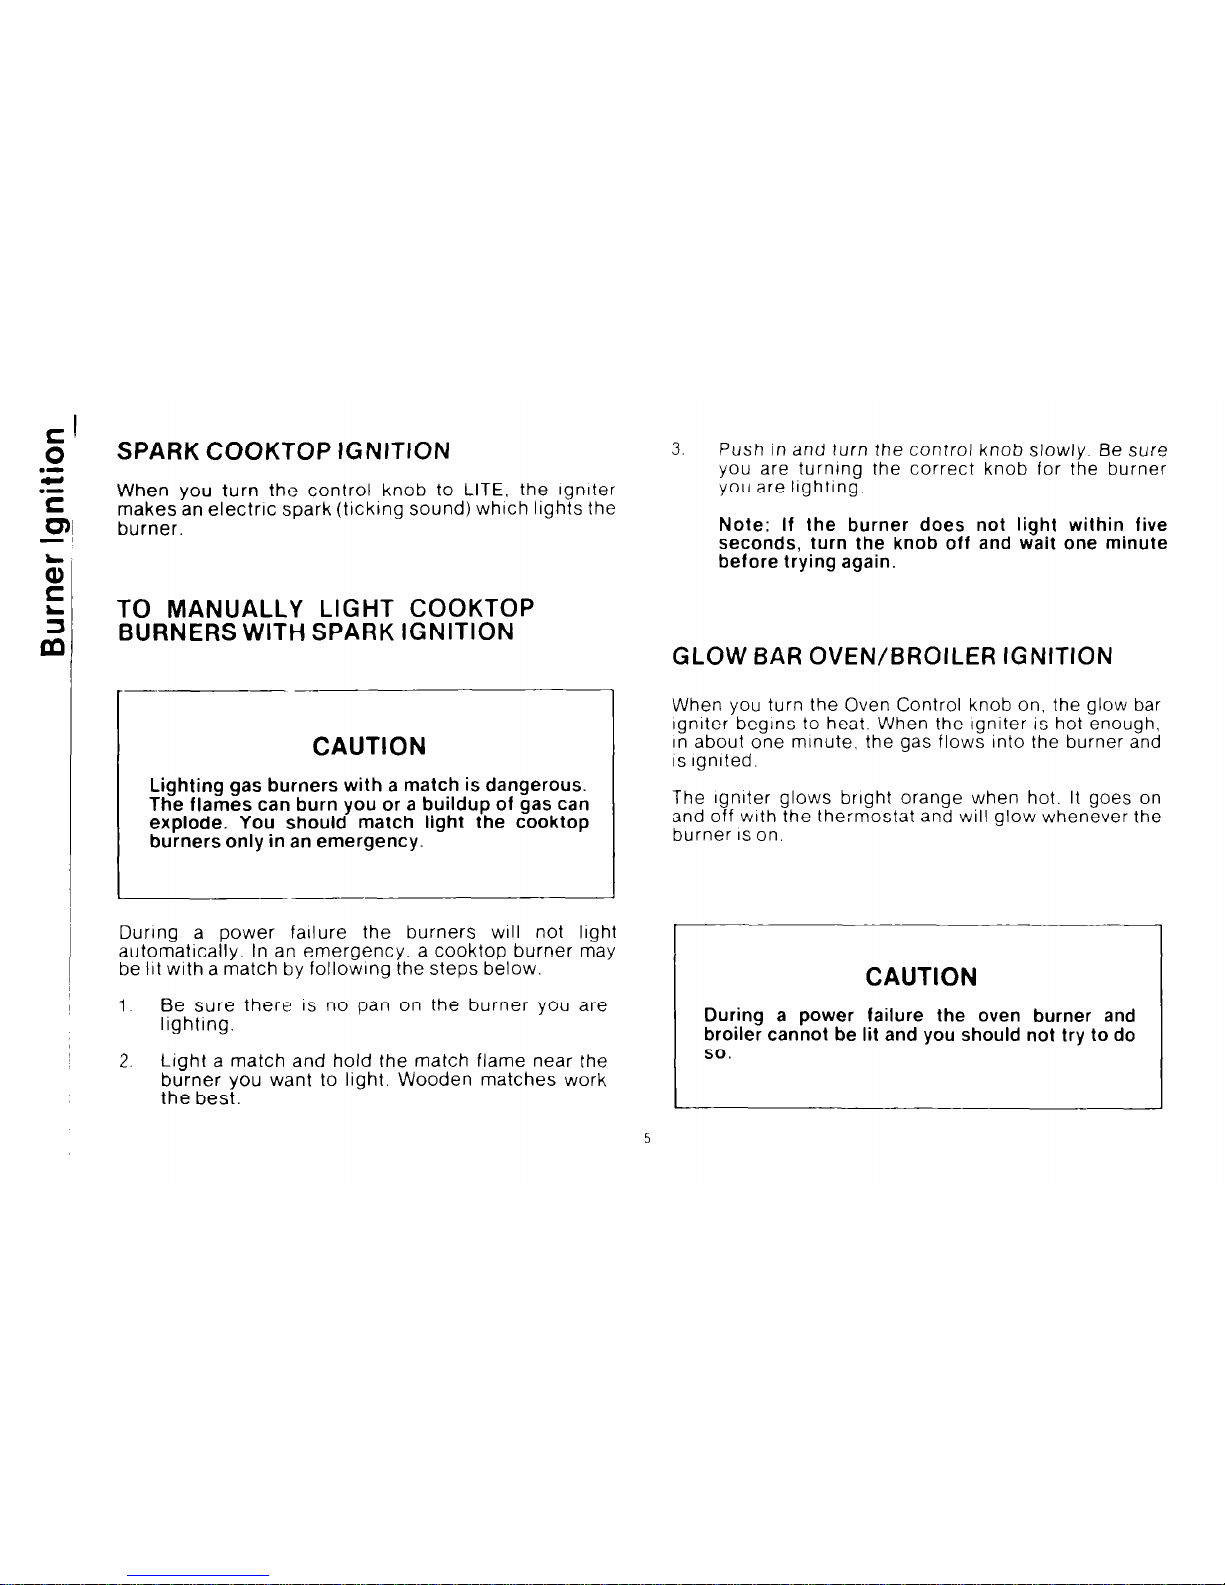
fdeber use any kind of oven cleaner or oven liner coating
or any part of your range. Do not use any spray cans near
yc’ur range The gas used to make these cans spray can
cause rusting of metal parts In areas of high heat
NO!
Thedoorgasketlsneededforagoodseal Donotrubthe
gasket. Clean only with hydrogen peroxide. See page 15.
SPARK COOKTOP IGNITION
When you turn the control knob to LITE. the lgnlter
makes an electric spark (ticking sound) which lights the
burner.
TO MANUALLY LIGHT COOKTOP
BURNERS WITH SPARK IGNITION
CAUTION
Lighting gas burners with a match is dangerous.
The flames can burn you or a buildup of gas can
explode. You should match light the cooktop
burners only in an emergency.
During a power failure the burners will not light
automatically. In an emergency, a cooktop burner may
be lit with a match by followlng the steps below.
1.
Be sure there IS no pan on the burner you are
lighting.
2.
Light a match and hold the match flame near the
burner you want to light. Wooden matches work
the best.
3.
Push in and turn the control knob slowly. Be sure
you are turning the correct knob for the burner
you are lighting.
Note: If the burner does not light within five
seconds, turn the knob off and wait one minute
before trying again.
GLOW BAR OVEN/BROILER IGNITION
When you turn the Oven Control knob on, the glow bar
Igniter beglns to heat. When the Igniter is hot enough,
In about one minute. the gas flows into the burner and
IS
ignited.
The igniter glows bright orange when hot. It goes on
and off with the the:mostat and will glow whenever the
burner
IS
on.
CAUTION
During a power failure the oven burner and
broiler cannot be lit and you should not try to do
so.
5
USING COOKTOP BURNERS
A slgri near each cookiop [:or;trol knob snows which
burner IS turned on by that knob. For example When
you turn the knob nearest to : “. the right front burner
will light.
Some models have a cone-shaped cooktop burner,
with ‘3. circular opening
through the center of the
burner at the right front or both front c:ooktop POSItions. These ‘All-Purpose Burners can prov;de one
third again as much heat as the other burners, Use
the ‘All-Purpose Burners” tor
cooking
large amounts
of food I~I a big pan,
cannlrq etc See additional In-
formatlzr on page 19
r
---
CAUTION
Set controls so flame heats pan bottom only and
does not lick pan sides. Flames licking pan sides
are unsafe and waste gas.
When you turn a control knob to LITE. the burner IS
!it
by a series of electric sparks (ticking sound) from the
igniter
To light a burner:
1
Be sure there is no pan on the burner you are
Ilghtlng.
2.
Push the control knob In and turn It left to light
3
&hen the burner lights. turn the knob to set the
flame sire
IMPORTANT- Do not leave the control knob on
LITE after the burner IS lit. or the life of the spark
igniter may be shortened.
IF A BURNER DOES NOT LIGHT
If a burner fails to light within five seconds, turn the
knob to OFFand wall one minute before trying again.
ro
If the burner still WIII not Ilght. check Preventing Service
;b
Calls on pages 22 and 23.
!z
La
CD
ENERGY SAVING TIPS
l
Be sure the burners (and pllots. if applicable) are
properly adjusted when your range IS installed. Ad-
justment Information IS In your Installation Guide.
l
Clean aI\ burners often (see pages 17 and 19). Dirty
burners reduce efficiency.
l
When possible. thaw frozen foods before cooking,
cook with the minimum amount of water and use a
pan with a tightly fitting lid.
l
Adjust the flame to fit the size of the pan.
l
Be sure to watch foods when heating them quickly
on HI. As soon as the food reaches the cookrng
temperature, turn down the heat to the lowest set-
6
tlng that will keep It cooking.
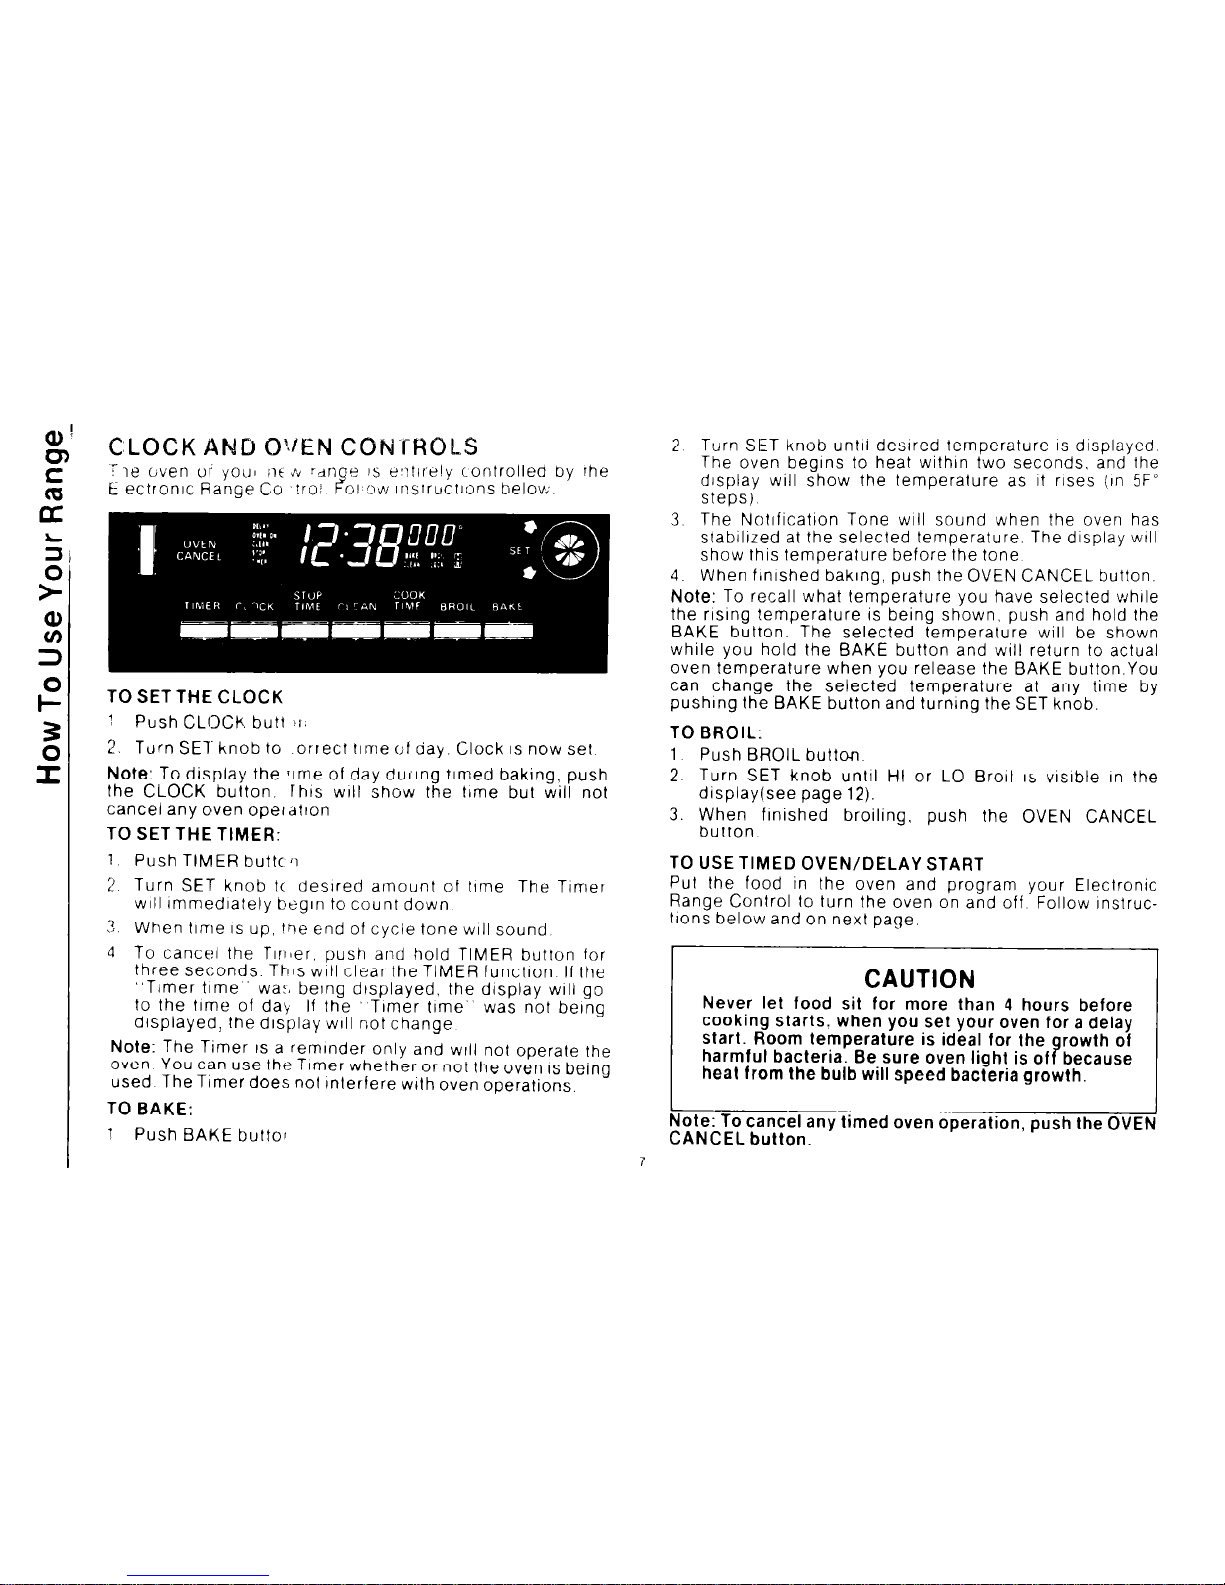
C’LOCK AND O!/EN CON-rHOI.
‘le Lven or you nc $d :dnoe IS ti:rt~re!y controlled by rhe
E ectronlc fiange Co troi ?o~ o’w Inslrucllons below
TO SET THE CLOCK
1 Push CLOCK butt 31,
2. Turn SE7 knob to orrect lime of day. Clock IS now sel
Note: To display the ‘Ime of day dul-lng timed baking,, push
the CLOCK button. lhts WIII
show
the time but WIII not
cancel
any oven opeiatlon
TO SET THE TIMER:
1 Push TIMER butte ‘1
2. Turn SET knob tc desired amount of time The Timer
WIII lmmedlalely begln to count down
:!. When time IS up, ‘he end of cycle tone
WII
sound
4 To cance the Tlnler, push and hold TIMER button for
three seconds. This WIII clear the TIMER function If the
“Timer time” wa:, being dtsplayed. the display ~111 go
to the time of da)
If the Timer time‘ was not being
dlsplayed, the display WIII not change
Note: The Timer IS a reminder only and WIII not operate the
oven YOU can use the Timer whether or not the oven 1s being
used The Timer does not Interfere with oven operations,
TO BAKE:
’ Push BAKE bultor
2 Turn SIET knob until desired temperature
IS
displayed
The oven begins to heat within two seconds, and the
display will show the temperature as it rises (In 5F”
steps)
3. The Notlficatlon Tone will sound when the oven has
stabilized at the selected temperature. The display wtll
show this temoerature before the tone
4. When finIshed baking, push the OVEN CANCEL button.
Note: To recall what temperature you have selected while
the rising temperature is being shown, push and hold the
BAKE button. The selected temperature will be shown
while you hold the BAKE button and will return to actual
oven temperature when you release the BAKE button.You
can
change the selected temperature at any time by
pushing the BAKE button and turning the SET knob.
TO BROIL:
1 Push BROIL button
2 Turn SET knob until HI or LO Broil
IS
vlslble In the
displaylsee page 12).
3. When finished broiling, push the OVEN CANCEL
button
TO USE TIMED OVEN/DELAY START
Put the food in the oven and program your Electronic
Range Control to turn the oven on and off Follow instructions below and on next page.
CAUTION
Never let food sit for more than 4 hours before
cooking starts. when you set your oven for a delay
start. Room temperature is ideal for the rowth of
harmful bacteria. Be sure oven light is of
B because
heat from the bulb will speed bacteria growth.
I
Note: To cancel any limed oven operation, push the OVEI
CANCEL button.
 Loading...