

Roper B9758B0, B9458B0 Use And Care Manual
I
EL=ECTRleC BUILT-IN DOUBLE OVEN
USE ANb CARE MANUAL
1
Copy Your Model and Serial Numbers
‘i
_- IN THE BOX BELO:
Model and Serial numbers are on a
plate, behind the oven door, on the
front frame. If you call for service, or
with a question, have this information
ready.
Keep this book, your installation guide,
your warranty and the sales slip
toget her.
Model No.:
Part No. 338973

SAFETY RULES . . . .
HOW TO USE YOUR OVEN
l Clock and Oven Controls
l Oven Light
l Oven Vent
l New Oven Odor
l Preheattng
COOKING HINTS . . . . .
l Rack and Pan Arrangement
l Using Fotl
l Broiling Tips
l Postionrng Broiler Pan
l Choosing Oven Cookware
l Common Bakrng Problems
and Causes ,-
. .
. . .
. . .
.
394
. . . . .
5-7
5.6
7
7
7
7
. . . .
8-10
.8
8
9
9
10
10
CLEANING AND CARE .........
.
11-15
l Oven Cleaning ..................
11,12
. Cleaning Chart ..................
13
l Removable Oven Doors ............
-14
. Removable Oven Racks ............
15
. Replacing the Oven Light ..........
16
l Removable Oven Control Knob ......
16
. Adjusting Oven Temperature ........
17
PREVENTING SERVICE CALLS ....... .18
IMPORTANT INSTRUCTIONS
Read the Safety Rules below and all operating instructions
before using this appliance.
Keep this manual for later use.
Be sure your oven is Installed and grounded
properly.
Never try to frx or replace any part of the oven
unless this book tells you to. All other work should
be done by a skilled technician.
Never block free airflow through the oven vent.
See page 7.
Teach your children not to pla; with oven knobs
or any other part of the range. Never let children
sit or stand on the open oven door.
Never leave children alone or unwatched where
an oven is in use. Children should never be allowed to sit or stand on the open oven door.
Teach chrldren not to play with oven controls.
Never use your oven for warming or heating a
room. Such use can be dangerous and hurt oven
parts.
Y
Never heat unopened food containers. Pressure z
build-up may make container burst and cause z
injury.
u)
Never wear loose clothing while using your oven.
Such clothes could catch fire.
Always use care when opening oven door. Let
hot air or steam out before moving food.
Always move oven racks whrle oven is cool.
Always use dry pot holders when removing pans
from the oven. Moist or damp pot holders can
cause steam burns. Do not use a towel or other
bulky cloth. It may catch fire on the element.
Never try to move a pan of hot fat, especially a
deep fat fryer. Wait untrl the fat has cooled.
Always keep the oven area clear and free from
things that will burn, gasoline and other flammable vapors and liquids. Never store things in
an oven. These things may catch fire and plastic
items may melt and burn.
3

Never touch oven heat/no elements or tnterror surfaces of oven, Heating elements and nearby areas
may be hot enough to burn you even though they
are dark in color. During and after use, do not let
clothing or flammable materials touch heating
elements or oven surfaces until they have had time
to cool. Other surfaces that may’become hot durrng use are the oven vent duct and the oven door.
When brotling, always take the broiler pan out of
the range and clean it when you are finished cooking. If you forget that a broiler pan was left in the
range and later turn on the oven, you may start
a fire.
Never use aluminum foil tdline oven bottoms. Only use foil as shown on page 8 of this book. Improper use of foil could start a fire.
SELF-CLEANING OVEN ONLY
Always take the oven racks, the broiler pan and
other pots and pans out of the
oven
before a self
clean cycle.
Never use any kind of oven cleaner or oven liner
coattng. Do not use any spray cans near your
oven. The gas used to make these cans spray can
make metal parts rust in areas of high heat.
The door gasket is needed for a good seal so care
should be taken not to rub or move the gasket.
Clean with hydrogen peroxide. See page 11.
Always follow cleaning instructions on pages 11
and 12 of this book. Never try to clean other things
.
in the oven during a self clean cycle unless this
book tells you to.
4
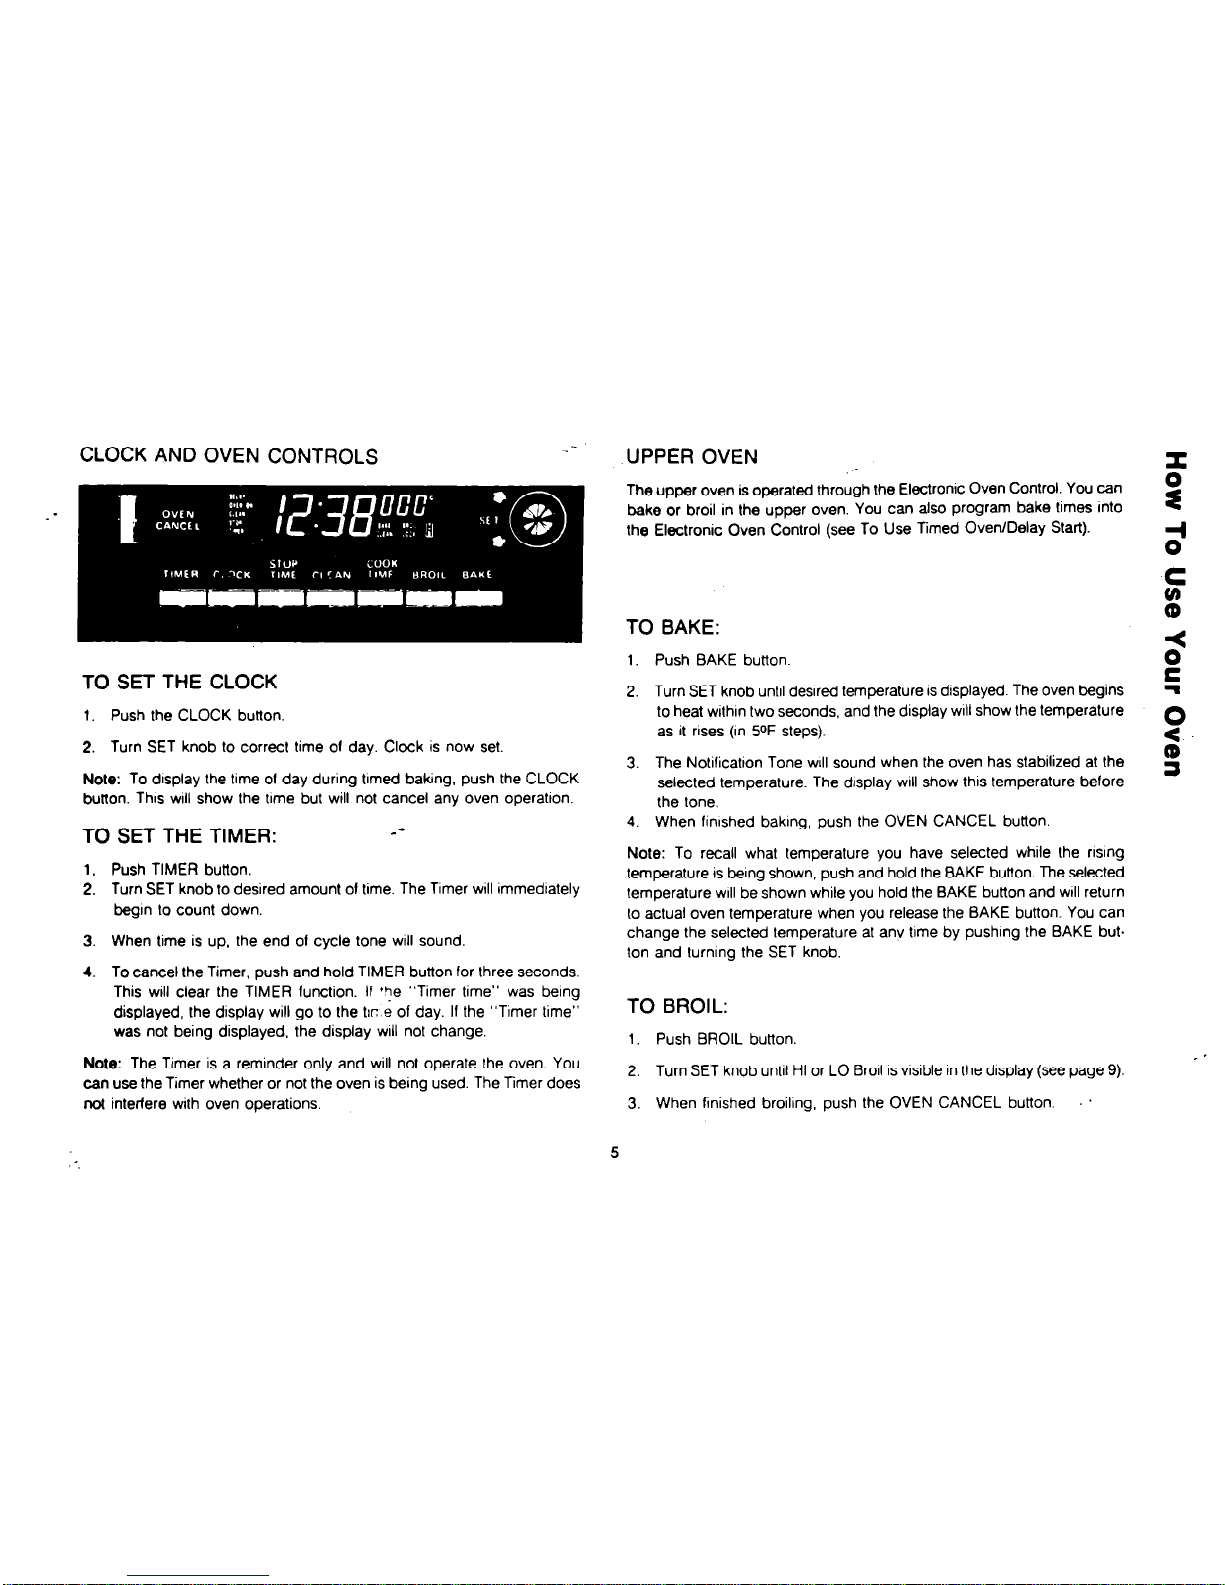
CLOCK AND OVEN CONTROLS
.-
UPPER OVEN
TO SET THE CLOCK
1. Push BAKE button
2. Turn SET knob until desired temperature IS dlsplayed. The oven begins
to heat wlthln two seconds, and the display ~111 show the temperature
as it rises (In 5oF steps).
3. The Notilicatton Tone will sound when the oven has stabilized at the
selected temperature. The display WIII show this temperature before
the lone.
4. When finished baking, push the OVEN CANCEL button.
Note: To recall what temperature you have selected while the risng
temperature is being shown, push and hold the BAKE button. The selected
temperature will be shown while you hold the BAKE button and will return
to actual oven temperature when you release the BAKE button. You can
change the selected temperature at anv time by pushing the BAKE but.
ton and turning the SET knob.
1. Push the CLOCK button.
2. Turn SET knob to correct time of day. Clock is now set.
Note: To display the lime of day during tlmed baking, push the CLOCK
button. Thus
will
show the time but will not cancel any oven operation.
TO SET THE TIMER:
--
1. Push TIMER button.
2. Turn SET knob to desired amount 01 time. The Timer WIII immediately
begin lo count down.
3. When time is up, the end 01 cycle tone will sound.
4. To cancel the Timer, push and hold TIMER button for lhree seconds.
This WIII clear the TIMER function. If ‘ye “Timer time” was being
displayed, the display will go to the tlr: e of day. If the “Timer time”
was not being displayed, the display will not change.
Note: The Timer is a reminder only and will not operate the oven. You
can use the Timer whether or not the oven is being used. The Timer does
not interfere with oven operations.
TO BROIL:
1. Push BROIL button.
2. Turn SET knob until HI or LO Broil
IS
visible In the display (see page 9).
3. When flnished broiling. push the OVEN CANCEL button. .
TO USE T!MED OVEN/DELAY START
Put the load in the oven and program your Electronic flange Control lo
turn the oven on and off Follow lnstructlons below
CAUTION
Never let loo&s’lt for more than 4 hours before cookmg starts.
when you sel’*our oven for a delay slat-t. Room temperalure
IS Ideal for tha @rowth of harmful bacteria. Be sure &en light
growth.
Note: To cancel any timed oven operation. push lhe CANCEL bulton.
TO START NOW AND STOP LATER:
1. Push COOK TIME button.
2 Set length of baking time with SET-knob.
3. Push BAKE button
4. Set desired temperature with SET button.
5. When COOK TlME is reached, the end of cycle tone
will
sound and
Ihe oven
WIII
turn OH
TO START LATER AND STOP LATER:
1. Push COOK TIME button
-
2. Set lenglh of bakmg time with SET knob
3. Push STOP TIME button
4 Set time of da)Fwhen baktng should be completed with SET knob
5 Push BAKE button
6. Set desired temperature with SET knob.
7. When STOP TIME
IS
reached, the end of cycle tone WIII sound and
the oven WIII turn OH.
Note: You can push the STOP’TIME button to find out when Ihe oven
WIII turn off Push and hold the COOK TIME button to find but when the
oven wrll turn on.
When a function has been entered, you can recall what has been programmed by pushing the corresponding function button. The messages
in the display show you which Iunction IS currently being dlsplayed. While
the function IS displayed. you can change It with the SET knob You can
change any programmed function at any time
Never slide the door IocWunlock handle Into the LOCK posltton while trying to bake or broil. You ~111 not be able to program your oven to bake
or brotl 11 the oven door
IS
locked. If you try to lock the door while the oven
IS
on, the oven
will
turn OH lmmedlately
LOWER OVEN
The lower oven IS operated through the Lower Oven control located on
the left side of the control panel. You can use the lower oven while the
upper oven IS being used. You cannot broil In the lower oven
TO BAKE:
1
Turn Lower Oven Control to desired temperature.
2. When fInIshed turn Lower Oven Control to OFF.
LOWER OVEN SIGNAL LIGHT
The oven slgnal light WIII glow when the Lower Oven control IS turned on
and the oven IS heating. When the set temperature
IS
reached, the light
will go out and then cycle on and off to show the temperature IS being
maintained.
6
 Loading...