

Roper Gas 120-Volt, 60-Hz, Electric 120/240-Volt Installation Instructions Manual
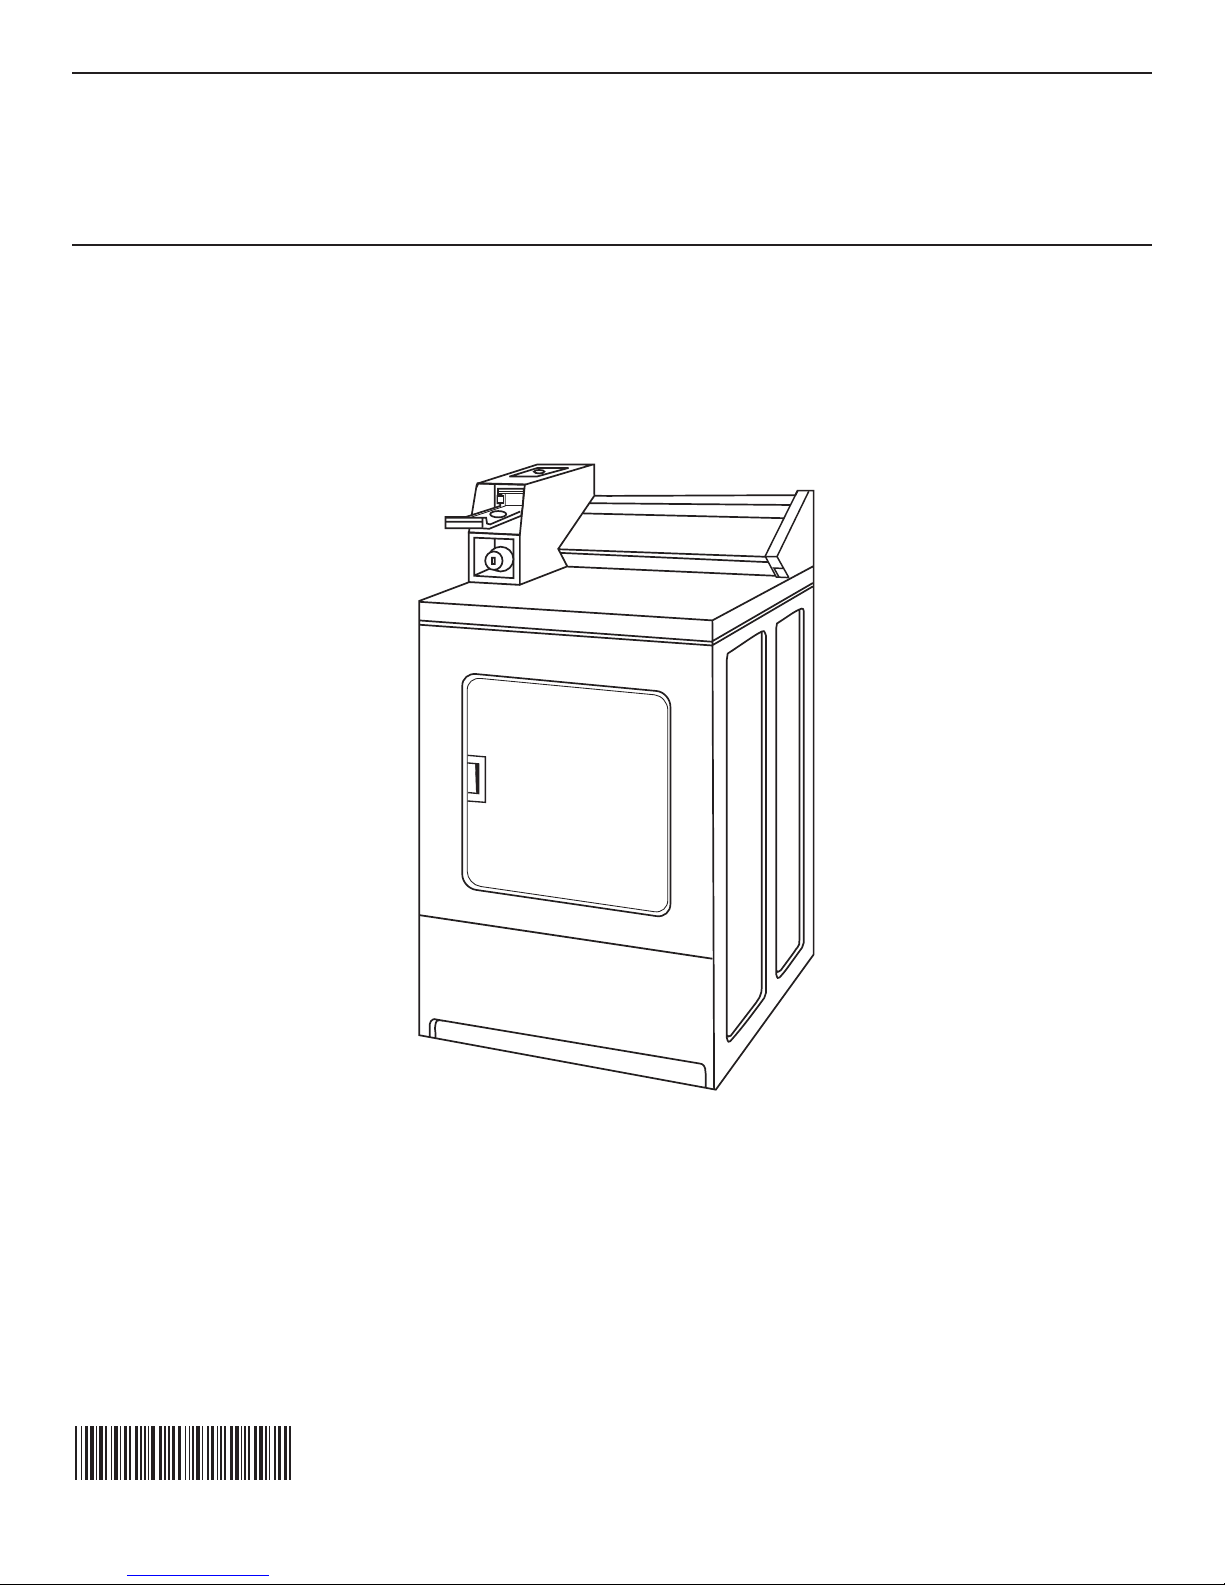
INSTALLATION INSTRUCTIONS
COMMERCIAL DRYER
Gas (120-Volt, 60-Hz) or Electric (120/240-Volt, 60-Hz)
Table of Contents . . . . . . . . . . . . . . . . . . . . . . . . . . . . . . . . . . . . . . . . . . . . . . . . . . . . . . . .2
8563800
www.roper.com
2
TABLE OF CONTENTS
DRYER SAFETY............................................................................ 2
INSTALLATION REQUIREMENTS .............................................. 4
Location Requirements.............................................................. 4
Tools and Parts .......................................................................... 5
Electrical Requirements ............................................................ 6
Gas Supply Requirements ........................................................ 7
Venting Requirements .............................................................. 8
INSTALLATION INSTRUCTIONS – GAS DRYER .................. 10
Install Coin Slide and Coin Box................................................10
Make Gas Connection..............................................................10
Connect Vent ............................................................................10
Complete Installation ..............................................................10
INSTALLATION INSTRUCTIONS – ELECTRIC DRYER........ 11
Install Coin Slide and Coin Box................................................11
Make Electrical Connection......................................................11
Connect Vent ............................................................................15
Complete Installation ..............................................................15
CHANGING TO A 30- OR 60-MINUTE TIMING CAM ...........16
DRYER SAFETY
FOR YOUR SAFETY
Do not store or use gasoline or other flammable vapors and liquids in the vicinity of this or any other appliance.
■ It is recommended that the owner post, in a prominent location, instructions for the customer's use in the event the customer smells
gas. This information should be obtained from your gas supplier.
■ Post the following warning in a prominent location.
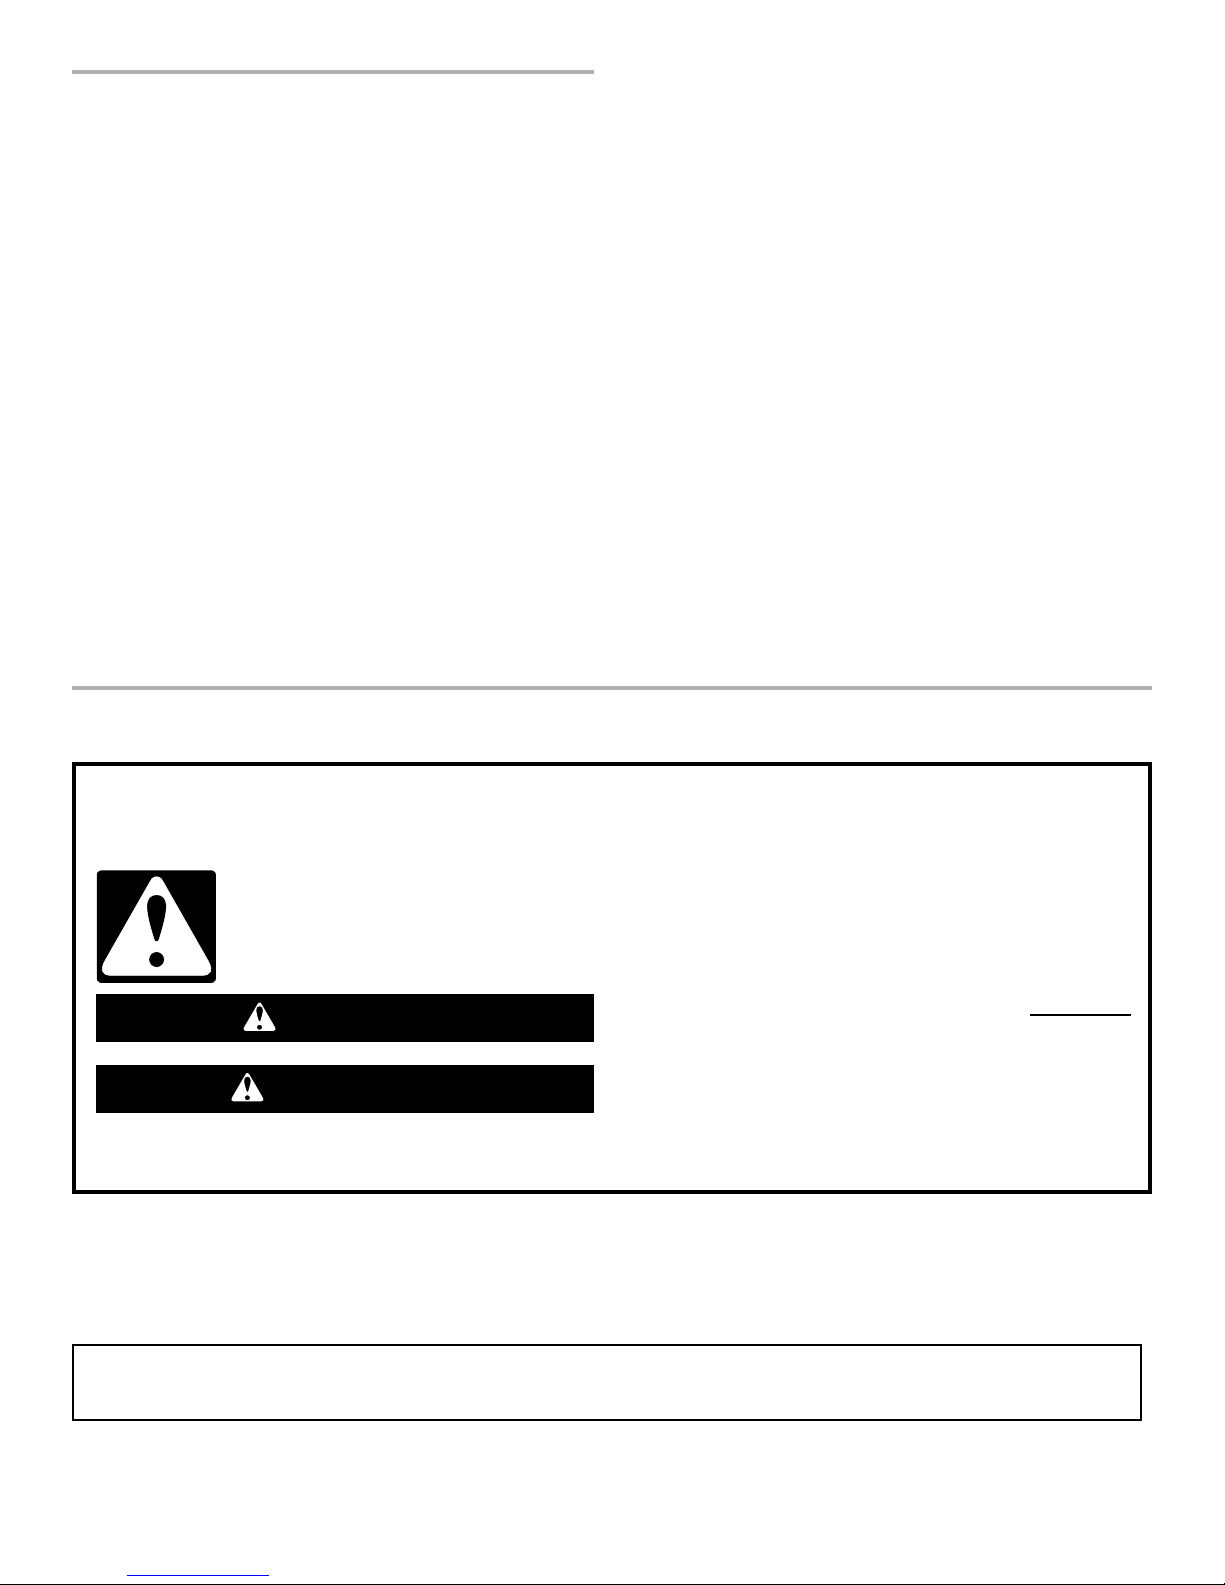
Your safety and the safety of others are very important.
We have provided many important safety messages in this manual and on your appliance. Always read and obey all safety
messages.
This is the safety alert symbol.
This symbol alerts you to potential hazards that can kill or hurt you and others.
All safety messages will follow the safety alert symbol and either the word “DANGER” or “WARNING.”
These words mean:
You can be killed or seriously injured if you don't immediately
DANGER
WARNING
All safety messages will tell you what the potential hazard is, tell you how to reduce the chance of injury, and tell you what can
happen if the instructions are not followed.
follow instructions.
can be killed or seriously injured if you don't
You
instructions.
follow

3
WARNING: For your safety, the information in this manual must be followed to minimize
the risk of fire or explosion, or to prevent property damage, personal injury, or death.
– Do not store or use gasoline or other flammable vapors and liquids in the vicinity of this
or any other appliance.
– WHAT TO DO IF YOU SMELL GAS:
Do not try to light any appliance.
•
Do not touch any electrical switch; do not use any phone in your building.
•
Clear the room, building, or area of all occupants.
•
Immediately call your gas supplier from a neighbor's phone. Follow the gas supplier's
•
instructions.
If you cannot reach your gas supplier, call the fire department.
•
– Installation and service must be performed by a qualified installer, service agency, or
the gas supplier.
In the State of Massachusetts, the following installation instructions apply:
■ Installations and repairs must be performed by a qualified or licensed contractor, plumber, or gasfitter qualified or licensed by
the State of Massachusetts.
■ If using a ball valve, it shall be a T-handle type.
■ A flexible gas connector, when used, must not exceed 3 feet.
IMPORTANT SAFETY INSTRUCTIONS
To reduce the risk of fire, electric shock, or injury to persons when using the dryer, follow basic precautions,
WARNING:
including the following:
■ Read all instructions before using the dryer.
■ Do not place items exposed to cooking oils in your dryer.
Items contaminated with cooking oils may contribute to
a chemical reaction that could cause a load to catch fire.
■ Do not dry articles that have been previously cleaned in,
washed in, soaked in, or spotted with gasoline, drycleaning solvents, other flammable, or explosive
substances as they give off vapors that could ignite or
explode.
■ Do not allow children to play on or in the dryer. Close
supervision of children is necessary when the dryer is
used near children.
■ Before the dryer is removed from service or discarded,
remove the door to the drying compartment.
■ Do not reach into the dryer if the drum is moving.
■ Do not install or store the dryer where it will be exposed
to the weather.
■ Do not tamper with controls.
■ Do not repair or replace any part of the dryer or attempt
any servicing unless specifically recommended in this
Use and Care Guide or in published user-repair instructions that you understand and have the skills to carry out.
■ Do not use fabric softeners or products to eliminate static
unless recommended by the manufacturer of the fabric
softener or product.
■ Do not use heat to dry articles containing foam rubber or
similarly textured rubber-like materials.
■ Clean lint screen before or after each load.
■ Keep area around the exhaust opening and adjacent sur-
rounding areas free from the accumulation of lint,dust,
and dirt.
■ The interior of the dryer and exhaust vent should be
cleaned periodically by qualified service personnel.
■ See installation instructions for grounding requirements.
SAVE THESE INSTRUCTIONS
IMPORTANT: The gas installation must conform with local codes, or in the absence of local codes, with the National Fuel Gas
Code, ANSI Z223.1/NFPA 54 or the Canadian Natural Gas and Propane Installation Code, CSA B149.1.
The dryer must be electrically grounded in accordance with local codes, or in the absence of local codes, with the National
Electrical Code, ANSI/NFPA 70 or Canadian Electrical Code, CSA C22.1.

4
Location Requirements
If installing a gas dryer:
IMPORTANT: Observe all governing codes and ordinances.
■ Check code requirements: Some codes limit or do not permit
installation of clothes dryers in garages, closets, or sleeping
quarters. Contact your local building inspector.
■ Make sure that lower edges of the cabinet, plus the back and
bottom sides of the dryer, are free of obstructions to permit
adequate clearance of air openings for combustion air. See
“Recessed Area and Closet Installation Instructions” below for
minimum spacing requirements.
NOTE: The dryer must not be installed in an area where it will be
exposed to water and/or weather.
Recessed Area and Closet Installation Instructions
This dryer may be installed in a recessed area or closet. For
recessed area and closet installations, minimum clearances can
be found on the serial tag on the dryer.
The installation spacing is in inches and is the minimum
allowable. Additional spacing should be considered for ease of
installation, servicing, and compliance with local codes and
ordinances.
If closet door is installed, the minimum unobstructed air opening
in the top and bottom is required. Louvered doors with equivalent
air openings are acceptable.
The dryer must be exhausted outdoors.
No other fuel-burning appliance may be installed in the same
closet as the dryer.
INSTALLATION REQUIREMENTS
Tools and Parts
Gather the required tools and parts before starting installation.
Read and follow the instructions provided with any tools listed
here.
Tools needed
■ 8" or 10" pipe wrench
■ 8" or 10" adjustable wrench
■ Flat-blade screwdriver
■ Phillips screwdriver
■ Adjustable wrench that opens to 1" (2.5 cm) or hex-head
socket wrench
■ Level
■ ⁵⁄₁₆" socket wrench
■ Utility knife
■ Vent clamps
■ Pipe-joint compound resistant to LP gas
■ Caulk gun and caulk (for installing new exhaust vent)
■ Pliers
■ Putty knife
Parts supplied
Remove parts bag from dryer drum. Check that all parts were
included.
■ Wedge cone
■ Dryer foot (4)
■ ⁵⁄₁₆"-18 x 2¹⁄₂" bolt
■ 3 pin timing cam
■ 6 pin timing cam
WARNING
Explosion Hazard
Keep flammable materials and vapors, such as
gasoline, away from dryer.
Do not install in a garage.
Failure to do so can result in death, explosion, or fire.
5
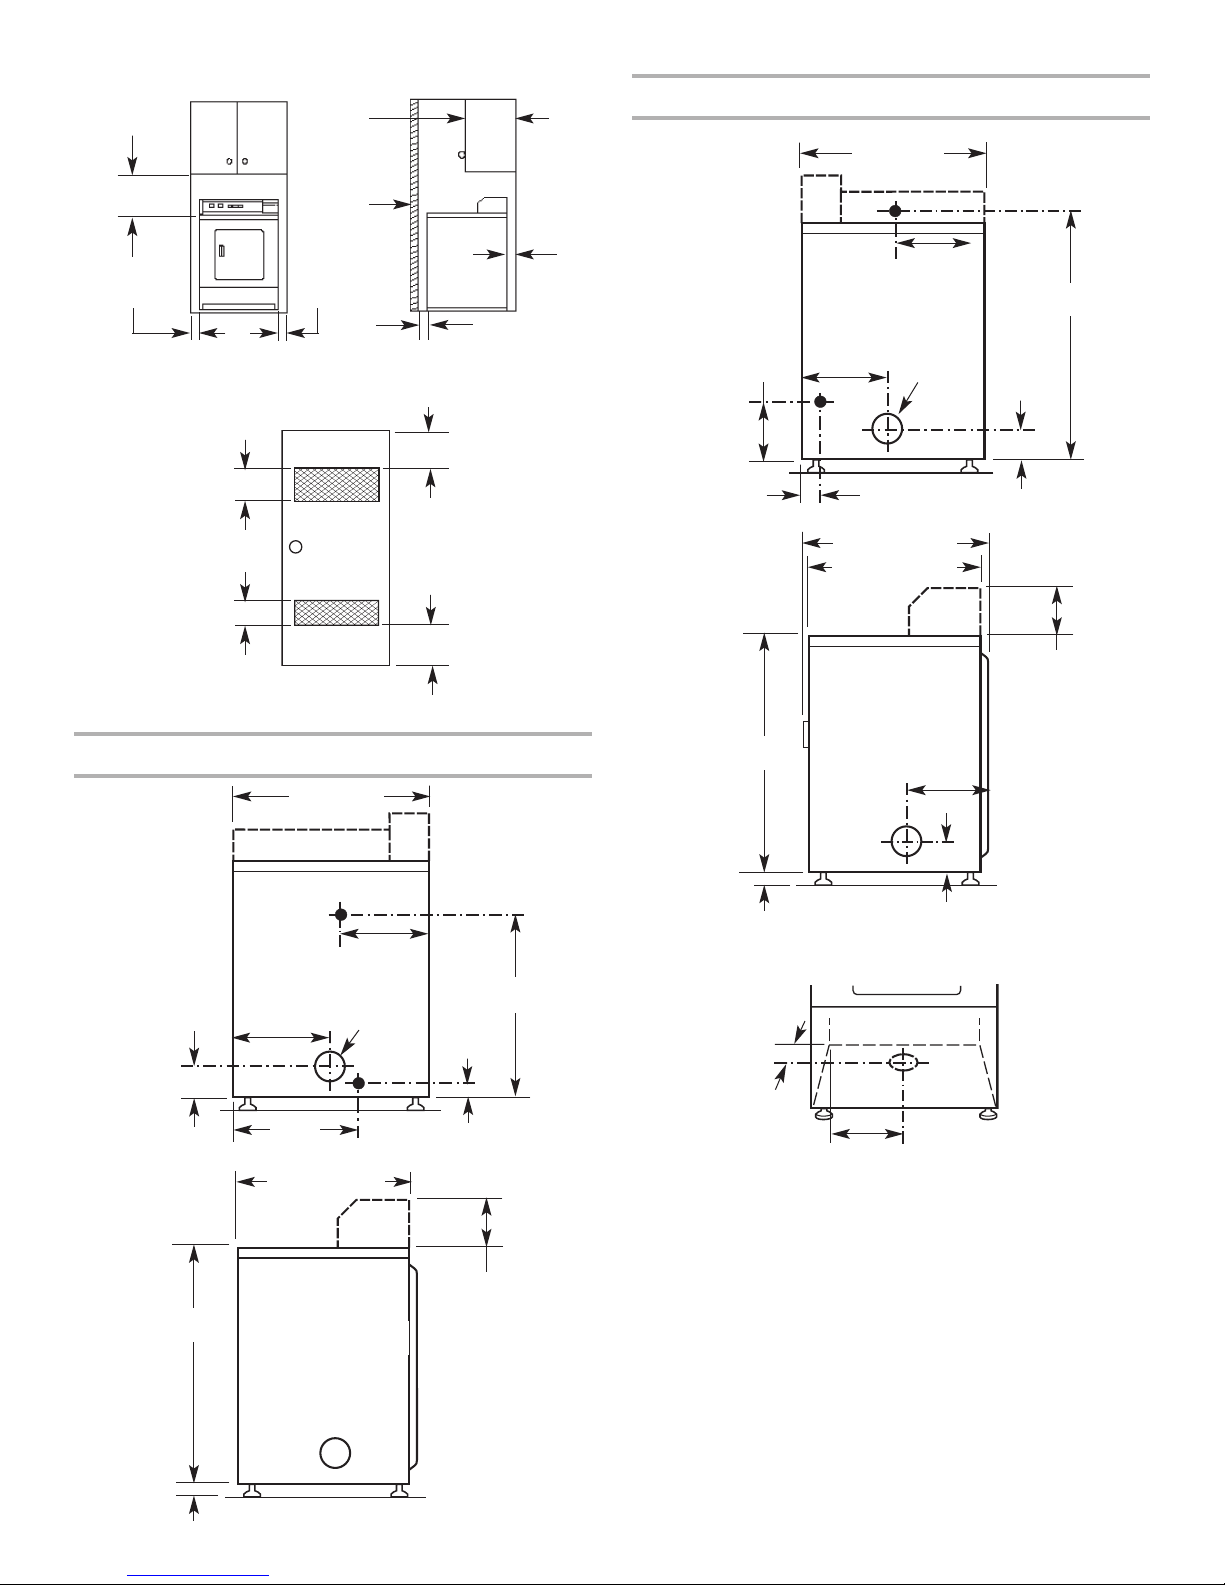
Product Dimensions 29" (73.7 cm) dryer
Product Dimensions 27" (68.6 cm) dryer
Recessed front view Closet side view
Minimum Installation Clearances
Additional clearances for wall, door and floor moldings may be required or if
external exhaust elbow is used.
closet
door
Front
View
3" (7.6 cm)
3" (7.6 cm)
24 sq. in.
(155 sq. cm)*
48 sq. in.
(310 sq. cm)*
0" (0 cm)
Closet
door
14"
(35.6 cm)
max.
1" (2.5 cm)
0" (0 cm)
15"
(38.1 cm)*
0"
(0 cm)
29" (73.7 cm)
27-1/4"
(69.2 cm)
16"
(40.6 cm)
ELECTRIC
GAS
EXHAUST
4-3/4"
(12.1 cm)
13"
(33 cm)
1-1/4"
(3.2 cm)
BACK VIEW
4" (10.2 cm)
dia.
1"
(2.5 cm)
non-coin-operated
models:
7-1/8" (18.1 cm)
coin-operated
models:
7-7/8" (20 cm)
SIDE VIEW
35"
(88.9 cm)
25-1/2" (64.8 cm)
27" (68.6 cm)
37"
(94 cm)
14"
(35.6 cm)
ELECTRIC
GAS
EXHAUST
LEFT OR
RIGHT SIDE
EXHAUST
4-3/4"
(12.1 cm)
13"
(33 cm)
1-1/4"
(3.2 cm)
BACK VIEW
4-1/4"
(10.8 cm)
6-3/4"
(15.2 cm)
4" (10.2 cm)
dia.
1"
(2.5 cm)
non-coin-operated
models:
7-1/8" (18.1 cm)
coin-operated
models:
7-7/8" (20 cm)
SIDE VIEW
BOTTOM
EXHAUST
35"
(88.9 cm)
26-1/2" (67.3 cm)
29-1/4" (74.3 cm)
14-1/8"
(35.9 cm)
7-1/4"
(18.4 cm)
10-1/4"
(26 cm)
18-3/8"
(46.7 cm)
*Opening is the minimum for a closet door.
Louvered doors with equivalent air openings are acceptable.
 Loading...