

Page 1
Riley Twin Bunk Bed Assembly Instructions
List of parts: 2 - high ends
2 - low ends
4 - side rails
2 - slat rolls
2 - guard fences (one full length,one 601/4")
1 - bunk ladder
Hardware: 17 - 11/4" coarse thread “bugle” screws
(black) to attach slats and guard fences
4 - 1/2" coarse thread “bugle” screws (silver) to attach ladder
4 - 4" metal pins to secure top bed to bottom bed
Tools needed: phillips screwdriver
rubber mallet
Directions:
1. Hold one high end upright near its desired placement.
2.With metal face of side rail facing inward, insert round metal
connectors of side rail into the holes on headboard. Tap with
rubber mallet to ensure locked position. Repeat with other side rail.
3. Attach other end of side rails to other high end as in step 2.
4. Inser t four 4" metal pins into holes on high ends. See Diagr am A.
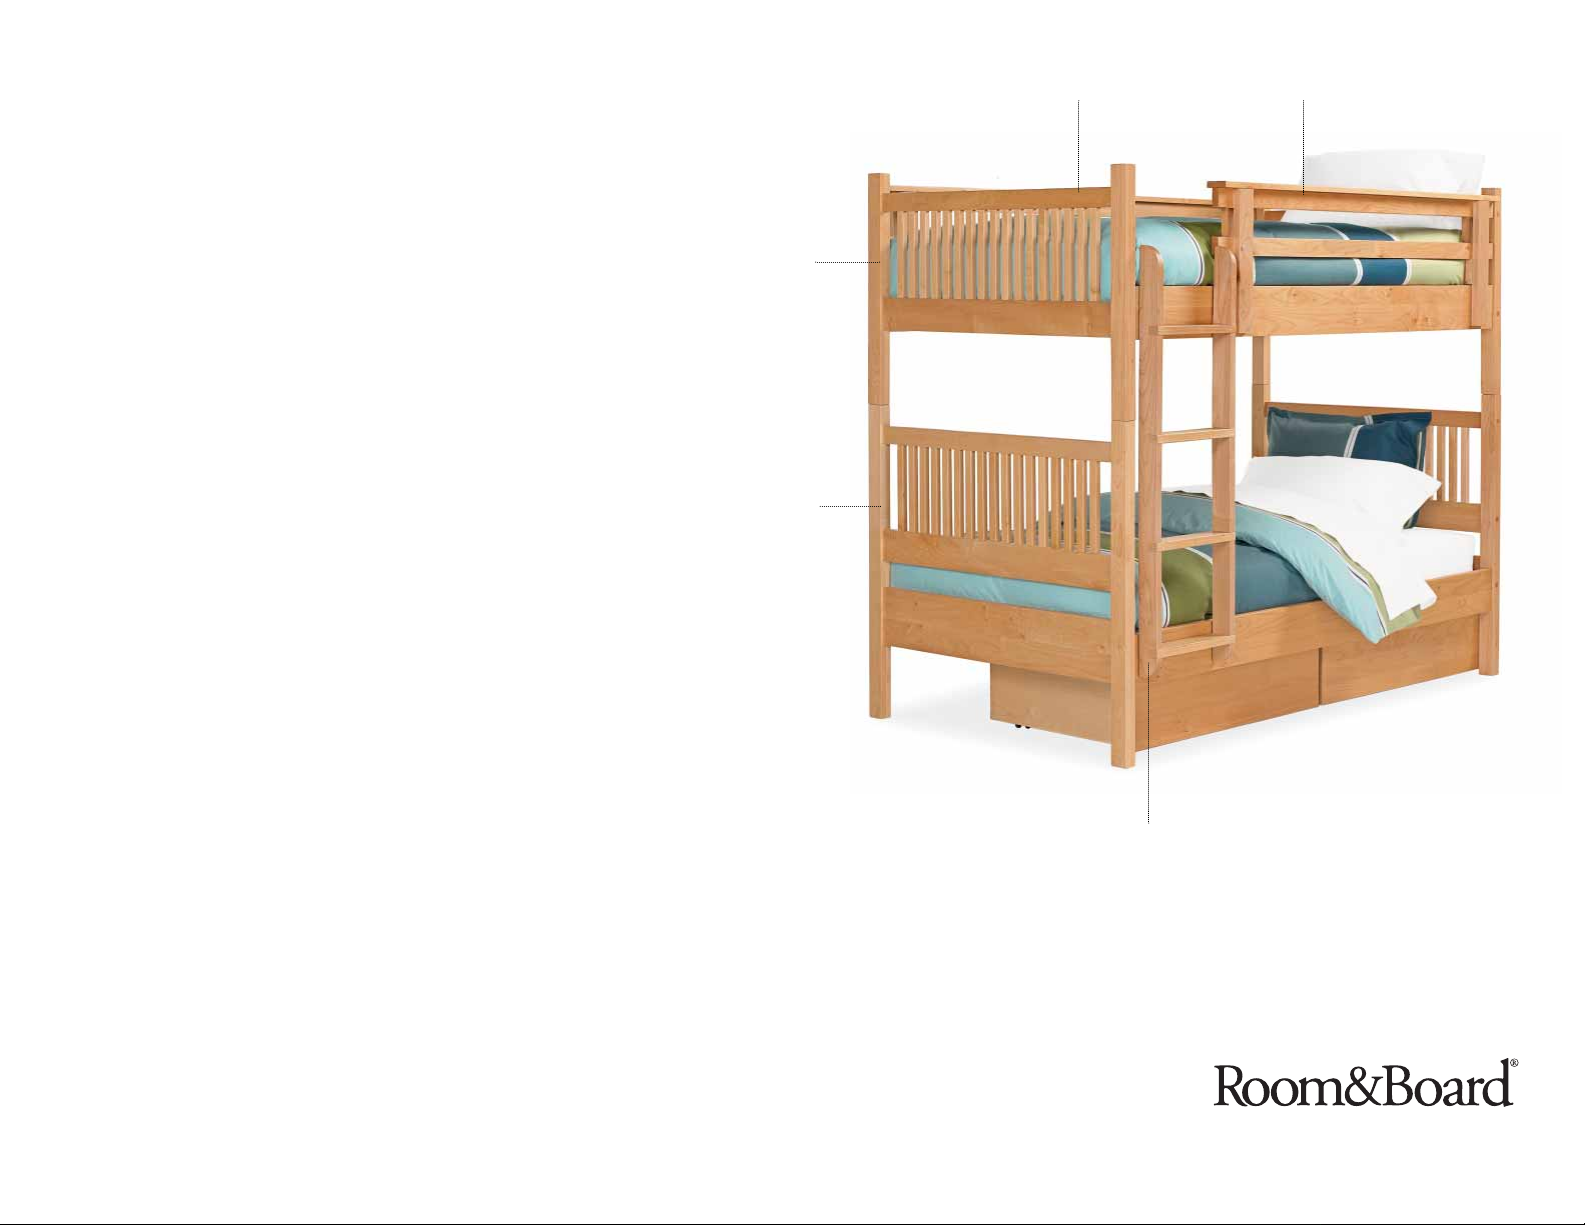
low end
high end
ladder
601/4" guard fence
full-length guard fence
12/17/07
Page 2
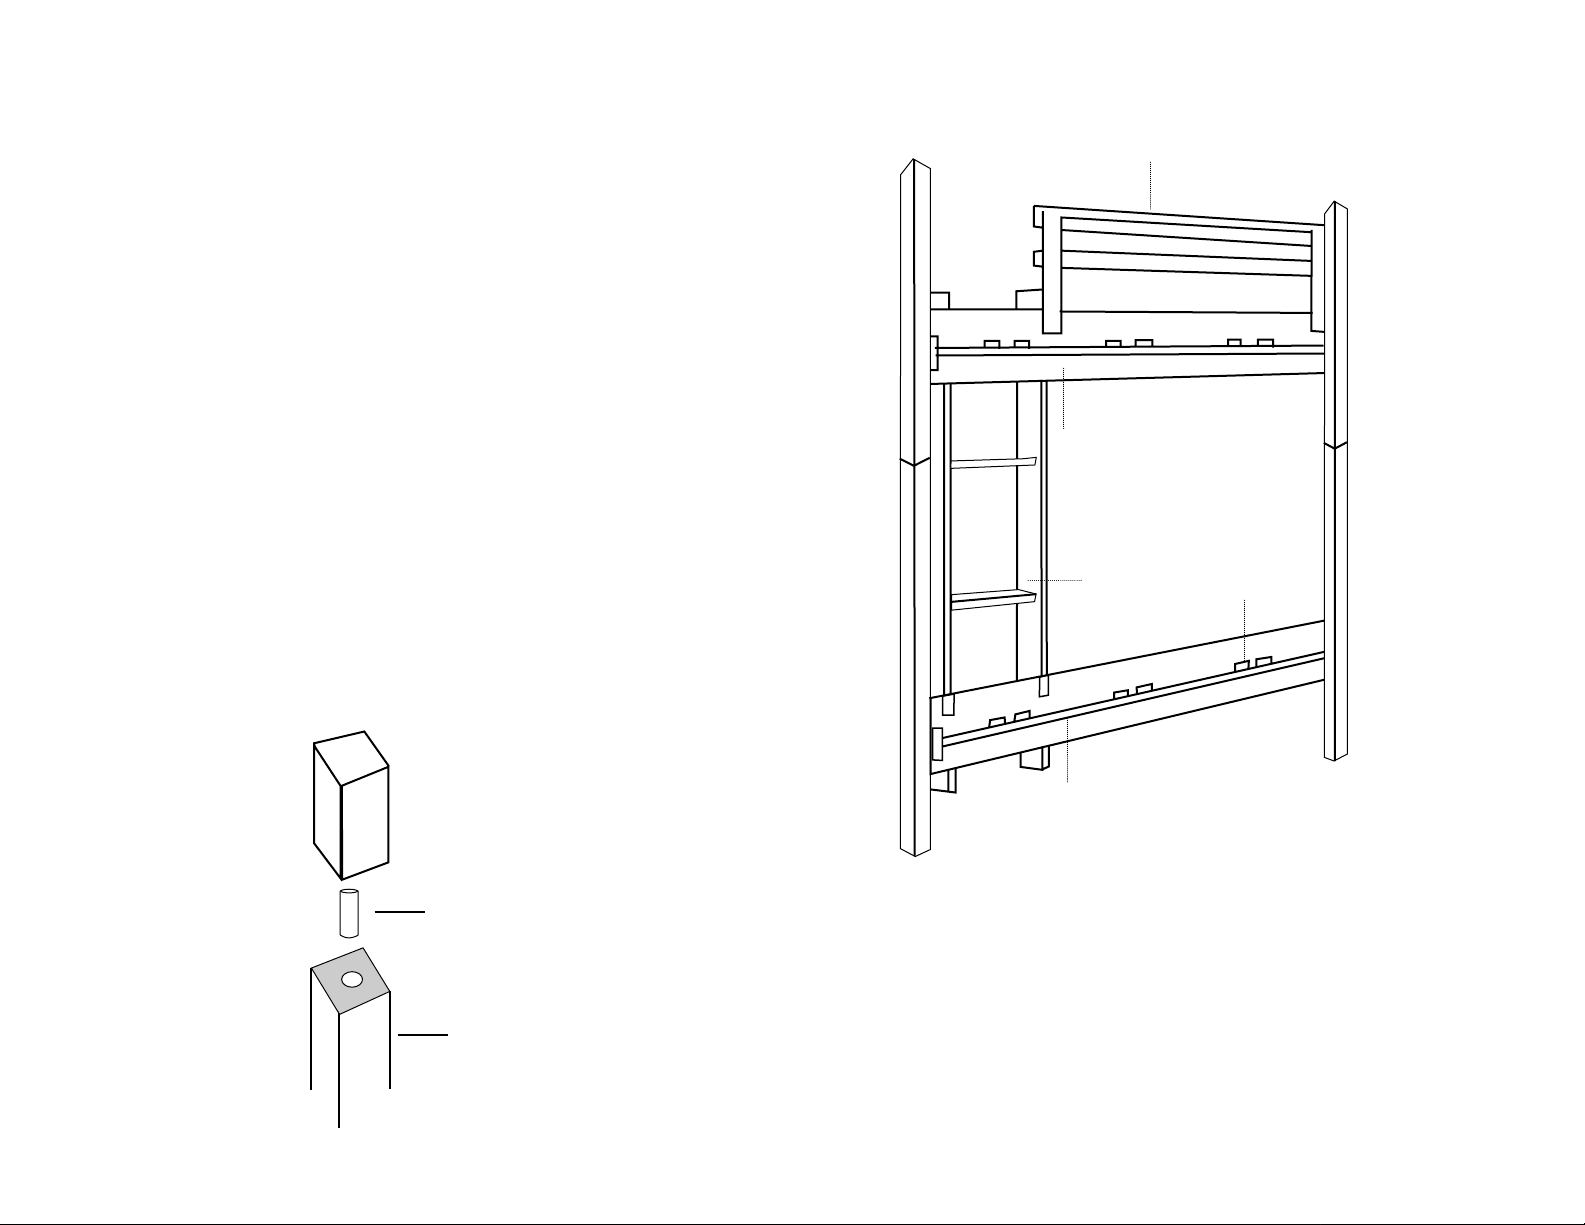
5. Place low end (with holes pre-dr illed into the bottoms of their legs) on top of
the steel pins. Pull down on low end until flush with high end posts.Use rubber
mallet if necessar y to insure low end posts are flush with high end posts.
See Diagram A.
6. Attach side rails to low end.
7. Place slat role on side r ail cleats of both top and bottom bunk, spacing evenly
from headboard to footboard.
8. Secure each slat between cleats using 11/4" screws in the pre-drilled holes.
9. Place the full-length guard fence on side that will not have the ladder. Using 11/2"
screws, attach to inside of side rail facing inside the bed.
10. Place ladder hooks to inside of side rail flush against the uprights near the head
board or footboard. Secure to both upper and lower side rails. Attach facing
inside of bed. Secure using 3/4" screws.
11. Place 601/4" guard fence to inside of side rail near the ladder. Attach facing the
inside of the bed. Secure using 11/2" screws. See Diagram B.
12. Place twin mattresses (39 x 75 x 8" maximum height on top bunk) on top of
slat rolls.
end post
4" metal pin
low end
high end
side rail
side rail
ladder
side rail
601/4" guard fence
Diagram A
Diagram B
cleats to
hold slats
12/17/07
Page 3

Safety W arnings
1. Follow the information on the warnings appearing on the upper bed end structure.
Do not remove warning label from bed.
2. Always use the recommended size mattress to help prevent the likelihood of
entrapment or falls.
3. Surface of mattress must be at least 5 in. (127 mm) below the upper edge of
guard fences.
4. Do not allow children under 6 years of age to use the upper bunk.
5. Do not allow more than one person on upper bunk.
6. Periodically check and ensure that the guard fences,ladder and other components
are in their proper position, free from damage, and that all connectors are tight.
7. Do not allow jumping on the bed or horseplay on or under the bed.
8.Always use the ladder for entering and leaving the upper bunk.
9. Do not use substitute par ts. Contact Room & Board for replacement par ts.
10. Use of a night-light may provide added safety precaution for a child using the
upper bunk.
11. Always use guard fences on both long sides of the upper bunk.
12. The use of water or sleep flotation mattresses is prohibited.
11. Keep these instructions for future reference.
12/17/07
 Loading...