

Room&Board 1111LP-TGR Owner's Manual
DESIGNED AND BUILT BY
462942 Adara Collection
1111LP-TGR Square Fire Table Owner’s Manual
!
WARNING
For outdoor use only.
!
DANGER
If you smell gas:
• Shut o gas to the appliance.
• Extinguish any open flame.
• If odor continues, keep
away from the appliance and
immediately call your gas
supplier or fire department.
!
WARNING
Do not store or use gasoline or other flammable liquids
in the vicinity of this or any other appliance.
An LP-cylinder not connected for use should not be
stored in the vicinity of this or any other appliance.
!
WARNING
Improper installation, adjustment, alteration, service, or
maintenance can cause injury or property damage.
Read the installation, operation and maintenance instructions
thoroughly before installing or servicing this equipment.
170822FT-171130
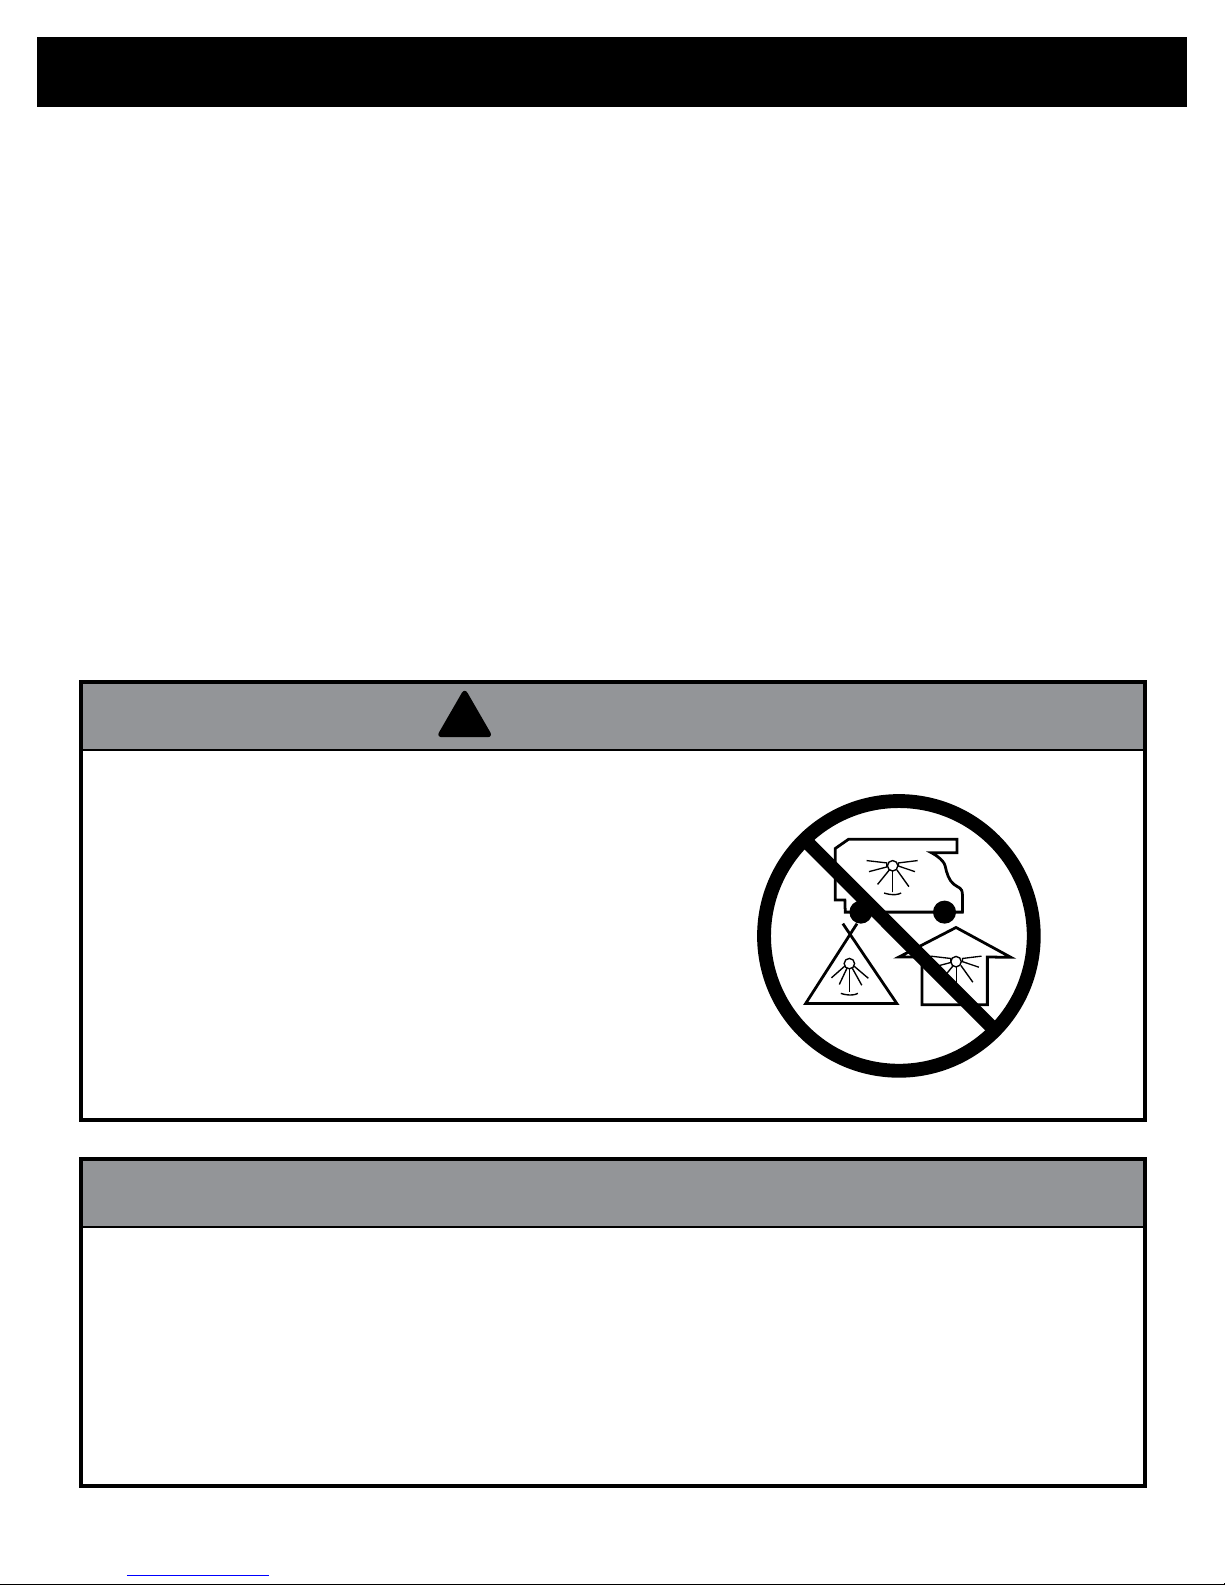
TABLE OF CONTENTS
Important Safety Information
Gas Dangers and Warnings
Parts List
Assembly Instructions
Pre-Use Instructions
Lighting Instructions
Care and Cleaning
Spider and Insect Warning
Tips & Troubleshooting
Technical Parts List
Warranty
!
DANGER
3
5
6
7
10
11
12
13
14
15
16
CARBON MONOXIDE HAZARD
This appliance can produce carbon
monoxide which has no odor.
Using it in an enclosed space can kill you.
Never use this appliance in an enclosed
space such as a camper, tent, car or home.
SPECIFICATIONS
Product Name
Adara Square Fire Table
Model No.
1111LP
Type of Gas
Propane (LP)
Gas Supply
11 lb LP-Gas cylinder
Rated Heat Output
60,000 BTUs/hr
2

IMPORTANT SAFETY INFORMATION
Installation notes
• Minimum Clearance from unit to combustible materials:
48” (121.9 cm) from all sides and back. Do not place this fire table under any overhead structure or
vegetation. Do not place on or above combustible surfaces.
• Save these instructions for future reference. If you are assembling this unit for someone else, give this
manual to them to read and save for future reference.
• If the information in this manual is not followed exactly, a fire or explosion may result causing property
damage, personal injury, or death.
• Installation and service must be performed by a qualified service agency or gas supplier. Real Flame
recommends using professionals who are certified in the U.S. by the National Fireplace Institute® (NFI)
as NFI Gas Specialists.
• The normal LP inlet pressure for this appliance is 11.0” W.C. (2.74 kPa), maximum inlet pressure is 13.0”
W.C. (3.23 kPa), minimum inlet pressure is 8” W.C. (1.99 kPa).
• Do not remove the feet from the fire table.
• Do not place the fire table on anything that blocks or seals the gap between the table and the ground.
• Do not permanently secure the fire table in any way or to any surfaces.
• Do not bury the hose. You must be able to visually inspect the hose for damage before each use.
• Do not coil or hide the hose under the fire table. The hose could be damaged if it touches hot
surfaces.
General Warnings
• Children and adults should be alerted to the hazards of high surface temperatures and should stay
away to avoid burns or clothing ignition.
• Young children should be carefully supervised when in the area of the fire table.
• Clothing or other flammable materials should not be hung from the fire table or placed on or near
the appliance.
• Any guard or other protective device removed for servicing the fire table must be replaced prior to
operating the appliance.
• Installation and repair should be done by a qualified service person. The fire table should be
inspected before use and at least annually by a qualified service person. More frequent cleaning
may be required as necessary. It is imperative that the control compartment, burners, and
circulating air passageways of the appliance are kept clean.
• Do not store or use gasoline or other flammable vapors or liquids within 25 feet ( 7.62 m) of this or
any other appliance.
• Do not store combustible materials in the fire table enclosure. This includes LP tanks. If the fire table
is designed to use a hidden LP tank, the LP tank should be properly secured in the designated tank
holder under the table. Do not store extra LP tanks under the fire table.
• Be sure to protect the hose and its components from any hot surfaces. It is dangerous to allow the
hose to come into contact with any hot surface.
• If using your fire table with a LP tank, the tank should never be operated while on its side or up-sidedown.
3

IMPORTANT SAFETY INFORMATION
General Warnings (Cont.)
• Keep all parts of the fire table clean including the burner and hose assembly. For more information on
cleaning your fire table please refer to the Care and Cleaning section of this manual.
• Do not use this appliance if any part has been under water. Immediately call a qualified service
technician to inspect the appliance and to replace any part of the control system and any gas control
that has been under water.
• Do not use this fire table for cooking.
• Do not pour water into the fire table.
• Do not attempt to move or store this fire table until all parts are cool.
• Always shut o the gas supply at the source and disconnect the hose when the fire table is not in use.
• Any alteration of this outdoor fire table that is not specifically directed in the owner’s manual will void
the manufacturer’s warranty. This includes the use of unapproved filler materials.
Set-Up Warnings
• Prior to each operation, check the hose assembly for evidence of excessive abrasion, wear or damage.
Use a hand-held mirror, if necessary, to see hose sections located below the unit.
• If the hose assembly is damaged, cracked, or cut, it must be replaced before using the fire table.
The hose assembly must be replaced with a hose assembly specified by Real Flame. Please call us at
1-800-654-1704 for assistance.
• Place the hose out of the pathways where people may trip over it. Do not place the hose in areas
where it may be accidentally damaged.
• Before each use, examine the burner and its components for dirt and debris. If cleaning is required,
use a pipe brush and soapy water solution. Also examine the area around the burner. Any dirt or
foreign material such as spider webs, nests, leaves, etc., should be removed. If it is evident that the
burner is damaged, the fire table must not be used, and the burner assembly must be replaced. Please
contact Real Flame at 1-800-654-1704 for support.
• Do not burn solid fuels such as wood, charcoal briquettes, lump charcoal, manufactured logs, drift
wood, trash, leaves, paper, cardboard, plywood, painted, stained or pressure-treated wood and other
materials in this fire table.
In-Use Warnings
• NEVER LEAVE this fire table unattended when in use.
• The use of alcohol, prescription or non-prescription drugs may impair your ability to safely operate
this fire table.
• Always use in accordance with all applicable local, state and national codes. Contact your local fire
department for details on outdoor burning.
• Do not use in windy conditions. Winds above 10 mph may cause the flame to extinguish.
• Some surfaces of this fire table may become hot during use. Be careful and do not touch surfaces
until the fire table has cooled.
4
GAS DANGERS AND WARNINGS
In-Use Warnings (Cont.)
• Do not attempt to disconnect the gas supply from the fire table when the unit is in use.
• Do not sit on the fire table.
LP Gas Warnings
LP gas is flammable and hazardous if handled improperly. Become aware of its characteristics before
using any LP gas product. Failure to understand and follow these warnings or any directions and
warnings provided by your LP supplier may result in property damage, injury or death.
DANGER
!
A LP cylinder should never be placed on its side. Doing so may cause liquid propane to leak. This
could cause a fast build-up of propane gas and could lead to property damage, injury or death.
LP Characteristics
• LP gas is flammable, explosive under pressure, heavier than air and settles in pools in low areas.
Pooled gas may ignite causing a fire or explosion which could cause property damage, injury or death.
• In its natural state, propane has no odor. For your safety, a scent has been added.
• Contact with propane could burn your skin.
LP Tank Information
• LP gas cylinders should be filled only by a certified LP gas dealer.
• Never use a propane cylinder with a damaged body, valve, collar or footing.
• Dented or rusted propane cylinders may be hazardous and should be checked by your propane gas
supplier.
• The LP gas supply tank must be constructed and marked in accordance with the Specifications for
LP gas tanks of the U.S. Department of Transportation (DOT) or the National Standard of Canada,
CAN/CSA-B339, LP gas tanks, Spheres and Tubes for the Transportation of Dangerous Goods; and
Commission.
• LP gas tanks must be arranged for vapor withdrawal.
• LP gas tanks must have a listed overfilling prevention device (OPD) and a QCCI or Type I (CGA810) LP
gas tank connection.
• The LP gas cylinder must contain a shuto valve as specified in the Standard for Compressed Gas
Cylinder Valve Outlet and Inlet Connection, ANSI/CGA-V-1-1977, CSA B96.
• Never attempt to attach this appliance to the self-contained LP gas system of a camper trailer, motor
home or house.
• Hand-turn the manual gas control valve on your LP tank. Never use tools. If the valve will not turn by
hand, do not try to repair it. Call a certified gas technician.
• The use of force or any attempt at amateur repair may cause a fire or explosion.
LP Tank Storage and Safety
• Cylinders must be stored upright and outdoors in a well-ventilated area out of reach of children.
• Never store an LP cylinder in any enclosed area such as a shed or garage. Leaking gas could build up
in these areas and may result in an explosion.
• Do not store LP gas tanks near any source of flame or ignition.
• Never store your LP gas tank in direct sunlight or where temperatures can reach 125°F or higher.
• Never keep a filled LP gas tank in a hot car or car trunk. Heat will cause the gas pressure to increase,
which may open the relief valve and allow gas to escape.
• Place dust cap on valve outlet whenever the LP gas tank is not in use. Install only the type of dust cap
on the LP gas tank valve outlet that is provided with the LP gas tank valve. Other types of caps or
plugs may result in leakage of propane.
• The LP gas tank should not be dropped or handled roughly.
5

PARTS LIST
ITEM R&B Number JCo NUMBER QUANTITY
Fire Table Body N/A N/A 1
1
2
Lid N/A 11112005 1
LP Hose and Regulator N/A 96000002 1
3
4
11 lb. LP Tank 991225 11110001 1
5
Black Lava Rock 970274 100240120J 1
6
Protective Cover 528431 11110002 1
7
Valve Key 711797 11110004 1
6
2
7
1
5
3
4
6

ASSEMBLY INSTRUCTIONS
1.) Place the lava rock or other Real Flame filler material into the burn area by hand. Do
not dump the bag into the burner area, or directly onto the burner to avoid clogging the
burner with dust. Position the filler material across the burn area to a level half an inch
(1/2”) above the burner.
If a Real Flame glass filler is being used, first place down a 1.5” layer of the included lava
rock then place the glass filler on top of that layer to a level 1/2” above the top of the
burner. This allows for better air flow below the burner and decreases the amount of
glass filler needed.
Filler Material Warning
1. Do not overfill the burner area with rock or glass filler; use only the specified amount. The total
depth of the filler should not be more than 1/2 inch above the burner tube. Only Real Flame filler
products have been certified and tested for safe use with this fire table. Using other filler material may
result in increased popping and cracking or increased carbon monoxide emissions.
2. Do not light or use this fire table if the filler is wet. Ensure filler is completely dry before lighting.
Intense heat can cause wet filler to explode and hit someone causing injury.
3. Keep away from the fire table for at least 20 minutes during initial start-up as filler could retain
moisture from manufacturing and shipping.
7

ASSEMBLY INSTRUCTIONS
2.) Have your 11 lb. Propane tank filled at a local LP refill location. The tank ships
empty and must be filled before using your fire table.
Once filled, place the LP tank in the designated location just inside the access door of
your fire table.
3.) Once the tank is placed in the designated area, secure it in place by tightening the
thumbscrew on the tank seat.
8

ASSEMBLY INSTRUCTIONS
4.) Connect the LP Gas Tank
Before connection, be sure there is no debris caught in the
collar of the gas cylinder, the regulator valve or the burner
and burner ports.
Connect the gas line to the tank by turning the connection
knob clockwise. Hand tighten only.
To disconnect the LP tank, make sure the valve on the LP
gas tank is completely closed.
Disconnect the connection knob by turning it counterclockwise until it is detached from the valve.
9

PRE-USE INSTRUCTIONS
WARNING
!
Before using this fire table, make sure you have read, understand, and are following all information
provided in this manual. Failure to follow these instructions could cause property damage, serious
injury or death.
Checking for Leaks
Make a leak check solution by mixing one part dish-washing soap with three parts water in a spray
bottle.
Make sure that the valve on the fire table is in the OFF position, then connect your fire table to a
LP gas tank and turn the tank’s valve on.
Spray leak solution on the valve and tank connections, paying particular attention to the areas
indicated in the diagrams below by arrows.
If bubbles appear, close the tank valve, disconnect the tank, and inspect all connections making
sure threads are clear of debris. Reconnect the LP tank and re-test. If you continue to see bubbles,
turn the LP gas tank o, disconnect it and call Real Flame at 1-800-654-1704 for assistance.
If no bubbles appear after one minute, wipe away excess leak solution and proceed to the next
step.
Pay close attention to the areas indicated by the arrows
10
 Loading...