

Page 1
1
80
Use only approved consumables.
Any problems or faults caused by the use of similar products will void the warranty.
Thermal Receipt Printer Operating Manual
80 X 80 mm Thermal Printer
Page 2
2
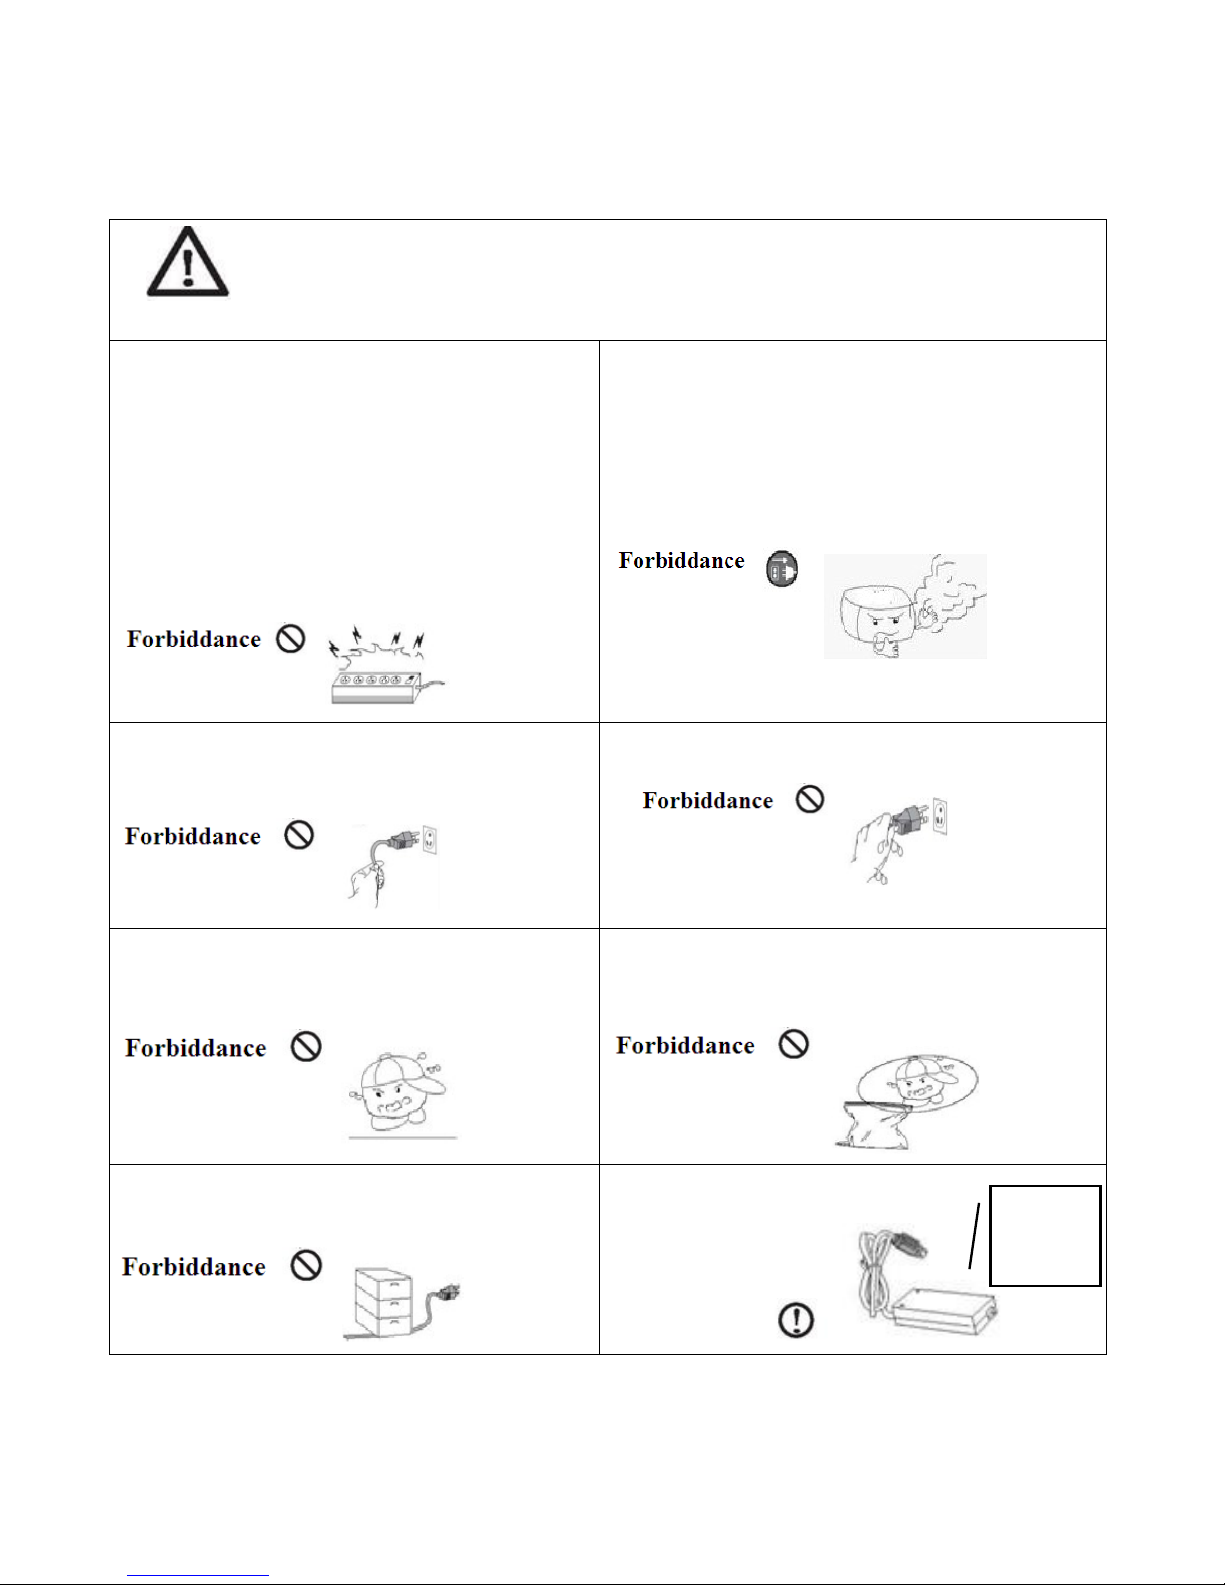
Safety Warning:
In order to operate our printer correctly and prevent any danger or damage, please be sure to follow
instructions while operating our products:
Do not simultaneously connect power plugs of
different products on one power bar.
May cause heat or fire. Dangerous
Once the power plug is stained with foreign
body or water, please use it after cleaning.
When the ports of power socket is loose, please
don't plug in.
Use standard products for multiple ports
socket.
When detected suspicious smells, smokes or
sound,please shut off the power at once and then take
the following measures:
1. Be sure to unplug the power from the socket.
2. Confirming no smoke and then get help from the
purchase place for processing warranty.
Do not pull the power soft wire when unplugging.
Pulling may crack the soft wire and cause fire
or faults.
Do not plug in or pull out plug with wet hands.
Danger of electric shock
Keep the drying agent out of the reach of children.
Children may be poisoned if intake the drying
agent.
Keep the poly bag out of reach of children.
Children may be suffocated if misplaced the poly
bag on their head.
Do not overly bend or place heavy load on the
power soft wire as it may cause fire.
Use only supplied products for adaptor.
It is dangerous to use other adaptors.
Warning
Infringing the instructions below my cause severe injury or death.
Use only
supplied
adaptors.
Page 3
3
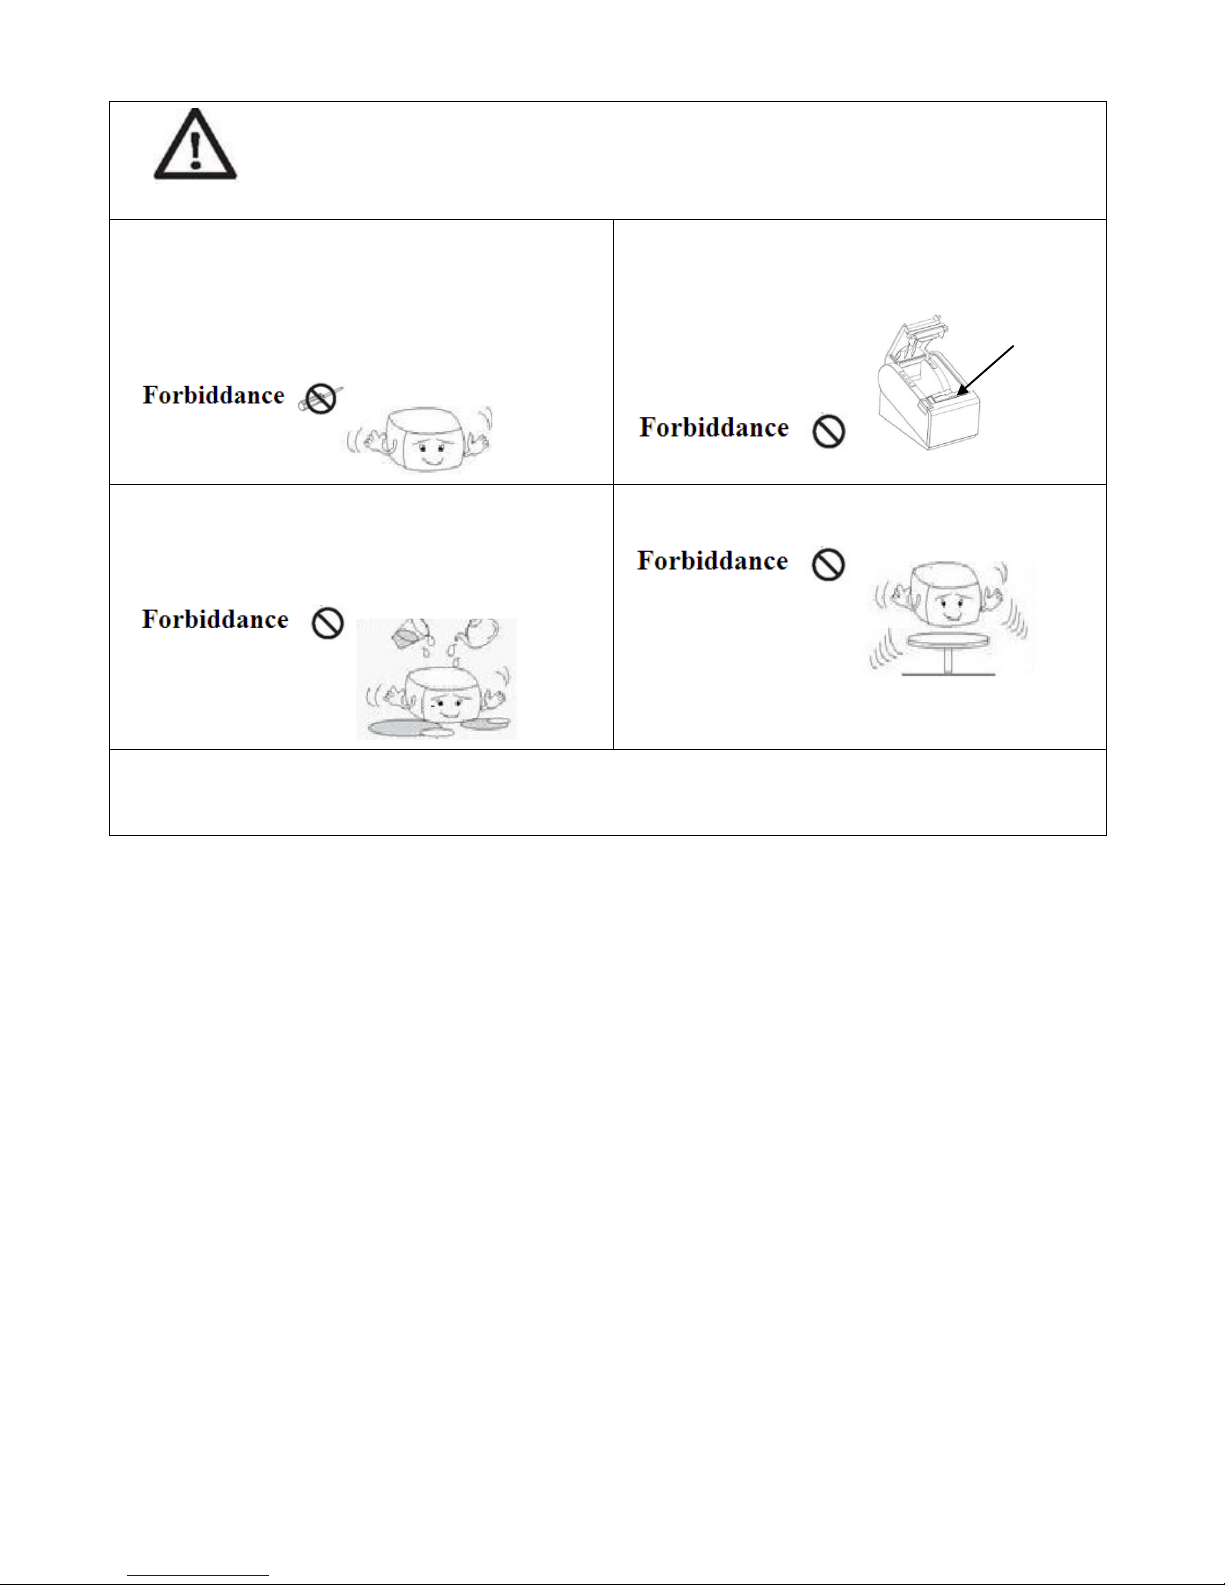
Do not take apart, repair or transform the products.
Use only approved accessories or it may cause
damage.Please consult with the place of
purchase.
Don't touch the thermal head with hand.
That may cause burn or influence of printing
quality.
Do not let water or foreign object get inside the
printer.
If happens,switch off the printer,unplug the
power and then contact the place of purchase.
Place the product on a stable place
Falling may make breakage and cause injury.
Do not operate the printer when it breaks down,as it may cause fire or electric shock.
Close switch power at once,unplug the power and then contact the place of purchase.
Notice
Electronic products such as printers are susceptible to static damage.
To avoid this kind of damage, please power off the printer before connecting or switching off behind cable.
Once static damage happens, please contact the nearest maintenance center.
Product Introduction
RP80 printer is compatible with electronic instrument, such as ECR、POS、cash register、receipt bill、
computer peripheral equipment etc.
Main Features of the Printer:
1.High Speed: 250mm/s.
2.Low noise thermal printing.
3.Support Parallel port,CENTRONIC,and Serial Port(RS_232).
4.Data buffer built-in(Able to receive printer data while printing).
5.Equip with circuit driving peripheral to control external device such as cash box.
6.Command support ESC/POS、select different printing density,i.e.adjust dial switch.
7.Support NV bitmap download and printing.
RP80 features NV bitmap download Flash 64kb.
**Read the manual carefully before usage.
Warning
Infringing the instructions below my cause severe injury or death.
Thermal head
Page 4

4
Directory
Chapter 1. Printer Setup and Operation
Contents in the Package.......................................................................................................................05
Connect Cable......................................................................................................................................05
Load and Replace Paper Roll...............................................................................................................06
Paper Roll Recommendation................................................................................................................07
Connect to computer.............................................................................................................................07
Connect to Cash Drawer.......................................................................................................................07
Connect to Power..................................................................................................................................08
Printer Control Panel.............................................................................................................................09
Setting Printer Mode.............................................................................................................................09
Chapter 2.Printer Management
Self-Checking........................................................................................................................................10
Printer Maintenance...............................................................................................................................10
Fix Paper Jam.........................................................................................................................................11
Chapter 3.Appendix and Product Specification
Specification...........................................................................................................................................12
Page 5

5
Chapter 1. Printer Setup and Operating
Contents in the Package
Check below items,Please contact the dealer for any breakdown or absent.
RP80
Power Adaptor
Power Cable
Paper Roll
CD
Communication Cable
Note:The packing style above is subject to change without notice.If you have any questions please contact
your local dealer.
Connect Cable
RP80 printer comes with the USB cable in addition to the selected interface cable upon purchasing.
If connecting to ECR,POS or computer is prefered,please use the cable provided in printer or request it from
the place of purchase.
Parallel Port
Cash Box Port
Power Port
Page 6

6
Load and Replace Paper Roll
Press the Button to Open Paper Roll Cover
Remove the used paper roll to replace with a new roll
1. Load the paper roll as shown in the image below:
2.Make sure the paper roll is loaded in the correct direction.
Correct Direction Wrong Direction
3.Pull out the roll paper to the bottom front of the printer and then close the cover as shown in image
below.
4.Tear off extra paper roll as showed in below image
Use Auto-cutter or cutter point of machine
Press
Press the Button
Page 7

7
Paper Roll Recommendation
Paper Roll Specification
Manufacturer
HPK-110
Hansol patech Co.,Ltd
AF50KS-E
JUJO Paper Co.,Ltd
TF-50KS-E
Nippon Paper Industries Co.,Ltd
PD-160R
New Oji Paper Mfg,Co.,Ltd
F380
Kansaki Specialty Papers,Inc.
Improper paper roll may lead to critical fault on printer head and shortened the machine life
span.Thus be sure to use the recommended paper roll.Any issue caused by using other branded paper
roll will void the warranty, even during the warranty period.
Connect to Computer(PC-POS)
Connect to the provided cable as shown in the image below.
Connect to RP80 Connect to Computer
Connect to Cash Drawer
Connect cash drawer cable to cash drawer port which is behind the printer
1 Connect the other end of parallel cable to
printer port on the computer.
2 Connect the other end of parallel cable to the
printer port of computer.
Cash Drawer
Cash drawer cable connection.
Use 12-24V/1A power supply cash drawer,which is also
compatible with printer.The improper cash drawer will cause
damage both to the cash drawer and the printer.
Do not connect cash drawer port to the telephone line.It may
cause failure condition on telephone line and printer.
Page 8

8
Connect to Power
1.Make sure the power is unplugged and the printer is powered off before connecting the power cord.
2.Connect to power
3.Turn on the power switch on the printer side to connect to the power supply.
Power Cable
AC adapter
Page 9

9
Printer Control Panel
Control Board
Setting Printer Mode
RP80 printer is initially setup with default value. However, the default printer mode can be reconfigured to satisfy
customer’s needs through the DIP switch, which is located at the bottom of the printer.
The function of DIP switch setting as follows:
Switch
Function
(on)
(off)
1
cutter
No cutter
With cutter
2
Buzzing prompt
Open buzzing prompt
Close buzzing prompt
3
Printing density
High density
Regular density
4
24 bytes mode
No Chinese Character
With Chinese Character
5
Character per line
42
48 6 Select cash box
Open cash box
Close cash box
7-8
Transmission rate(apply for serial interface)( refer to below information)
Transmission rate(bps)
-bytes/s
SW-7
SW-8
38400
ON
ON
115200
OFF
ON
9600
ON
OFF
19200
OFF
OFF
Power light-Light appears when connected to the power supply.
Error light-Light appears under the following condition:
1. Printer overheats
2. Receipt Paper Low
Low Receipt Paper Light-Light appears when the receipt paper
roll is low and/or wrong replacement of the paper.
Feed key-Press feed key to generate a length of paper.
Page 10

10
Chapter 2. Printer Management
Self-Checking Function
The Self-Checking Function allows the user to identify if the printer is operating normally. If the
printer is detected with failure condition, please contact the distributor.
Self-Checking Process :
Self-checking Procedure:
1. Make sure the printer is powered off
2. Press FEED button and switch on the power supply while the FEED button still pressed.
3. The Self-Checking list should be printing the printer is brought to power.
Self-Checking function printers out bytes, part of Chinese character set,command mode, interface type,
local printer dial-up switch setting printer setting,…, etc, sequentially.
For the printer equip with auto-cutter, the auto-cutter spontaneously cuts the receipt paper immediately
after finish printing.
The printer automatically goes into data receipt mode after finish self-checking process.
Printer Maintenance
Maintaining the printer regularly is a necessary step to sustain the printer quality as the residual paper wool
got collected through the thermal slice.
Maintaining the Printer with the following steps:
1. Open the paper roll cover and remove the receipt paper roll if necessary.
2. Use the alcohol swab to clean the thermal slice printer head
3. Slight damp a swab and gentle wipe through the roller and the paperchecking sensor
4. Reload the paper roll into the printer and closed the paper roll cover.
Page 11

11
Fix Paper Jam
The error light appears and flashes with warning prompt when paper jam happens.
Page 12

12
Chapter 3. Appendix and Product Specification
Specification
Printing Property
Printing Method
Thermal Line
Resolution
203X203dpi(8dots/mm)
Paper Width
79.5±0.5mm
Printing Width
72mm
Printing Character
ASCII Font A:12X24
ASCII Font A:9X24
Character 12X24
Printer Density
512dot/line or 576dot/line
Printing Speed
250mm/s
NV bitmap Flash
64kb
Receipt Buffer
8kb
Note:Printer speed changes as the as the combination of the data transmission speed and control
command varies.
Power Adaptor
Input Voltage
AC 100~240V
Rate
50/60Hz
Output Voltage
DC 24V,2.5A
Environment
Operating Temperature
0~45℃
Storage Temperature
-10~50℃
Operating Humidity
10-80%
Storage Humidity
10-90%
Life Span
Thermal Mechanism
15,000,000 lines
10 105(~ 100km)
Auto-cutter
1,000,000cuts
MCBF
60,000,000 line
 Loading...