

Roland Corporation RPC-1 Owner's Manual

Owner's Manual
Before using this unit, carefully read the sections entitled: “USING THE UNIT
SAFELY” and “IMPORTANT NOTES” (Owner’s manual p. 2; Owner’s manual
p. 3). These sections provide important information concerning the proper
operation of the unit. Additionally, in order to feel assured that you have
gained a good grasp of every feature provided by your new unit, the Owner’s
manual should be read in its entirety. The manual should be saved and kept
on hand as a convenient reference.
Copyright © 2001 ROLAND CORPORATION
All rights reserved. No part of this publication may be reproduced in any
form without the written permission of ROLAND CORPORATION.
Roland Wen site http://www.roland.co.jp/
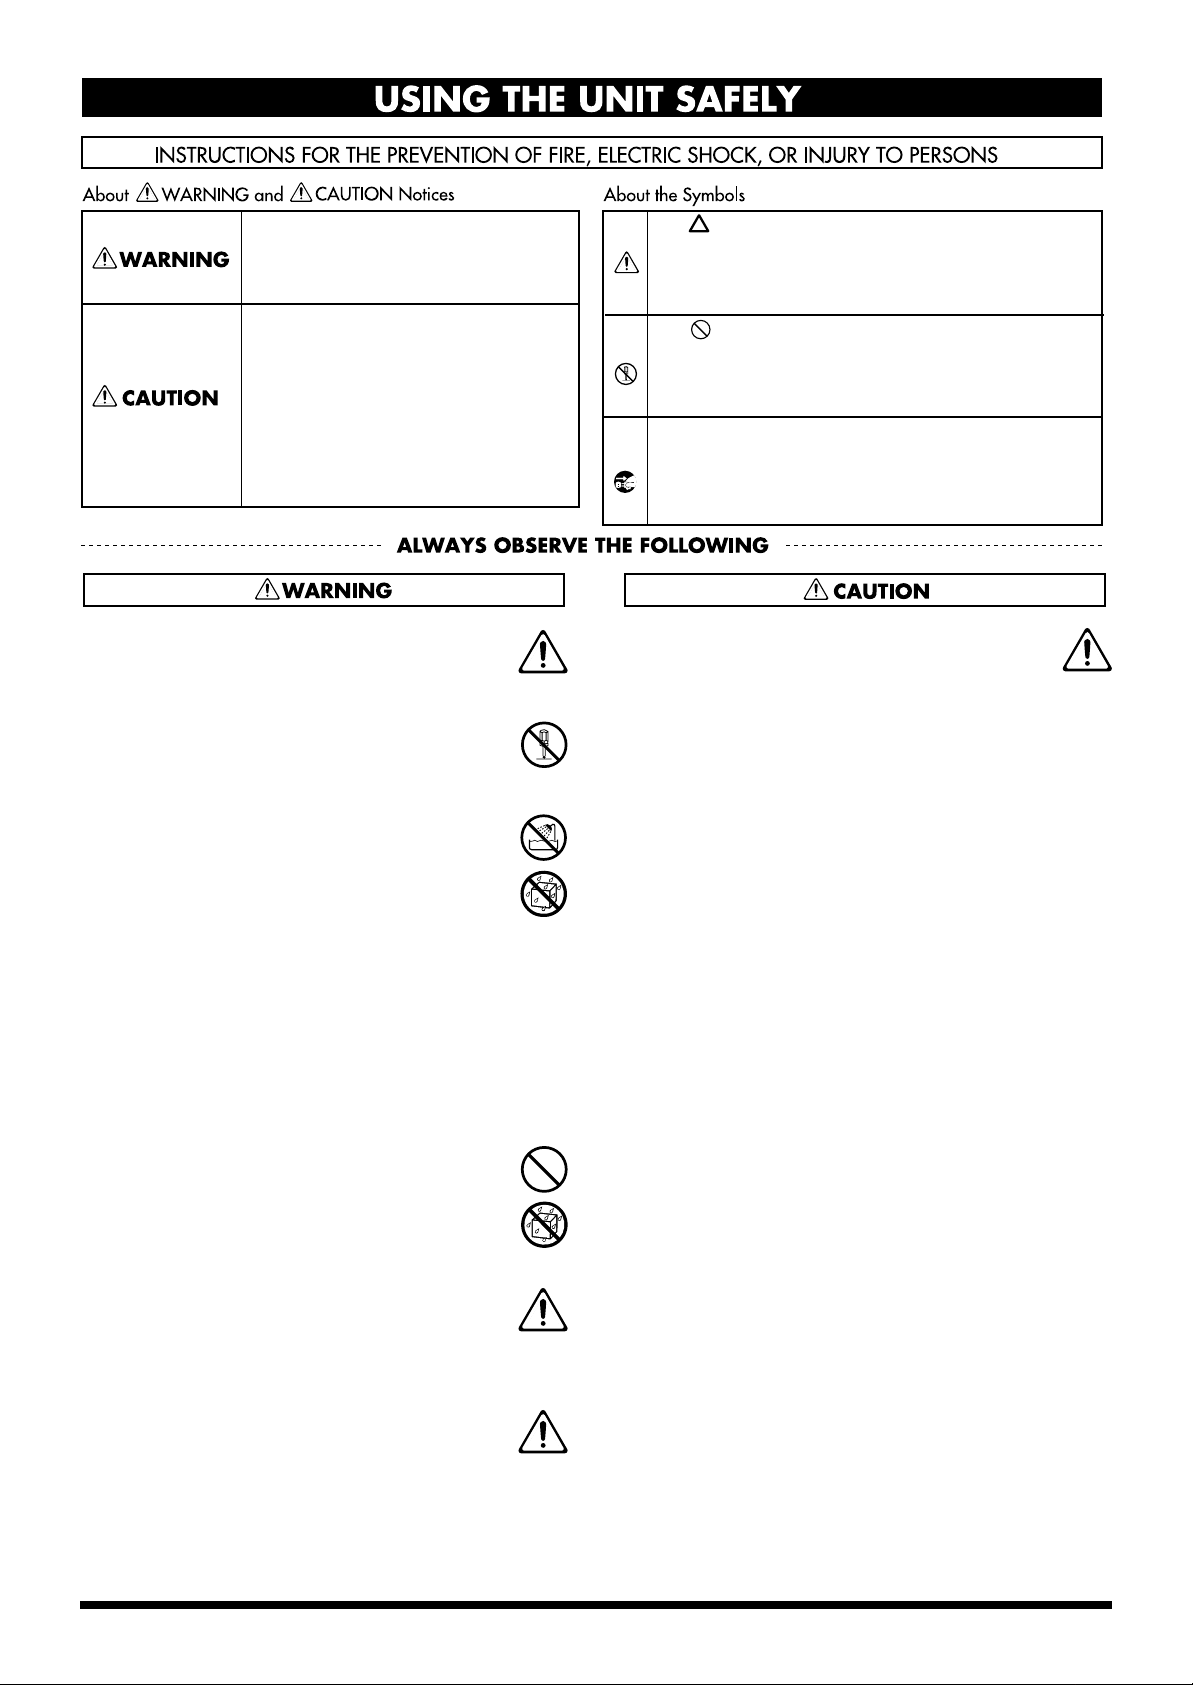
USING THE UNIT SAFELY
Used for instructions intended to alert
the user to the risk of death or severe
injury should the unit be used
improperly.
Used for instructions intended to alert
the user to the risk of injury or material
damage should the unit be used
improperly.
* Material damage refers to damage or
other adverse effects caused with
respect to the home and all its
furnishings, as well to domestic
animals or pets.
001
• Before using this unit, make sure to read the
instructions below, and the Owner’s Manual.
..........................................................................................................
002a
• Do not open or perform any internal modifications on the unit.
..........................................................................................................
004
• Never use or store the unit in places that are:
• Subject to temperature extremes (e.g., direct
sunlight in an enclosed vehicle, near a heating
duct, on top of heat-generating equipment); or
are
• Damp (e.g., baths, washrooms, on wet floors);
or are
• Humid; or are
• Exposed to rain; or are
• Dusty; or are
• Subject to high levels of vibration.
..........................................................................................................
The symbol alerts the user to important instructions
or warnings.The specific meaning of the symbol is
determined by the design contained within the
triangle. In the case of the symbol at left, it is used for
general cautions, warnings, or alerts to danger.
The symbol alerts the user to items that must never
be carried out (are forbidden). The specific thing that
must not be done is indicated by the design contained
within the circle. In the case of the symbol at left, it
means that the unit must never be disassembled.
The ● symbol alerts the user to things that must be
carried out. The specific thing that must be done is
indicated by the design contained within the circle. In
the case of the symbol at left, it means that the powercord plug must be unplugged from the outlet.
104
• Try to prevent cords and cables from becoming
entangled. Also, all cords and cables should be
placed so they are out of the reach of children.
..........................................................................................................
011
• Do not allow any objects (e.g., flammable material,
coins, pins); or liquids of any kind (water, soft
drinks, etc.) to penetrate the unit.
..........................................................................................................
013
• In households with small children, an adult
should provide supervision until the child is
capable of following all the rules essential for the
safe operation of the unit.
..........................................................................................................
014
• Protect the unit from strong impact.
(Do not drop it!)
..........................................................................................................
2

IMPORTANT NOTES
291a
In addition to the items listed under “USING THE UNIT
SAFELY” on page 2, please read and observe the
following:
Placement
354a
• Do not expose the unit to direct sunlight, place it near
devices that radiate heat, leave it inside an enclosed
vehicle, or otherwise subject it to temperature extremes.
Excessive heat can deform or discolor the unit.
355
• To avoid possible breakdown, do not use the unit in a wet
area, such as an area exposed to rain or other moisture.
Additional Precautions
553
• Use a reasonable amount of care when using the unit’s
buttons, sliders, or other controls; and when using its jacks
and connectors. Rough handling can lead to malfunctions.
556
• When connecting / disconnecting all cables, grasp the
connector itself—never pull on the cable. This way you
will avoid causing shorts, or damage to the cable’s
internal elements.
558b
• To avoid disturbing your neighbors, try to keep the unit’s
volume at reasonable levels (especially when it is late at
night).
Handling CD-ROMs
801
• Avoid touching or scratching the shiny underside
(encoded surface) of the disc. Damaged or dirty CD-ROM
discs may not be read properly. Keep your discs clean
using a commercially available CD cleaner.
3

Contents
USING THE UNIT SAFELY......................................................................................................................2
IMPORTANT NOTES................................................................................................................................3
Before you begin.....................................................................................5
Check the included items..........................................................................................................................5
Main features...............................................................................................................................................5
Names of things and what they do........................................................6
Preparations for using the RPC-1 .........................................................7
Minimum requirements ............................................................................................................................7
Installing the RPC-1 ...................................................................................................................................7
Installing the RPC-1 driver (Windows)................................................................................................... 7
Installing the RPC-1 driver (Macintosh) ................................................................................................. 9
About the various RPC-1 drivers........................................................................................................... 10
RPC-1 Control Panel.............................................................................11
Main functions of RPC-1 Control Panel................................................................................................ 11
Signal flow................................................................................................................................................. 11
RPC-1 Control Panel ................................................................................................................................ 11
Connections with other R-BUS devices .............................................13
Connections with R-BUS devices........................................................................................................... 13
Connections with the VM-3100Pro........................................................................................................13
Connections with the VM-7200/7100....................................................................................................14
Connections with the XV-5080 ............................................................................................................... 15
Connections with the ADA-7000............................................................................................................15
Connections with the AE-7000 ............................................................................................................... 15
Connections with the VSR-880 ............................................................................................................... 16
Connections with the VS-2480................................................................................................................ 16
Using multiple RPC-1 units..................................................................17
Settings for using multiple RPC-1 units................................................................................................17
Synchronizing multiple RPC-1 units..................................................................................................... 17
Software settings..................................................................................18
Logic Audio settings................................................................................................................................18
Cubase VST settings.................................................................................................................................18
Sonar settings (Windows) ....................................................................................................................... 18
Troubleshooting....................................................................................19
Main specifications...............................................................................20
Information ............................................................................................22
4
Before you begin
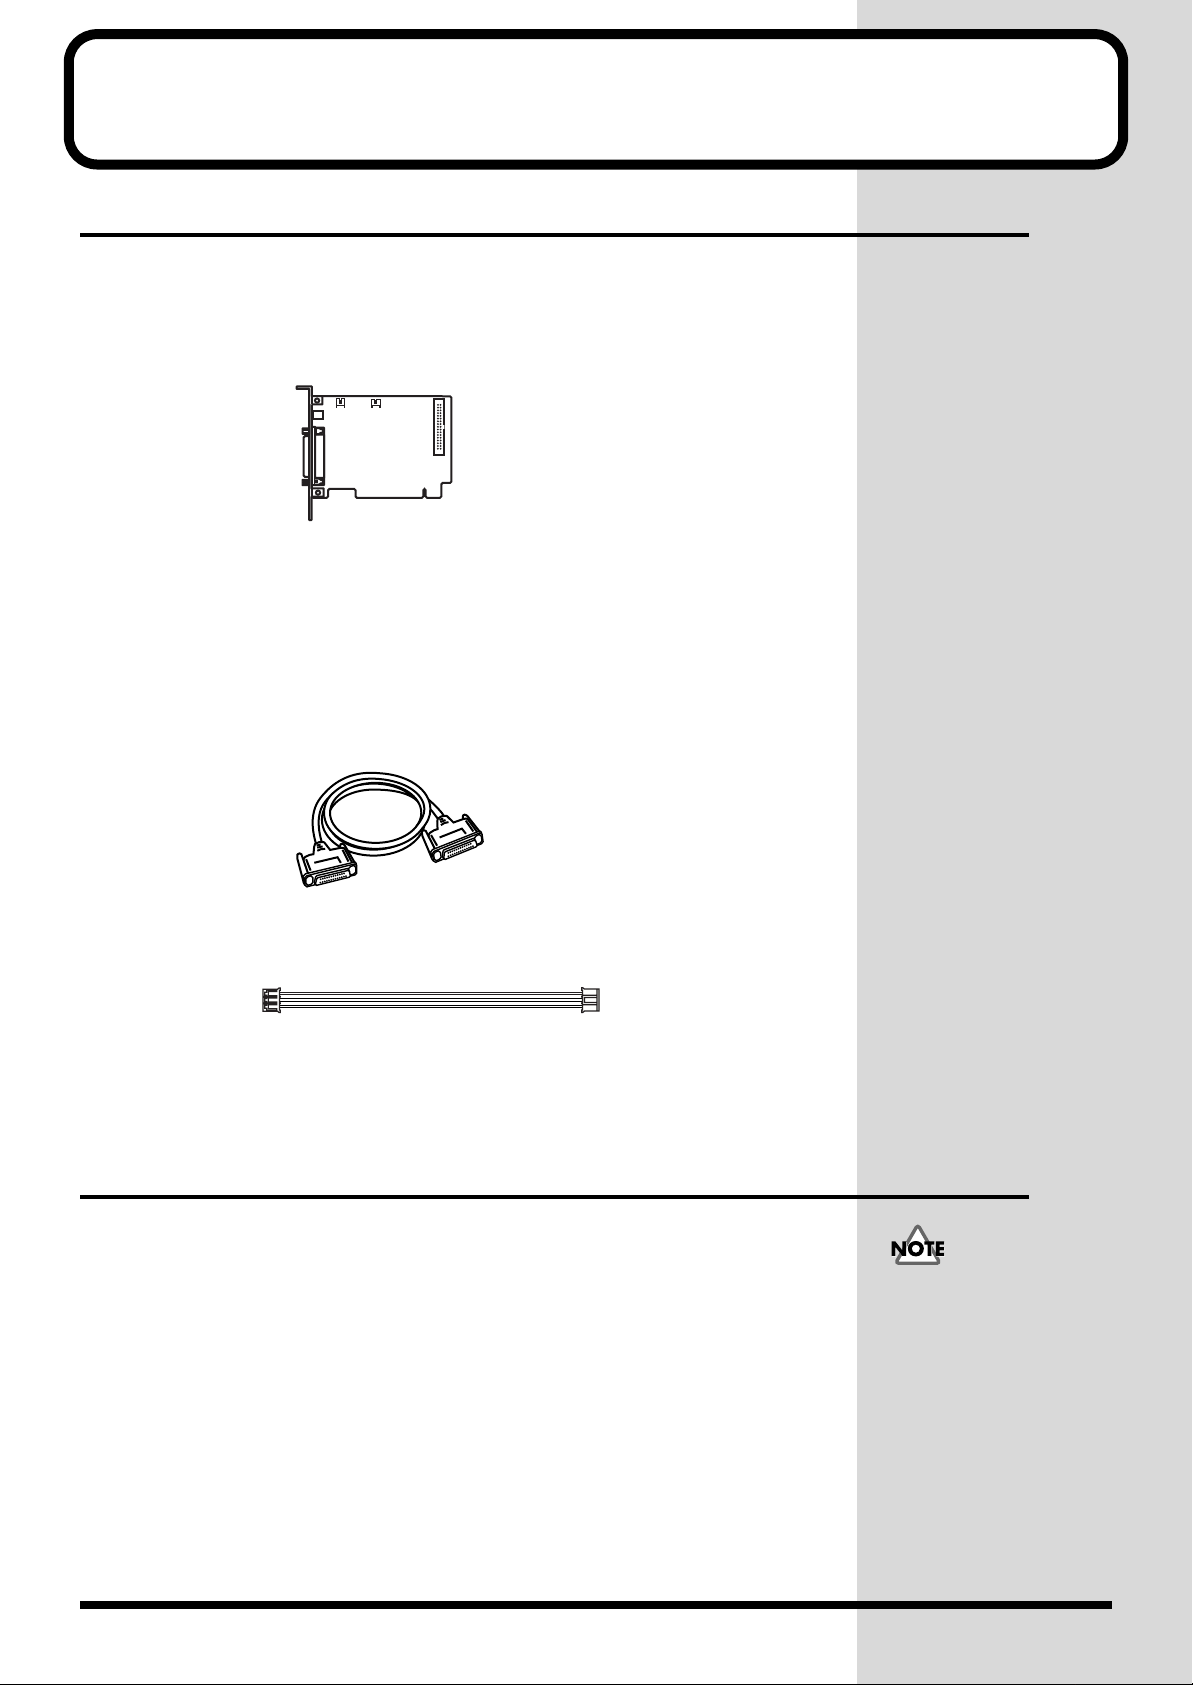
Check the included items
The following items are included with the RPC-1. Immediately after opening the
package, please check that all items are included. If any items are missing, please
contact the retailer from whom you purchased the RPC-1.
■ RPC-1
■ Drivers/Update CD-ROM
This contains driver software for using the RPC-1, and a system program updater
that makes R-BUS devices compatible with the RPC-1.
■ RPC-1 Owner’s Manual
This document.
■ R-BUS cable
This cable is used to connect the RPC-1 to an R-BUS device.
■ Clock cable
This cable is used to synchronize multiple RPC-1 units. For details refer to “Clock In
and Clock Out Connectors.”
Main features
■ Digital multi audio
Eight input and eight output channels of digital audio can be transmitted and
received simultaneously (maximum 24 bit, 96 kHz).
■ MIDI
The RPC-1 provides 16 channels of MIDI IN/OUT on the R-BUS. This allows MTC
synchronization with a connected R-BUS device.
■ Included drivers
• Windows 95/98/Me/NT4.0/2000 and Mac OS 8.6/9.0/9.1 are supported
• Windows MME, ASIO2.0, and Apple Sound Manager compatible drivers
• MIDI driver (OMS driver for the Macintosh)
In order to use the RPC-1’s
MIDI functionality on the
Macintosh, you must
install Opcode
Corporation’s OMS 2.3.8.
Install it using the
“Drivers/Update”
CD-ROM included with the
RPC-1. For details, refer to
p. 9 “Installing the RPC-1
driver (Macintosh).”
5
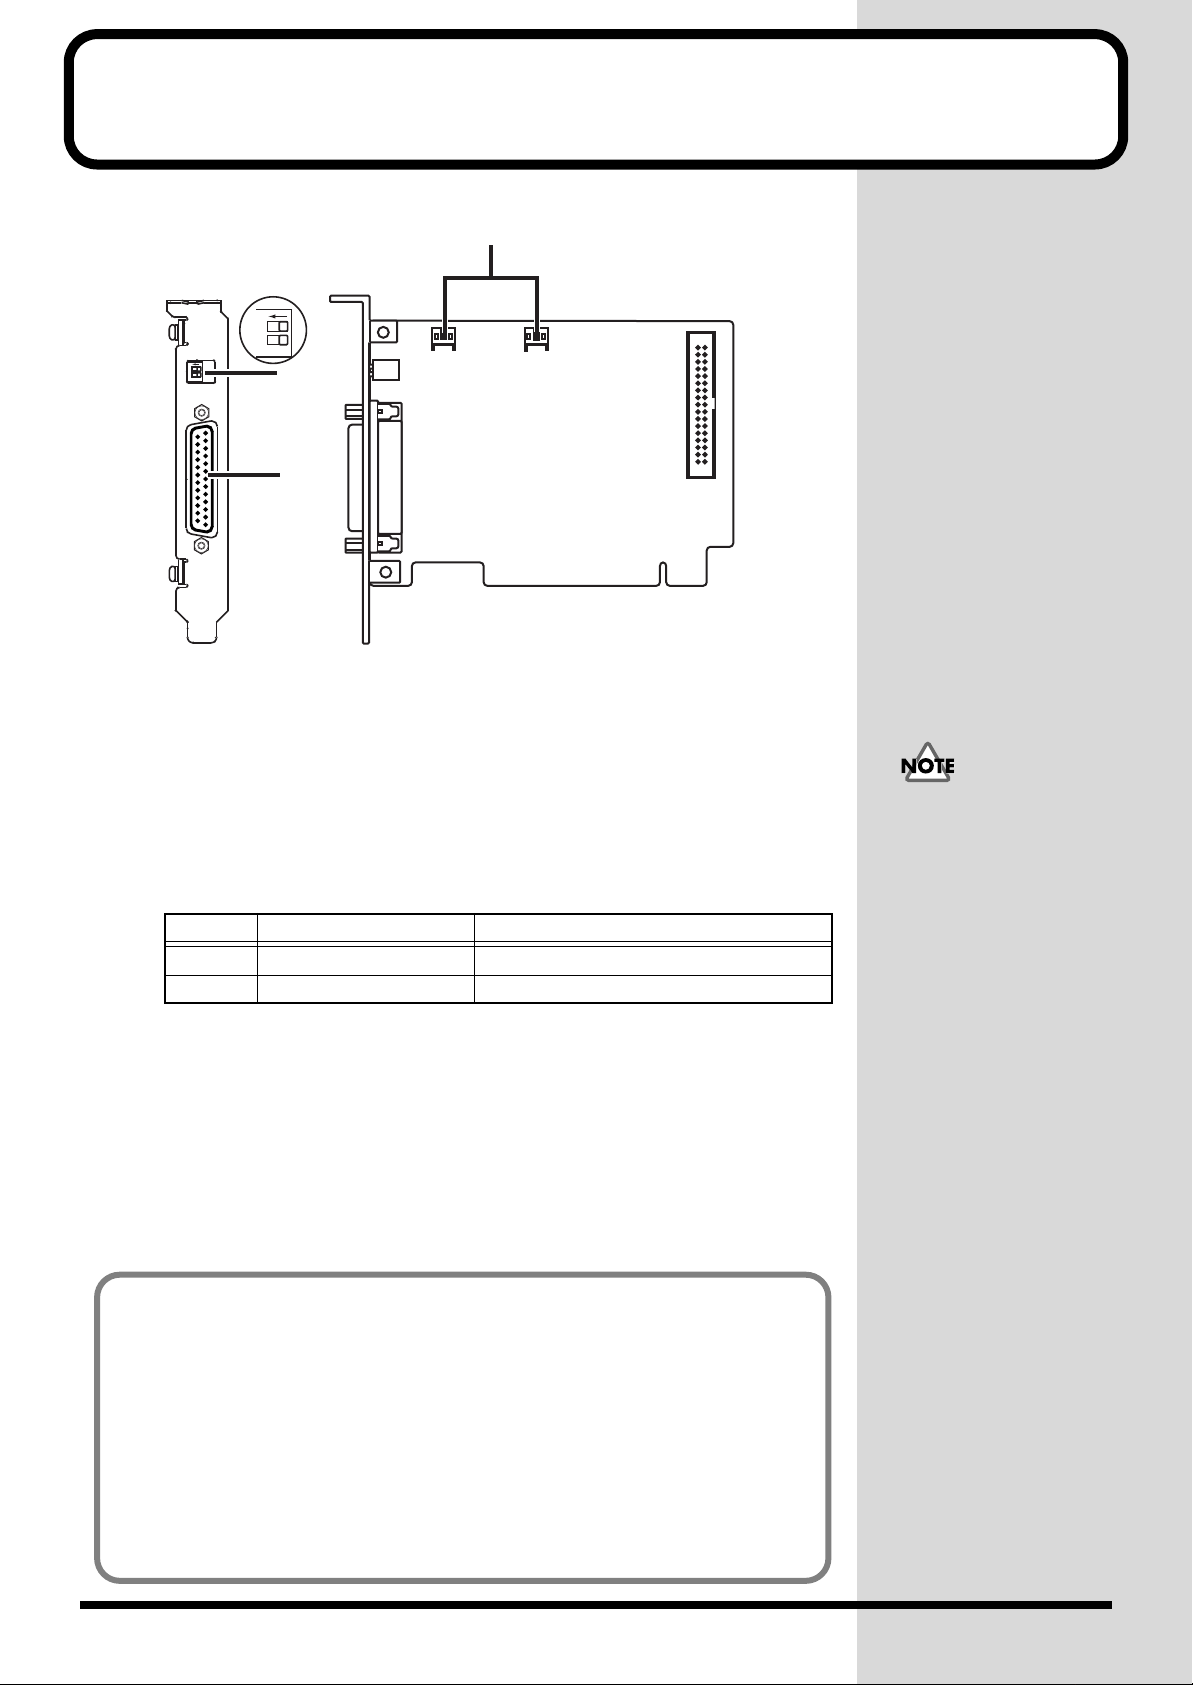
Names of things and what they do
R-BUS
3
ON
12
ON
12
R-BUS
2
1
1.R-BUS (RMDB2) connector
Connect this to R-BUS devices. This connector carries multi-channel digital audio
(8-IN, 8-OUT) in formats up to 24 bit and 96 kHz, as well as one set of MIDI IN/OUT
signals.
2.DIP switches
The DIP switches are used to specify how the RPC-1 will transmit word clock data.
Each switch has the following function.
Number OFF ON
SW1 Normal mode VS-2480 mode (when RPC-1 is slave)
SW2 DIP switch function ON DIP switch function OFF
Clock In Clock Out
To prevent malfunction
and/or damage to
speakers or other devices,
always turn down the
volume, and turn off the
power on all devices
before making any
connections.
Normally, you will leave these set at SW1: OFF and SW2: OFF.
In the following situations, set SW1: ON.
• When connected to the VS-2480 and using the RPC-1 as slave
• When connecting two RPC-1 units to each other (turn SW1 ON only for the
slave unit)
3.Clock In, Clock Out connectors
Use these to synchronize multiple RPC-1 units. (For details on using multiple units,
refer to p. 17 “Using multiple RPC-1 units.”
To avoid the risk of damage to internal components that can be caused by static
electricity, please carefully observe the following whenever you handle the board.
• Before you touch the board, always first grasp a metal object (such as a water pipe),
so you are sure that any static electricity you might have been carrying has been
discharged.
• When handling the board, grasp it only by the panel or the board’s edges. Avoid
touching any of the electronic components or connectors.
• Before you connect any cables, make sure they do not carry a static electricity charge.
Such charges can be transmitted, for example, if the other end of the cable has been
in contact with a carpet (or other object) where there is a static electricity buildup.
• Save the bag in which the board was originally shipped, and put the board back into
it whenever you need to store or transport it.
6

Preparations for using the RPC-1
Minimum requirements
In order to install the RPC-1, you must have a computer that
has a PCI slot and fulfills the following conditions.
The RPC-1 operates on a 5V PCI bus. It will not operate on a
3.3V PCI bus.
Windows users
•A PC-compatible computer with Windows 95/98/Me/
NT4.0/2000 installed
• Pentium MMX 300 MHz or better CPU (PentiumII 300
MHz or better is recommended*)
• 64 MB or more RAM (128 MB or more is recommended)
* Pentium III 450MHz with 128MB of RAM or better is
recommended for 24bit-88.2/96kHz operation.
Macintosh users
•A Power Macintosh with Mac OS 8.6 or later* installed
(9.0 or later is recommended)
• Power PC G3 or better CPU (G3 300 MHz or better is
recommended)
• 96 MB or more RAM (128 MB or more is recommended.)
Installing the RPC-1 driver (Windows)
Windows95/98
1. When you start up your computer after installing the
RPC-1, the RPC-1 will be detected automatically, and the
“Add New Hardware wizard” will start up. Then click
“Next.”
2. Into your CD-ROM drive, insert the “Drivers/Update”
CD-ROM that was included with the RPC-1.
3. Select “Search for the best driver for your device” and
click “Next.”
4. Check “Specify a location” and click “Browse,” and
select the CD-ROM drive(Roland_rpc-1).
5. Select the “95_98_Me” folder under “DRIVERS” folder,
and click “OK.”
6. Click “Next” to begin the installation.
7. When the message of “Windows has finished installing
the software you selected that your new hardware
device requires” appears, click “Finish.”
8. Windows will start up.
* MacOS X is not supported (will be supported in the near
future).
Installing the RPC-1
Install the RPC-1 into the PCI slot of your computer. For
details on installing a PCI card, refer to your computer’s
manual.
• Do not touch any of the printed circuit pathways or
connection terminals.
• Never use excessive force when installing a circuit
board. If it doesn’t fit properly on the first attempt,
remove the board and try again.
• When circuit board installation is complete, doublecheck your work.
1. Turn off the power of your computer, and unplug the
power cable.
2. Remove the cover of your computer, and remove the
cover of the PCI slot in which the RPC-1 will be installed.
(The screw that held the cover in place will be used to
fasten the RPC-1.)
Windows Me
1. When you start up your computer after installing the
RPC-1, the RPC-1 will be detected automatically, and the
“Add New Hardware wizard” will start up.
2. Into your CD-ROM drive, insert the “Drivers/Update”
CD-ROM that was included with the RPC-1.
3. Check “Automatic search for a better driver” and click
“Next.”
4. Two “Roland RPC-1” drivers will be recognized. Select
one of them located in
“\DRIVERS\95_98_Me\MA_DELTA.INF” under CDROM drive.
5. Click “OK” to begin the installation.
6. When the message of “Roland RPC-1 : Windows has
finished installing the software you selected that
your new hardware device requires” appears, click
“Finish.”
7. Windows will start up.
3. Insert the RPC-1 into the PCI slot. Notice that the RPC-1
cannot be inserted if it is oriented in the wrong direction.
4. Fasten the RPC-1 using the screw that had fastened the
PCI slot cover.
5. Re-attach the cover of your computer.
7

Preparations for using the RPC-1
Windows 2000
1. Start up your computer after installing the RPC-1.
2. In order to install the RPC-1 driver, you must be logged
onto the system as Administrator. For details, contact
your system administrator.
3. The RPC-1 will be detected automatically, and the
“Found New Hardware Wizard” will start up. Click
“Next.”
4. Check “Search for a suitable driver for my device”
and click “Next.”
5. The message of “Insert the manufacturer's installation
disk into the drive selected, and then click OK”
appears.
6. Into your CD-ROM drive, insert the “Drivers/Update”
CD-ROM that was included with the RPC-1 and click
“OK.”
7. Specify the location of the driver information file. The
RPC-1 driver file is located in “CD-ROM
drive(ROLAND_ RPC-1) > DRIVERS folder > WDM
folder.” Select “RolandRPC-1.inf” in the above folder
and click “Open.”
8. Click “OK.”
9. When the message of “Driver Files Search Results:
The wizard has finished searching for driver files for
your hardware device” appears, click “Next.”
10.Click “Yes” if the message of “Digital signature Not
Found.......” appears.
11.The installing will start up.
Windows XP
1. Start up your computer after installing the RPC-1.
2. In order to install the RPC-1 driver, you must be logged
onto the system as Administrator. For details, contact
your system administrator.
3. The RPC-1 will be detected automatically, and the
“Found New Hardware Wizard” will start up.
4. Into your CD-ROM drive, insert the “Drivers/Update”
CD-ROM that was included with the RPC-1.
5. Click “Yes” if the message of “Digital signature Not
Found.......” appears.
6. The installing will start up.
7. When the message “Completing the Found New
Hardware Wizard : Roland RPC-1” appears, click
“Finish.”
8. Windows XP will start up.
Windows NT4.0
1. In order to install the RPC-1 driver, you must be logged
onto the system as Administrator. For details, contact
your system administrator.
2. Into your CD-ROM drive, insert the “Drivers/Update”
CD-ROM included with the RPC-1.
3. From the “Start” menu, select “Settings,” and open the
“Control Panel.”
4. Double-click “Multimedia.”
5. Click “Devices,” and click “Add.”
6. Select “Unlisted or updated driver,” and click “OK.”
12.When the message “Completing the Found New
Hardware Wizard : Roland RPC-1” appears, click
“Finish.”
13.Windows 2000 will start up.
8
7. When the driver installation window appears, click
“Browse,” and select the CD-ROM drive. Select the
“WINNT” folder under “DRIVERS” folder, and click
“OK.”
8. Select “Roland RPC-1 Interface Card” in the “Add
unlisted or updated driver” window. Click “OK.”
9. When installation is finished, a message will ask you to
restart the system. Click “Restart Now” to restart the
system.
 Loading...