

Roland Corporation KR-107 Quick Start

Quick Start
Congratulations on choosing of the Roland Digital Intelligent Piano KR!
Visual Lesson
Enjoy practicing along with
song data.
You can also check the
results of what you
play right in the screen.
p. 12
Music Assistant
Use the KR’s Automatic
Accompaniment feature to
add accompaniments to
your favorite songs.
p. 16
Song/File
The KR features over 190
songs in its memory.
Use this button to select
a song.
p. 8
Super Tones
You can select specially
recommended Tones
from the KR’s library of
sounds.
p. 14
DigiScore
The notation for the selected
song is displayed on the screen.
You can display notations not
only for the internal songs, but
for recorded songs and songs on
external memory as well.
p. 10
Piano Designer
You can make your
favorite piano tones.
p. 6
How To Use This Manual
The KR Owner’s Manual consists of three volumes,
Installation Guide
Please start out by reading “Before You Start Playing” in the
KR’s power cord and how to turn on the instrument’s power.
After turning on the KR’s power, please continue by reading
By trying out the various procedures while reading the
make use of its major functions (especially procedures that involve use of the “main buttons”).
The
Owner’s Manual
example, using the KR as an accompanist and creating songs), that will help you master the KR’s many
performance functions.
.
describes procedures, from basic operation to procedures for special applications (for
Copyright © 2005 ROLAND CORPORATION
All rights reserved. No part of this publication may be reproduced in any form
without the written permission of ROLAND CORPORATION.
Quick Start
Owner’s Manual
Quick Start
Quick Start
, the
Owner’s Manual
. This explains how to connect the
(this volume).
, you can easily learn how to play the KR and
, and the
USB

Contents
Press the [Wonderland]
button.
About the Piano Screen................................................................. 3
About the Key Template................................................................ 3
A Quick Tour of the KR ........................................................ 4
[Piano Designer] Button ....................................................... 6
Using the Remote Control .................................................... 7
[Song] Button....................................................................... 8
[DigiScore] Button .............................................................. 10
[Visual Lesson] Button........................................................ 12
[Super Tones] Button.......................................................... 14
[Music Assistant] Button (1)................................................ 16
[Music Assistant] Button (2)................................................ 18
Playing in a Wonderland of Sounds................................... 19
2
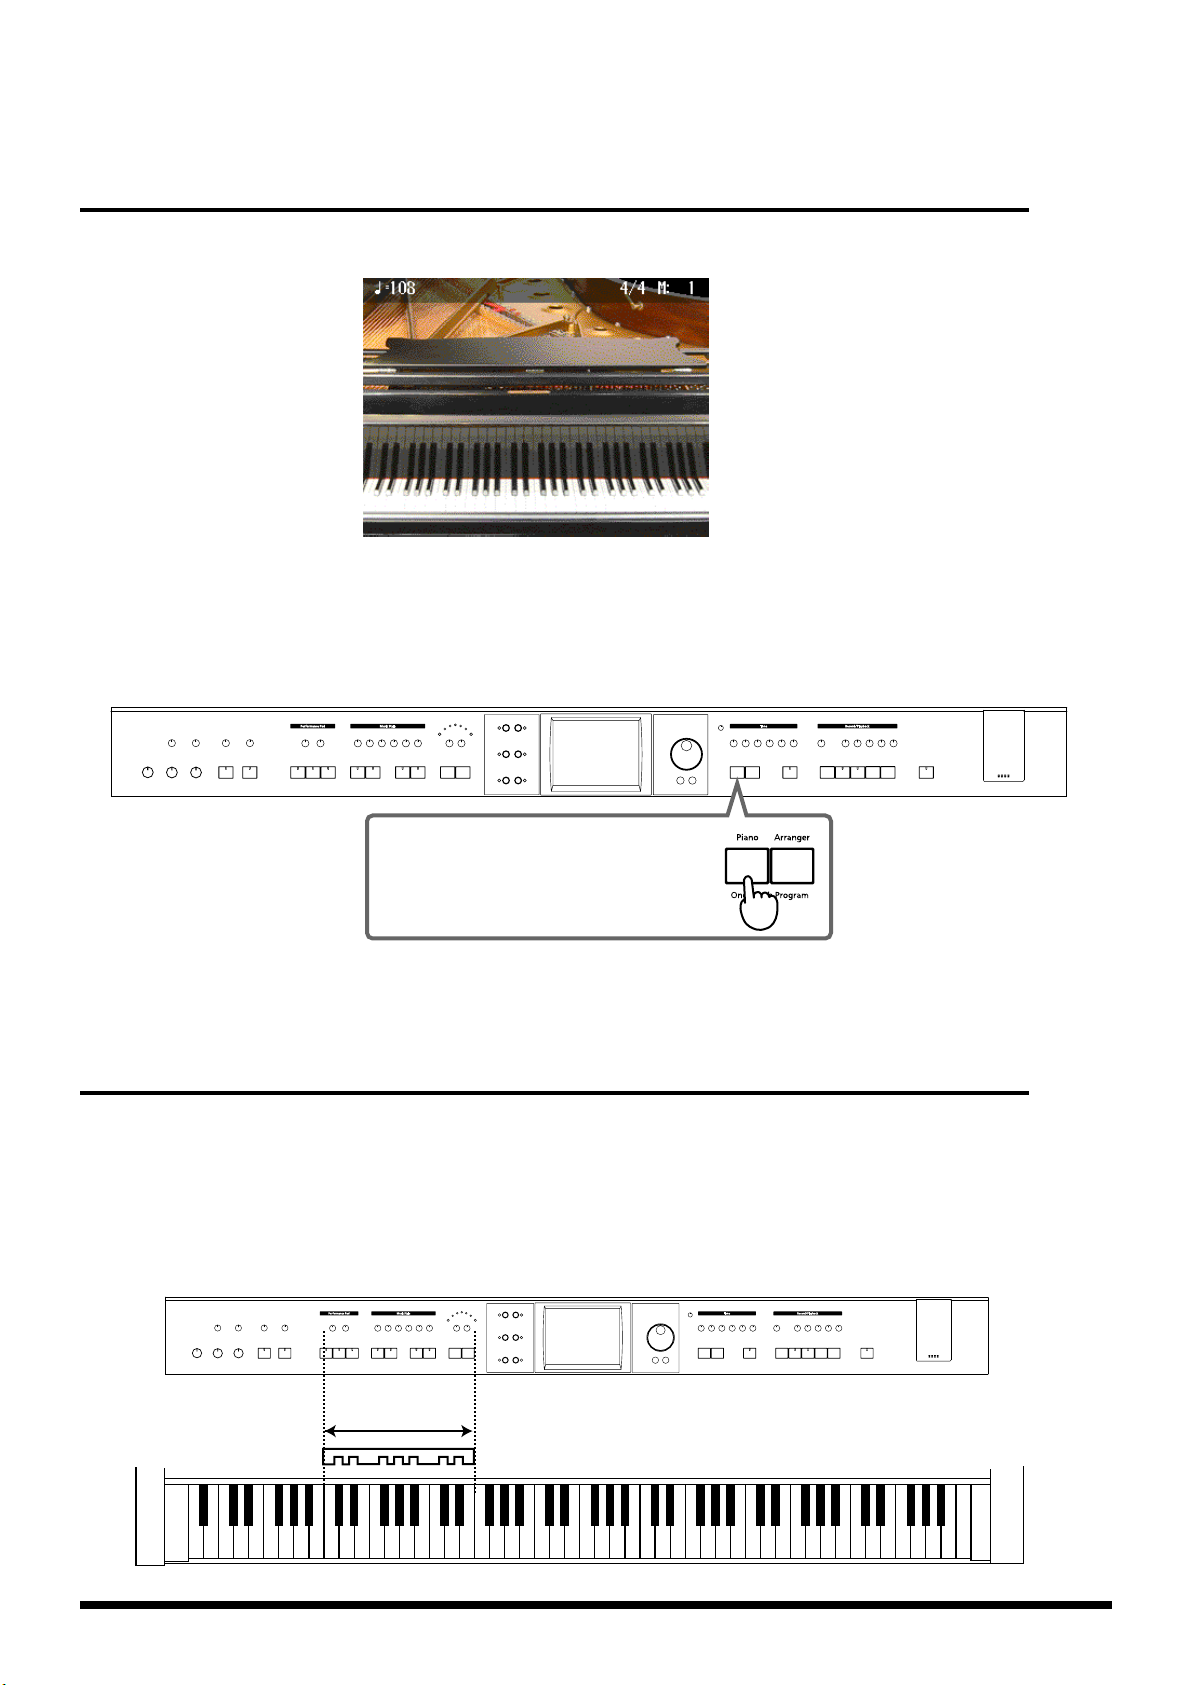
About the Piano Screen
Press the One Touch Program [Piano]
button to bring up the Piano screen.
The following “Piano Screen” appears when the KR is turned on.
fig.Q_piano.j
When this screen is displayed, you can change the settings that affect the KR’s piano performances.
Although the screen changes when you press the buttons to carry out the various operations and
settings, you can bring up the Piano screen at any time by pressing the One Touch Program [Piano]
button, and switch back to piano performance.
fig.Q_panel_piano
For more detailed information, refer to “Playing the Keyboard Like a Piano (One-Touch Piano)” in
the Owner’s Manual.
About the Key Template
Use the key template included with this volume when specifying the chords for Automatic
Accompaniment on the KR.
For more on performing with Automatic Accompaniment, refer to “[Music Assistant] Button (1)”
(p. 16).
Position the key template as shown in the figure below.
fig.panel
Placement of
the Key Template
3

A Quick Tour of the KR
This starts the Vocal Effect demo.This opens the Piano Tone screen.
Touch to start each button’s demo.
When you touch here, the
demo continues automatically.
All of the demos may be
viewed using this function.
The “Quick Tour” provides visual descriptions of the KR’s special features, characteristics and
main performance functions.
Touch the screen to listen to a variety of demos.
1
Display the Quick Tour screen.
Hold down the [Transpose] button
and press the [Ambience/Reverb] button.
2
Touch the category for the type of demo you want to hear.
fig.Q_demo.e
4
3
4
At this time, let’s see what we get by touching
The [Song] button demo starts playing.
Press the [Exit] button to return
to the Quick Tour screen.
Try the other categories.
Press the [Exit] button at the
Quick Tour screen to end the
Quick Tour.
<Song>
.
About the Vocal Effect Demo
Touch here to play
back the demo song.
When you select the Vocal Effect demo, a song is played back.
If you plug in a microphone and sing along with the song, harmonies are added to the mic vocals.
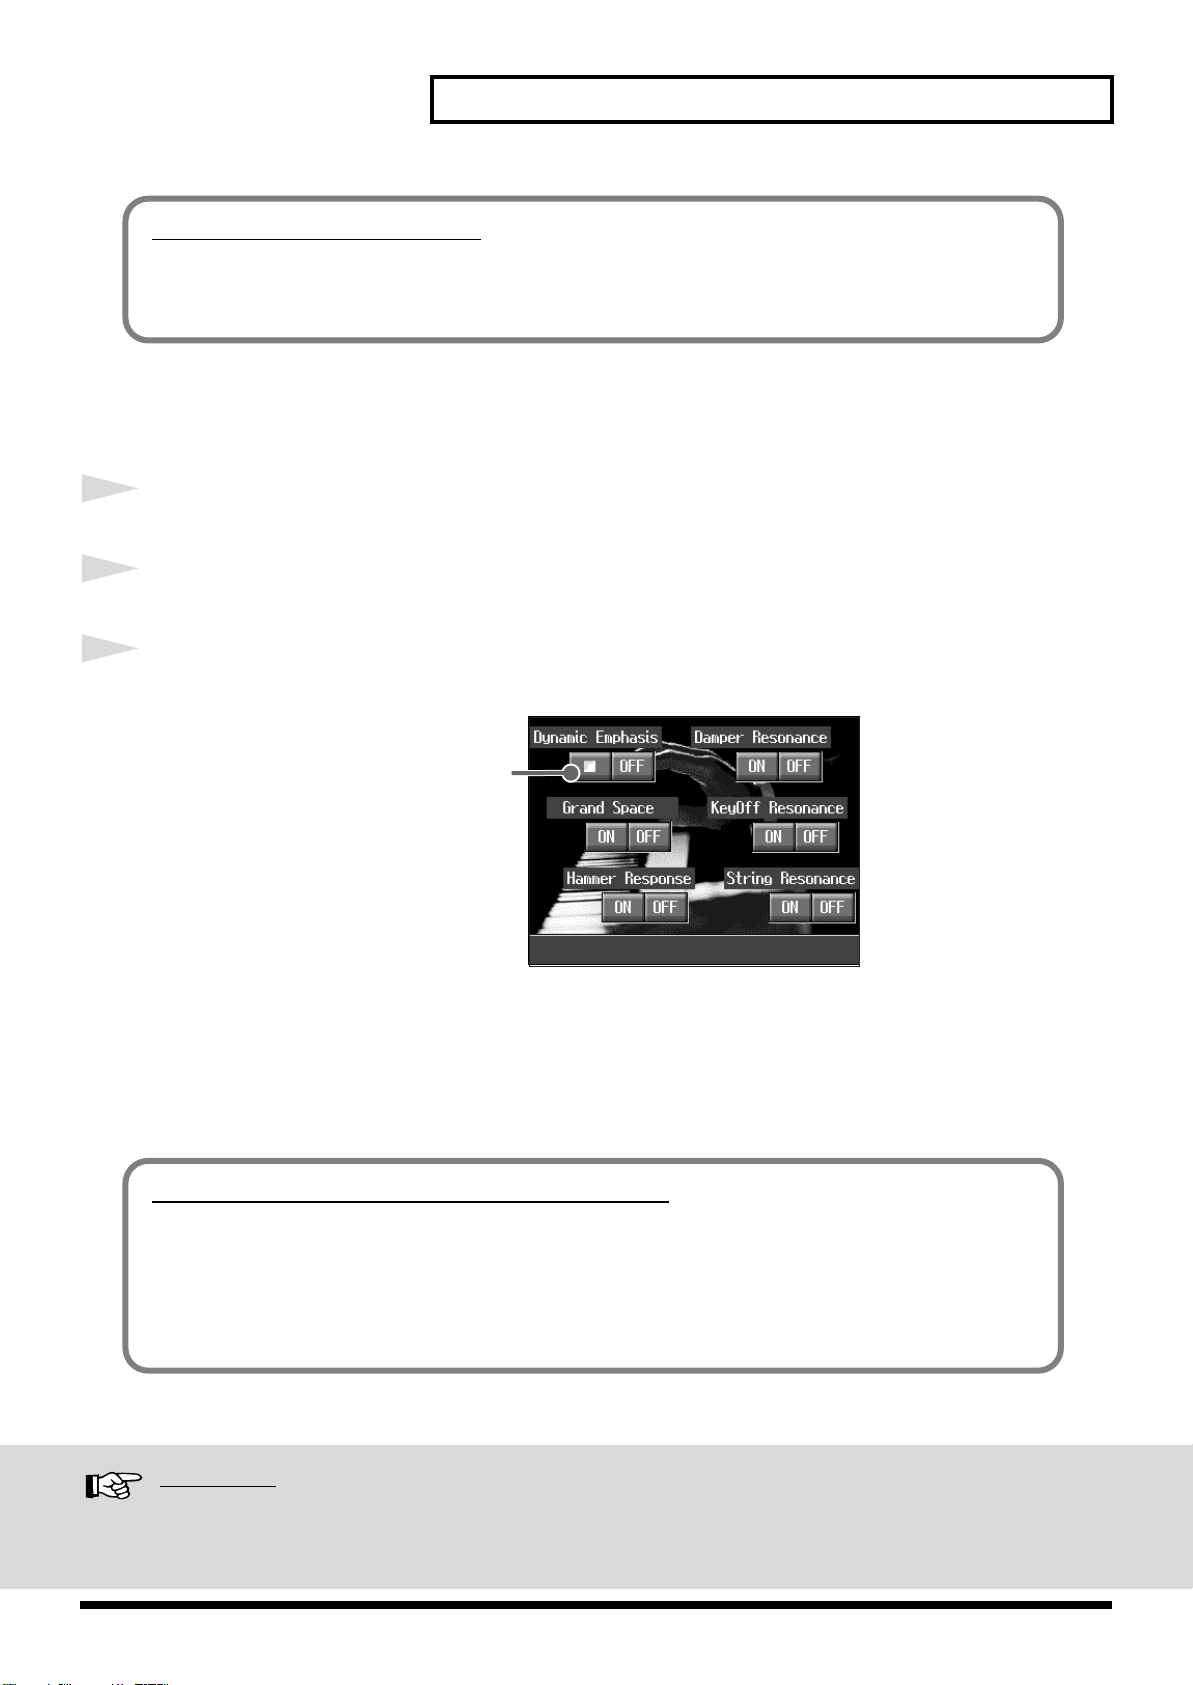
Listening to a Demo of the Piano Tones
You can listen to the demo of the functions that can be applied to the piano tones.
1
Display the Quick Tour screen.
2
Touch <Piano Tone>.
3
Touch <ON> for the demo you want to hear.
A Quick Tour of the KR
The demo for the function touched is then played.
When you touch <ON>, the demo is played with the function switched on. When you touch
<OFF>, the function is switched off while the demo is played.
* The Piano Tones demo makes it easy to hear how the sound will be with the function both on and off.
About the Hammer Response Function Demo
The performance stops when the Hammer Response function (p. 6) demo is selected.
Try playing the keyboard and see how the Hammer Response function feels.
When Hammer Response is switched on, the sounds are expressed more slowly as you play the
keys with greater force.
Reference
When connecting a mic to the KR, refer to “Connecting a Microphone” in the Owner’s Manual.
You can have the demos start automatically, refer to “Automatically Starting the Quick Tour” in the Owner’s Manual.
5

[Piano Designer] Button
You can create your own piano tones with “Piano
Designer.”
You can then save the tone settings you have created.
1
Press the [Piano Designer] button.
fig.Q_demo.e
Select the type here.
When you touch here,
the shape of the
hexagon and the piano
tone change.
Saves the settings to the User memory.
Touch any corner of
the hexagon and drag
your finger to change
the piano tone.
Lid
Resonance
Width
Hammer Noise
Hammer
Response
Key Touch
Adjusts the opening of the grand piano’s lid. Drawing the corner closer to the
center closes the lid more and creates a milder sound. The lid opens more as the
corner is dragged out from the center, producing a brighter sound.
Adjust the resonance of an acoustic piano the Key Off sound (reproduces the
tonal change produced when the fingers are released from the keys) etc.
Adjusts the sense of breadth in the sound. The sound broadens as you drag the
corner outward.Dragging this inward focuses the sound more toward the
center, increasing the audibility and making the sound more prominent when
accompaniment is included.
Reproduces the sound of an acoustic piano’s hammers striking the strings as the
keys are played. This sound becomes more prominent as the corner is dragged
outward.
Adjusts the amount of time from when a key is played to when the piano tone
sounds. The sound is delayed more as the corner is dragged outward. This
setting is applied to all tones played with the keyboard.
Adjusts the keyboard touch. The touch changes from “Light” to “Heavy” as you
drag from the center outward. This setting is applied to all tones played with the
keyboard.
Adjusting the Resonance Separately
“Resonance” provides for the adjustment of three types of resonance. When you press the [Setting]
button, you can set the values for these resonance sounds individually. For more details, refer to
“Adjusting the Piano Designer Resonance” in the Owner’s Manual.
6
 Loading...