How it Works
Log In / Sign Up
Buy Points
How it Works
FAQ
Contact Us
Questions and Suggestions
Users
Roland
Loading...
V
VA-3
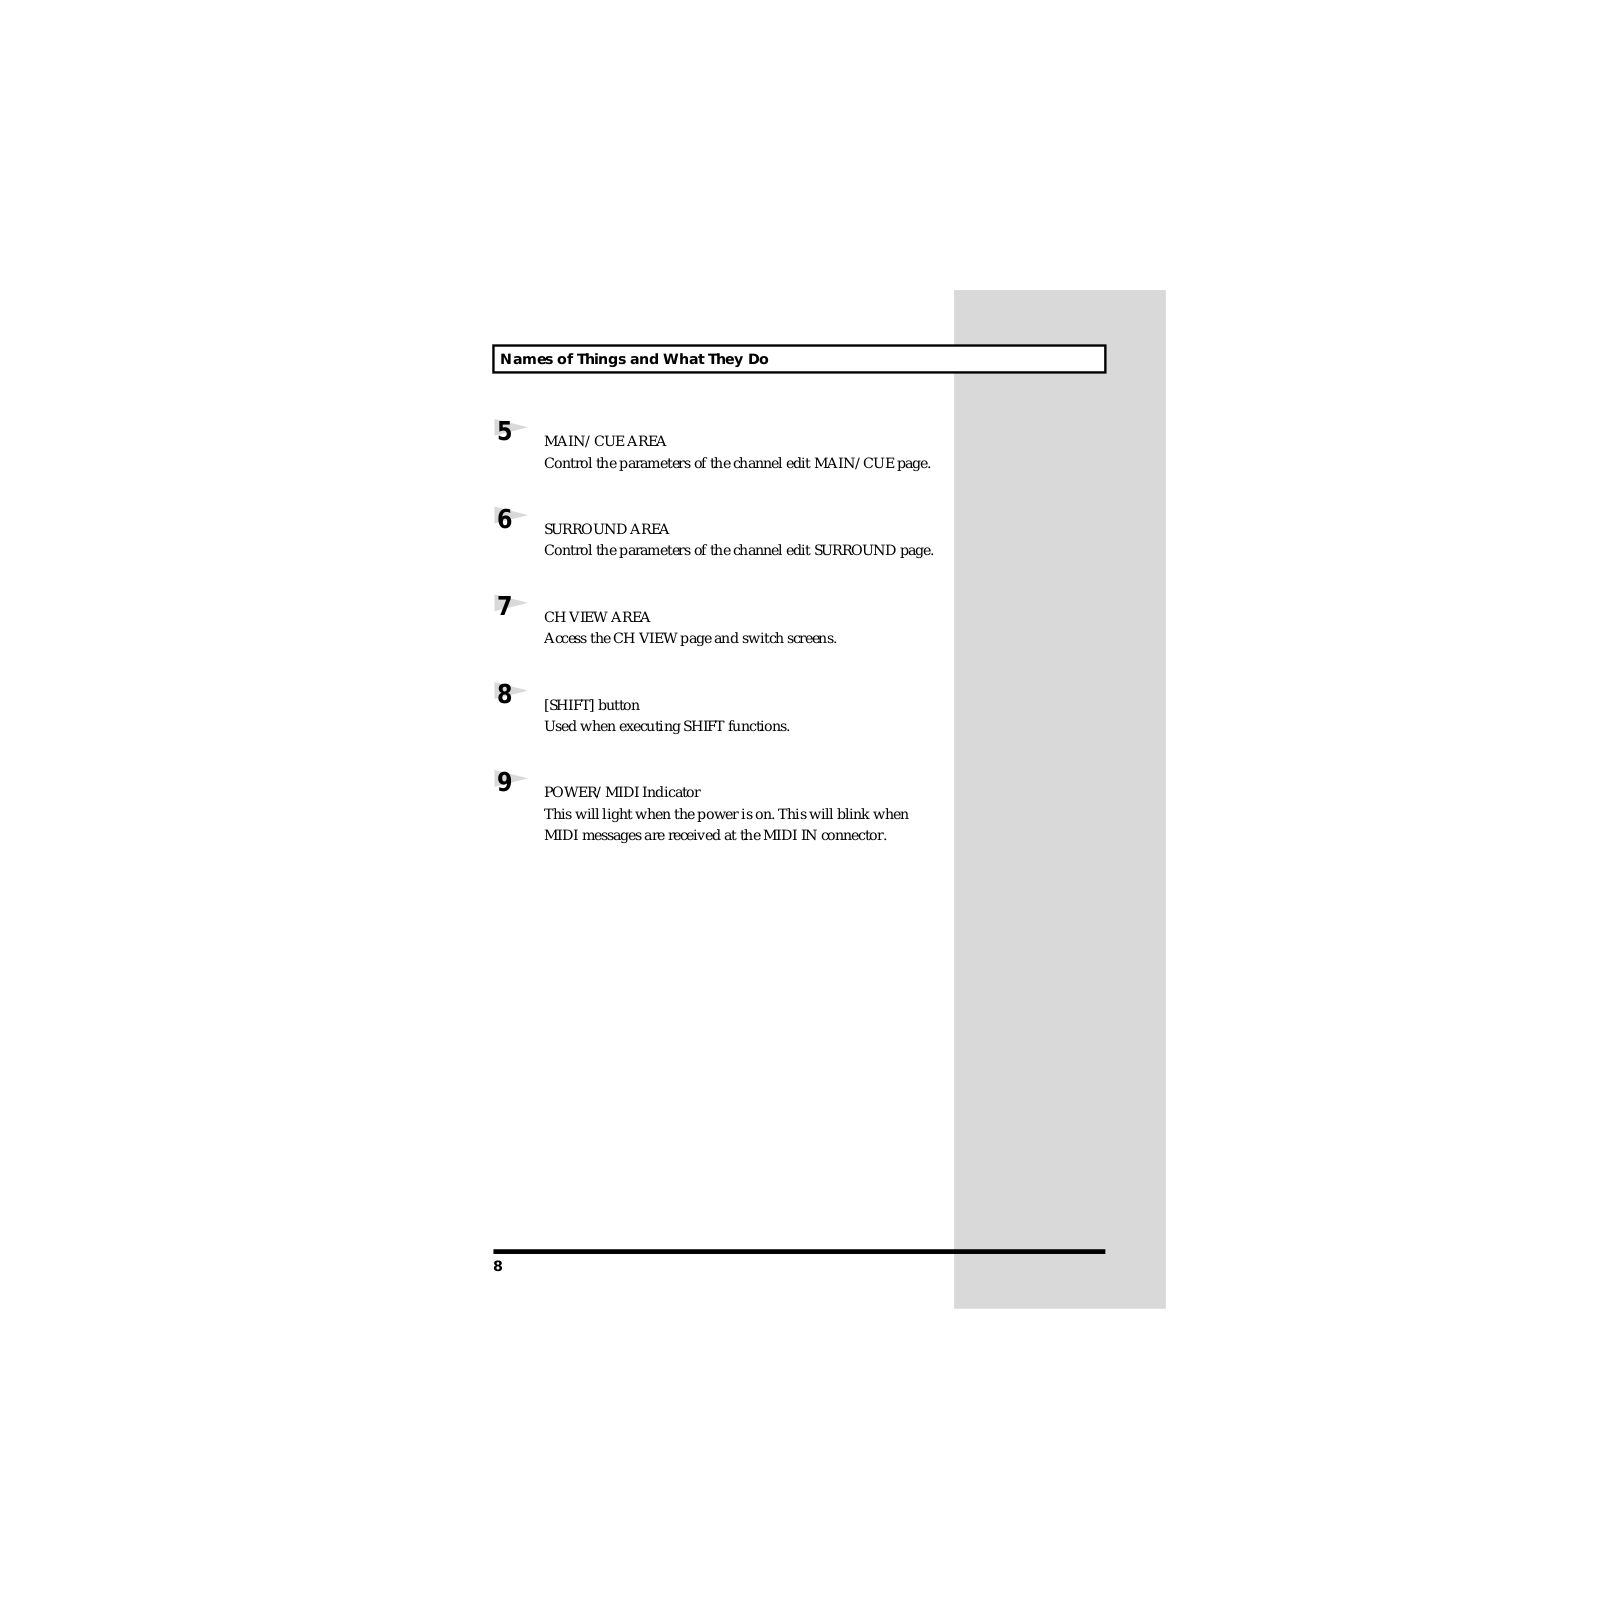
6
VA-5
6
VA-7
6
VA-76
5
VAD103
2
VAD306
2
VAD503-1+VAD503-2
VAD506
2
VAD506-1+VAD506-2
VAD706
2
VARIOS
13
VB 2
VB-99
7
VC-1
VC-1 D-50
VC-1-DL
3
VC-1-HS
3
VC-1-SC
2
VC-1 Series
VC-1-SH
3
VC-1XT
VC-2
6
VC-200HD
5
VC-200HD - V2
VC-2XT
VC-300HD
6
VC-300HD - V2
VC-30HD
VC-50HD
VE-20
5
VE-7000
2
VE-GS1
2
VE-GSPro
3
VE-JV1
3
Ver. 4.5
VersaArt RA-640
VersaArt RE-640
2
VersaArt RS-540
2
VersaArt RS-640
2
VersaCAMM ECO-SOL MAX3
VersaCamm SP-300i
2
VersaCAMM SP-300S
VersaCamm SP-300V
VersaCamm SP-540i
2
versaCamm sp-540v
3
VersaCamm VP-300
2
VersaCamm VP-300i
2
VersaCamm VP-540
2
VersaCamm VP-540i
2
VersaCAMM VS-300
4
VersaCamm VS-300i
VersaCAMM VS-420
4
VersaCAMM VS-540
4
VersaCamm VS-540i
VersaCamm VS-640
4
VersaCamm VS-640i
VersaEXPRESS RF-640
2
VersaEXPRESS RF-640A
VersaStudio BN-20
VersaStudio BR-20
VersaStudio BT-12
VersaSTUDIO SIGN MAKER BN-20
VersaUV LEC2-300
VERSAUV LEC-300
2
VersaUV LEC-300A
VersaUV LEC-330
VersaUV LEF-12
VersaUv LEF - 12i
VersaUV LEF-20
VersaUV LEF-200
VersaUV LEF2-200
3
VersaUV LEJ-640
VersaUV LEJ-640 F
VersaWorks VS-300i
VersaWorks VS-540i
VersaWorks VS-640i
VERSELAB MV-1
4
VF-1
6
VG-8
3
VG 8EX
2
V-Piano Digital Piano
V-PIANO EDITOR
2
V-Piano GRAND
4
V-PRODUCER
V-Stand KS-V7
V-STUDIO 100
6
V-STUDIO 20
2
V-STUDIO 700
11
V-Studio VS-840EX
V-Sudio VS-840
V-Sudio VS-840S
V-SYNTH
12
V-Synth 2.0
2
V-SYNTH GT
15
V-SYNTH V2
V-Synth XT
13
V-SynthXT MIDI Synth Module
V-tour series
2
V-Tour TD-15K
V-Tour TD-6KW
Loading...
Loading...
Nothing found
VE-7000
User Manual
34 pgs
446.06 Kb
0
User Manual [ja]
32 pgs
443.27 Kb
0
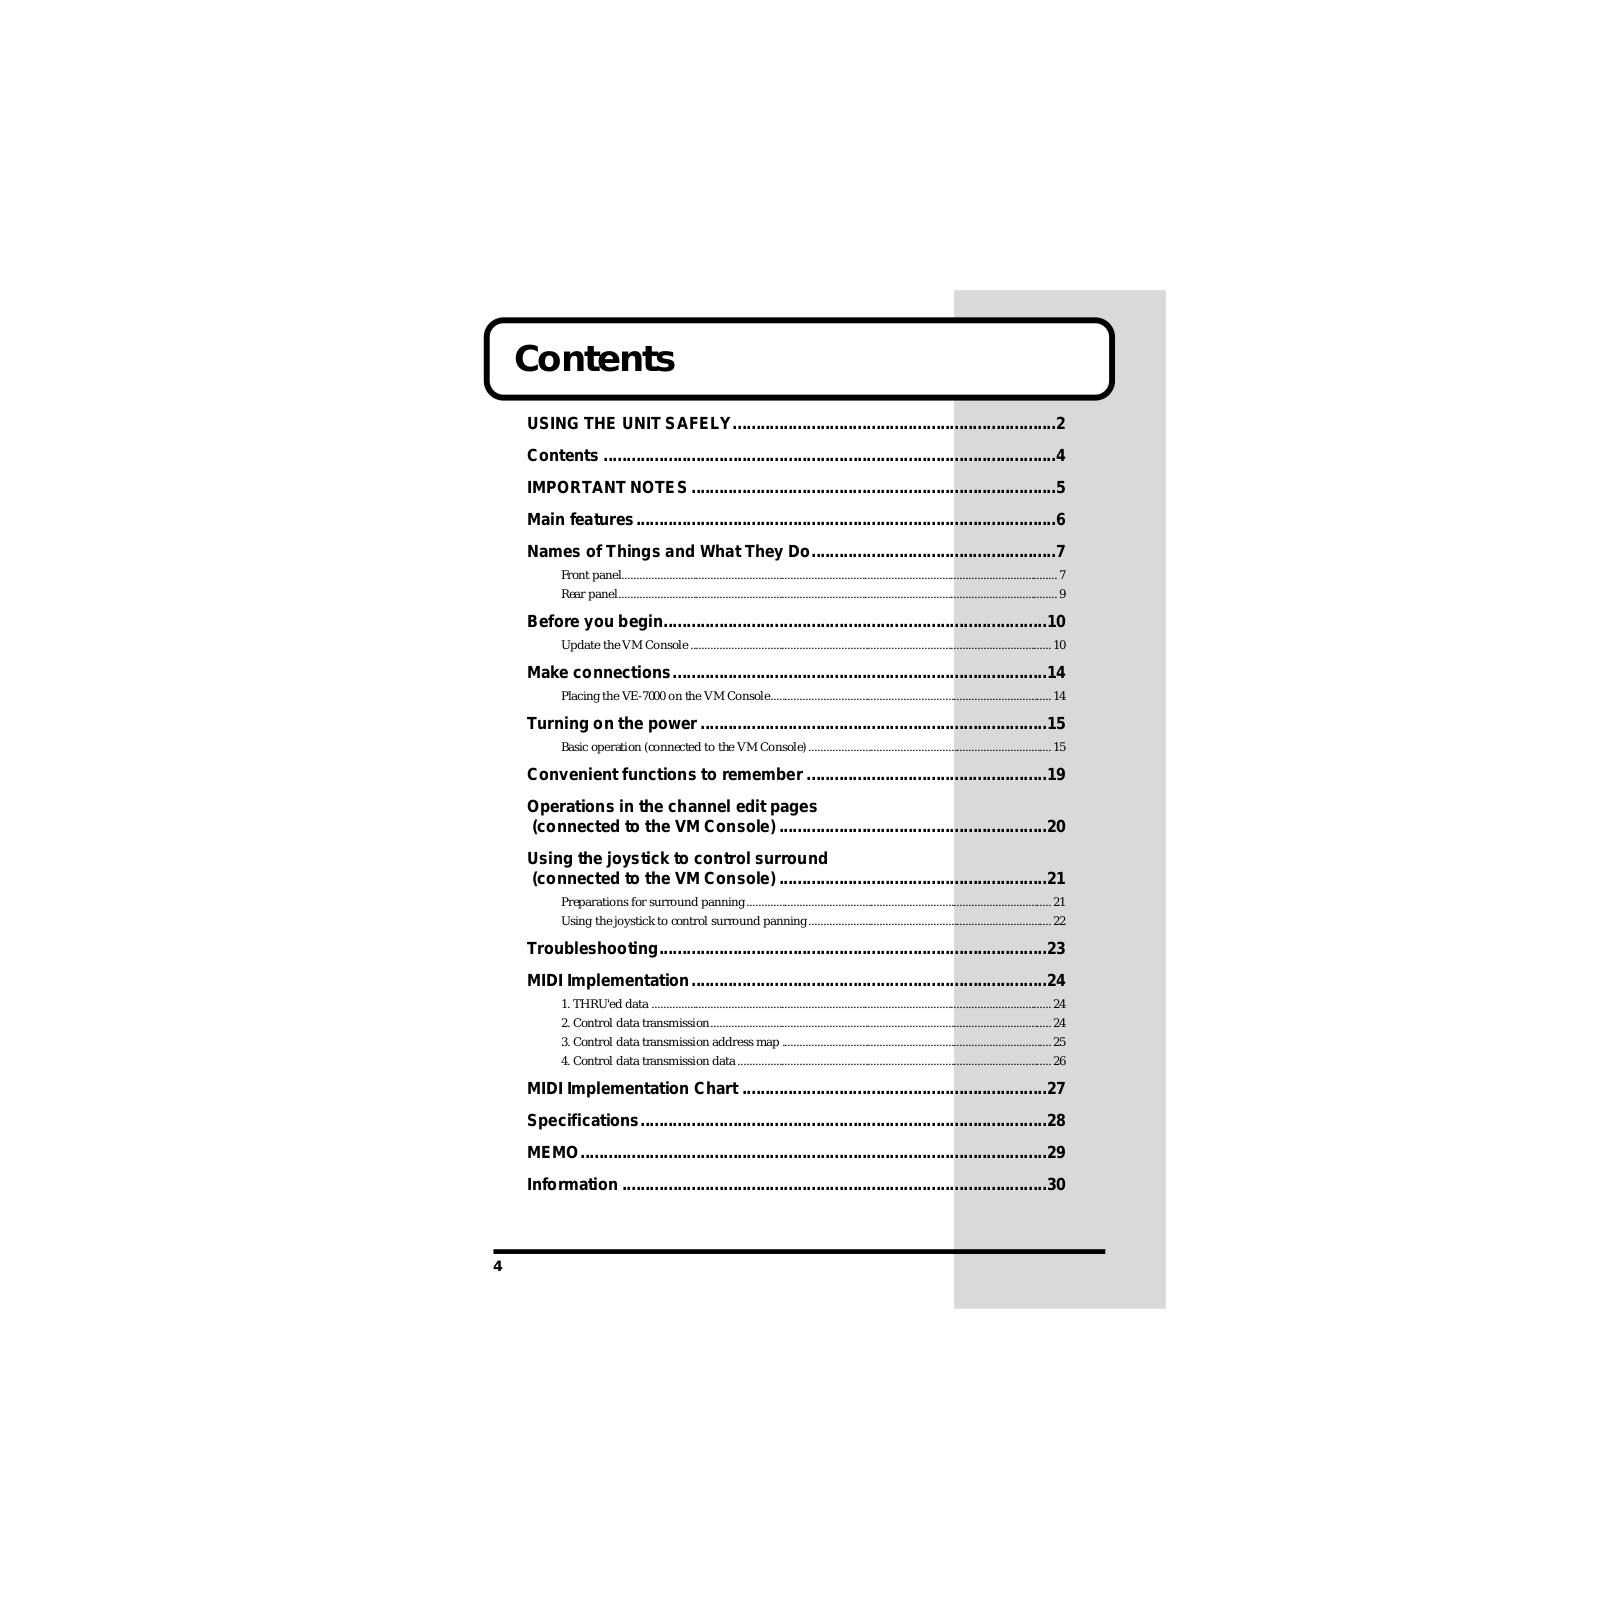
Table of contents
Loading...
Roland VE-7000 User Manual
...
Roland User Manual
Download
Specifications and Main Features
Frequently Asked Questions
User Manual
Download
Loading...
+
hidden pages
Unhide
You need points to download manuals.
1 point = 1 manual.
You can buy points or you can get point for every manual you upload.
Buy points
Upload your manuals
 Loading...