

Rointe SYGMA Instruction Manual
SYGMA
INSTRUCTIONS MANUAL
SYGMA DIGITAL
ELECTRIC RADIATOR
MOUNTING, INSTALLATION,
STARTING AND OPERATION
EN

2
SYGMA
WELCOME
Dear Customer,
Thank you for choosing the low consumption SYGMA digital electric
radiator, with an exclusive electronic temperature programmer and
made with the highest quality materials especially for you.
The low consumption SYGMA digital electric radiators have exceeded
the most stringent quality controls in order to comply with the most
rigorous requirements for safety and energy efficiency requirements.
Thanks to the OPTIMIZER ENERGY PLUS technology, exclusive to
the ROINTE SYSTEM, the low consumption SYGMA digital electric
radiators achieve the maximum energy saving.
Before using the low consumption SYGMA digital electric radiator,
we recommend that you read this instruction manual in order to
ensure correct operation.
IMPORTANT
THIS MANUAL SHOULD BE LEFT WITH THE PRODUCT AFTER
INSTALLATION

3
ATTENTION:
If you are the owner of a model bought in the UK or Éire, please refer
ONLY to its manual as the specifications of the radiators are different.
ENGLISH
TABLE OF CONTENTS
1. DESCRIPTION OF THE “SYGMA ” RADIATOR .....................................4
1.1. Front Panel Parts .........................................................................4
1.2. Switching On & Off (stand-by) .......................................................6
1.3. Setting the Day and Time ..............................................................6
1.4. Locking the Control Panel ............................................................6
1.5. Temperature Selection ..................................................................7
1.6. Manual / Automatic Functions .......................................................7
1.7. Menu/Programming Function .......................................................8
1.8. Open Window Function .................................................................8
1.9. Optimizer Energy Plus Function ....................................................9
1.10. Screen Brightness Function ....................................................... 9
2. INSTALLATION & MOUNTING ..........................................................10
2.1. Mounting ......................................................................................11
2.2. Fixing the supports ..................................................................... 11
3. MAINTENANCE & CLEANING ..........................................................14
4. INSTALLATION & SAFETY PRECAUTIONS (EN 60335 STANDARDS) ...14
4.1. Installation precautions ..............................................................14
4.2. Safety precautions ......................................................................14
5. GUARANTEE .....................................................................................16
6. SYGMA RADIATORS TECHNICAL CHARACTERISTICS ....................19
4
SYGMA
1. DESCRIPTION OF THE SYGMA RADIATOR
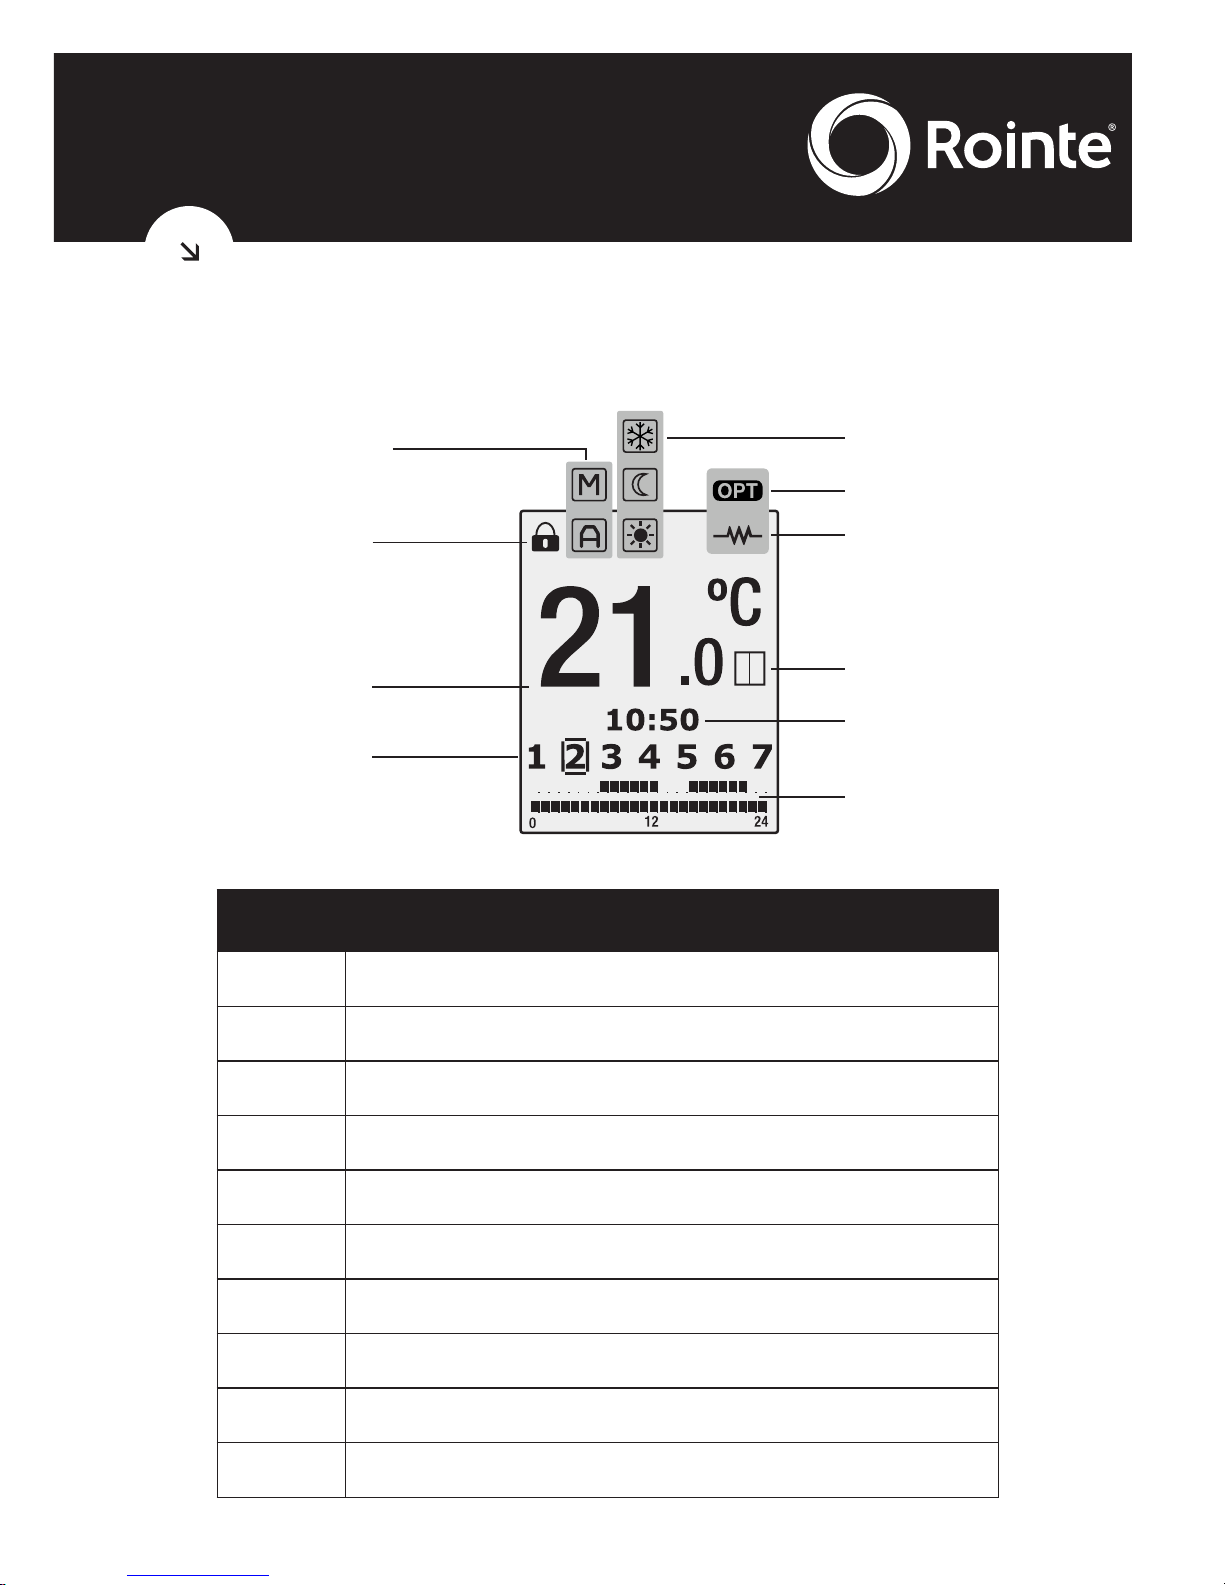
1.1. Front panel parts
TFT DISPLAY
CONTROL PANEL
5
NUM. FUNCTION
1 PROGRAMMING
2 DAYS OF THE WEEK
3 TIME OF DAY
4 TEMPERATURE SELECTED
5 LOCKING THE CONTROL PANEL
6 MANUAL/AUTOMATIC FUNCTION
7 COMFORT / ECO / ANTI-FROST MODE
8 OPTIMIZER ENERGY PLUS FUNCTION
9 HEATER ELEMENT ON
10 OPEN WINDOW FUNCTION
1.1.1. TFT display symbols
1
2
3
4
5
6
7
9
8
10

6
SYGMA
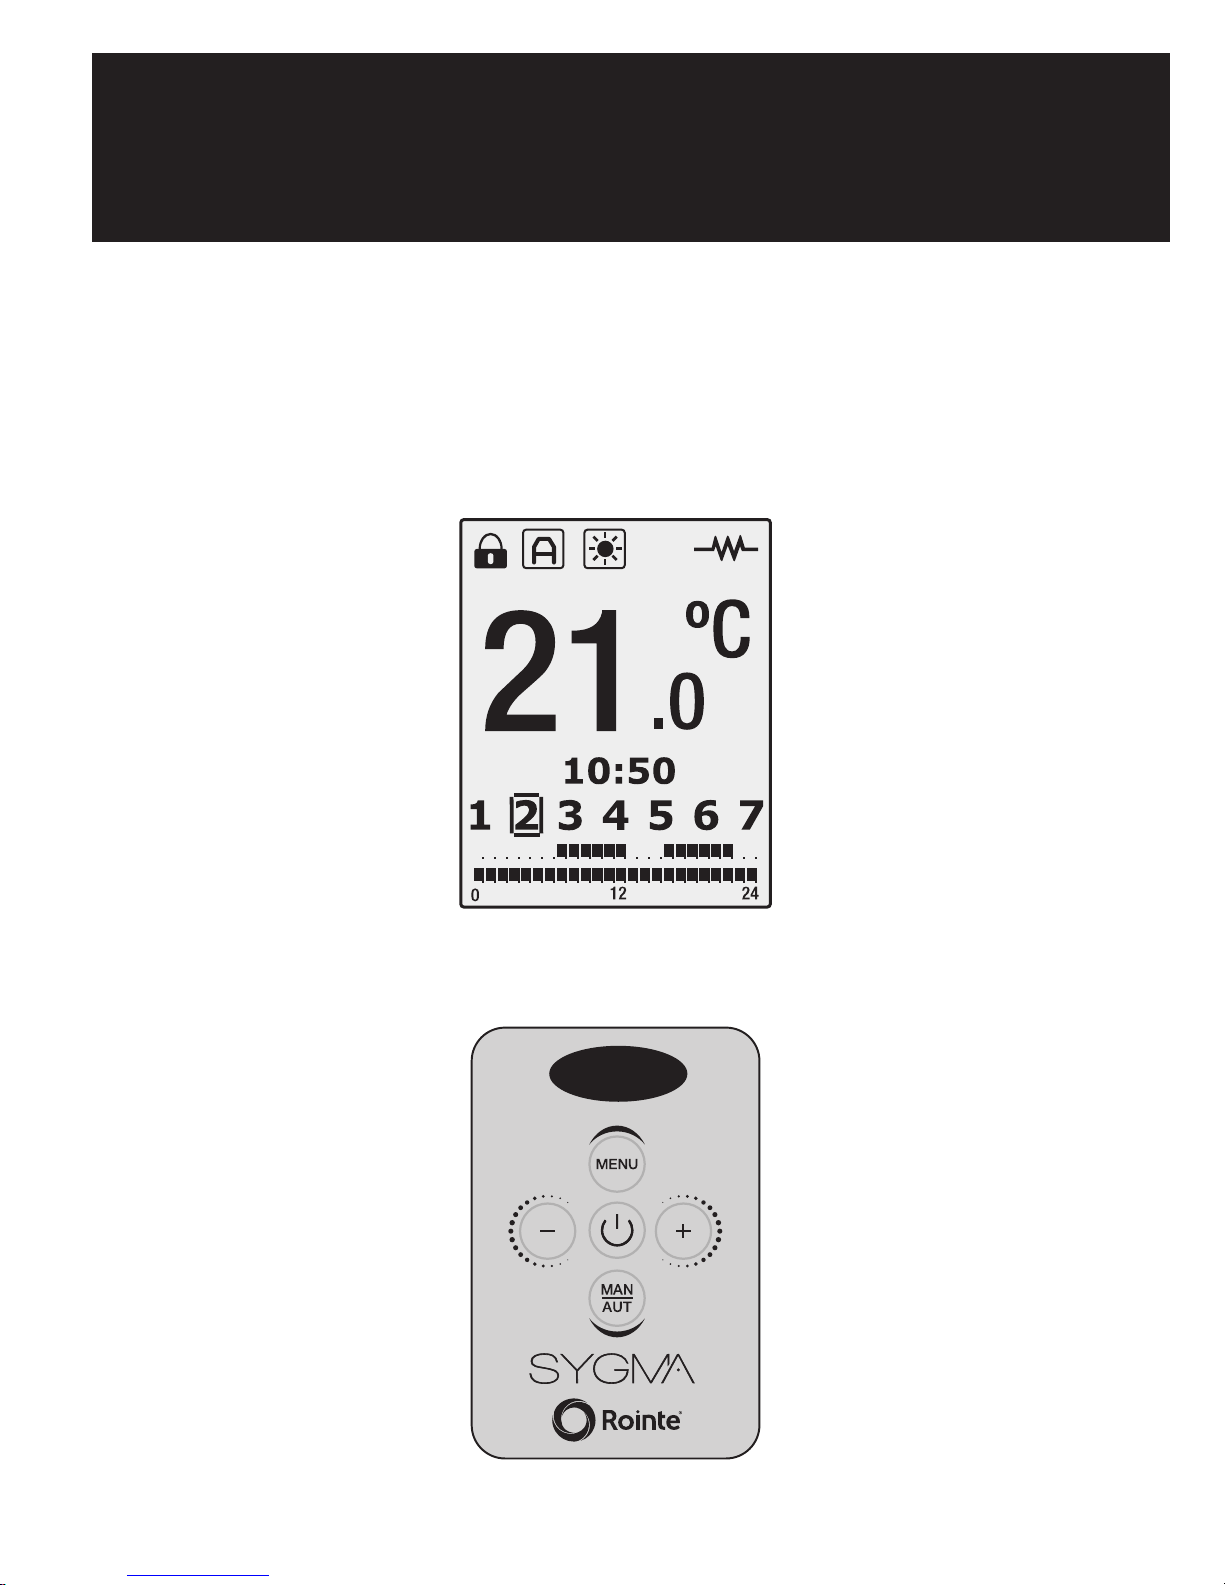
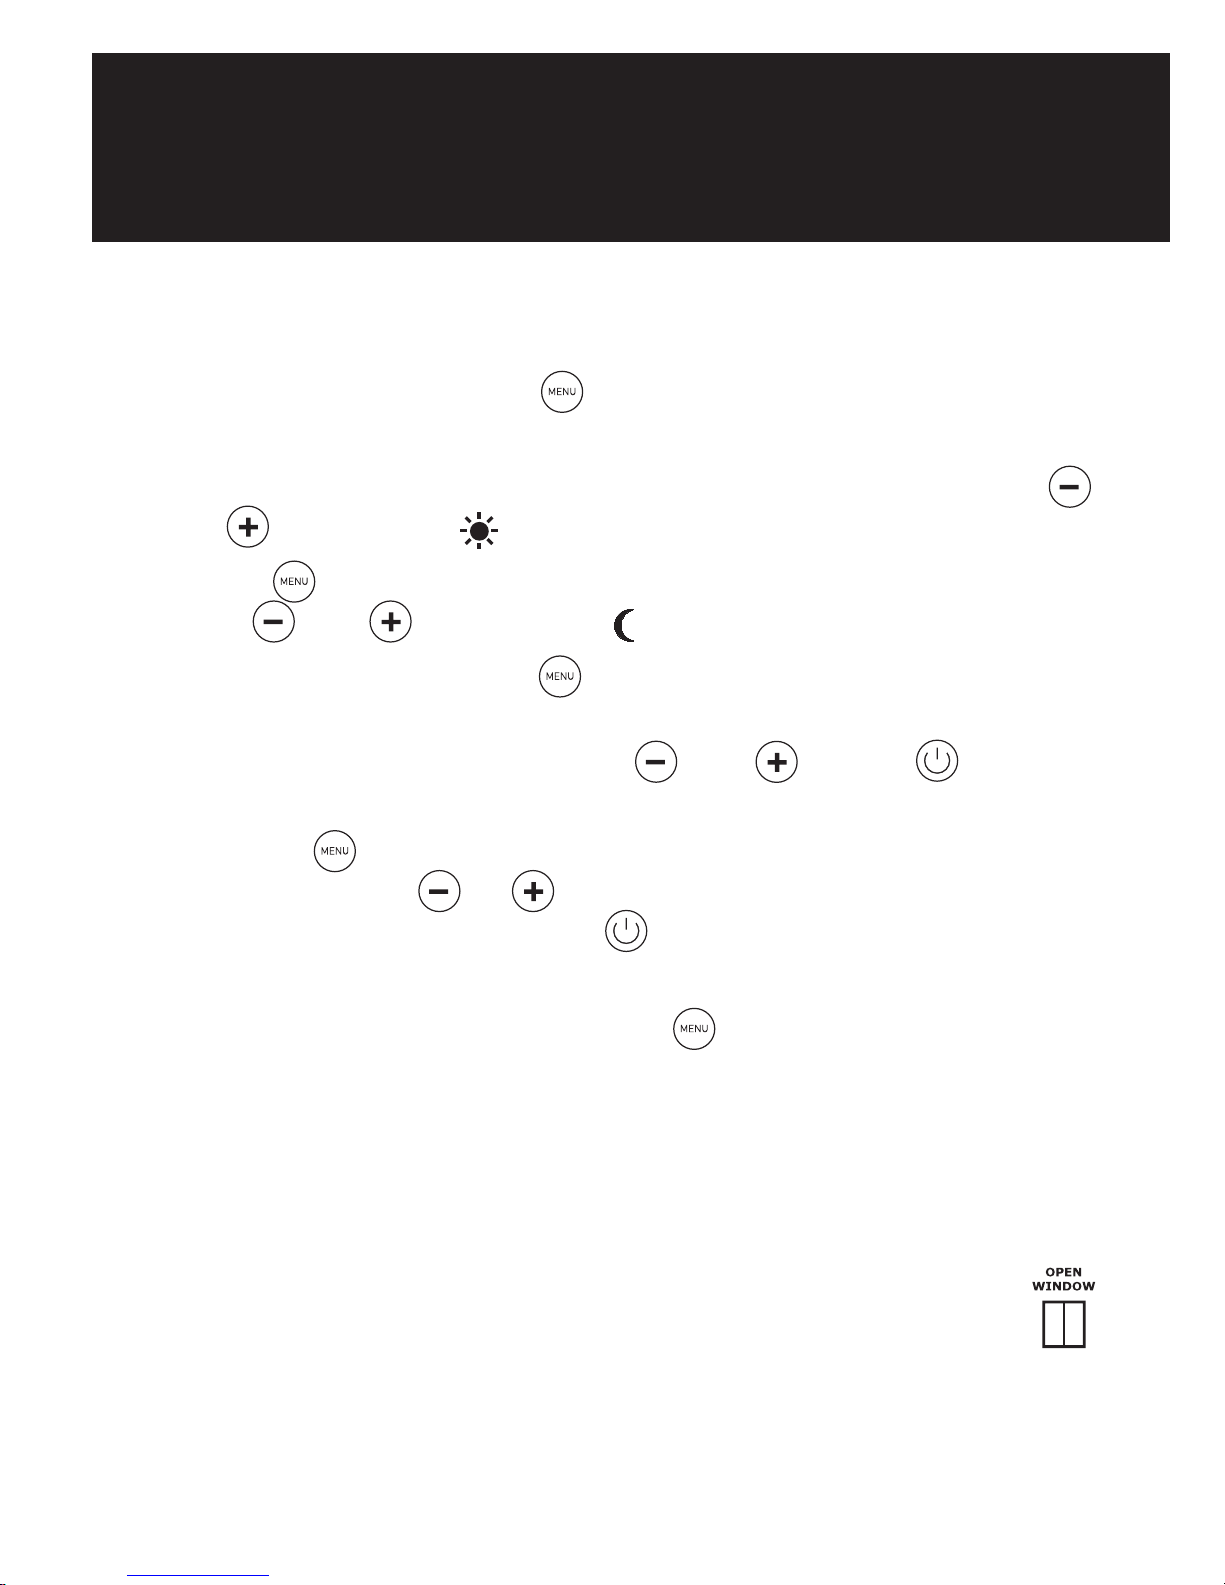
1.2. Switching On & Off (stand-by)
By pressing the key , we can switch the radiator on or off. The
following image will appear on the screen when switched on:
The screen will automatically go into sleep mode if no button is pushed
for 10 seconds. By pushing the button again the radiator will go into
standby mode with the word “Standby” appearing followed by the
Rointe logo.
1.3. Setting the day and time
By pressing the button for 3 seconds, we can access the time and
date adjust feature to adjust the time and date of our radiator.
Pressing the button , flashes up the hours, minutes and days of
the week according to the number of times it is pressed. With the
buttons and we can alter the current settings.
To leave the time and date adjust feature, wait 30 seconds or press
after the date select.
1.4. Locking the control panel
By pressing the keys and , at the same time for 3 seconds, we
lock the control panel. The control panel symbol is activated and
the keys will not respond when pressed. The following symbol will
appear on the screen if any button is pushed:
7
To unlock, press the and keys again, at the same time for 3
seconds.
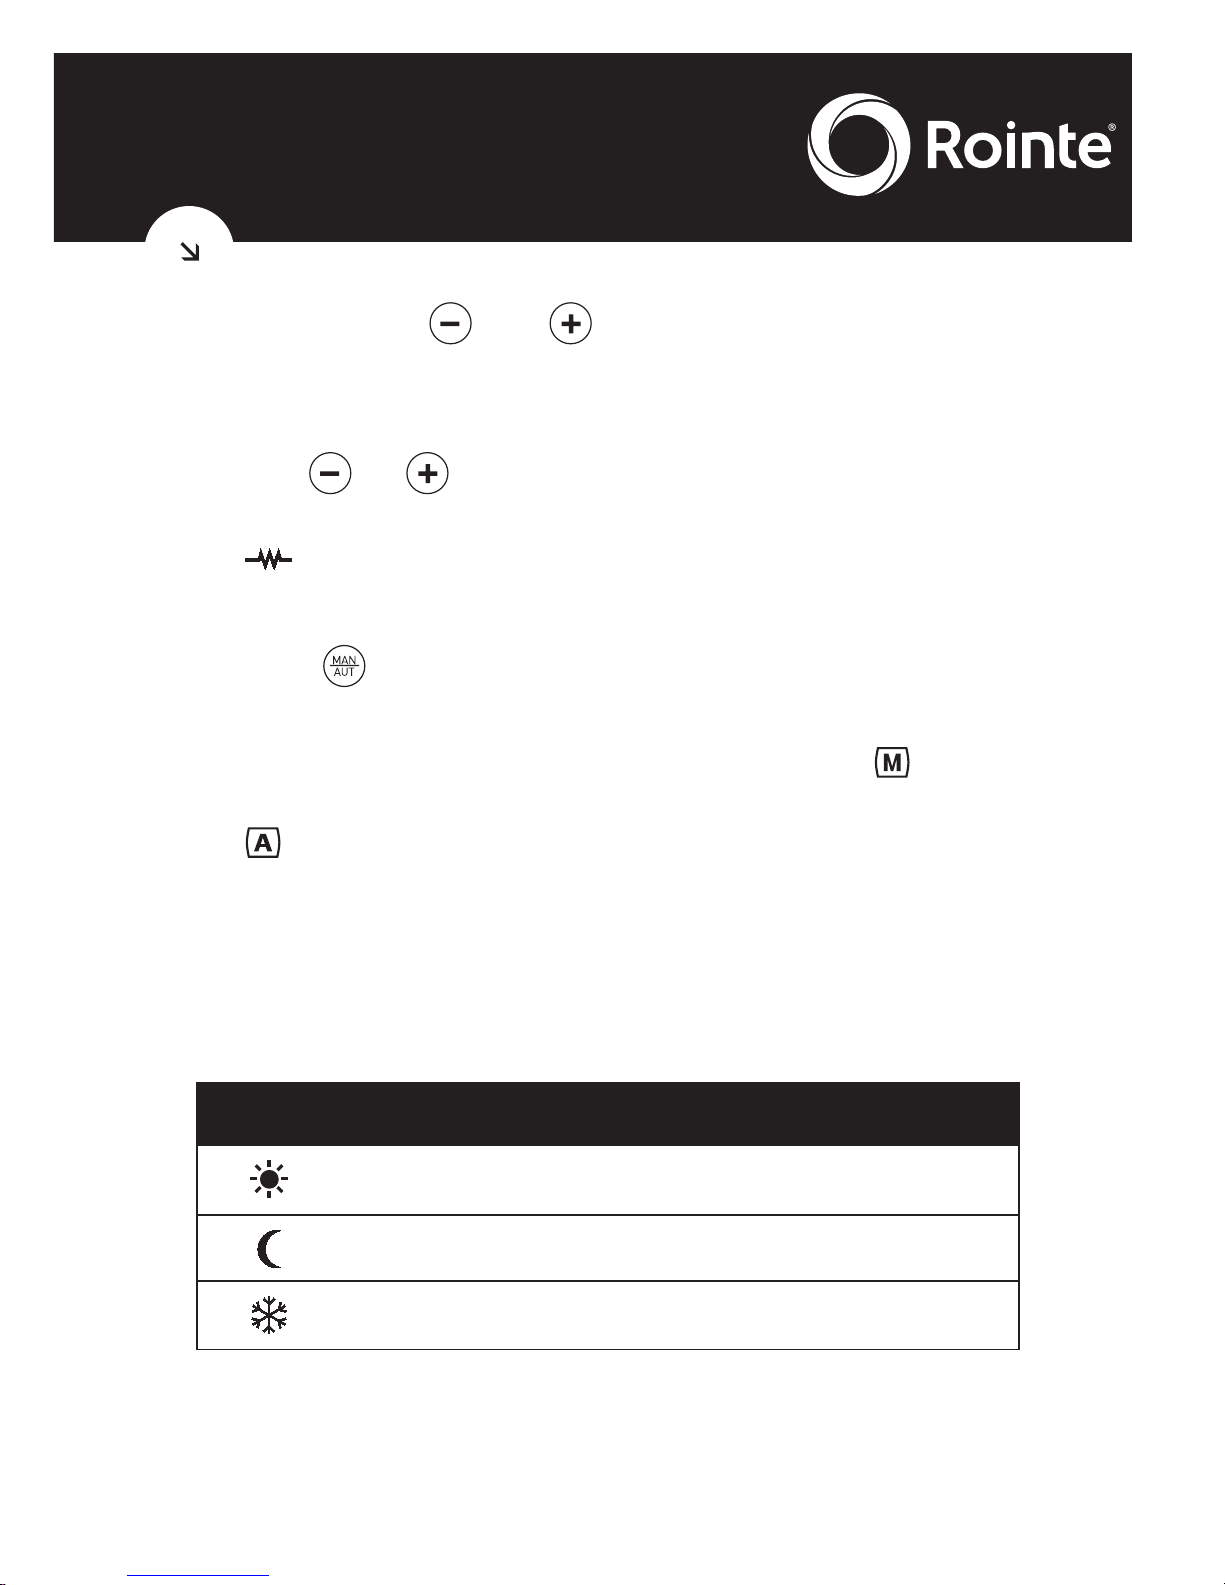
1.5. Temperature selection
By pressing or we change the temperature. When the room
temperature is lower than the one set, the heating element comes on
and the symbol appears.
1.6. Manual / Automatic functions
By pressing we change between the Manual and Automatic
functions.
When the Manual function is selected, the symbol appears on
the display. When the Automatic function is selected, the
symbol appears on the display.
1.6.1. Manual function
This enables you to choose between the COMFORT, ECO and ANTIFROST modes of operation, changing the temperature as indicated
in Section 1.5.
ICON MODE TEMPERATURE RANGE
COMFORT 20ºC – 30ºC
ECO 15ºC – 19.5º C
ANTI-FROST 8ºC
1.6.2. Automatic function
This mode activates the programming set on the radiator.
8
SYGMA
1.7. Menu/Programming function
In automatic mode, pressing for 3 seconds allows you to program
the radiator directly:
1.
Select the COMFORT temperature setting (20ºC to 30ºC), using
and . The symbol and the temperature will flash.
2.
Press and we can select the ECO temperature (15ºC to 19.5ºC)
using and . The symbol and the temperature will flash.
3. After pressing the button once again, the days of the week will
start flashing and show as DAY1, DAY2, DAY3... We can go forwards
and backwards using the button and . Press to select
the day or days that we wish to program.
4.
Pressing , takes us to the hours we wish to program. To change
the hours use the or buttons. The hours selected will show
as 0h, 1h, 2h,… By pressing the button, we can select the mode
required hour by hour: COMFORT, ECO or OFF.
5.
To finish the programming, press or leave it for 30 seconds
without pressing any buttons.
1.8. “Open Window” function
This function is activated when the probe detects a reduction of 4º in
respect of the set temperature during 30 minutes. On activation the
following image will appear on the radiator display for 5 seconds:
When the “Open window” function is activated, the following screen
 Loading...