

R&S®ZNXSIM
Vector Network Analyzer
PC Simulation
Getting Started
(;ÝÀñ2)
1179509902
Version 01

This document gets you started with the Rohde & Schwarz vector network analyzer PC simulation. It covers the following products and options:
●
R&S®ZNPC, license dongle for local licenses (1325.6601.02)
●
R&S®ZNPC-FL, license dongle for floating licenses (1325.6601.03)
●
R&S®ZNXSIM-K1, simulation of R&S®ZNB/ZNBT/ZND
local license (1334.4066.02) or floating license (1334.4066.51)
●
R&S®ZNXSIM-K2, simulation of R&S®ZNA
local license (1338.1626.02) or floating license (1338.1626.51)
●
R&S®ZNXSIM-K22, time domain analysis for R&S®ZNXSIM-K1 or R&S®ZNXSIM-K2
local license (1338.1632.02) or floating license (1338.1632.51)
© 2021 Rohde & Schwarz GmbH & Co. KG
Mühldorfstr. 15, 81671 München, Germany
Phone: +49 89 41 29 - 0
Email: info@rohde-schwarz.com
Internet: www.rohde-schwarz.com
Subject to change – data without tolerance limits is not binding.
R&S® is a registered trademark of Rohde & Schwarz GmbH & Co. KG.
Trade names are trademarks of the owners.
1179.5099.02 | Version 01 | R&S®ZNXSIM
Throughout this manual, R&S® is abbreviated as R&S.
R&S®ZNXSIM
Introduction
1 Introduction
With the R&S ZNXSIM Vector Network Analyzer PC Simulation you can have all the
functions of a R&S ZNA, R&S ZNB, R&S ZNB or R&S ZND on your desktop – always
accessible, even when you do not have access to the hardware.
The same software that runs on the instrument (firmware) is used to run the simulation.
●
The R&S ZNA firmware simulates all available R&S ZNA models. It can be installed in parallel with a R&S ZNB or R&S ZND firmware, but only one of them can be
run at a time.
●
The R&S ZNB firmware can be run as R&S ZNB, R&S ZNBT, or R&S ZND (see
Figure 4-1). It also comprises the documentation for all these instruments.
●
The R&S ZND firmware can also simulate a R&S ZNB or R&S ZNBT, but only comprises the R&S ZND docs. Because R&S ZNB and R&S ZND firmware cannot be
installed in parallel, only install the R&S ZND firmware if you are not interested in
simulating a R&S ZNB or R&S ZNBT.
2 Installation
This section explains how to install a R&S ZNA, R&S ZNB/BT or R&S ZND simulation
on your PC.
System requirements
The firmware requires 64-bit Windows (Windows 10 or Windows 7) with administrative
privileges during installation.
1. Download the latest instrument firmware installer from the R&S ZNXSIM firmware
website (https://www.rohde-schwarz.com/firmware/znxsim).
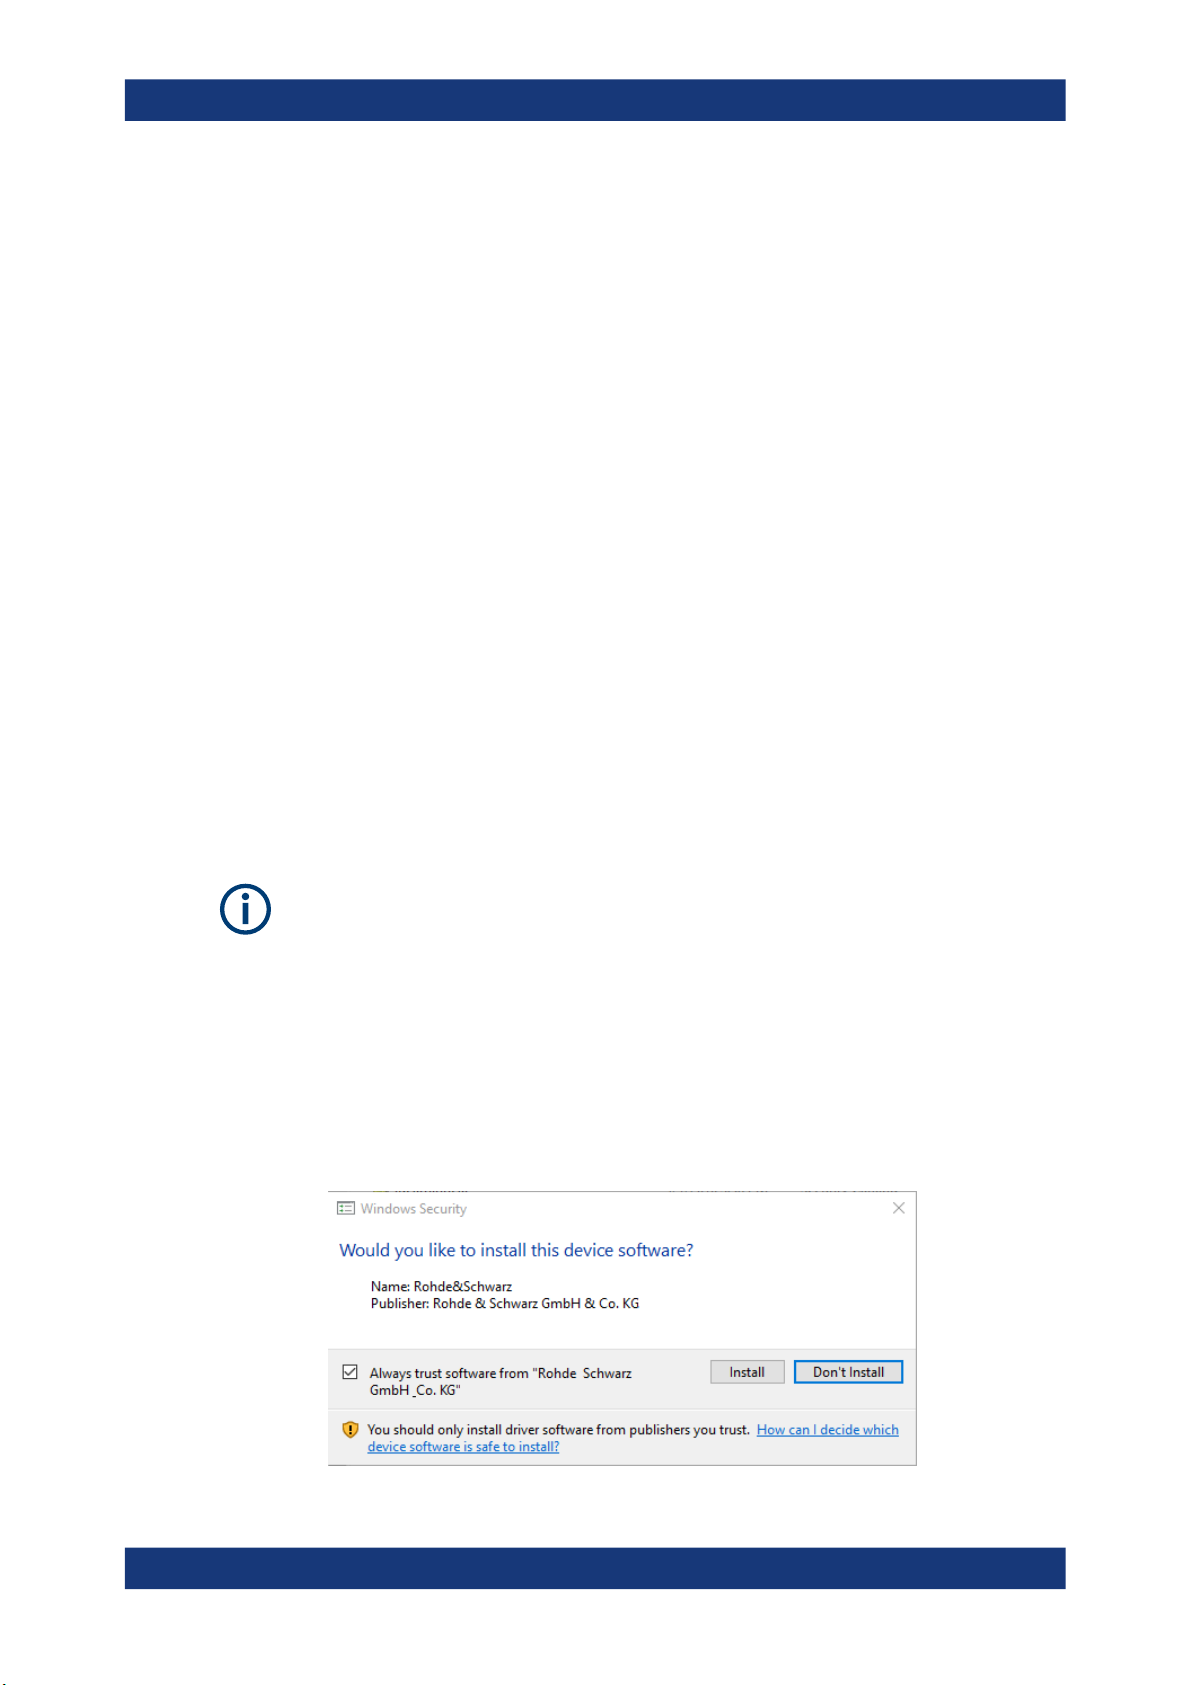
2. Run the firmware installer and follow its instructions.
Provide your admin credentials, if requested by the Windows user account control
("Do you want to allow this app to make changes to your device" under Windows
10). Also please accept the installation of Rohde & Schwarz device software.
3Getting Started 1179.5099.02 ─ 01

R&S®ZNXSIM
3 Licensing
Running a firmware simulation requires a dedicated software license:
●
Option R&S ZNXSIM-K1 for R&S ZNB, R&S ZNBT or R&S ZND
●
Option R&S ZNXSIM-K2 for R&S ZNA
Licenses are available as local and floating variants. While local licenses must be
available on the PC running the simulation, floating licenses can also reside on
remote license servers. These remote license servers must be reachable by the PC's
license server via LAN.
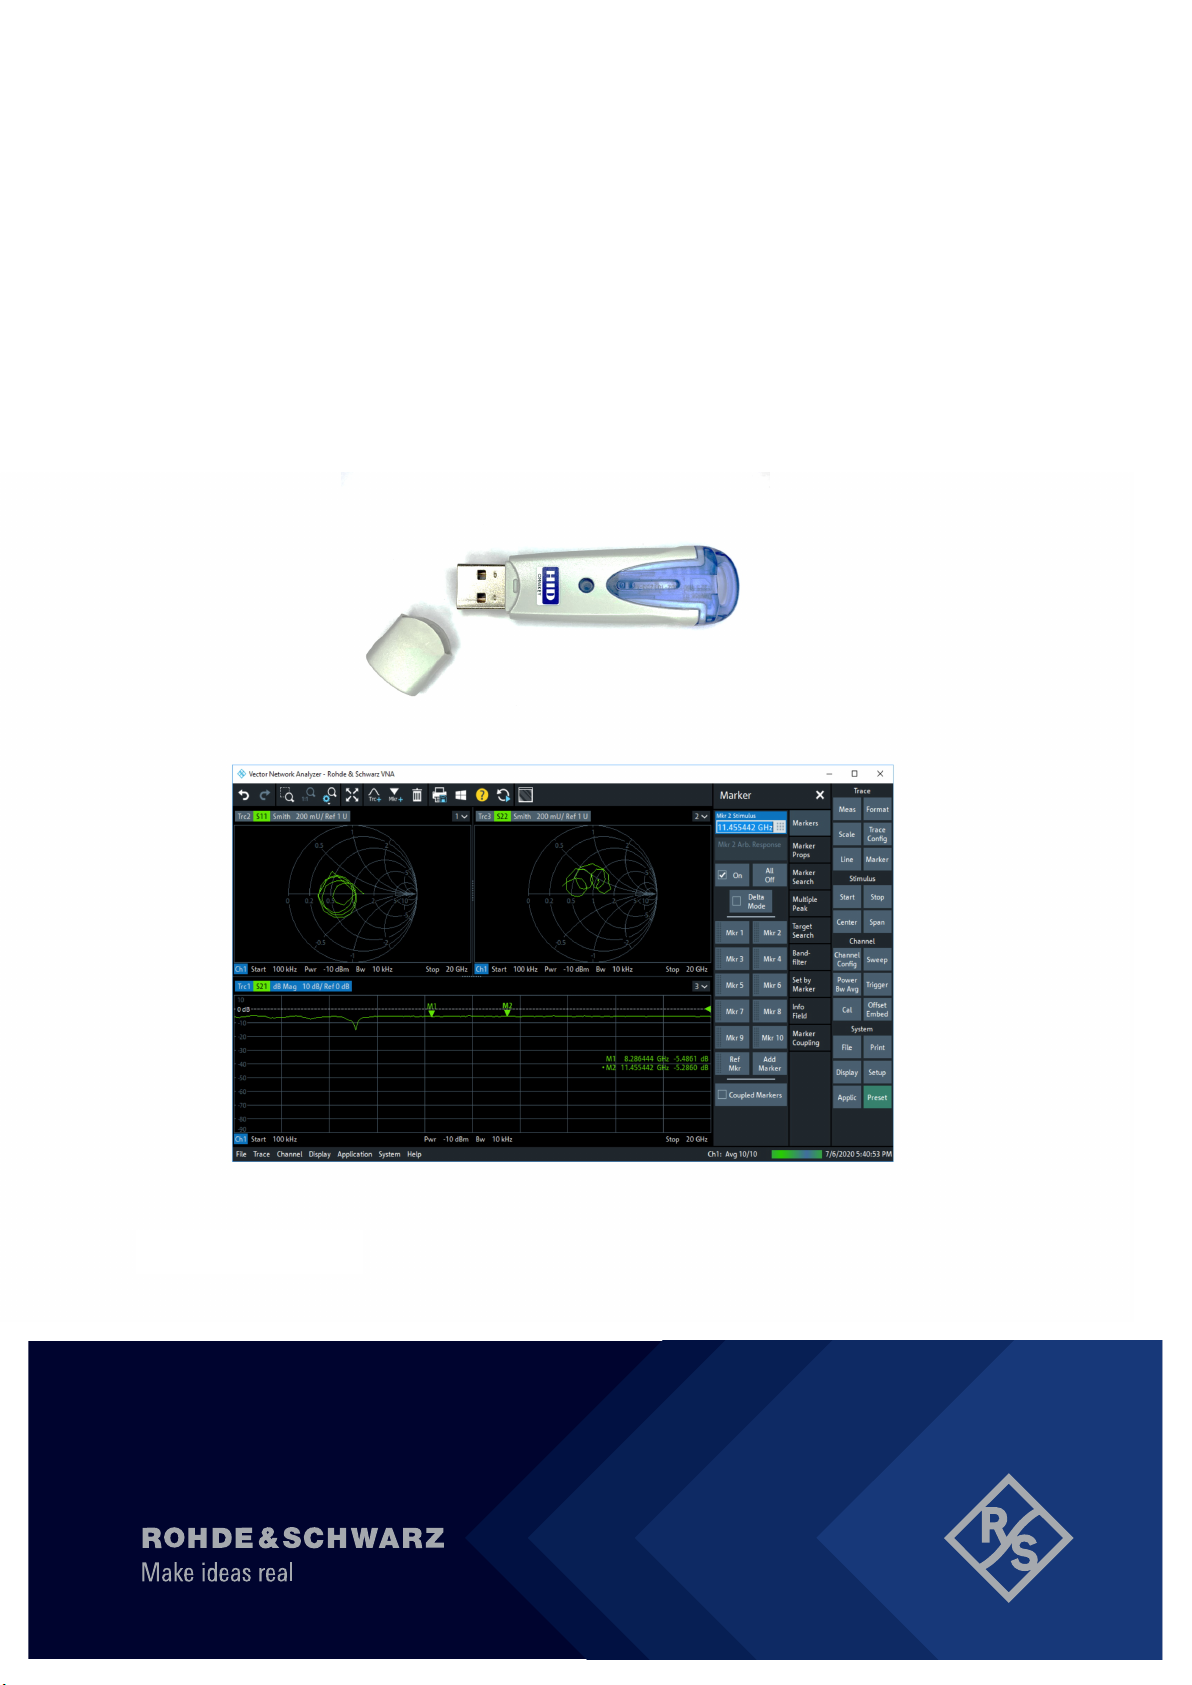
R&S ZNPC license dongle
R&S ZNXSIM licenses "live" on dedicated R&S ZNPC IC chips that are delivered as a
smart card and a USB dongle. You can either use the smart card with a smart card
reader, or remove the license chip and insert it into the USB dongle.
Licensing
Figure 3-1: R&S ZNPC license dongle
In any case, the license chip must be properly detected by the license server instance
on the PC it is physically connected to. Make sure the RSSmartCardService driver is
installed, when the smart card or dongle is connected to this PC for the first time.
R&S License Server
The R&S License Server is used for option management on a PC, device or server. It
supports:
●
parallel usage of local dongles by multiple applications ("shared access")
●
license verification via LAN, using https connections to central license servers with
floating licenses
The R&S License Server is installed with the VNA simulation.
If the VNA simulation complains about missing licenses, run the R&S License Server
Manager browser app from the Windows start menu of the simulation PC ("Start" >
"R&S License Server" > "R&S License Server Manager"). Make sure the required
R&S ZNPC licenses are visible in the "Licenses" tab.
4Getting Started 1179.5099.02 ─ 01

R&S®ZNXSIM
Licensing
If you want to use local licenses but no local licenses are visible, verify that the smart
card or license dongle is properly inserted into the smart card reader or USB port of the
simulation PC, respectively. If a license dongle is used, make sure that the IC chip is
fully inserted into the dongle (see "R&S ZNPC license dongle" on page 4).
If you want to use floating licenses, make sure to define one or more remote floating
license servers in the license server manager of the simulation PC and check their
connection state.
●
Local licenses are only allowed on a license dongle R&S ZNPC, floating licenses
only on a license dongle R&S ZNPC-FL.
●
A floating license server must be equipped with the license dongle R&S ZNPC-FL.
●
The floating license server version must be 1.26.3.1500 or higher
For more information, see the R&S License Server "Managing Floating Licenses" help,
which can be opened from the "Help" icon in the top right corner of the local
R&S License Server Manager web interface. A PDF user manual with identical content
can be accessed via the R&S License Server folder in the Windows start menu ("Open
License Server Manual").
Both help and manual cover the following topics:
●
how to manage local licenses
●
how to set up a floating license server
●
how to connect to and obtain licenses from a floating license server
5Getting Started 1179.5099.02 ─ 01

R&S®ZNXSIM
First Steps
4 First Steps
Once the installation has completed, after a possible restart the newly installed application can be opened from the Windows start menu or desktop icon ("R&S ZN<A|B|D>
Vector Network Analyzer").
The firmware installation creates a "R&S ZN<A|B|D> Vector Network Analyzer" program group in the Windows start menu. The following steps explain how to configure
and launch the simulation.
1. From the program group, select "Configure Simulation" to open the "Simulation
Config" tool.
Figure 4-1: Instrument selection
2. In the "Select Instrument" tab of the "Simulation Config" tool, choose your desired
instrument model (and simulated hardware). Click "Switch Instrument" to activate
your selection.
3. If the selected instrument has changed and the VNA application was already running, close it.
4. Now run the VNA application.
For example, select "R&S ZNB Vector Network Analyzer" for firmware R&S ZNB.
R&S ZNB/ZNBT or R&S ZND simulation
When the R&S ZNB/ZNBT or R&S ZND simulation is run for the first time, its graphical
user interface starts up in full-screen mode with the (virtual) hardkey panel enabled.
Select "Display" > "View Bar" > "Title and Task Bar On" from the menu bar to switch to
window mode.
6Getting Started 1179.5099.02 ─ 01

R&S®ZNXSIM
First Steps
Figure 4-2: R&S ZNB/ZNBT/ZND in window mode
R&S ZNA simulation
When running the R&S ZNA simulation for the first time, it possibly starts up in "Single
Window Mode" with the function keys of the integrated into the main application window. To display the control window, unselect "Display" > "Config" > "Single Window
Mode" from the main menu.
Figure 4-3: R&S
ZNA with control window
7Getting Started 1179.5099.02 ─ 01

R&S®ZNXSIM
Using remote commands with the simulation
Trace data
The firmware simulation comes with default trace data. However, you can also display
and analyze your own trace data. Use the "File" menu to load them into the simulation.
K-options of the instrument
Option R&S ZNXSIM-K22 enables time domain analysis on the simulation (instrument
options R&S ZNx-K2/K3/K20).
The following instrument options are not available on the R&S -ZNx simulation.
●
METAS calibration option R&S ZNx-K50
●
De-/embedding options R&S ZNx-K220 and R&S ZNx-K230
●
Delta-L option R&S ZNx-K231
5 Using remote commands with the simula-
tion
The Rohde & Schwarz VNA simulation is the ideal environment to develop software
control elements using the SCPI remote control commands. You can access the simulation directly by using the TCPIP protocol and using the LAN local host address
127.0.0.1.
8Getting Started 1179.5099.02 ─ 01

R&S®ZNXSIM
Using remote commands with the simulation
VISA library
To establish a remote control connection to the VNA firmware, a VISA library must be
installed on the simulation PC. A VISA installation is also required, if you want to use
certain external devices with the VNA simulation, such as power meters or calibration
units. With R&S VISA, Rohde & Schwarz offers a VISA library free for download.
The firmware installation includes a utility for basic remote control and command execution: the "GPIB Explorer" (a.k.a.IECWIN32) can be found in the Windows start menu.
After specifying the VISA connection string (as displayed above), select "Connect
Now" to establish the remote control connection. You can then send commands
directly or execute a remote command script. The available command set is displayed
in the tree at the bottom left hand side:
9Getting Started 1179.5099.02 ─ 01
 Loading...