

Rohde&Schwarz R&S®VTE Video Tester - Getting Started Getting started

®
R&S
VTE
Video Tester
Getting Started
(E@<Ô2)
2116127002
Version 07
Getting Started

This manual describes the R&S®VTE (2115.7300.02).
The software contained in this product uses several valuable open source software packages. For information, see the "Open Source Acknowledgment" document, which is available for download from the
R&S VTE product page at www.rohde-schwarz.com/product/vte.html > "Downloads" > "Firmware".
Rohde & Schwarz would like to thank the open source community for their valuable contribution to embedded computing.
© 2020 Rohde & Schwarz GmbH & Co. KG
Mühldorfstr. 15, 81671 München, Germany
Phone: +49 89 41 29 - 0
Email: info@rohde-schwarz.com
Internet: www.rohde-schwarz.com
Subject to change – Data without tolerance limits is not binding.
R&S® is a registered trademark of Rohde & Schwarz GmbH & Co. KG.
Trade names are trademarks of the owners.
2116.1270.02 | Version 07 | R&S®VTE
Throughout this manual, products from Rohde & Schwarz are indicated without the ® symbol , e.g.
R&S®VTE is indicated as R&S VTE.

R&S®VTE
Contents
1 Safety and Regulatory Information...................................... 7
1.1 Safety Instructions................................................................................7
1.2 Labels on the Product........................................................................ 10
1.3 Warning Messages in the Documentation........................................11
1.4 Korea Certification Class A................................................................11
2 Documentation Overview....................................................13
2.1 Getting Started Manual.......................................................................13
2.2 User Manuals and Help...................................................................... 13
Contents
2.3 Tutorials............................................................................................... 13
2.4 Printed Safety Instructions................................................................ 14
2.5 Data Sheets and Brochures............................................................... 14
2.6 Release Notes and Open Source Acknowledgment (OSA).............14
2.7 Application Notes, Application Cards, White Papers, etc...............14
3 Key Features........................................................................ 15
4 Preparing for Use.................................................................17
4.1 Lifting and Carrying............................................................................17
4.2 Unpacking and Checking................................................................... 17
4.3 Choosing the Operating Site............................................................. 18
4.3.1 Setting Up the Product..........................................................................18
4.4 Considerations for Test Setup...........................................................20
4.5 Connecting to Power.......................................................................... 21
4.6 Connecting External USB Devices....................................................21
4.6.1 External Keyboard................................................................................ 22
4.6.2 Mouse................................................................................................... 23
3Getting Started 2116.1270.02 ─ 07

R&S®VTE
4.6.3 Memory Stick........................................................................................ 23
4.6.4 External Drive....................................................................................... 23
4.7 Switching On or Off............................................................................ 23
4.8 Checking the Provided Options........................................................ 25
4.9 Turn-On Tests......................................................................................25
Contents
5 Instrument Tour................................................................... 27
5.1 Front Panel.......................................................................................... 27
5.1.1 Standby Key..........................................................................................28
5.1.2 Cursor Keys.......................................................................................... 29
5.1.3 ENTER/ESC Keys................................................................................ 29
5.1.4 Rotary Knob.......................................................................................... 30
5.1.5 Display.................................................................................................. 30
5.1.6 USB Interfaces......................................................................................30
5.1.7 Headphones..........................................................................................30
5.2 Rear Panel........................................................................................... 31
5.2.1 AC Power Supply Connector and Switch..............................................31
5.2.2 TRIGGER Input.....................................................................................32
5.2.3 MARKER Output...................................................................................32
5.2.4 EXT REF IN.......................................................................................... 32
5.2.5 REF OUT.............................................................................................. 33
5.2.6 DISPLAY PORT.................................................................................... 33
5.2.7 DVI Port................................................................................................ 33
5.2.8 LAN....................................................................................................... 34
5.2.9 USB Interfaces......................................................................................34
5.2.10 USB DEVICE Port.................................................................................35
5.2.11 eSATA Interface.................................................................................... 35
5.2.12 HDMI Connector................................................................................... 35
4Getting Started 2116.1270.02 ─ 07

R&S®VTE
Contents
6 Operating the R&S VTE in a LAN....................................... 37
6.1 Connecting the R&S VTE to a Network.............................................37
6.2 Connecting the R&S VTE to a Computer..........................................38
6.2.1 Windows 7 Operating System...............................................................38
6.2.2 Other Operating Systems..................................................................... 39
6.3 Zero Configuration Networking......................................................... 39
6.4 Configuring the Network Card...........................................................39
6.5 Firewall Settings................................................................................. 41
7 Installed Software................................................................ 43
7.1 Operating System............................................................................... 43
7.1.1 Login..................................................................................................... 43
7.1.2 Windows 7 Start Menu..........................................................................44
7.2 Additional Software............................................................................ 44
7.3 Backup and Restore Application.......................................................44
7.3.1 Creating a Backup................................................................................ 46
7.3.2 Restoring a Selected Backup Version...................................................47
7.3.3 Deleting a Backup.................................................................................48
8 Contacting Customer Support........................................... 49
Index..................................................................................... 51
5Getting Started 2116.1270.02 ─ 07

R&S®VTE
Contents
6Getting Started 2116.1270.02 ─ 07

R&S®VTE
Safety and Regulatory Information
Safety Instructions
1 Safety and Regulatory Information
The product documentation helps you use the product safely and efficiently. Follow the instructions provided here and in the Chapter 1.1, "Safety Instructions",
on page 7.
Intended use
The product is intended for the development, production and verification of electronic components and devices in industrial, administrative, and laboratory environments. Use the product only for its designated purpose. Observe the operating
conditions and performance limits stated in the data sheet.
Where do I find safety information?
Safety information is part of the product documentation. It warns you of potential
dangers and gives instructions on how to prevent personal injury or damage
caused by dangerous situations. Safety information is provided as follows:
●
In Chapter 1.1, "Safety Instructions", on page 7. The same information is
provided in many languages as printed "Safety Instructions". The printed
"Safety Instructions" are delivered with the product.
●
Throughout the documentation, safety instructions are provided when you
need to take care during setup or operation.
1.1 Safety Instructions
Products from the Rohde & Schwarz group of companies are manufactured
according to the highest technical standards. To use the products safely, follow
the instructions provided here and in the product documentation. Keep the product documentation nearby and offer it to other users.
Use the product only for its intended use and within its performance limits. Intended use and limits are described in the product documentation such as the data
sheet, manuals and the printed safety instructions. If you are unsure about the
appropriate use, contact Rohde & Schwarz customer service.
Using the product requires specialists or specially trained personnel. These users
also need sound knowledge of at least one of the languages in which the user
interfaces and the product documentation are available.
7Getting Started 2116.1270.02 ─ 07

R&S®VTE
If any part of the product is damaged or broken, stop using the product. Never
open the casing of the product. Only service personnel authorized by
Rohde & Schwarz are allowed to repair the product. Contact Rohde & Schwarz
customer service at http://www.customersupport.rohde-schwarz.com.
Lifting and carrying the product
The maximum weight of the product is provided in the data sheet. To move the
product safely, you can use lifting or transporting equipment such as lift trucks
and forklifts. Follow the instructions provided by the equipment manufacturer.
Choosing the operating site
Only use the product indoors. The product casing is not waterproof. Water that
enters can electrically connect the casing with live parts, which can lead to electric shock, serious personal injury or death if you touch the casing. If
Rohde & Schwarz provides a carrying bag designed for your product, you can
use the product outdoors.
Safety and Regulatory Information
Safety Instructions
Unless otherwise specified, you can operate the product up to an altitude of
2000 m above sea level. The product is suitable for pollution degree 2 environments where nonconductive contamination can occur. For more information on
environmental conditions such as ambient temperature and humidity, see the
data sheet.
Setting up the product
Always place the product on a stable, flat and level surface with the bottom of the
product facing down. If the product is designed for different positions, secure the
product so that it cannot fall over.
If the product has foldable feet, always fold the feet completely in or out to ensure
stability. The feet can collapse if they are not folded out completely or if the product is moved without lifting it. The foldable feet are designed to carry the weight of
the product, but not an extra load.
If stacking is possible, keep in mind that a stack of products can fall over and
cause injury.
If you mount products in a rack, ensure that the rack has sufficient load capacity
and stability. Observe the specifications of the rack manufacturer. Always install
the products from the bottom shelf to the top shelf so that the rack stands
securely. Secure the product so that it cannot fall off the rack.
8Getting Started 2116.1270.02 ─ 07

R&S®VTE
Connecting to power
The product is an overvoltage category II product and has to be connected to a
fixed installation used to supply energy-consuming equipment such as household
appliances and similar loads. Be aware that electrically powered products have
risks, such as electric shock, fire, personal injury or even death.
Take the following measures for your safety:
●
Before switching on the product, ensure that the voltage and frequency indicated on the product match the available power source. If the power adapter
does not adjust automatically, set the correct value and check the rating of the
fuse.
●
If a product has an exchangeable fuse, its type and characteristics are indicated next to the fuse holder. Before changing the fuse, switch off the instrument
and disconnect it from the power source. How to change the fuse is described
in the product documentation.
Safety and Regulatory Information
Safety Instructions
●
Only use the power cable delivered with the product. It complies with countryspecific safety requirements. Only insert the plug into an outlet with protective
conductor terminal.
●
Only use intact cables and route them carefully so that they cannot be damaged. Check the power cables regularly to ensure that they are undamaged.
Also ensure that nobody can trip over loose cables.
●
If the product needs an external power supply, use the power supply that is
delivered with the product or that is recommended in the product documentation or a power supply that conforms to the country-specific regulations.
●
Only connect the product to a power source with a fuse protection of maximum 20 A.
●
Ensure that you can disconnect the product from the power source at any
time. Pull the power plug to disconnect the product. The power plug must be
easily accessible. If the product is integrated into a system that does not meet
these requirements, provide an easily accessible circuit breaker at the system
level.
Cleaning the product
Use a dry, lint-free cloth to clean the product. When cleaning, keep in mind that
the casing is not waterproof. Do not use liquid cleaning agents.
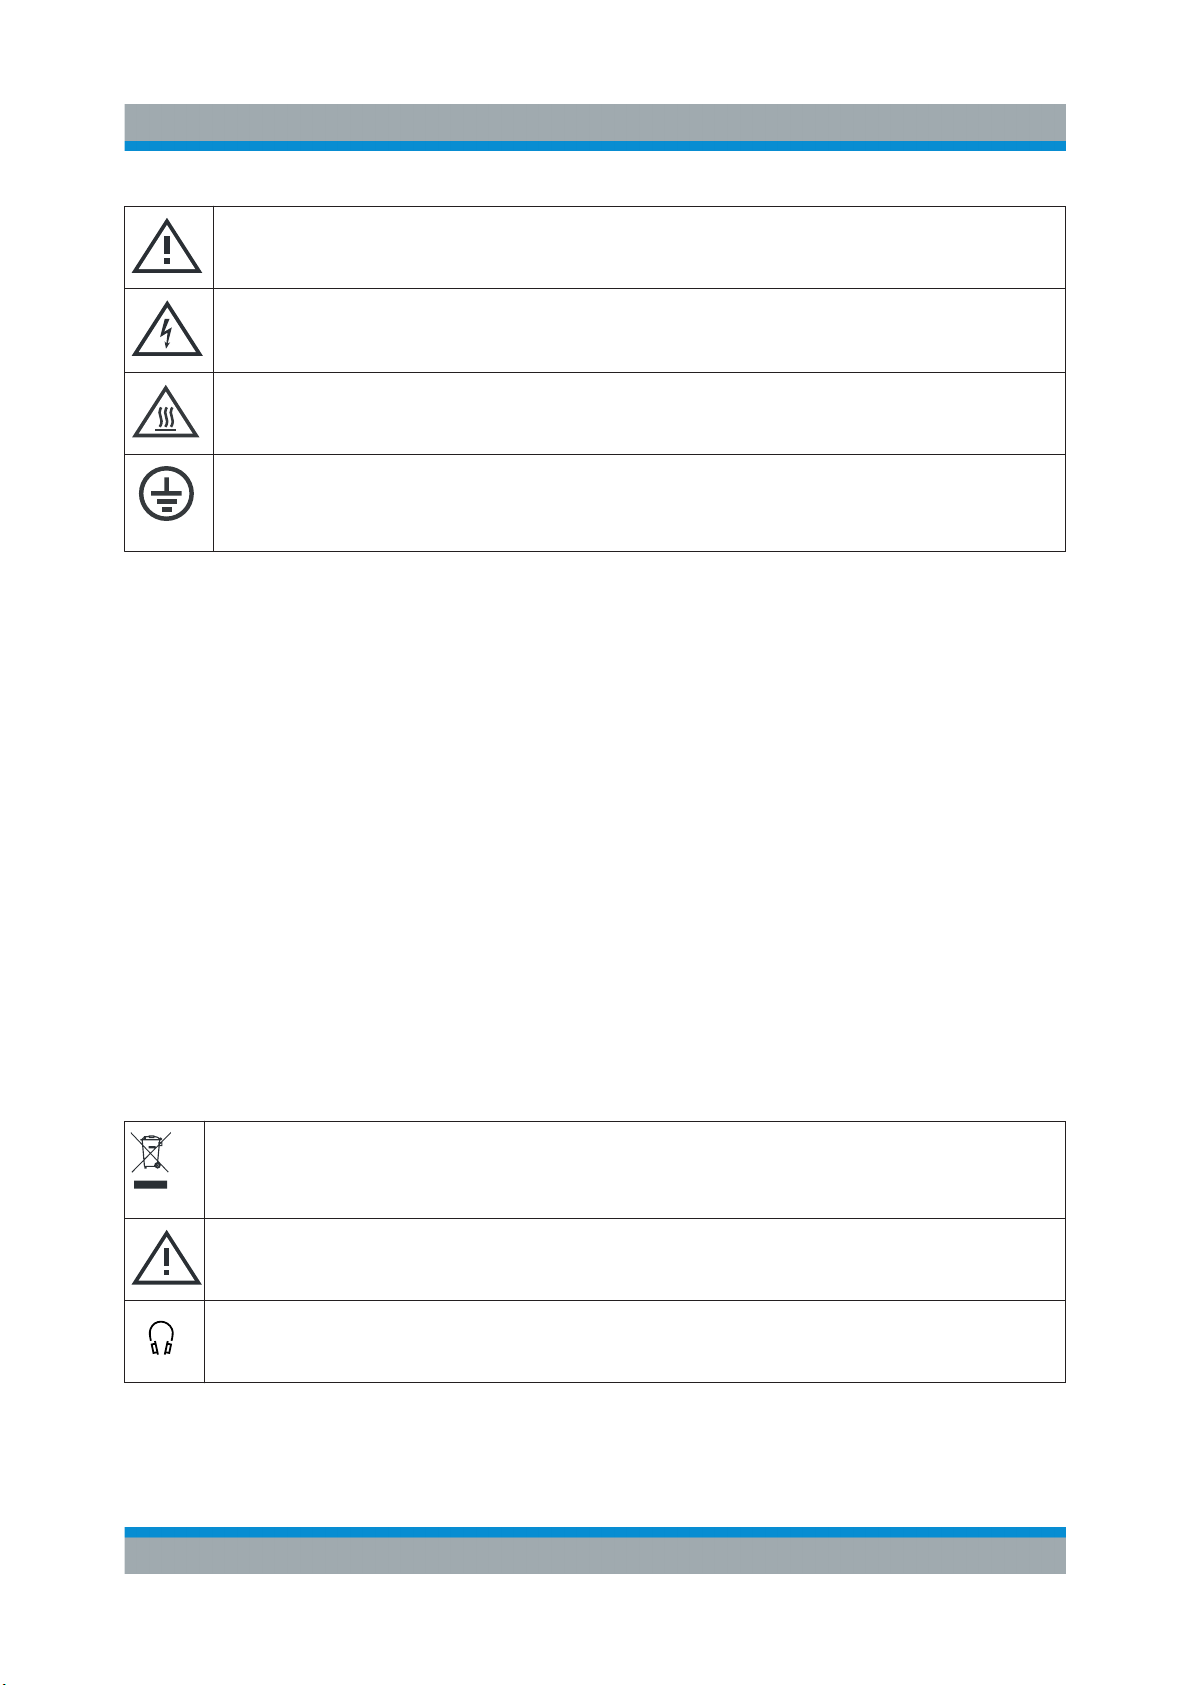
Meaning of safety labels
Safety labels on the product warn against potential hazards.
9Getting Started 2116.1270.02 ─ 07
R&S®VTE
Safety and Regulatory Information
Labels on the Product
Potential hazard
Read the product documentation to avoid personal injury or product damage.
Electrical hazard
Indicates live parts. Risk of electric shock, fire, personal injury or even death.
Hot surface
Do not touch. Risk of skin burns. Risk of fire.
Protective conductor terminal
Connect this terminal to a grounded external conductor or to protective ground. This
protects you against electric shock should an electric problem occur.
Connecting headphones
Take the following measures to prevent hearing damage. Before using headphones, check the volume and reduce it if necessary. If you monitor varying signal levels, take off the headphones and wait until the signal has settled. Then
adjust the volume.
1.2 Labels on the Product
Labels on the casing inform about:
●
Personal safety, see "Meaning of safety labels" on page 9.
●
Product and environment safety, see Table 1-1.
●
Identification of the product on the type plate.
Table 1-1: Labels regarding product and environment safety
Labeling in line with EN 50419 for disposal of electrical and electronic equipment after
the product has come to the end of its service life.
For more information, see the product user manual, chapter "Disposal".
Read the manual for information.
Headphone. Take care with the volume setting, see "Connecting headphones"
on page 10.
10Getting Started 2116.1270.02 ─ 07

R&S®VTE
Safety and Regulatory Information
Korea Certification Class A
1.3 Warning Messages in the Documentation
A warning message points out a risk or danger that you need to be aware of. The
signal word indicates the severity of the safety hazard and how likely it will occur
if you do not follow the safety precautions.
WARNING
Potentially hazardous situation
Could result in death or serious injury if not avoided.
CAUTION
Potentially hazardous situation
Could result in minor or moderate injury if not avoided.
NOTICE
Potential risks of damage
Could result in damage to the supported product or to other property.
1.4 Korea Certification Class A
이 기기는 업무용(A급) 전자파 적합기기로서 판매자 또는 사용자는 이 점을 주의하
시기 바라며, 가정외의 지역에서 사용하는 것을 목적으로 합니다.
11Getting Started 2116.1270.02 ─ 07

R&S®VTE
Safety and Regulatory Information
Korea Certification Class A
12Getting Started 2116.1270.02 ─ 07

R&S®VTE
Documentation Overview
Tutorials
2 Documentation Overview
This chapter provides an overview of the R&S VTE user documentation. Unless
specified otherwise, you find the documents on the R&S VTE product page at:
www.rohde-schwarz.com/manual/vte
2.1 Getting Started Manual
Introduces the R&S VTE and describes how to set up and start working with the
product. Includes a sample application and general information, e.g. safety
instructions, etc. A printed version is delivered with the instrument.
2.2 User Manuals and Help
Contains the description of all instrument modes and functions. Also provides an
introduction to remote control, a complete description of the remote control commands with programming examples, and information on maintenance, instrument
interfaces and error messages. Includes the contents of the getting started manual.
The contents of the user manual is available as help on the R&S VTE. The help
offers quick, context-sensitive access to the complete information for the base
unit and the software options.
For detailed information on how to use the help, refer to the chapter "Operating
Concepts".
2.3 Tutorials
Tutorials offer guided examples and demonstrations on operating the R&S VTE.
They are provided on the product page of the internet.
13Getting Started 2116.1270.02 ─ 07

R&S®VTE
Application Notes, Application Cards, White Papers, etc.
Documentation Overview
2.4 Printed Safety Instructions
Provides safety information in many languages. The printed document is delivered with the product.
2.5 Data Sheets and Brochures
The data sheet contains the technical specifications of the R&S VTE. It also lists
the options and their order numbers, and optional accessories.
The brochure provides an overview of the instrument and deals with the specific
characteristics.
See www.rohde-schwarz.com/brochure-datasheet/vte
2.6 Release Notes and Open Source Acknowledgment (OSA)
The release notes list new features, improvements and known issues of the current firmware version, and describe the firmware installation.
The open source acknowledgment document provides verbatim license texts of
the used open source software. On the R&S VTE, the open source acknowledgment document is provided as PDF file in C:/Program%20Files/
Rohde-Schwarz/VTS/2.11.0/Tools/.
See www.rohde-schwarz.com/firmware/vte
2.7 Application Notes, Application Cards, White Papers, etc.
These documents deal with special applications or background information on
particular topics.
See www.rohde-schwarz.com/application/vte
14Getting Started 2116.1270.02 ─ 07

R&S®VTE
Key Features
3 Key Features
The R&S VTE video test center is a universal platform for testing video and audio
interfaces on consumer electronics equipment in R&D where a wide variety of
applications need to be addressed and involve different AV interface technologies. The modular platform accommodates up to eight test modules and can be
equipped with additional software to optimally suit the requirements of specific
applications.
See the Rohde & Schwarz Home Page at http://www.rohde-schwarz.com for
information on available hardware and software options, data sheet and product
brochure, application notes.
15Getting Started 2116.1270.02 ─ 07

R&S®VTE
Key Features
16Getting Started 2116.1270.02 ─ 07
 Loading...