

Rodenstock HR Digaron Macro 105 mm f/5.6 User Manual
HR Digaron Macro 105 mm f/5.6
High-Performance Lens
for Magnication Scales from 1:4 to 4:1
User Manual
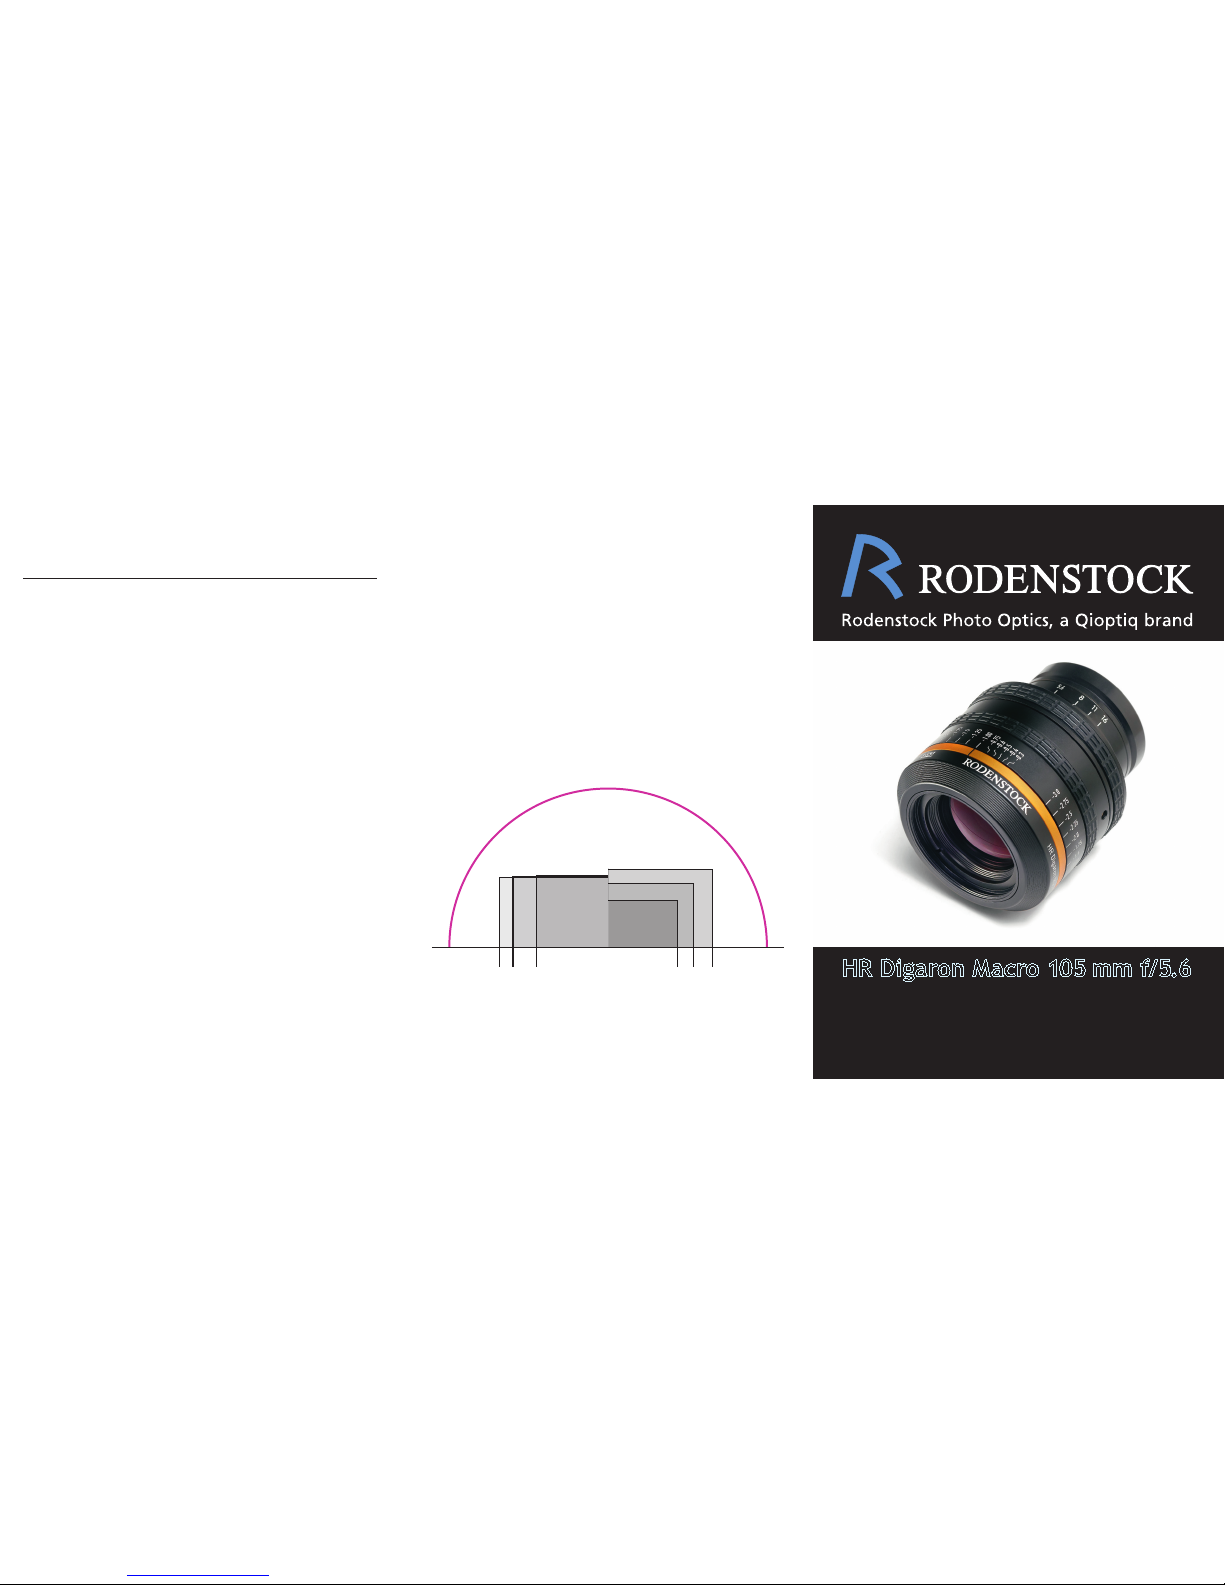
36 x 56 mm
37 x 49 mm
37 x 37 mm
24 x 36 mm
33 x 44 mm
40 x 54 mm
Image circle diameter 82 mm
provides clearance for camera movements
Suitable for
all up to date
sensor formats:
Minimum / maximum subject size with different sensor formats
Sensor format Subject size at 4:1 Subject size at 1:4
36 x 56 mm ≈ 9 x 14 mm ≈ 144 x 224 mm
40 x 54 mm ≈ 10 x 13.5 mm ≈ 160 x 216 mm
37 x 49 mm ≈ 9.3 x 12.3 mm ≈ 148 x 196 mm
36 x 48 mm ≈ 9 x 12 mm ≈ 144 x 192 mm
33 x 44 mm ≈ 8.3 x 11 mm ≈ 132 x 176 mm
24 x 36 mm ≈ 6 x 9 mm ≈ 96 x 144 mm
19.1 x 28.7 mm (APS-H) ≈ 4.8 x 7.2 mm ≈ 76 x 115 mm
15.6 x 23.6 mm (APS-C) ≈ 3.9 x 5.9 mm ≈ 62 x 94 mm
15.1 x 22.7 mm (APS-C Canon) ≈ 3.8 x 5.7 mm ≈ 60 x 91 mm
13.0 x 17.3 mm (FT/MFT) ≈ 3.3 x 4.3 mm ≈ 52 x 69 mm
12 aperture blades for a circular pupil and a perfect bokeh
The HR Digaron Macro 105 mm f/5.6 with 8 lens elements in 4 groups not
only stands out due to its exceptional sharpness, but also due to a perfect bokeh thanks to an almost circular aperture with 12 aperture
blades, even when stopped down: light spots outside the depth of eld
are reproduced as homogeneous circular circles of confusion.
Stop down only as far as needed for the wanted depth of eld
!
Because the resolution of this high performance lens is incredibly close
to the diffraction limit, you should always only stop down by as much as
the necessary depth of eld requires. Stepping down does not increase
sharpness (this is already optimum with a full aperture), but produces
diffraction that reduces contrast and resolution. Please remember that
the effective aperture in the macro range becomes much smaller than
for far distances. At a scale of 1:1, the nominal f-number 5.6 becomes an
effective f/11; at a scale of 2:1, it becomes f/16; and at a scale of 3:1,
even f/22. This is why the aperture setting is deliberately limited to the
smallest nominal aperture of f/16.
Suitable for technical cameras, SLR and other system cameras
The large image circle of 82 mm diameter is big enough for even the
largest sensors of professional digital backs and still has sufcient reserves for camera movements (parallel shift and/or lens tilt). At the
same time, the exceptional sharpness exceeds that of classical macro
lenses both at very high resolution digital backs and at smaller system
camera sensors (with even smaller pixel pitches in some cases).
The matching to different camera systems takes place using specic
adapters on the V groove interface. Since the optical design of the lens
does not permit a leaf shutter, the camera or the digital back has to
have a focal-plane shutter or a sensor with an electronic shutter.
Focusing can take place by changing the distance from the motif or from
the sensor. The latter is done using a bellows, using the bellows extension of the camera or using extension rings (with a xed imaging scale)
and a helical focusing mount (for continuous scale changes).

Congratulations on purchasing this high-performance Rodenstock lens. We
are condent you will enjoy all the features this macro lens can offer you:
it is continuously optimizable for any imaging scale between 1:3 (β′ = -0.3)
and 3:1 (β′ = -3) and thus offers an imaging quality that puts all that has
gone before it into the shade. The sharpness is only limited by the physically unavoidable diffraction, the distortion is extremely low, reduced to
almost zero from a scale of 1:1, and color fringes are a thing of the past.
Conventional macro lenses suffer from typial shortcomings
Lenses are always optimized for an imaging scale that depends on the intended area of use. Optimization is usually carried out for innity (β′ = -0).
Less frequently, but almost always for technical lenses for studio photography, optimization is carried out for a scale of 1:20 or 1:10 (β′ = -0.05 or
β′ = -0.1), which corresponds to a distance of around 20 times to 10 times
the focal length. With different scales or different distances, the imaging
quality rst reduces by a small amount and then more and more. This applies to the sharpness and equally to the distortion, the color fringes and
other aberrations. A larger value, e.g. 1:3 (β′ ≈ -0.3), is selected as the
optimization scale for macro lenses and an optical design is chosen that
keeps the sharpness drop relatively small over a wide scale range. Irritating aberrations nevertheless become visible when high demands are made
and when the scales differ more from the optimum, above all when the
distance setting should reach up to innity (β′ = -0).
The HR Digaron Macro 105 mm f/5.6 is totally uncompromising
The Rodenstock HR Digaron Macro 105 mm f/5.6 has not been optimized
for a xed scale in order to avoid such compromises. The lens can rather
be individually and continuously optimized for every shot within the range
from β′ = -0.3 to β′ = -3 using a rotating ring by displacing an internal lens
element group (“oating elements”). This delivers exceptional image
quality without any compromises toward either end of the recommended
scale range from 1:4 (β′ = - 0.25) to 4:1 (β′ = -4). The rotating ring should
be set to β′ = -0.3 for scales below 1:3 and to β′ = -3 for scales above 3:1.
The HR Digaron Macro, that is superior to all other lenses from around 1:4,
can even be used up to innity (β′ = -0) with only small losses in quality.
The scale bar from β′ = -0.3 to β′ =
-3 for positioning the oating elements can be found directly behind
the orange ring with the associated
black index line. The scale is set to
-1.00 on the photo shown at the
side. We have prepared scale mea-
surement cards for all relevant sensor sizes to enable you to make an
exact determination of the scale to
be set for your macro shots. However, some measurement cards are
too large to be included inside the
box of this lens without being folded. But you can download a PDF
(2 DIN A4 pages) of the cards from
www.rodenstock-photo.com/measuring.pdf
Simply print the page with the measurement card that matches your sensor size (the sensor width in landscape format is indicated in a black rectangle) on DIN A4 paper of cardboard thickness. If you use a transparent
adhesive foil to laminate the card, the measurement card cut-out along
the frame will be more stable and will also remain clean longer. The measurement card for the sensor format 24 mm x 36 mm is shown below:
How to nd the right image scale to be set
Arrange the motif and the lighting as usual. Before you check
the image on the monitor of the camera, of the digital back,
of your tethered computer or on the screen of a technical
camera, you can rst roughly estimate the imaging scale to be
set at the rotational ring or simply set it to β′ = -1.00.
Once you have decided on the motif design, simply hold the
measurement card matching your sensor size in the sharpness
plane of your motif such that the left edge contacts the left
image margin in landscape mode. You can now read the imaging scale off the bar at the right hand image margin. It is usually sufcient to make an estimate directly at the motif. For
more precision, read the scale value off the monitor or off the
ground glass screen. In portrait mode, hold the measurement
card vertically at the lower image margin and read the scale
from the upper margin (in the example below β′ ≈ -0.45).
Alternatively, you can measure the motif working distance
from the front lens edge and read the scale from this bar ➔
You can set this scale at the rotational ring (set to the respective end position if the range -0.3 to -3 is exceeded) and can
either use the focusing mount or the bellows extension or use
a camera movement to refocus to maximum sharpness.
free working
distance [mm]
Image scale
β′
 Loading...