

Page 1
1
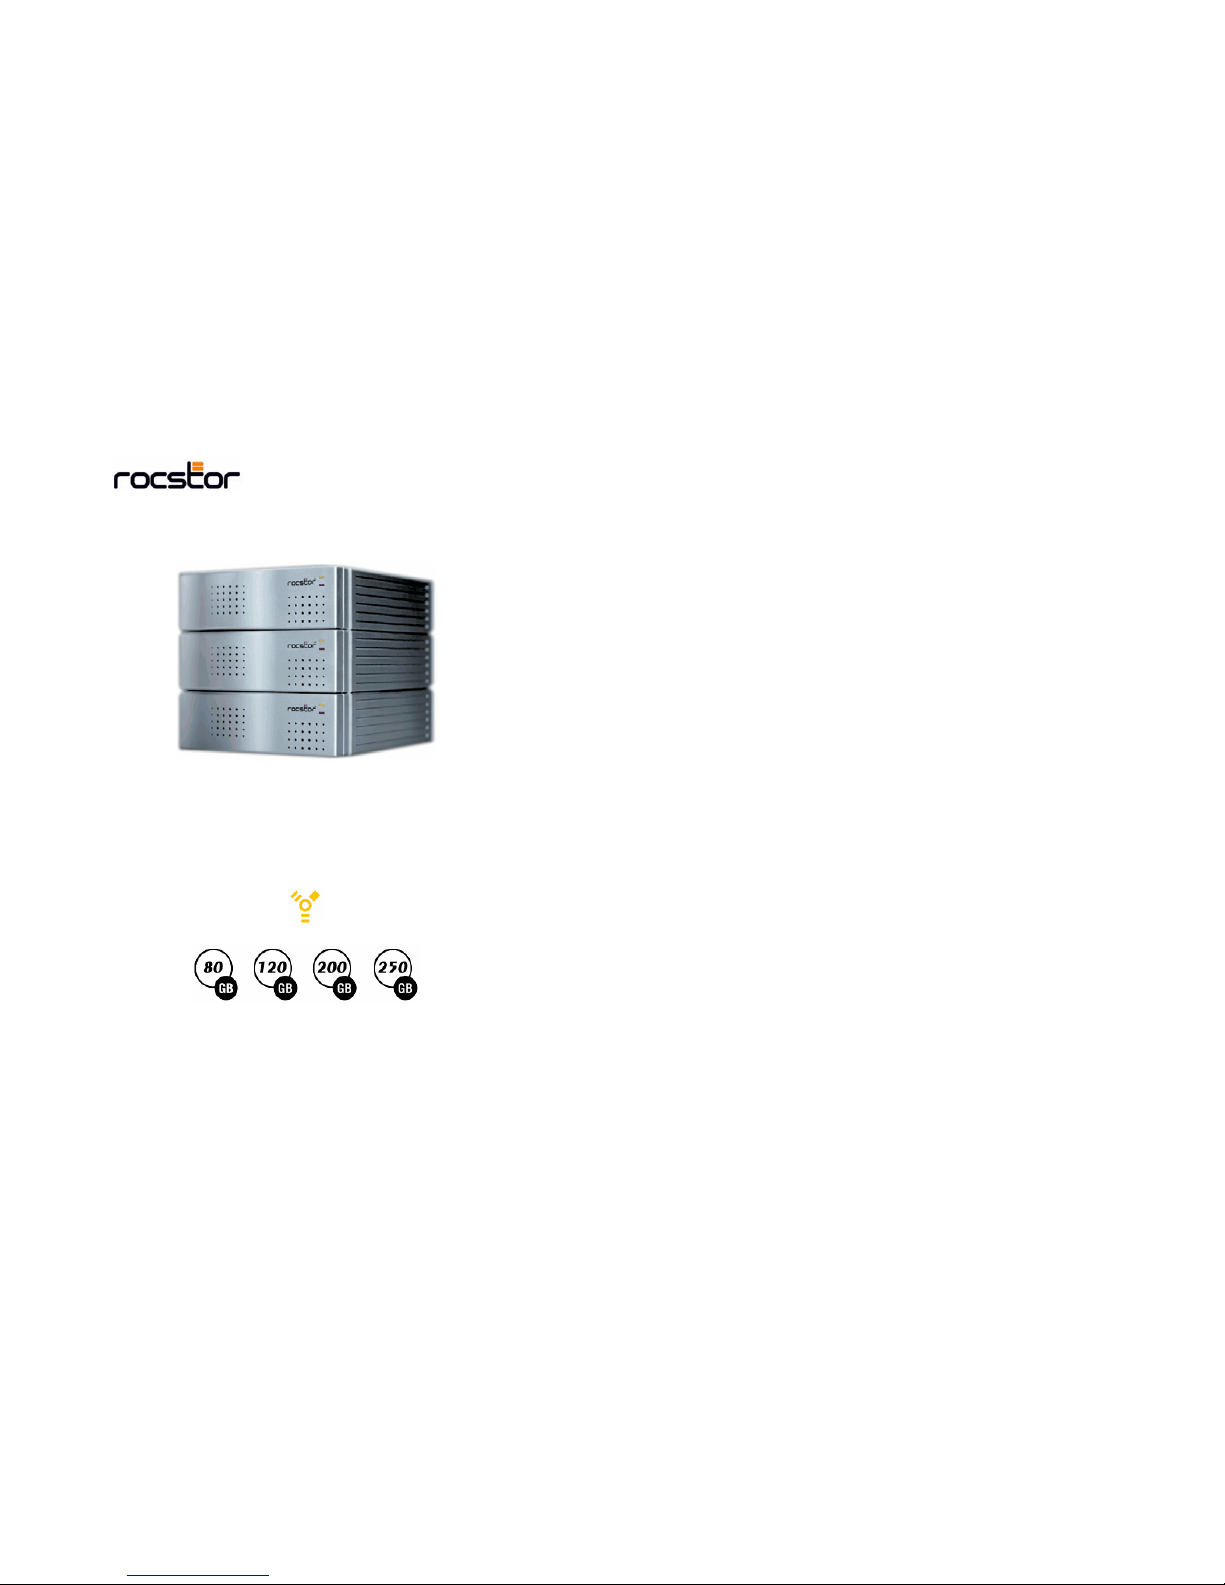
ROCSILVER FIREWIRE HARD DRIVE
www.ROCSTOR.com
store your future
2
ROCSILVER EXTERNAL HARD DRIVE
ROCSTOR FIREWIRE HARD DRIVE THE BENEFITS:
A fast and an easy way to add Extra Digital Storage to
your PC or MAC.
Requires little effort to connect, plug and play.
FireWire ports provide 30 times more bandwidth than
USB Ports.
Hot-Pluggable device makes it possible to connect
the new peripheral without turning off the computer.
Compact (Hard Drive, Power Supply and the FireWire
Adaptor all in one small enclosure.)
Stackable design
Cables are simple and easy to connect, can be
extended up to 15 feet long.
Guaranteed compatibility.
1 year limited warranty
STORE YOUR FUTURE with unlimited applications for
your High-Performance Hard Drive
Store Massive amount of Audio and Video data (An
average of 15 GB per hour of video.)
Store Thousands of Digital photos. (An average of 6
MB per picture.
Store Digital music. (An average of 250 MB per hour.
Store games, an average game can fill over 1 GB.
Internet movie downloads are in the near future on
average they will require 2-3 GB per hour.
Use as Back up storage for your other computers
data’s.
Store unlimited storage of data with multiple
FireWire external hard drives.
Page 2

3
Be able to secure your Hard Drive data by locking it
up in a safe place.
Flexibility also allows you to transfer files between
computers.
PACKAGE CONTAINS:
FireWire external hard drive
FireWire cable
Power cable
Quick Install Manual
SYSTEMS REQUIREMENTS
Macintosh Users:
• Power Mac, Power Book, iMac G3 and G4, eMac, G4
Models with Built-in FireWire Port
• Minimum 64 MB RAM (128MB recommended)
• Mac OS 8.6 or higher
• Apple System Software 8.6.1 or Higher (Some
System may require Fire wire 2.4 or 2.5 Update from
Installer heat CD* or Apple Web Site
www.apple.com
)
• Mac OS X does not require any installation or update
* Please call Rocstor at 310.479.7747 for free Heat
Utility CD.
PC Users:
Minimum 200 MHz PC
FireWire-enabled Connection
Minimum 32 MB RAM
Windows 98 SE (second edition) or higher
4
Hardware and Software installation for Apple Computers:
Note: Hard Drives are shipped pre-formatted FAT 32
format, for testing purpose.
Hardware and Software Installation for Mac OS 8.6:
Request Heat Utility CD from Rocstor
• Insert the heat Utility CD, In the CD Rom drive that
is included with the hard drive Package
• Double click on folder “Heat Utility Installer”,
• Double click on the “FireWire 2.4smi” file,
• Once you agreed to the terms and conditions ‘disk
image icon will appear on your desk top.
• Double click on the image to open and then double
click on the “installer” to install FireWire support.
• Install “Heat Utilities™ Installer” and Restart the
computer again.
• Plug the power cord to the power port at the back of
the drive
• Plug the Fire wire (6 Pin to 6 Pin) cable to one of the
port (either port 1 or port 2) on the drive and then
plug the other end of the fire wire port to the fire wire
port at the back of the computer.
• Turn On the drive and wait for the window to come
on the screen to show:
• This disk is unreadable by the computer; do you want
to initialize the disk?
• Type the followings:
• Name: _________________
• Format: Mac OS Extended.
……….
• Name the hard drive and Select Mac Os Extended
under Format Type,
• Click Initialize and Hard Drive Icon Will Appear on
the Desktop. Your Rocsilver Hard Drive is now ready
to be used.
Page 3

5
Hardware and Software Installation for Mac OS 9.0,
9.0.2 and 9.0.4:
Request Heat Utility CD from Rocstor
• Insert the heat Utility CD, In the CD Rom drive that
is included with the hard drive.
• Double click on folder “Heat Utilities™ Installer”,
• Double click on the “FireWire 2.5smi” file,
• Once you agreed to the terms and conditions ‘disk
image icon will appear on your desk top.
• Double click on the image to open and then double
click on the “installer” to install FireWire support.
• Install “Heat Utilities™ Installer” and Restart the
computer again.
• Plug the power cord to the power port at the back of
the drive
• Plug the Fire wire (6 Pin to 6 Pin) cable to one of the
port on the drive and then plug the other end of the
fire wire port to the fire wire port at the back of the
computer
• Turn On the drive and wait for the window to come
on the screen.
• This disk is unreadable by the computer
• Do you want to initialize the disk?
• Name: _________________
• Format: Mac OS Extended.
……….
• Name the hard drive and Select Mac Os Extended
Under Format Type,
• Click Initialize and Hard Drive Icon Will Appear on
the Desktop. Ready to be used.
6
Hardware and Software Installation for Mac OS 9.1 or
Higher:
• Plug the power cord to the power port at the back of
the drive
• Plug the Fire wire (6 Pin to 6 Pin) cable to one of
the port on the drive and then plug the other end of
the FireWire port to the fire wire port at the back of
the computer
• Turn On the drive and wait for drive to mount on the
screen. You will see the drive.
Hardware and Software Installation for Mac OS X or later:
• Plug the power cord to the power port at the back of
the drive
• Plug the Fire wire (6 Pin to 6 Pin) cable to one of the
port on the drive and then plug the other end of the
fire wire port to the fire wire port at the back of the
computer,
• Turn On the drive and wait for the drive to mount on
the desktop on the screen.
Note:
There are several ways to unplug your FireWire external
hard drive.
You can drag the External Hard Drive icon to the Trash,
wait until the disk icon disappears from the desktop,
then disconnect or turn off the FireWire external hard
drive.
Or you may also click on the Hard Drive icon on your
desktop and press (Apple/command) “Y” on OS 8.6 to
9.2.2, for OS X use (Apple/Command) “E”.
Page 4

7
HARDWARE AND SOFTWARE INSTALLATION FOR
PERSONAL COMPUTERS (IBM, HP, COMPAQ, DELL,
and Compatibles):
Installation for Windows 98
Before opening and connecting the external FireWire
drive, please make sure that your system has a FireWire
interface and it is configured properly.
1. Connect the power and I/F cables to the external
Hard Drive and the computer both.
2. Turn the external hard drive on.
3. Wait for few seconds for the system to initialize the
Hard Drive.
4. Click on “start”, choose and click on “run”.
5. Type “command” in the run menu and click ok.
6. You will get a “DOS” screen with the “C” prompt.
7. Type F-Disk at the prompt and hit enter.
8. Answer “y” to the question: “do you wish to enable
large disk support? “
9. You will get a menu with 5 options. Type 5 and hit
enter. (By doing this action, you will be at the
“change current fixed disk drive option”).
10. Choose the disk #2 by typing 2 and hitting enter or if
you have more than one physical drives, type the
number of the last drive and hit enter.
11. You will get back to the main menu. Make sure that
the current fixed disk drive shows the number 2 (or
the right drive number if you had more than one
physical drives in the system).
12. Choose to create “DOS” partition by typing 1 and
hitting enter.
13. Choose create extended “DOS” partition by typing 2
and enter.
8
14. You should get another screen that shows the
maximum available disk space to create. Leave the
numbers as default and hit enter.
15. You should get the message “extended dos partition
created”.
16. Hit the “ESC” (Escape) key to continue.
17. By hitting Escape, you get to the next screen that will
ask for the “logical drive size”, hit enter to have the
maximum size for the new drive.
18. By doing the last step, you created a drive letter for
your new drive.
19. Hit “ESC” to get back to the main F-Disk menu.
20. You should continue hitting the “ESC” key until you
get back to the “C” prompt.
21. Type exit at the “C” prompt to go back to windows.
22. Restart the computer.
23. After the computer restarts, double click on “My
Computer” and you will see a new drive letter for the
new hard drive.
24. Right click on the drive letter (it could be d: e: or
different letter, depending on how many volumes you
have in the computer), choose and click “format”.
25. At the menu, click “start” to start the formatting.
26. After the format is done, the new hard drive is ready
for use.
Installation for windows 2000 / XP operating systems:
Before opening and connecting the external FireWire
drive, please make sure that your system has a FireWire
interface and it is configured properly.
1. Connect the power and FireWire cables to the
external Hard Drive and the computer.
2. Turn the hard drive on.
Page 5

9
3. Wait for few seconds for the system to mount the
Hard Drive.
4. Right click on my computer, choose and click on
“manage”.
5. Choose and double click on “storage”.
6. Choose and double click on “disk management”. You
will notice that the disk will have an “unknown drive”
words on the drives menu that shows “Not
Initialized”.
7. (If the initialize Wizard comes on follow the menus
and finish initializing and skip to step 11)
8. Right click on the “unknown drive” icon and choose
and click the “Initialize Disk” option.
9. Click o.k. on next menu.
10. The disk status will change to “On Line”.
11. Under the capacity gage of the hard drive you will
have the “Unallocated” word.
12. Right click on the “Unallocated” word on the new
disk and choose new partition. By clicking on new
partition you will get the “new partition wizard”.
13. Click on next and choose “Extended” and choose
next.
14. Click finish.
15. You will get a “Free Space” message instead of
“Unallocated” on the drive status.
16. Right click on the “Free Space” words and choose
and click “New Logical drive”.
17. You will get the “New Partition Wizard”
18. Click next.
19. Click next again to choose the maximum capacity for
the hard drive.
20. Click next again.
21. Click on “Perform a Quick Format” and click next.
(Make sure that the Quick Format is check marked.)
22. Click finish and wait for the system to show
“Healthy” on the hard drive status bar.
10
23. Exit from the hard drive management by clicking the
“X” on the right upper side of the window.
24. Your hard drive is ready to be used.
CAUTION: Do not unplug your FireWire external hard drive
while Active or in a process of Transferring, Storing, files as
this could result in data loss and disk damage.
CAUTION: Do not DROP or JOLT your FireWire External
Hard Drive or attempt to open the drive and service it
yourself. These actions will void the warranty. The Rocstor
FireWire external hard drive is not intended as a portable
device.
TECHNICAL SUPPORT SERVICES
For Technical Support on your new Rocstor FireWire
external hard drive of free technical support, please register
your product with Rocstorage, Inc. To register please, visit
www.rocstor.com
and click on the Registration link. When
calling for support, please have the serial number and
system hardware information available.
Page 6

11
ROCSTOR PRODUCTS WARRANTY AND
TECHNICAL SUPPORT INFORMATION
General Terms
EXCEPT AS EXPRESSLY SET FORTH IN THIS LIMITED WARRANTY,
ROCSTOR MAKES NO OTHER WARRANTIES OR CONDITIONS, EXP RESS
OR IMPLIED, INCLUDING ANY IMPLIED WARRANTIES OF
MERCHANTABILITY AND FITNESS FOR A PARTICULAR PURPOSE.
ROCSTOR EXPRESSLY DISCLAIMS ALL WARRANTIES AND CONDITI ONS
NOT STATED IN THIS LIMITED WARRANTY. ANY I MPLIED WARRANTIES
THAT MAY BE IMPOSED BY LAW ARE LIMITED IN DURATION TO THE
LIMITED WARRANTY PERIOD. SOME STATES OR COUNTRI ES DO NOT
ALLOW A LIMITATION ON HOW LONG AN IMPLIED WARRANTY LASTS OR
THE EXCLUSION OR LIMITATION OF INCIDENTAL OR CONSEQUENTIAL
DAMAGES FOR CONSUMER PRODUCTS. IN SUCH STATE S OR
COUNTRIES, SOME EXCLUSIONS OR LIMITATIONS OF THIS LI MITED
WARRANTY MAY NOT APPLY TO YOU.
This Limited Warranty applies to the Rocstor branded hardware products
sold by or leased from Rocstor Storage, Inc., its worldwide subsidiaries,
affiliates, authorized resellers, or country distributors (collectively referred to
in this Limited Warranty as "Rocstor") with this Limited Warranty. This
Limited Warranty is applicable in all countries and may be enforced in any
country where Rocstor or its authorized service providers offer warranty
service subject to the terms and conditions set forth in this Limited
Warranty. However, warranty service availability and response times may vary
from country to country and may also be subject to registration requirements
in the country of purchase.
Rocstor warrants that the Rocstor hardware product and all the internal
components of the product that you have purchased or leased from Rocstor
are free from defects in materials or workmanship under normal use during
the Limited Warranty Period. The Limited Warranty Period starts on the date
of purchase or lease from Rocstor. Your dated sales or delivery receipt,
showing the date of purchase or lease of the product, is your proof of the
purchase or lease date. You may be required to provide proof of purchase or
lease as a condition of receiving warranty service. You are entitled to
warranty service according to the terms and conditions of this document if a
repair to your Rocstor branded hardware is required within the Limited
Warranty Period. This Limited Warranty extends only to the original
purchaser or lessee of this Rocstor branded product and is not transferable
to anyone who obtains ownership of the Rocstor branded product from the
original purchaser or lessee.
12
Rocstor products are manufactured using new materials or new and used
materials equivalent to new in performance and reliability. Spare parts may
be new or equivalent to new. Spare parts are warranted to be free from
defects in material or workmanship for thirty (30) days or for the remainder
of the Limited Warranty Period of the Rocstor hardware product in which
they are installed, whichever is longer.
During the Limited Warranty Period, Rocstor will repair or replace the
defective component parts or the hardware product. All component parts or
hardware products removed under this Limited Warranty become the
property of Rocstor. The replacement part or product takes on either the
Limited Warranty status of the removed part or product or the thirty (30) day
limited warranty of the spare part. In the unlikely event that your Rocstor
product has a recurring failure, Rocstor, at its discretion, may elect to
provide you with a replacement unit of Rocstor's choosing that is at least
equivalent to your Rocstor branded product in hardware performance.
Rocstor reserves the right to elect, at its sole discretion, to give you a refund
of your purchase price or lease payments (less interest) instead of a
replacement. This is your exclusive remedy for defective products.
YOU SHOULD MAKE PERIODIC BACKUP COPIES OF THE DATA
STORED ON YOUR HARD DRIVE OR OTHER STORAGE DEVICES AS A
PRECAUTION AGAINST POSSIBLE FAILURES, ALTERATION, OR
LOSS OF THE DATA. BEFORE RETURNING ANY UNIT FOR SERVICE,
BE SURE TO BACK UP DATA AND REMOVE ANY CONFIDENTIAL,
PROPRIETARY, OR PERSONAL INFORMATION. ROCSTOR IS NOT
RESPONSIBLE FOR DAMAGE TO OR LOSS OF ANY PROGRAMS,
DATA, OR REMOVABLE STORAGE MEDIA. ROCSTOR IS NOT
RESPONSIBLE FOR THE RESTORATION OR REINSTALLATION OF
ANY PROGRAMS OR DATA OTHER THAN SOFTWARE INSTALLED BY
ROCSTOR WHEN THE PRODUCT IS MANUFACTURED.
Rocstor does not warrant that the operation of this product will be
uninterrupted or error-free. Rocstor is not responsible for damage that occurs
as a result of your failure to follow the instructions that came with the
Rocstor branded product.
This Limited Warranty does not apply to expendable parts. This Limited
Warranty does not extend to any product from which the serial number
has been removed or that has been damaged or rendered defective (a)
as a result of accident, misuse, abuse, or other external causes; (b) by
operation outside the usage parameters stated in the user
documentation that shipped with the product; (c) by the use of parts
not manufactured or sold by Rocstor; or (d) by modification or service
by anyone other than (i) Rocstor, (ii) a Rocstor authorized service
provider, or (iii) your own installation of end-user replaceable Rocstor or
Page 7

13
Rocstor approved parts if available for your product in the servicing
country.
These terms and conditions constitute the complete and exclusive warranty
agreement between you and Rocstor regarding the Rocstor branded product
you have purchased or leased. These ter ms and conditions supersede any
prior agreements or representations-including representations made in
Rocstor sales literature or advice given to you by Rocstor or an agent or
employee of Rocstor-that may have been made in connection with your
purchase or lease of the Rocstor branded product. No change to the
conditions of this Limited Warranty is valid unless it is made in writing and
signed by an authorized representative of Rocstor.
Limitation of Liability
IF YOUR ROCSTOR BRANDED HARDWARE PRODUCT FAILS TO WORK AS
WARRANTED ABOVE, YOUR SOLE AND EXCLUSIVE REM EDY SHALL BE
REPAIR OR REPLACEMENT. ROCSTOR'S MAXIMUM LIABILITY UNDER
THIS LIMITED WARRANTY IS EXPRESSLY LIMITED T O THE LESSER OF
THE PRICE YOU HAVE PAID FOR THE PRODUCT OR THE COST OF
REPAIR OR REPLACEMENT OF ANY HARDWARE COMPONENT S THAT
MALFUNCTION IN CONDITIONS OF NORMAL USE.
ROCSTOR IS NOT LIABLE FOR ANY DAMAGES CAUSED BY THE PRODUCT
OR THE FAILURE OF THE PRODUCT TO PERFORM, I NCLUDING ANY
LOST PROFITS OR SAVINGS OR SPECIAL, INCIDENTAL, OR
CONSEQUENTIAL DAMAGES. ROCSTOR IS NOT LIA BLE FOR ANY CLAIM
MADE BY A THIRD PARTY OR MADE BY YOU FOR A THI RD PARTY.
THIS LIMITATION OF LIABILITY APPLIES WHETHER DAMA GES ARE
SOUGHT, OR A CLAIM MADE, UNDER THIS LIMITED WARRANTY OR AS A
TORT CLAIM (INCLUDING NEGLIGENCE AND ST RICT PRODUCT
LIABILITY), A CONTRACT CLAIM, OR ANY OTHER CLAIM. THIS
LIMITATION OF LIABILITY CANNOT BE WAIVED OR AMENDED BY ANY
PERSON. THIS LIMITATION OF LIABILITY WILL BE EFFECTIV E EVEN IF
YOU HAVE ADVISED ROCSTOR OR AN AUTHORIZED R EPRESENTATIVE
OF ROCSTOR OF THE POSSIBILITY OF ANY SUCH DAMAG ES.
THIS LIMITED WARRANTY GIVES YOU SPECIFIC LEGAL
RIGHTS. YOU MAY ALSO HAVE OTHER RIGHTS THAT
MAY VARY FROM STATE TO STATE OR FROM
COUNTRY TO COUNTRY. YOU ARE ADVISED TO
CONSULT APPLICABLE STATE OR COUNTRY LAWS
FOR A FULL DETERMINATION OF YOUR RIGHTS.
14
Options and Software
The Limited Warranty terms and conditions for Rocstor options are as
indicated in the Limited Warranty applicable to Rocstor op tions. ROCSTOR
DOES NOT WARRANT SOFTWARE PRODUCTS, INCLUDING A NY
SOFTWARE PRODUCTS OR THE OPERATING SYST EM PREINSTALLED BY
ROCSTOR. Rocstor's only obligations with respect to software distributed by
Rocstor under the Rocstor brand name are set forth in the applicable enduser license or program license agreement. Non-Rocstor hardware and
software products are provided "AS IS." However, non-Rocstor
manufacturers, suppliers, or publishers may provide their own warranties
directly to you.
Software Technical Support
Software technical support is defined as assistance with questions and
issues about the software that was either preinstalled by Rocstor on the
Rocstor branded product or that was included with the Rocstor branded
product at the time of your purcha se or lease of the product. Techn ical
support for software is available for the first ninety (30) days from date of
product purchase or lease. Your dated sales or delivery receipt, showing the
date of purchase or lease of the product, is your proof of the purchase or
lease date. You may be required to provide proof of purchase or lease as a
condition of receiving software technical support. After the first ninety (30)
days, technical support for soft ware that was either preinstalled by Rocstor
on the Rocstor branded product or included with the Rocstor branded
product at the time of your purchase or lease of the product is available for a
fee.
Warranty Period
Warranty Period for Rocpro FireWire/USB Hard Drives are 1 Year Parts
and Labor.
Types of Warranty Service
Your Rocstor Limited Warranty co nsists of repair or replacement of defective
parts, including hard drives identified by Rocstor Support Organization as
"pre-failure."
Carry-in Warranty Service Available Monday - Friday
Under the terms of carry-in service, you may be required to deliver your
Rocstor product to Rocstor Service Center or an authorized service location
Page 8

15
for warranty repair. You must prepay any shipping charges, taxes, or duties
associated with transportation of the product. In addition, you are
responsible for insuring any product shipped or returned. You assume risk of
loss during shipping.
Rocstor Replaceable Parts Program
Where available, the Rocstor Replaceable Parts program ships approved
replacement parts directly to you to fulfill your warranty. This wi ll save
considerable repair time. After you call the Rocstor Technical Support
Center at 1.818.449.2000, a replaceable part can be sent directly to you.
Once the part arrives, call the Rocstor Technical Support Center. A
technician will assist you over the phone to ensure that the installation is
quick and easy.
Service Upgrades
Rocstor offers extra coverage for your product. For information on service
upgrades, refer to www.rocstor.com
.
Service upgrades purchased in one country are NOT
transferable to another country.
16
Contacting Rocstor
In the United States, refer to the Rocstor website at
www.rocstor.com
.
1.818.449.2000
Toll-free technical support in the United States and Canada,
5 days a week, 9:00 a.m. to 6:00 p.m. Pacific Standard Time
Be sure to have the following information available before
you call Rocstor:
- Product serial number, model name, and model number
- Applicable error messages
- Add-on options
- Operating system
- Third-party hardware or software
0920c-v5
Rocstor is a trademark and Rocpro i s a trademark of Rocstorage, Inc.
All other names are trademarks of their respective companies.
Mac is a trademark of Apple Computer, Inc., registered in the U.S. and
other countries. Mac and Mac logo are tradem arks of Apple Computers,
Inc. registered in the U.S. and other countries.
 Loading...