

Page 1
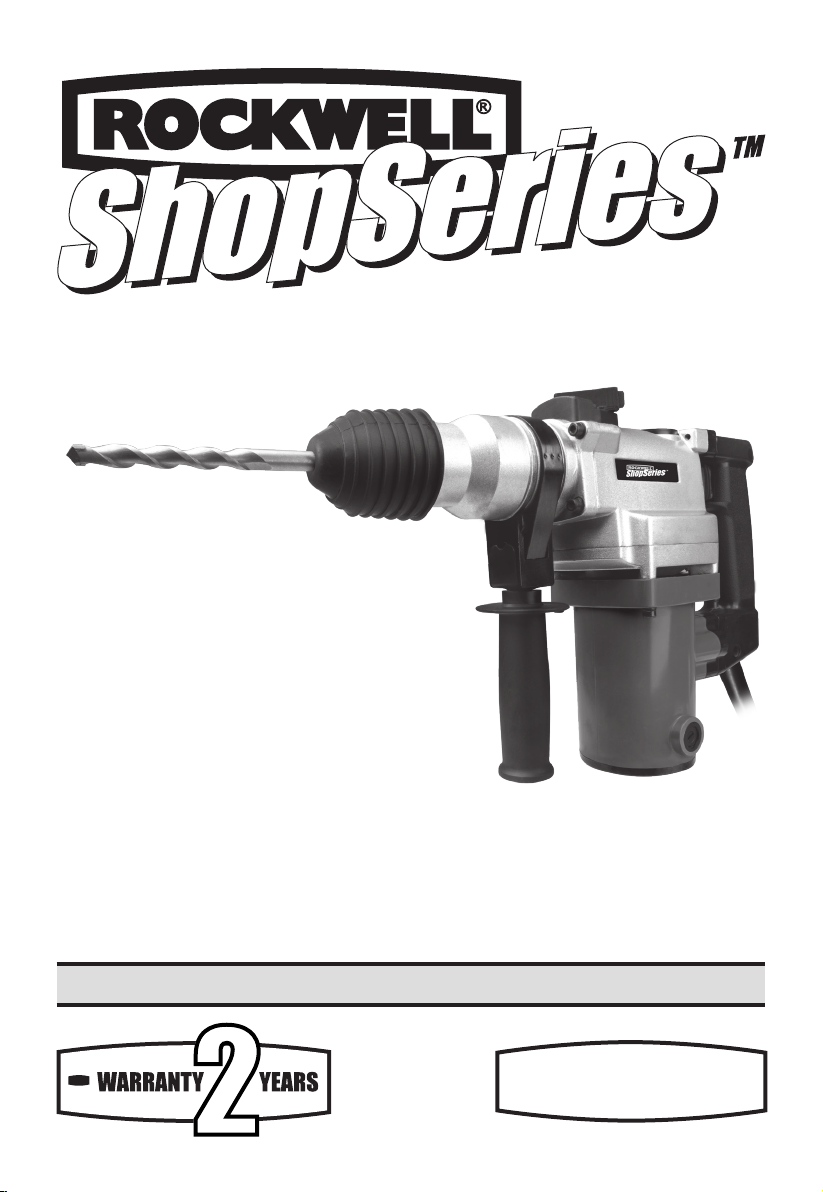
850W ROTARY HAMMER EN
RS3000K
Page 2

Page 3
RS3000K
A
D
B
E
C
F
1
3
4
5
6
7
14
12
8
11
13
9
10
2
Page 4
G
J
M
H
K
I
L
RS3000K
Page 5
ROTARY HAMMER EN
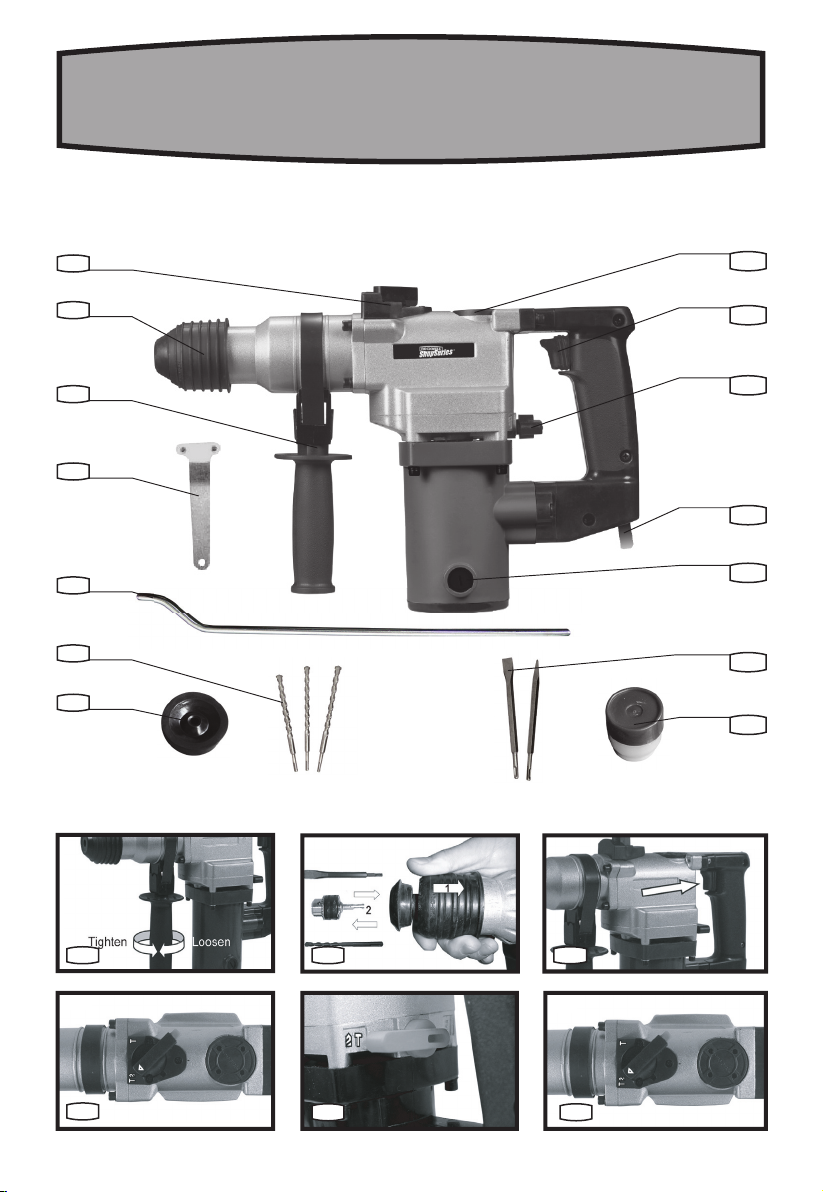
COMPONENT LIST
1
FAST ENING SLEEV E
2
DIAL S ELECTOR
3
GEA R BOX COVER
4
ON/OFF SW ITCH
5
LEVER SELECTOR
6
MAINS P OWER CABL E
7
CAP OF C ARBON BRUSH
8
AUXILIARY HANDLE
9
DUST COVER
10
SDS DRILL B ITS X 3 (8, 10, 12 X150MM)
11
GEA R BOX COVER SPA NNER X 1
12
SDS CHISE L BIT X 2, 250MM (1 F LAT CHISEL , 1 POINT CHISEL )
13
DEPT H GAUGE X 1
14
GREA SE TUBE X 1
Not all t he access ories illu strate d or describ ed are inclu ded in stan dard deliv ery.
*
ACCESSORIES
Auxiliary handle 1
Depth gauge 1
Sds-plus drill bits(8/10/12*150mm) 3
Pointed chisel(250mm) 1
Flat chisel(250mm) 1
Dust cover 1
Spanner 1
Plastic container grease 1
Carbon brush 2
We recommend that you purchase your accessories from
the same store that sold you the tool. Use good quality
accessories marked with a well-known brand name.
Choose the type according to the work you intend to
undertake. Refer to the accessor y packaging for further
details. Store personnel can assist you and offer advice.
SAFETY INSTRUCTIONS
WARNING! Read all safety warnings and all
instructions. Failure to follow the warnings and
instructions may result in electric shock, re and/or
serious injury.
Save all warnings and instructions for future
reference.
The term “power tool” in the warnings refers to your
mains-operated (corded) power tool or battery-operated
(cordless) power tool.
SAVE T HESE INST RUCTION S
1. WORK A REA
a) Keep y our work ar ea clean and we ll lit. Cluttered or
dark areas invite accidents.
b)Do not operate power tools in explosive
atmo spheres , such as in the p resence o f ammable
5
Page 6

ROTARY HAMMER EN
6
liqui ds, gases o r dust. Power tools create sparks which
may ignite the dust or fumes.
c) Keep b ystand ers, child ren, and v isitors a way while
opera ting a powe r tool. Distractions can cause you to
lose control.
2. ELE CTRICA L SAFET Y
a) Power tool plugs must match the outlet. Never
modify the plug in any way. Do not use any adapter
plugs w ith eart hed (grou nded) pow er tools.
Unmodied plugs and matching outlets will reduce risk
of electric shock.
b) Avoid body contact with earthed or grounded
surfaces such as pipes, radiators, ranges and
refrigerators.There is an increased risk of electric
shock if your body is earthed or grounded.
c) Do not expose power tools to rain or wet
conditions.
the risk of electric shock.
d) Do not a buse the co rd. Never u se the cord f or
carrying, pulling or unplugging the power tool. Keep
cord away from heat, oil, sharp edges or moving
parts.
Damaged or entangled cords increase the risk of
electric shock.
e) When operating a power tool outdoors, use an
exte nsion cord s uitable f or outdoo r use. Use of a cord
suitable for outdoor use reduces the risk of electric
shock.
3. PERSONAL SAFETY
a) Stay alert, watch what you are doing and use
common sense when operating a power tool. Do not
use tool while tired or under the inuence of drugs,
alcohol, or medication. A moment of inattention while
operating power tools may result in serious personal
injury.
b) Use personal protective equipment. Always wear
eye pro tectio n. Protective equipment such as dust
mask, non-skid safety shoes, hard hat, or hearing
protection used for appropriate conditions will reduce
personal injuries.
c) Pre vent unin tentiona l start ing. Ensur e the swit ch
is in the off-position before connecting to power
source and/or battery pack, picking up or carrying
the tool.
switch or energising power tools that have the switch
on invites accidents.
d) Remove adjusting keys or wrench before turning
the tool on
Water entering a power tool will increase
Carrying power tools with your nger on the
. A wrench or a key that is left attached to a
rotating part of the tool may result in personal injury.
e) Do no t overre ach. Keep p roper foo ting and b alance
at all t imes
control of the tool in unexpected situations.
f) Dress properly. Do not wear loose clothing or
jewellery. Keep your hair, clothing and gloves away
from m oving par ts. Loose clothes, jewellery or long
hair can be caught in moving par ts.
g) If devices are provided for the connection of dust
extraction and collection facilities, ensure these are
conne cted and pr operly us ed. Use of these devices
can reduce dust-related hazards.
4. PO WER TOOL US E AND CARE
a) Do not force the power tool. Use the correct power
tool for your application.The correct power tool will
do the job better and safer at the rate for which it was
designed.
b) Do not use the power tool if the switch does
not tu rn it on and of f. Any power tool that cannot be
controlled with the switch is dangerous and must be
repaired.
c) Disconnect the plug from the power source and/or
the battery pack from the power tool before making
any adjustments, changing accessories, or storing
power t ools. Such preventive safety measures reduce
the risk of starting the power tool accidentally.
d) Store idle power tools out of the reach of children
and do not allow persons unfamiliar with the power
tool or these instructions to operate the power tool.
Power tools are dangerous in the hands of untrained
users.
e) Maintain power tools. Check for misalignment
or binding of moving parts, breakage of parts and
any other condition that may affect the power tools
operation. If damaged, have the power tool repaired
before use. Many accidents are caused by poorly
maintained power tools.
f) Keep cutting tools sharp and clean. Properly
maintained cutting tools with sharp cutting edges are
less likely to bind and are easier to control.
g) Use t he power too l, access ories and t ool bits et c.
in acco rdance wi th these in struct ions and in th e
manne r intended f or the par ticular t ype of pow er
tool, taking into account the working conditions and
the wo rk to be perf ormed. Use of the power tool for
operations different from those intended could result in
a hazardous situation.
5. SER VICE
a) Have y our power t ool serv iced by a qual ied repa ir
person using only identical replacement parts.
. Proper footing and balance enables better
Page 7

7
ROTARY HAMMER EN
This will ensure that the safety of the power tool is
maintained.
ADDITIONAL SAFETY RULES FOR
YOUR HAMMER DRILL
This is a powerful hammer drill. Caution needs to be
observed when operating.
1. Always wear ear protectors with impact drill.
Exposure to noise can cause hearing loss.
2. Always wear eye protectors when using this impact
drill.
3. Always use the auxiliary handles supplied with the
tool. Loss of control can cause personal injury.
4. Always check walls and ceilings to avoid hidden
power cables and pipes. A metal detector can be
obtained from any good DIY store for this purpose.
5. Do not start the drill with the chuck key in chuck.
6. Make sure the power switch is not “on” before you
plug in. Always switch off before you put your drill
down.
7. Hold your impact drill rmly in both hands.
8. Make sure drills are tightened securely in chuck, if
using the same drill for prolonged periods, check
chuck tightness periodically.
9. Do not use damaged or worn drill bits.
10. Use clamps or a vice to hold workpiece, if possible.
11. Do not run the machine with any part of the casing
missing or damaged.
at all times especially when using the chisel actions.
Proper safety gloves are also recommended. When using
in chisel mode a dust mask is necessary because of the
cement dust created by the action.
Warning!Due to the high torque output of this
heavy duty tool, the unexpected high torque
could d estable t he ladder or u ser.
We recommend that this unit is not used whilst standing
on a ladder.
GENERAL DESCRIPTION
The ROTARY HAMMER DRILL can be used for drilling
wood, metal and masonry, it is supplied with a chuck for
smaller drill bits, contained in the case is a selection of
larger masonry bits and chisels. These t directly into the
rotary hammer. Using the hammer setting the supplied
chisels can be used to break brick work. The machine
uses a single phase alternating current 230V, 50Hz motor,
its compact and robust format makes it versatile and
efcient for uses described in specic safety instructions.
It complies to current regulations and the optimum
quality of materials used will ensure a long working life in
complete safety.
MODE SELECTION:
Before operation select required mode via the push-in
selector lock and then rotate to align desired function
symbol with arrow pointer
and ensure selector is properly locked in position.
Caution! It could cause a hazard if the selector switch
is not r mly locke d.
Caution! Care should be taken if asbestos is
suspected of being drilled or chiseled. This is highly
dangerous to the user and people in the vicinity and
professional help should be sought for its removal
and disposal.
SAFETY PRECAUTION FOR USING THE ROTARY HAMMER
DRILL
Warning! This is a powerful hammer drill.
Caut ion should b e observe d when oper ating.
Dress in suitable overalls. Safety boots are recommended
Page 8
ROTARY HAMMER EN
8
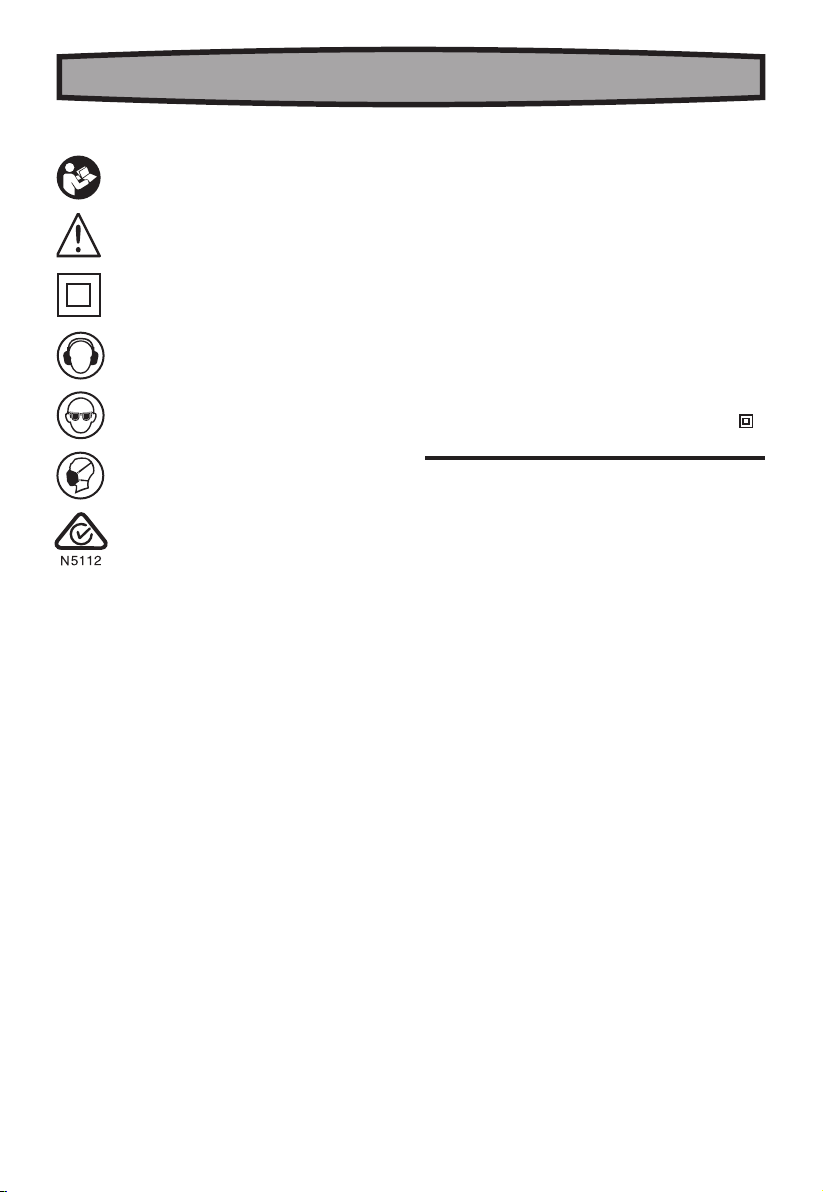
SYMBOLS
Read the manual
Warning
Double insulation
Wear ear protection
Wear eye protection
Wear dust mask
RCM approval mark
TECHNICAL DATA
Rated vol tage
Rated power
No load sp eed
Rated impact Ene rgy
Impact rate
Chuck type
Steel
Masonry
Wood
Sound pressure level
Sound pow er level
Vibration level
Weight
Protection class
230-240V~50 Hz
850 W
800/min
3.5 J
3200min
SDS-plus
Ø13mm
Ø26mm
Ø32mm
96.2dB(A)
103. 2dB(A)
15.5 42dB (A)
4.7kg
OPERATING INSTRUCTIONS
NOTE: Before using the tool, read the instruction book
carefully.
1. FIT TING THE A UXILI ARY HAND LE (See A)
Attach the handle as shown in A depending on being
left handed or right handed.
2. FIT TING SDS T OOLS OR CHUC K (NOT SUPP LIED)
The hammer is equipped with an SDS-plus attachment
system. The chuck/SDS tools have slots in the shank.
These locate with tabs in the rotary hammer. Hold
the rotary hammer with one hand facing away from
yourself. (See B)
-1
/II
Grip and pull back the fastening sleeve and insert the
chuck/SDS tool.
Push inwards until a resistance is felt. It may be
necessary to spin the chuck/SDS tool until the shaft
drops completely into place.
Once you are satised it has seated release the black
fastening sleeve. This should lock the chuck into
position.
3. REMO VE SDS TOO L OR KEY CHUC K (NOT SUPPL IED)
Pull back fastening sleeve, hold and remove tool/chuck.
Note: The SDS tools or chuck are gripped rmly by the
shank and can not be removed once locked in position.
If the chuck/SDS tool is not located repeat the
installation operation again.
Page 9
9
ROTARY HAMMER EN
4. OPE RATING TH E SAFET Y ON/OFF SW ITCH
To operate the tool simply depress the switch to turn on
and release to stop. (See C)
WARNING!If the hammer/drill selector will not go
into position, turn the gear box. Before operating,
select required mode by aligning symbol on switch with
arrow. Ensure selector is positioned correctly.
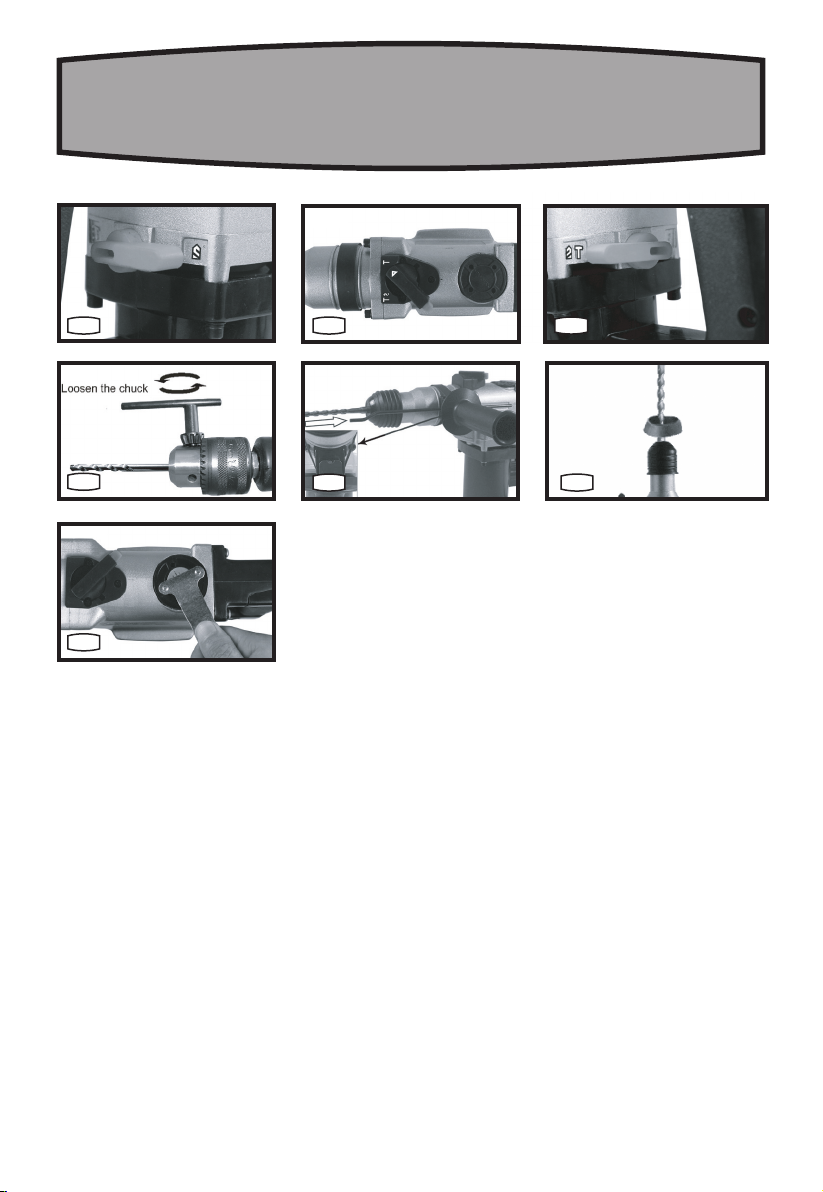
5. HA MMER DRILL F UNCTION
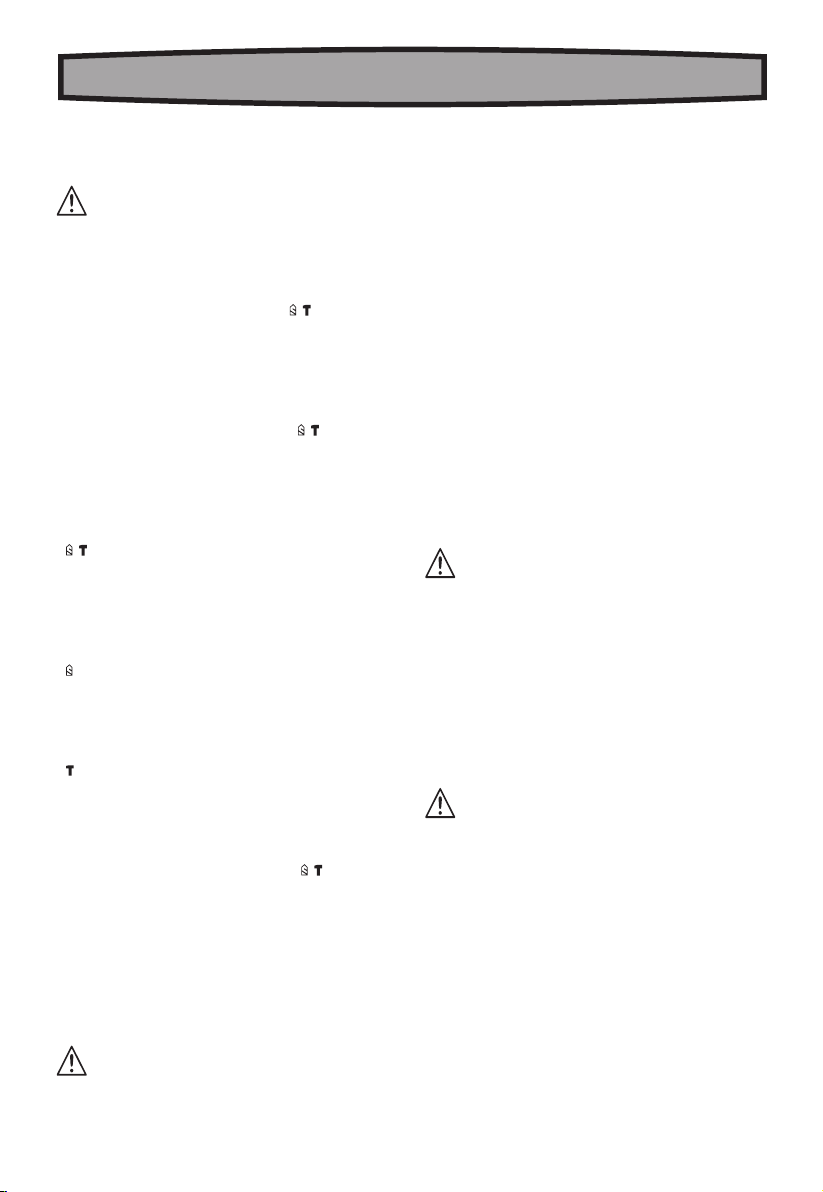
1. Adjust the dial selector to position “ “ to provide
rotation of the chuck (see D)
It could cause a hazard if the selector switch is not
rmly locked.
Note: Press the dial selector lock before adjusting the
dial selector everytime.
2. Adjust the lever selector to position “ “ to provide
the hammer action (see E)
3. You are now set up for hammer drilling into masonry.
6. DRIL LING FUNC TION
1. Adjust the dial selector to position
“ “ to provide rotation of the chuck (see F)
It could cause a hazard if the selector switch is not
rmly locked.
Note: Press the dial selector lock before adjusting the
dial selector everytime.
2. Adjust the lever selector to position
“ “ to stop the hammer action (see G)
3. You are now set up for drilling function.
7. CHISE L FUNCTIO N
1. Adjust the dial selector to position
“ “ to stop rotation of the chuck (see H)
It could cause a hazard if the selector switch is not
rmly locked.
Note: Press the dial selector lock before adjusting the
dial selector everytime.
2. Adjust the lever selector to position “ “ to
provide the hammer action (see I)
3. You are now set up for chisel work using hammer
action.
YOU DO SO.
After deciding if hammer or normal drilling is required
proceed as follows:
Before installing drill bit, remove mains plug from mains
sup ply.
Inserting a drill bit into chuck. See J.
Place chuck key (not supplied) into chuck, turn key anticlockwise to undo/loosen chuck, insert drill/tool and
rmly tighten chuck by turning key clockwise. Remove
key and replace in Blow Mould Case.
9. USING THE DEPTH GAUGE
1. Rotate the locking screw for depth gauge anticlockwise, insert depth gauge into the handle .
2. Adjust the depth gauge to desired depth.
3. Rotate the handle clockwise to tighten the depth
gauge(see K).
10. DUS T COVER
Before drilling vertically t the dust cover over the drill
bit. See L
Caution: Always wear eye protection with this
tool.
11. GR EASE BOX M AINTEN ANCE
Always check there is sufcient grease in the grease
box before usage. Check every 5 hrs of usage. Open
the grease box lid at the top of the drill using the pin
spanner provided. Then top up the grease box (capacity
20gms max) using the grease provided with your tool.
The grease specication is general purpose lithium
based. (See M)
Caution: Keep the container of grease away
from children.
8. USIN G THE CHUCK (N OT SUPPLI ED)
Note: For your convenience, your rotary hammer drill
can be used with a 3-jaw chuck (not supplied). It will
enable you to work with non-SDS drill bits/tools.
WARNING!The 3-jaw chuck (not supplied) is
designed for wood and metal DRILLING work
only. NEVER use this chuck with rotary hammer, chisel
or impact action. THIS CHUCK CAN BE DAMAGED IF
Page 10
ROTARY HAMMER EN
MAINTENANCE
Your power tool requires no additional lubrication or
maintenance. There are no user serviceable parts in
your power tool. Never use water or chemical cleaners
to clean your power tool. Wipe clean with a dry cloth.
Always store your power tool in a dry place. Keep the
motor ventilation slots clean. Keep all working controls
free of dust. Occasionally you may see sparks through
the ventilation slots. This is normal and will not damage
your power tool.
If the supply cord is damaged, it must be replaced by
the manufacturer, its service agent or similarly qualied
persons in order to avoid a hazard.
HANDY HINTS
Always use sharp good quality drill bits and chisels. The
performance of the drill is dependant on the quality of the
bits used.
Reduce the pressure on the drill bit when it is about
to break through. This will prevent the drill from
jamming.
When drilling a large hole, rst drill a pilot hole using
a smaller drill bit.
Always apply pressure to your drill bit in a straight
line, and if possible at right angles to the workpiece.
When drilling holes into walls, oors etc., always
make sure that there are no live electrical wires, or
pipe work in the path of the bit.
Always operate your drill using both the handle and
the front handle.
Never change the operating mode whilst the drill is
running.
When using the product in the hammer only mode,
or when chiseling masonry, make sure that you wear
safety glasses and protective gloves.
Do not apply excessive pressure to the tool when
chiseling. Expressive force does not speed up the
work.
10
Stap le your pur chase rece ipt here
Befor e return ing this pr oduct for
warr anty or an y other rea son, pleas e call.
POSI TEC AUST RALIA P TY LIMI TED
ABN 14 1 01 682 357
Unit 15, 23 Narabang Way Belrose 2085 NSW Australia
FREE C ALL 1300 88 9 028
EMAIL:of[email protected]
Page 11

Page 12

MADE IN PRC
Copyri ght © 2010, Posite c. All Right s Reserved .
 Loading...