

Page 1
STEP SLIDER MOTOR REPLACEMENT INSTALLATION
Important
Before installation, make sure control box has a serial number on
the circuit board. Updated control boxes all have serial numbers. In
order to verify, unscrew cover from control box and look for serial
number on the circuit board. New upgraded motors are only
compatible with new control boxes. If your step slider has a control
box without a serial number, it will need to be replaced in order to
work with the new upgraded motor. Replacement updated control
boxes are available for purchase at Rock-Slide Engineering. Call
435-752-4580 for assistance.
Rock Slide Instruction RSEI 122
Page 2
STEP SLIDER MOTOR REPLACEMENT INSTALLATION
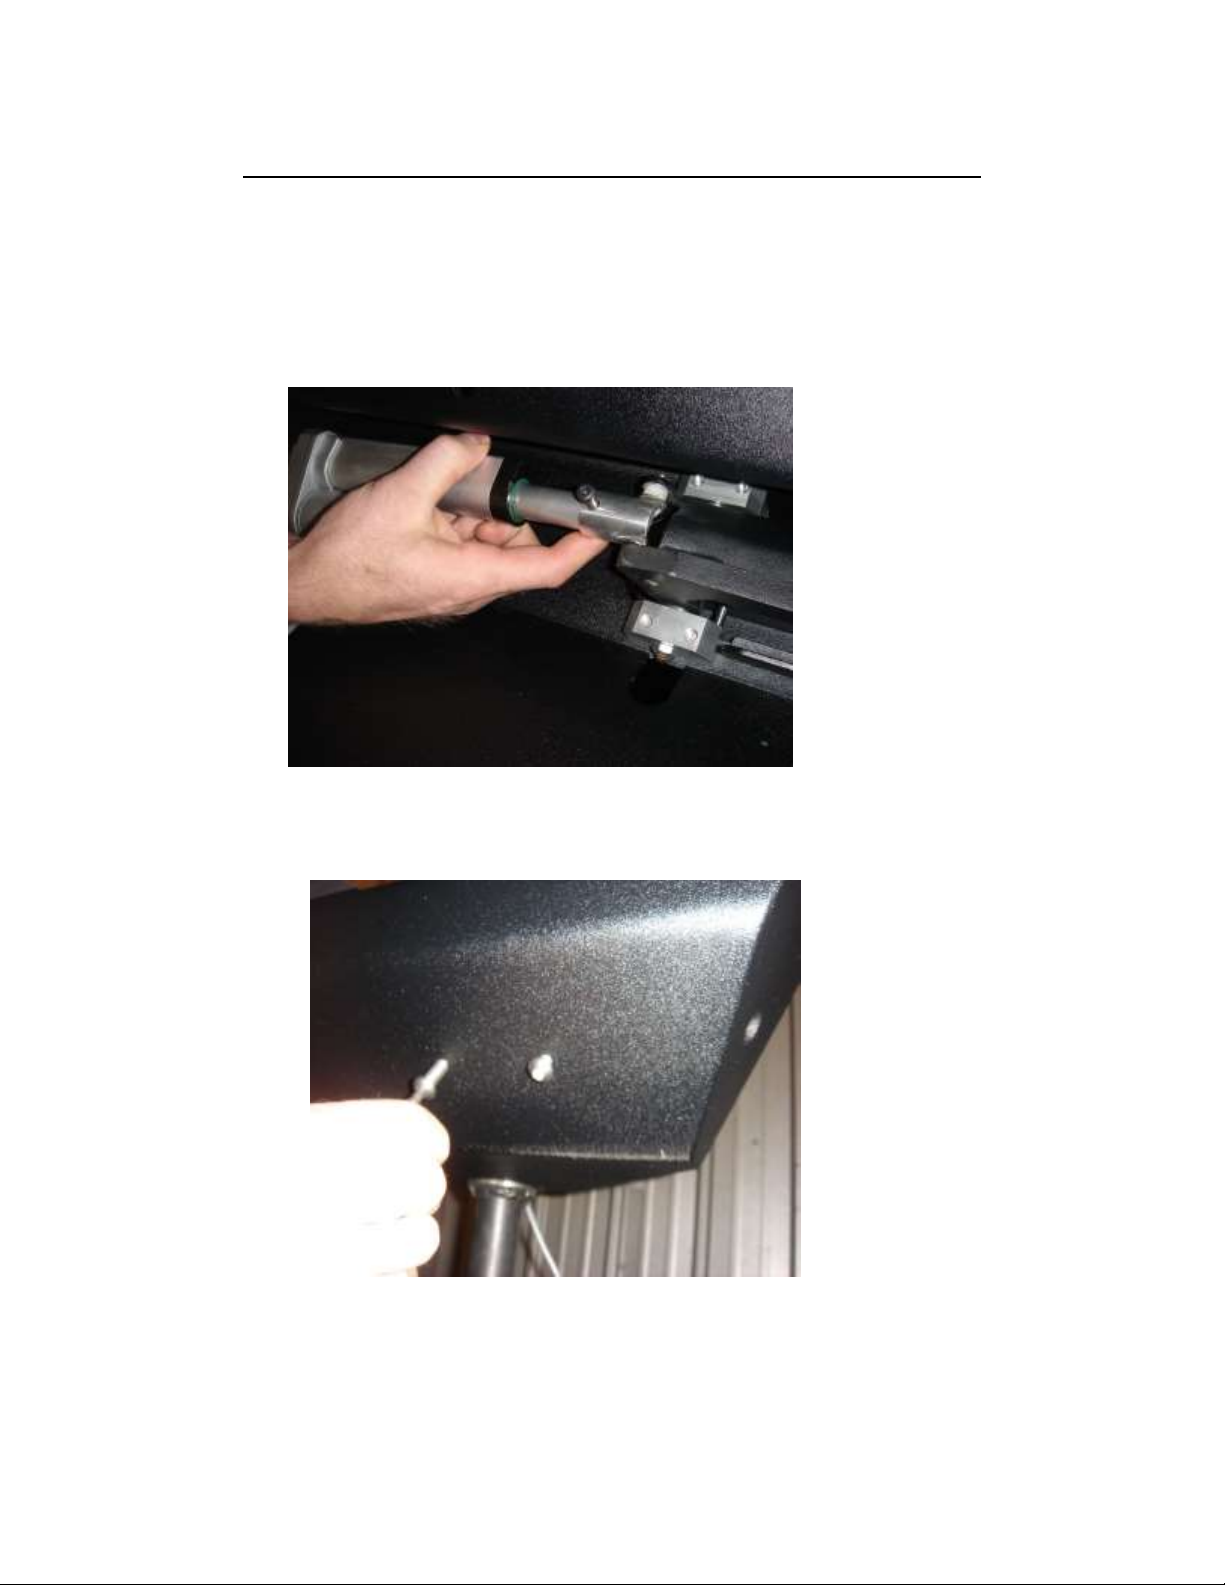
1. Remove the Step Slider in order to access the old motor
2. Remove the old motor from the Step Slider
a. Take screw out that holds the piston into the piston pocket
b. Remove the stainless steel bolts on front of slider
c. Bolt towards rear of slider is a dummy, not holding the motor
3. Remove motor with attached rear bracket. New motor comes with new rear bracket
Rock Slide Instruction RSEI 122
Page 3

4. Install new motor
NOTE: When installed, the motor portion of the actuator (the shorter round
cylinder) should be facing down, towards the vehicle when installed, not up away
from vehicle. The actuator may have to be rotated 180 degrees on the back bracket
depending on if the motor is installed on the passenger or drivers side.)
When new motors are purchased in pairs, one will come set-up for the driver side
and one for the passenger side. Make sure you put the correct motor on the correct
side.
a. Line up piston in front into piston pocket. (some models have black metal
bracket instead of silver piston pocket)
b. Motor piston should come actuated enough to attach to piston pocket. If the
piston is not out of the motor enough to attach, hook it up to a 12V battery to
extend the piston out.
c. Attach bolt through piston and piston pocket or bracket
Rock Slide Instruction RSEI 122
Page 4

d. Screw dummy bolt with nut into hole towards front of slider
e. Position back bracket over back hole
f. Move steps up or down to position back bracket hole directly in line with
frame hole
g. Screw bolt through slider into back bracket. No nut required, as it is welded
onto bracket
h. Tighten all bolts
5. Reinstall step slider to vehicle (use step slider installation instructions)
Thank you for choosing Rock-Slide Engineering products. We value your business and
welcome your feedback/suggestions. If you have any concerns please contact us directly @
435-752-4580. We are here to help you!
Rock Slide Instruction RSEI 122
 Loading...