

Page 1
INSTRUCTION MANUAL
GU10 PRESSED STEEL
CIRCULAR DOWNLIGHT
R201PS-01/03/13, R208PS-01/03/13
PLEASE READ INSTRUCTION BEFORE COMMENCING INSTALLATION AND RETAIN FOR FUTURE REFERENCES.
! Electrical products can cause death or injury, or damage to property. If in any doubt about the installation or
use of this product, consult a competent electrician
Note:
Product technical information and specification may change over time without prior notification
For the latest technical information please visit our web site WWW. ledgrouprobus.com or robusdirect.com
Specifications Installation
Model No.
Supply Voltage:
Lamp Type:
Ta Range:
IP Rating:
Safety Class:
Overall Diameter:
Depth:
Cutout:
Weight:
Warranty:
R201PS
220-240V~50/60Hz
GU10 Max.50W
-20°C < ta < 40°C
IP20
Class II
80mm
90mm
60mm
0.1Kg
2 year
R208PS
220-240V~50/60Hz
GU10 Max.50W
-20°C < ta < 40°C
IP20
Class II
105mm
90mm
85mm
0.19Kg
2 year
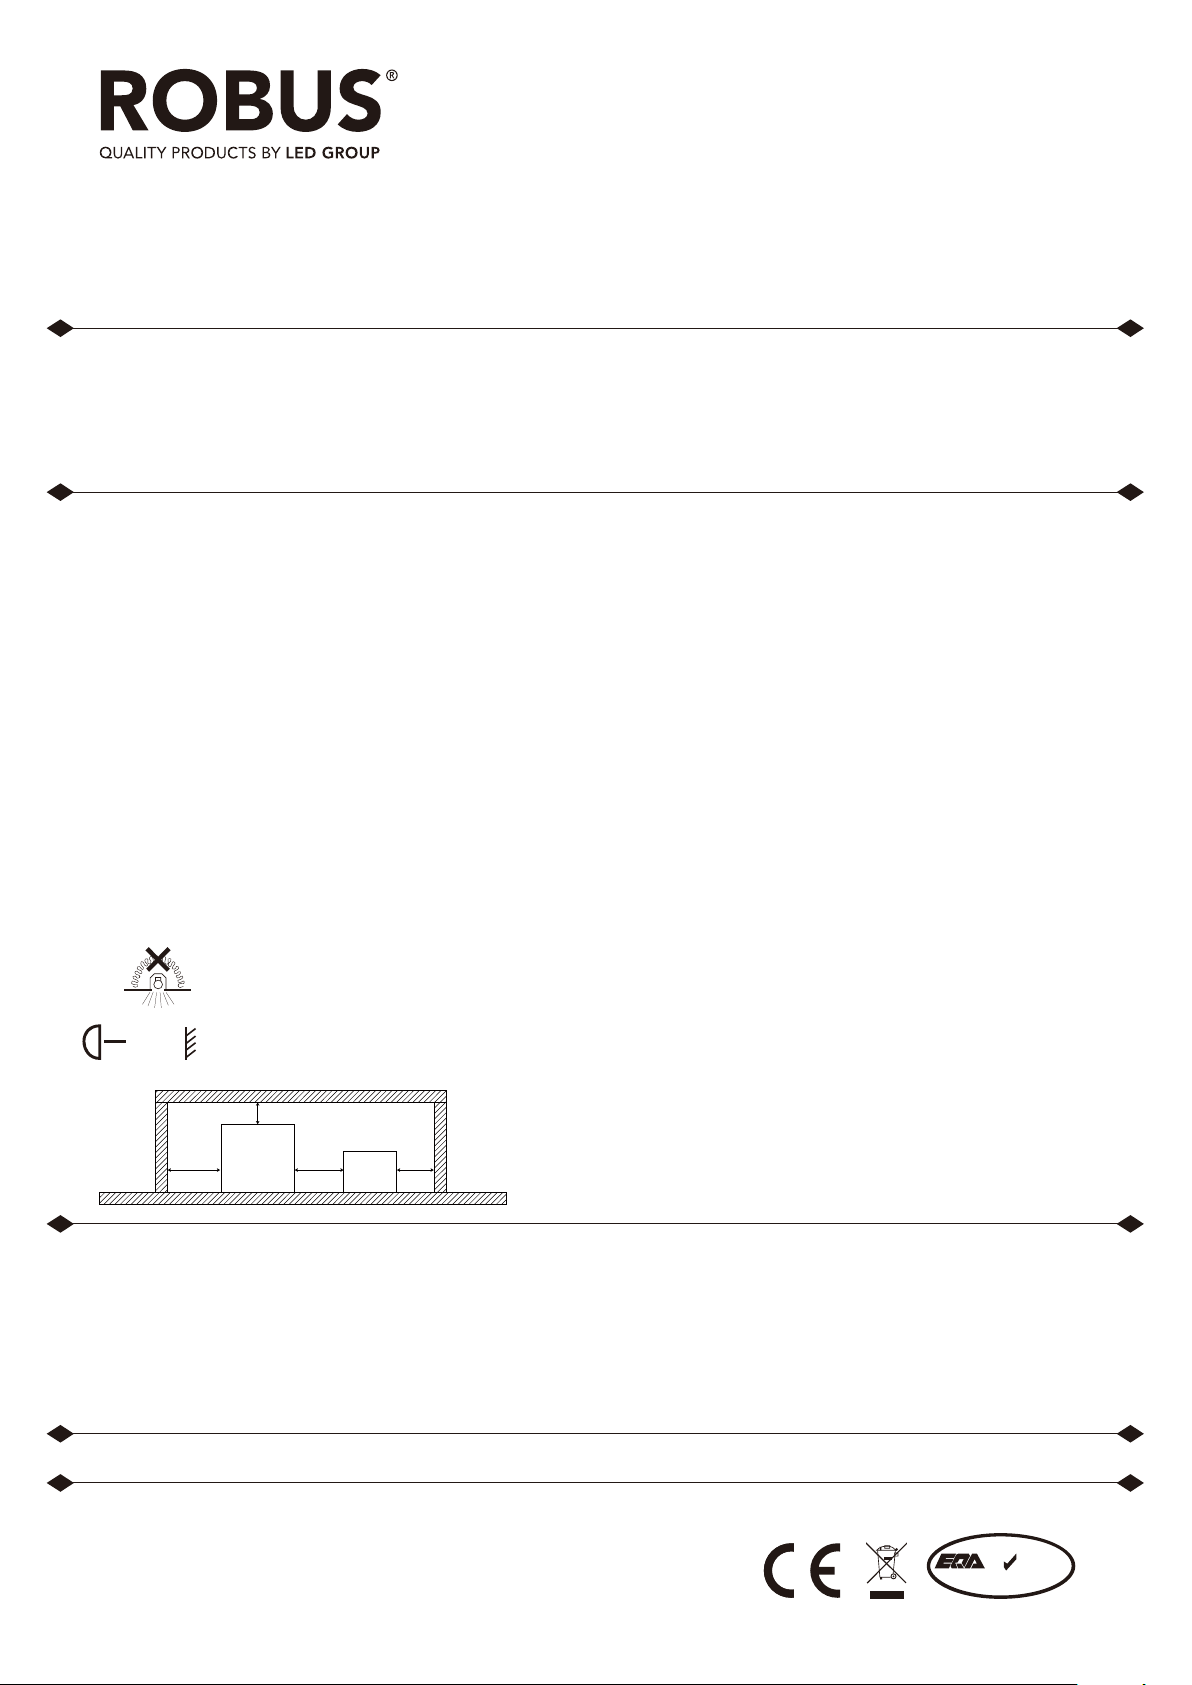
Suitable for mounting on normally flammable surface
Complies with EN60598 (BS4533)
Luminaires and transformer not suitable for
covering with thermally insulating material
0.5m
Suitable for mounting on normally flammable surface
Minimum distance from illuminated object is 0.5 metre
d
Lamp
enclosure
ab
Control
gear
a: NA
b:50mm
c: NA
b 25mm
c
1 Ensure mains supply is switched off
2 Mark ceiling with appropriate cut-out size
3 Before cutting, ensure that the hole does not impinge on
joists, pipe work, cables or other building services
4 Ensure there is at least 50mm of free space around and
25mm above the luminaire. Do not cover the luminaire
with thermal insulation
5 Connect supply cables Live and Neutral to fitting
terminals (polarity is unimportant). Do Not Earth
6 Fit springs and offer luminaire up to cut-out with the
longer leg of each spring being held vertically. The
luminaire is retained in position by the spring tension
between the short and the long leg of each spring against
the ceiling
7 Lamp installation and replacement:
! Ensure mains supply is off. ! When operating the
luminaire is too hot to touch. Switch off and allow to cool
before undertaking any maintenance work. Remove clip
to release the lamp.
Information for the Product user:
1. Please note the requirement to dispose of Waste Electrical & Electronic Equipment separately from household waste (WEEE marked with
crossed out wheelie bin symbol).
2. Please consider your role in contributing to re-use and recycling by returning this product at end of life to a collection centre for waste electrical
equipment or a Civic Amenity site, or to a retail outlet from which you are purchasing a replacement.
3. This equipment may contain substances that are hazardous to health and the environment if disposed of carelessly. It is important that it is
separated from normal household waste and recycled in the WEEE chain
4. The “crossed out wheelie bin symbol” on a product indicates this equipment must not be disposed of in normal household waste, but should be
disposed of according to local WEEE regulations
The Installation must be carried out by an electrician
LED Group
Western Retail Park Tel: +353 1 7099000
Nangor Road Fax: +353 1 7099060
Dublin 12 Email: [email protected]
Ireland Website: www.led.ie
Issue 1 080115
ISO 9001:2008
QUAL IT Y ASSU RE D CO MPANY
1
Page 2

Installation diagram
Dia.
R201PS
R208PS
dia.
dia.
80mm
105mm
D
90mm
90mm
D
R201PS
1 2
R201PS
N
L
R201PS
R208PS
65mm dia.
85mm dia.
The Installation must be carried out by an electrician
LED Group
Western Retail Park Tel: +353 1 7099000
Nangor Road Fax: +353 1 7099060
Dublin 12 Email: [email protected]
Ireland Website: www.led.ie
R208PS
3 4
5 6
R208PS
ISO 9001:2008
QUAL IT Y ASSU RE D CO MPANY
0
20
2
 Loading...