

Roberts 10-68 Owner's Manual
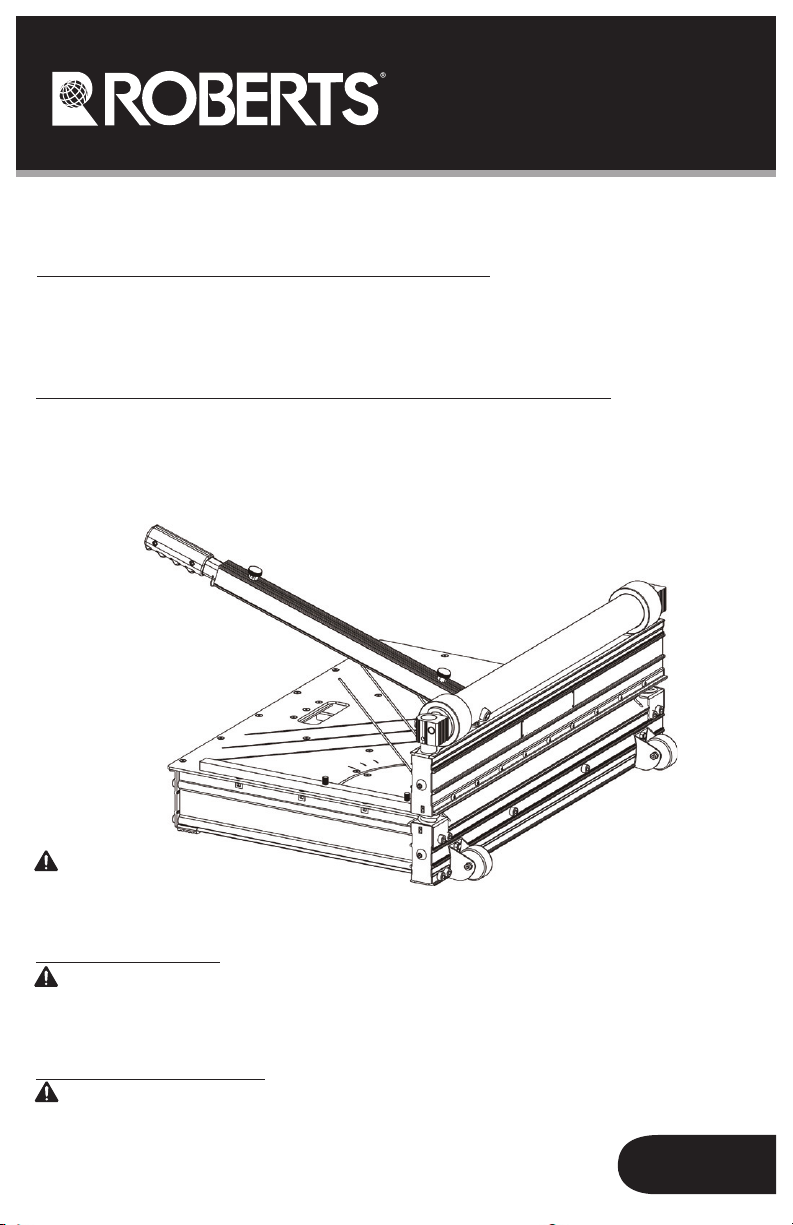
25 in. Pro Flooring Cutter
OWNER’S MANUAL
Cisaille pro pour revêtement
de sol de 630mm
MANUEL D’UTILISATION
Cortador profesional
para pisos de 630mm
MANUAL DE OPERACIÓN
WARNING Read and
understand all instructions. Failure
to follow all instructions listed below
may result in serious bodily injury.
SAVE THESE INSTRUCTIONS
FOR FUTURE REFERENCE.
AVERTISSEMENT Lire et comprendre
toutes les directives. Le non-respect
des directives décrites ci-dessous
peut causer des blessures graves.
VEUILLEZ CONSERVER CES DIRECTIVES
POUR RÉFÉRENCE ULTÉRIEURE.
ADVERTENCIA Lea y comprenda todas
las instrucciones. Si no se cumplen todas
las instrucciones enumeradas a continuación
se puede producir lesiones físicas graves.
CONSERVE ESTAS INSTRUCCIONES PARA
CONSULTARLAS EN EL FUTURO
10-68

WARNING: FAILURE TO FOLLOW THESE RULES MAY RESULT IN SERIOUS
INJURY! USING THIS MACHINE WITH RESPECT AND CAUTION WILL
CONSIDERABLY LESSEN THE POSSIBILITY OF PERSONAL INJURY.
SAFETY RULES FOR THE 25" PRO FLOORING CUTTER
1. READ AND UNDERSTAND THIS INSTRUCTION MANUAL BEFORE
OPERATING THE 25" PRO FLOORING CUTTER.
2. If you are not thoroughly familiar with the operation of the 25" Pro Flooring
Cutter, obtain advice from a qualified instructor or call 866-435-8665
3. Stay alert. Do not operate while under the influence of drugs, alcohol,
or medication.
4. Always wear safety approved eye protection with side shields (ANSI Z87.1)
5. Ke
ep work area free of debris.
6. Keep children and unauthorized persons away from the 25" Pro Flooring
Cutter and work area.
7. Make sure tool is secure. Operate only on a firm substrate or solid stand.
8. Use the right tool. Do not force the 25" Pro Flooring Cutter or use it for a
job for which it was not designed; use only on approved materials.
9. Keep the blade sharp. A dull blade will not perform properly.
10. Always keep hands away from blade while operating or carrying
11. Do not alter or misuse this tool. The 25" Pro Flooring Cutter is precision
built; modifications not specified in this manual may result in a
dangerous condition.
12. Maintain the 25" Pro Flooring Cutter with care. Keep blade clean.
Follow instructions for lubricating and changing accessories.
13. Use only recommended accessories. The use of improper accessories may
cause hazards or injury.
14. Never leave
the lock chain when not in use.
the 25" Pro Flooring Cutter unattended. Secure the handle with
.
-2-
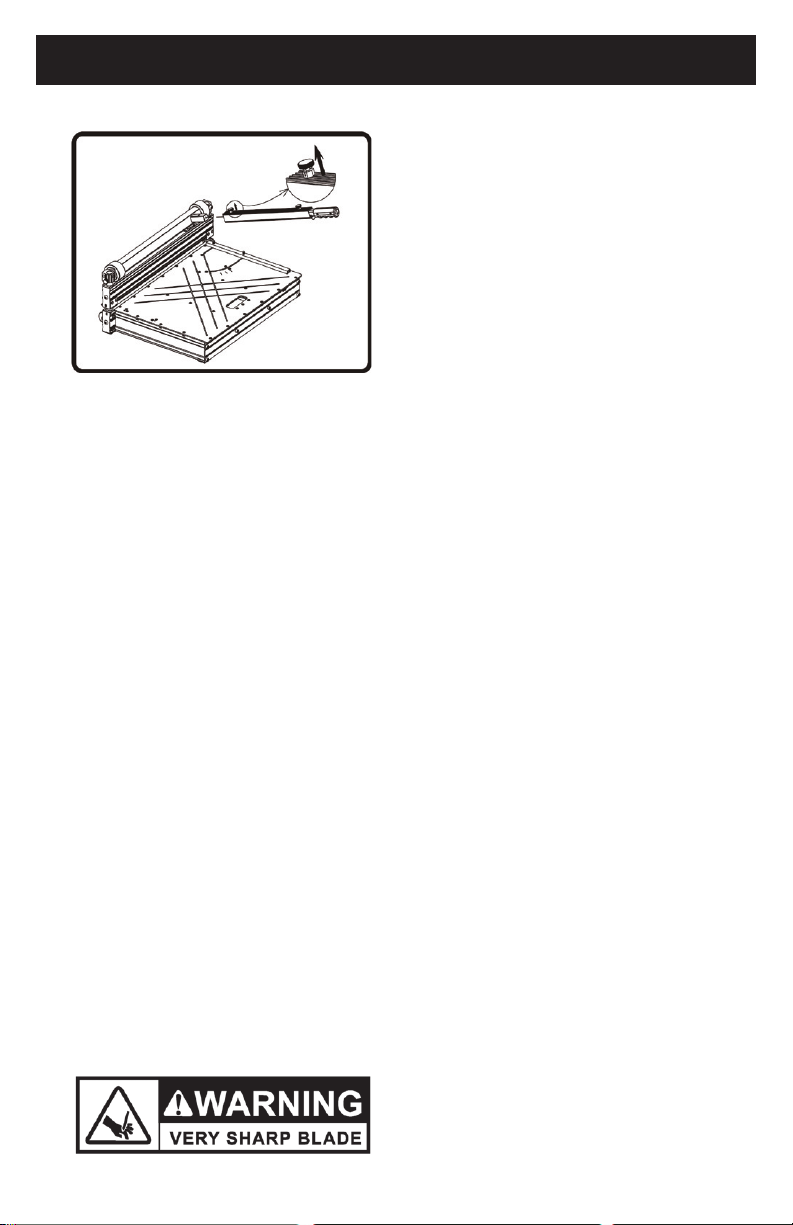
SET UP
Set Up of the Cutter
Pull up the lock pin on the aluminum
handle as shown and insert the handle
base into the handle as shown.
Warning: Do not put your fingers
against the sharp edge of the blade at
any time.
-3-
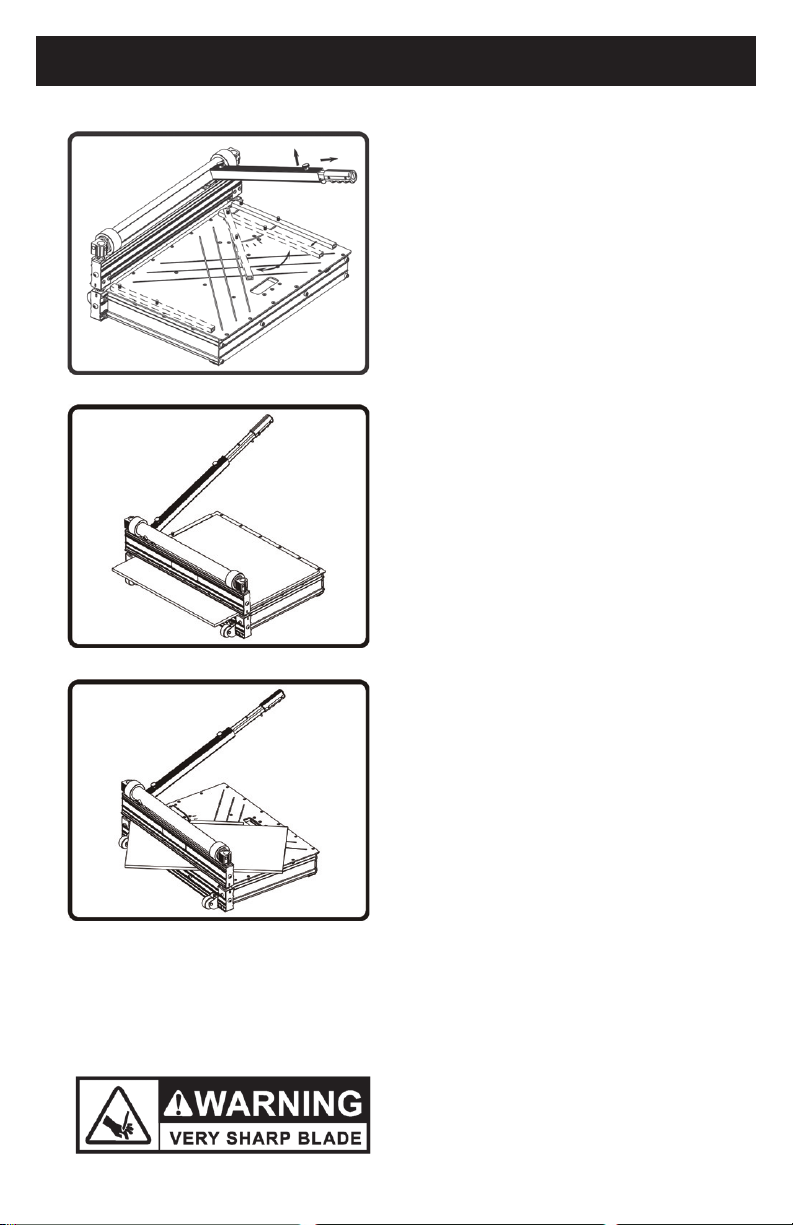
CUTTING
Cutting Preparation
Adjust the angle attachment as
needed and pull the extension
handle out as shown.
The angle attachment can be used on
left side of the table as shown.
Warning: Do not put your fingers
against the sharp edge of the
blade at any time.
Straight Cutting
Insert material between the cutting
blade and the base, flush with the
angle attachment as shown and hold
the material with foot then push
handle down to complete a cut.
Warning: Maintain control of the
handle. Do not allow handle to
slam back after making a cut.
45° Cutting
Swing the angle attachment to 45°.
Insert material between the cutting
blade and the base, against the angle
attachment as shown, then push the
handle down to complete a cut.
Warning: Maintain control of the
handle. Do not allow handle to slam
back after making a cut.
Warning: Do not put your fingers
against the sharp edge of the blade at
any time.
-4-
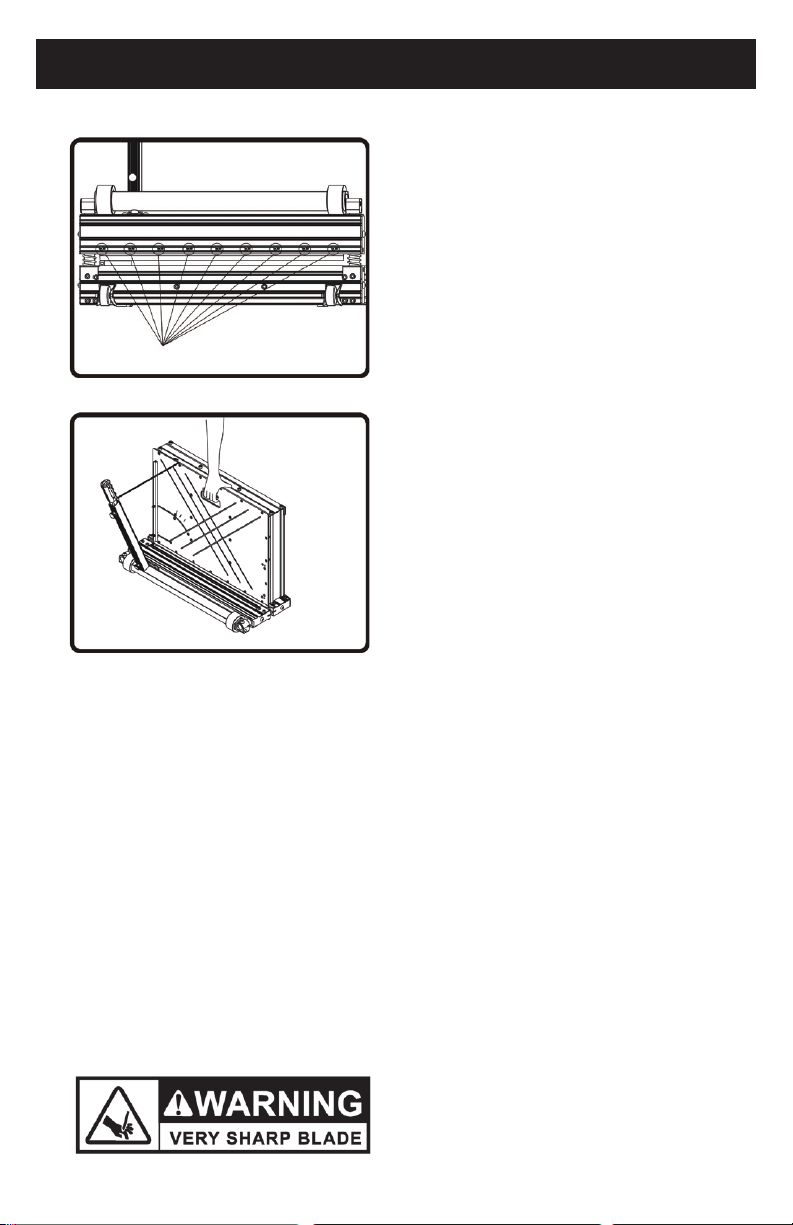
MAINTENANCE
Changing the Blade
Use Roberts #10-468 25"
Replacement Blade. Use the
provided Allen wrench to remove
the nine screws, then hold the blade
by each end and carefully move the
blade out of blade holder.
Note: The flat side of the blade
should face the table.
Warning: Do not put your fingers
against the sharp edge of the
blade at any time.
Carry
Hook the chain to the ring on
the handle and carry the cutter
as shown.
-5-
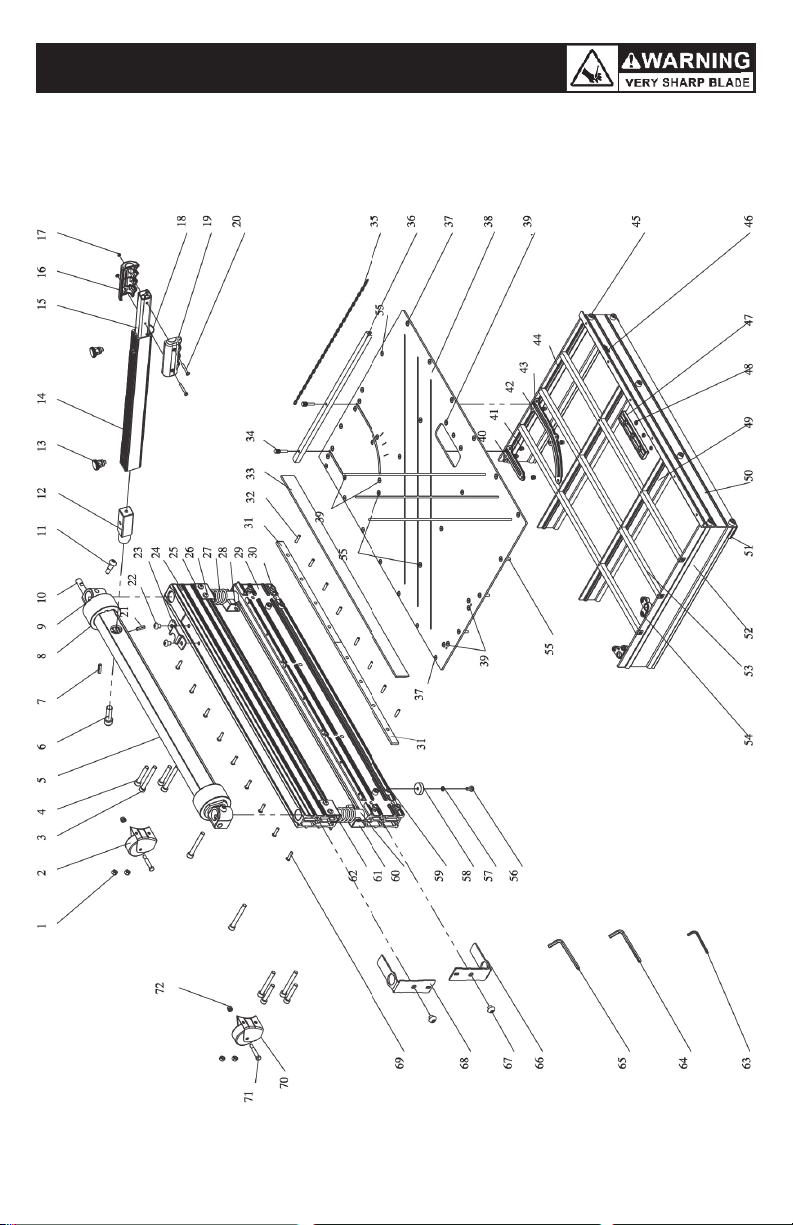
PART LIST
-6-
 Loading...