

Risco WL S42 Installation Instructions Manual
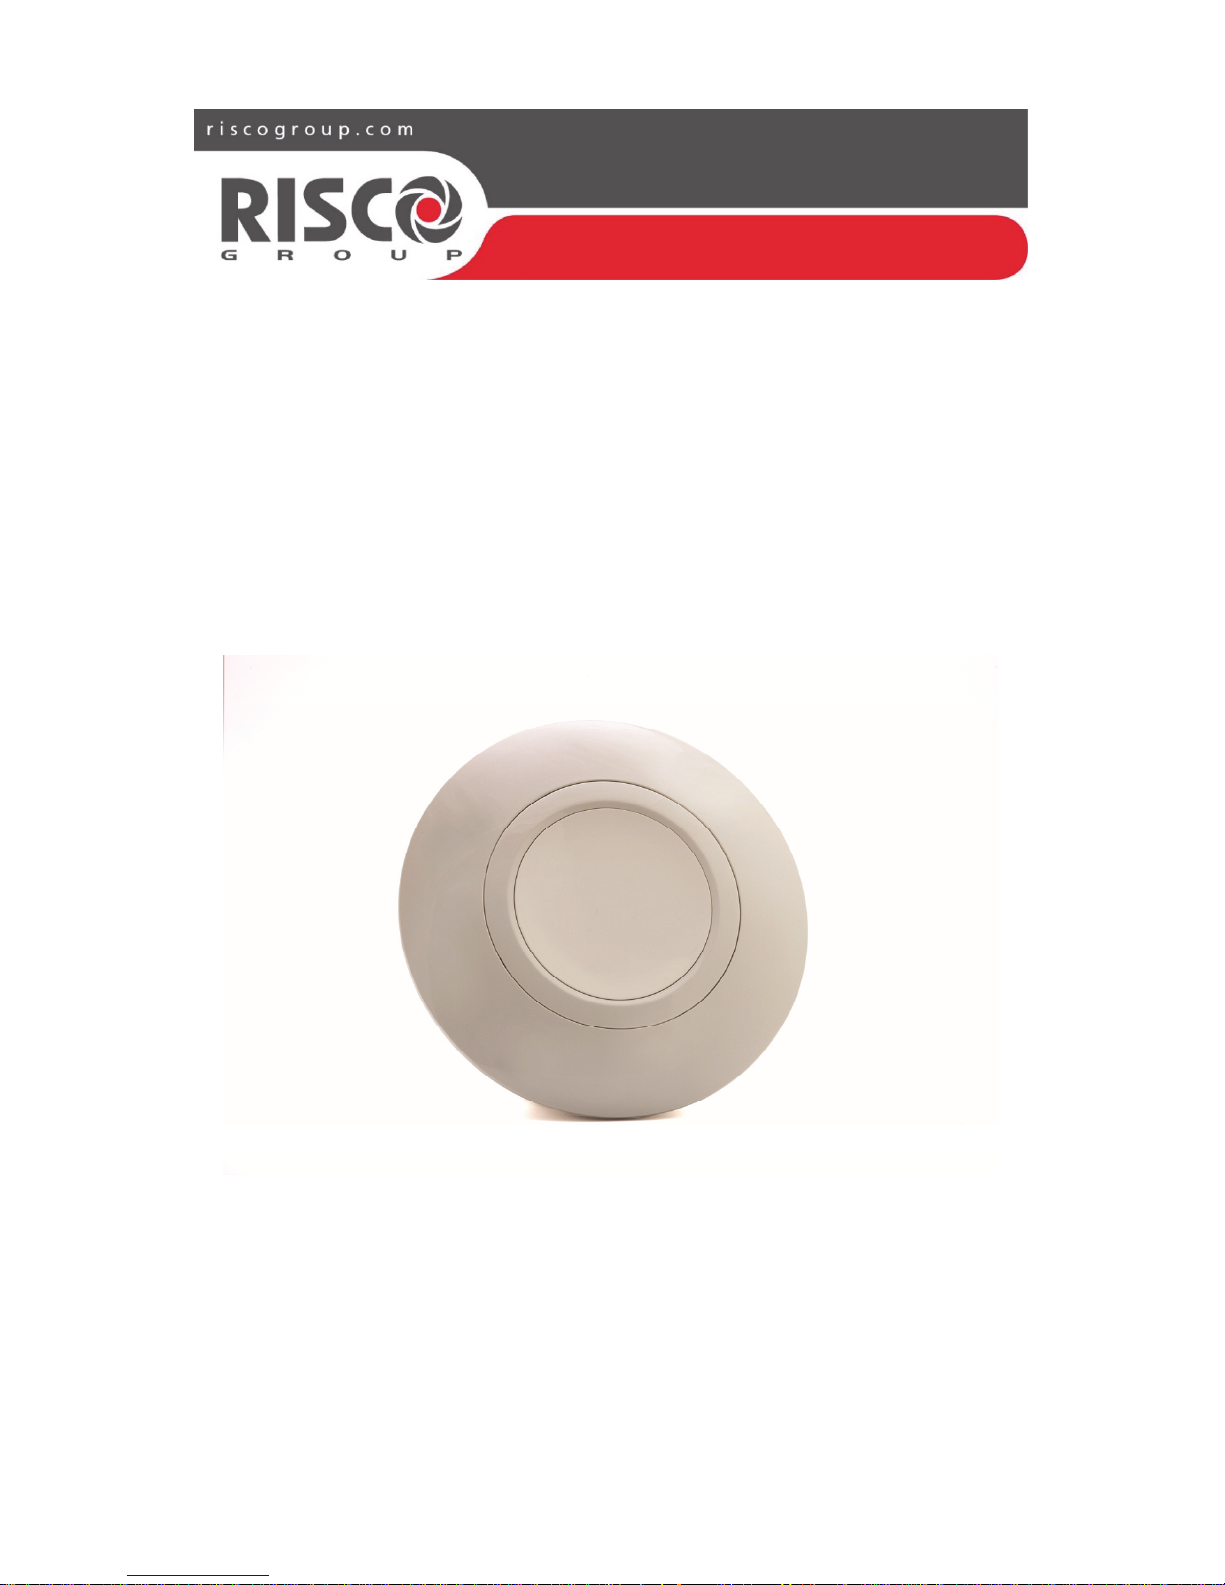
Indoor Wireless
Sounder
Model: WL S42
Installation Instructions

2 Wireless Sounder - Installation Instructions
Introduction
RISCO Group's two-way indoor wireless sounder is designed to extend the signaling
capabilities of the Risco Group’s wireless systems, within the protected area. The
wireless sounder offers an easy and flexible solution for quick installation. The
sounder is powered by its own batteries and communicate wirelessly with the security
panel using 915 MHz frequency band. Up to 3 wireless sounders can be assigned to
a system.
Operational Functions
Alarm / Tamper Indication
Upon an alarm condition, the sounder will be activated for a period of time defined
by the system (Bell Time Out parameter).
The maximum time that the sound will be activated is 5 minutes.
Low Battery Indication
Upon a low battery condition a trouble indication is sent to the panel.
There are 2 types of low battery indications:
Radio low battery
Speaker low battery
Pre Alarm Indication
When an entry time starts, the system transmits a pre-alarm signal to the sounder.
If the system is disarmed before the entry delay time expires, a cancellation signal
is sent to the sounder.
If the sounder does not receive a canceling signal within the entry delay time, the
sounder will be activated.
Mounting the Sounder
1. Release the mounting bracket captive locking screw (Fig 1).
2. Turn the mounting bracket counterclockwise and separate it from the sounder.
3. Hold the mounting bracket against the wall (direction arrow pointing up) and mark the
locations of the mounting holes (Fig. 2).
Drill the desired mounting holes and insert
screw anchors (if required).
NOTE:
Do not drill through the mounting bracket.
4. Mount the bracket to the wall using the supplied screws.
5. Insert the supplied batteries into the battery chambers (speaker and radio) paying
attention to the polarity (Fig 3).
6. Perform communication set up with the control panel (see Quick Device Allocation at
the WiComm Smart Hub paragraph).
7. Once communication setup is completed, mount the sounder to the mounting bracket
by turning the sounder clockwise. Pay attention to the tamper switch.
8. Secure the captive locking screw.
Wireless Sounder - Installation Instructions 3
Mounting
Bracket
Tamper
Protection
Screw
Fig. 1 Fig. 2
Speaker
Batteries
(6V, Serial
Connection)
Radio
Batteries
(3V, Parallel
Connection)
Tamper
Speaker
Fig. 3
Quick Device Allocation at the WiComm Smart Hub
When adding an internal sounder device using the device wizard setup, enter the
internal sounder Serial Number in the wizard. If you later purchase an extra internal
sounder you can enroll it as follows:
To quickly allocate the internal sounder at the WiComm Smart Hub:
If the WiComm Smart Hub is not already in Learn mode, press the button on the
WiComm Smart Hub for 5 seconds; the unit beeps once as it enters Learn mode (all the
LEDs also light up, one after the other).
Remove the red isolation strips from the batteries and make sure the cover is removed
so the internal tamper switch is accessible.
After a squawk is heard, send a signal transmission from the internal sounder within 10
seconds by pressing the tamper button for at least 3 seconds; the WiComm Smart Hub
will sound a confirmation beep and the sounder will initiate a second squawk sound.
Once accepted, the system announces the device type.
Remove the
red battery
isolation strips
to activate the
battery
 Loading...