

Risco ProSYS KP, ProSYS KPP Installation Manual

(Models: ProSYS KP, ProSYS KPP)
2
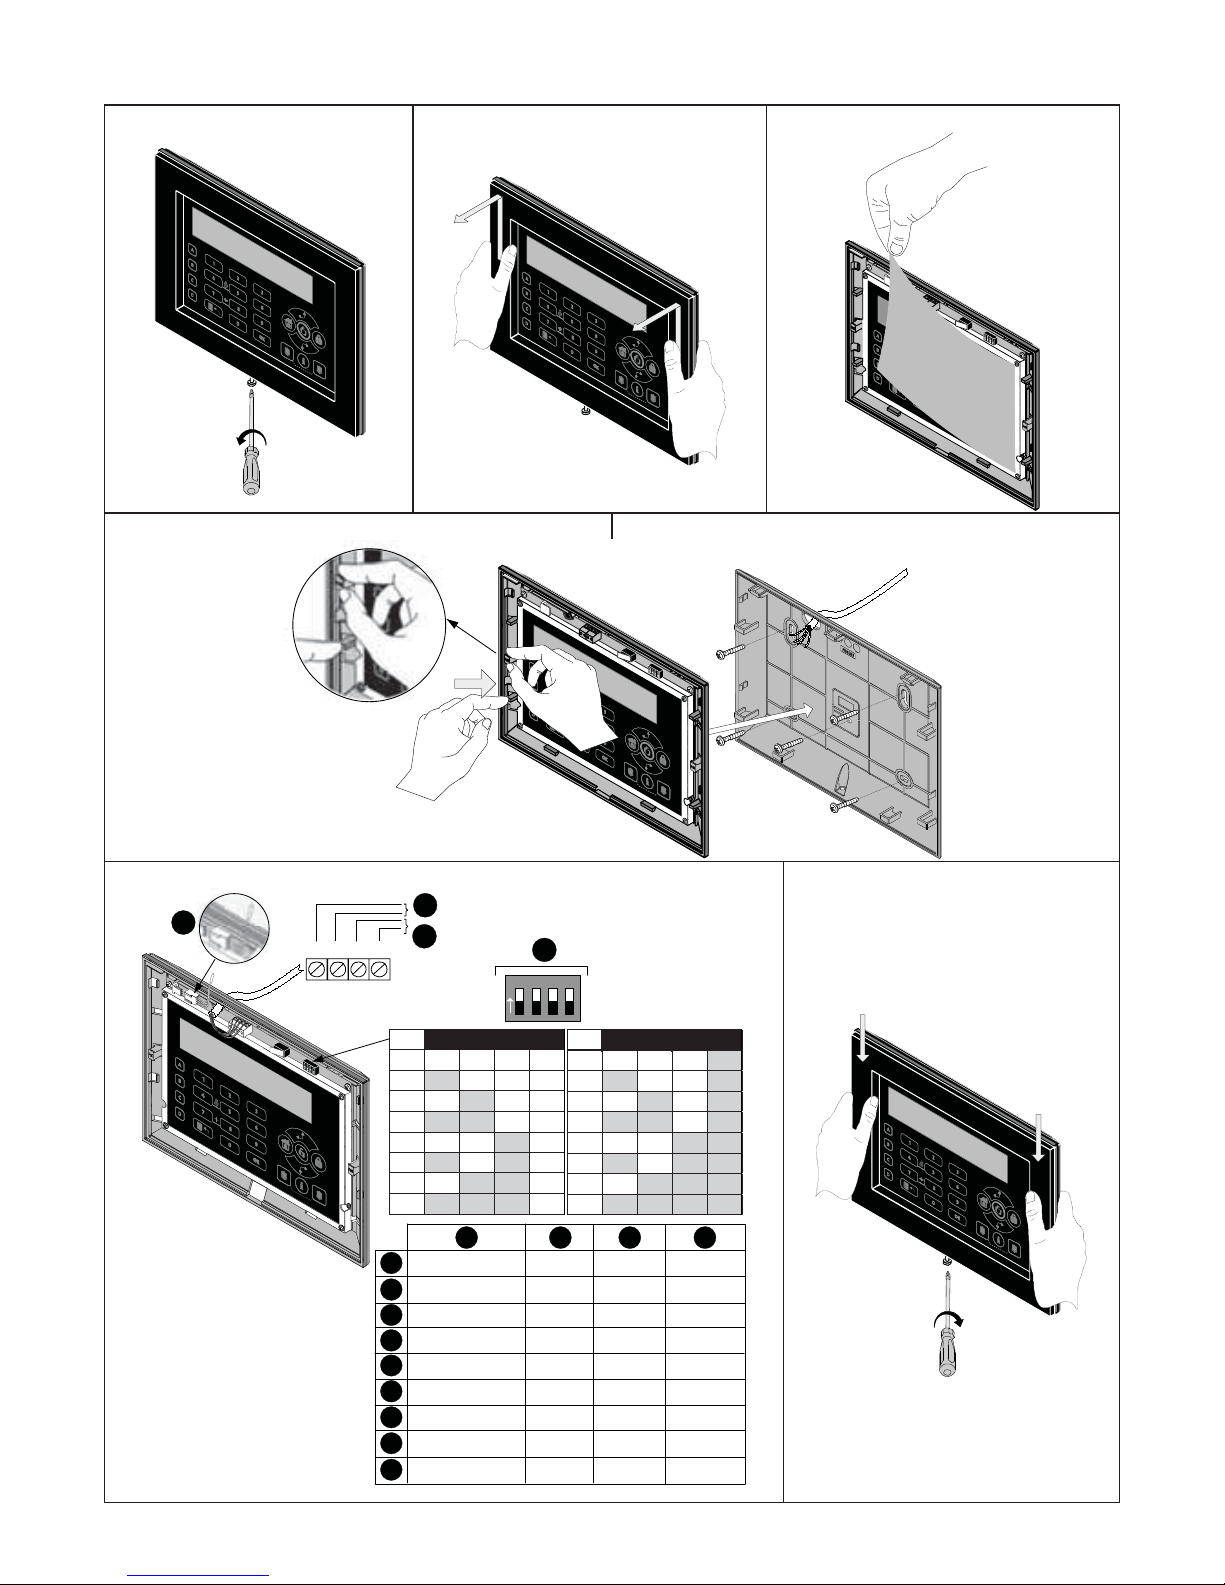
Installing the ProSYS Touchscreen Keypad
1 2 3
4 5
6
RED BLK
AUX COM BUS BUS
O
N
123 4
01 OFF OFF OFF OFF
02 ON OFF OFF OFF
03 OFF ON OFF OFF
04 ON ON OFF OFF
05 OFF OFF ON OFF
06 ON OFF ON OFF
07 OFF ON ON OFF
08 ON ON ON OFF
09 OFF OFF OFF ON
10 ON OFF OFF ON
11 OFF ON OFF ON
12 ON ON OFF ON
13 OFF OFF ON ON
14 ON OFF ON ON
15 OFF ON ON ON
16 ON ON ON ON
ID 1 2 3 4 ID 1 2 3 4
YEL GRN
A
B
C
D
IT
EN
ES
FR
NL
PT
PL
CZ
GR
A
Plug for BUS Adaptor
12VDC ProSYS BUS BUS Address
Connettore per cavo di
interfaccia PC/BUS
ProSYS
BUS Dati
Alimentazione
12 Vcc
Indirizzo
ID BUS
Conector para
adaptador BUS
12VCC
BUS ProSYS Dirección BUS
Connexion rapide
pour adaptateur BUS
12VCC BUS ProSYS ID BUS
Stekker voor de
BUS adapter
12VDC ProSYS BU S BUS Adres
Adaptador de
BUS para U/D
12VCC BUS ProSYS Endereço BUS
Lokalne U/D 12 VDC Adres modułuBUS ProSYS
Sběrnico vý adaptér
pro U/D
12VDC
Sběrnice
ProSYS
Adresa
sběrnice
BUS adaptor για U/D
12 VDC ProSYS BUS Δι εύθυνση BUS
B C D
7
3
Touchscreen Keypad
EN
Introduction
RISCO Group's Touchscreen Keypad is a slim and contemporary designed 7" touchscreen keypad
for the ProSYS Security System. The Touchscreen Keypad is compatible with any ProSYS version
and is available with or without a proximity reader. The Touchscreen Keypad enables to control
your security system as well as program its features.
For detailed information on programming the system refer to the ProSYS Installer and User manuals.
Installation
For the ProSYS Touchscreen installation procedure, refer to page 2.
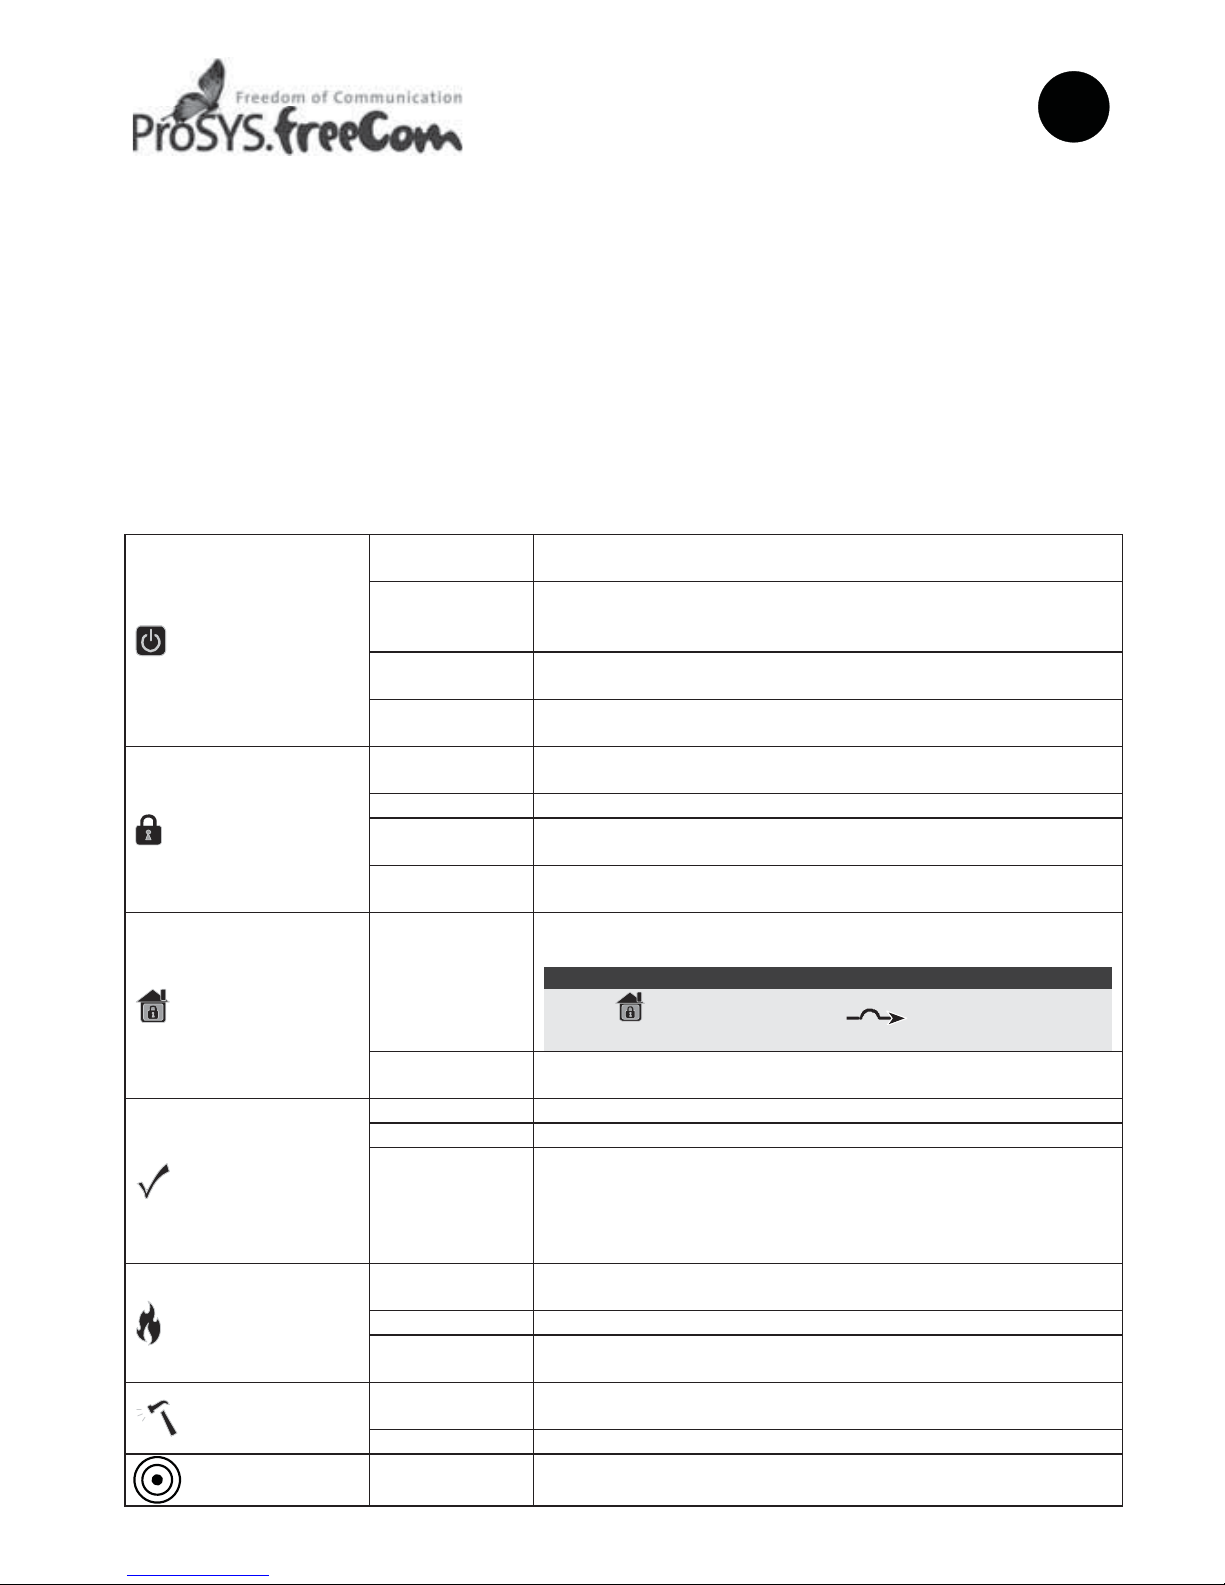
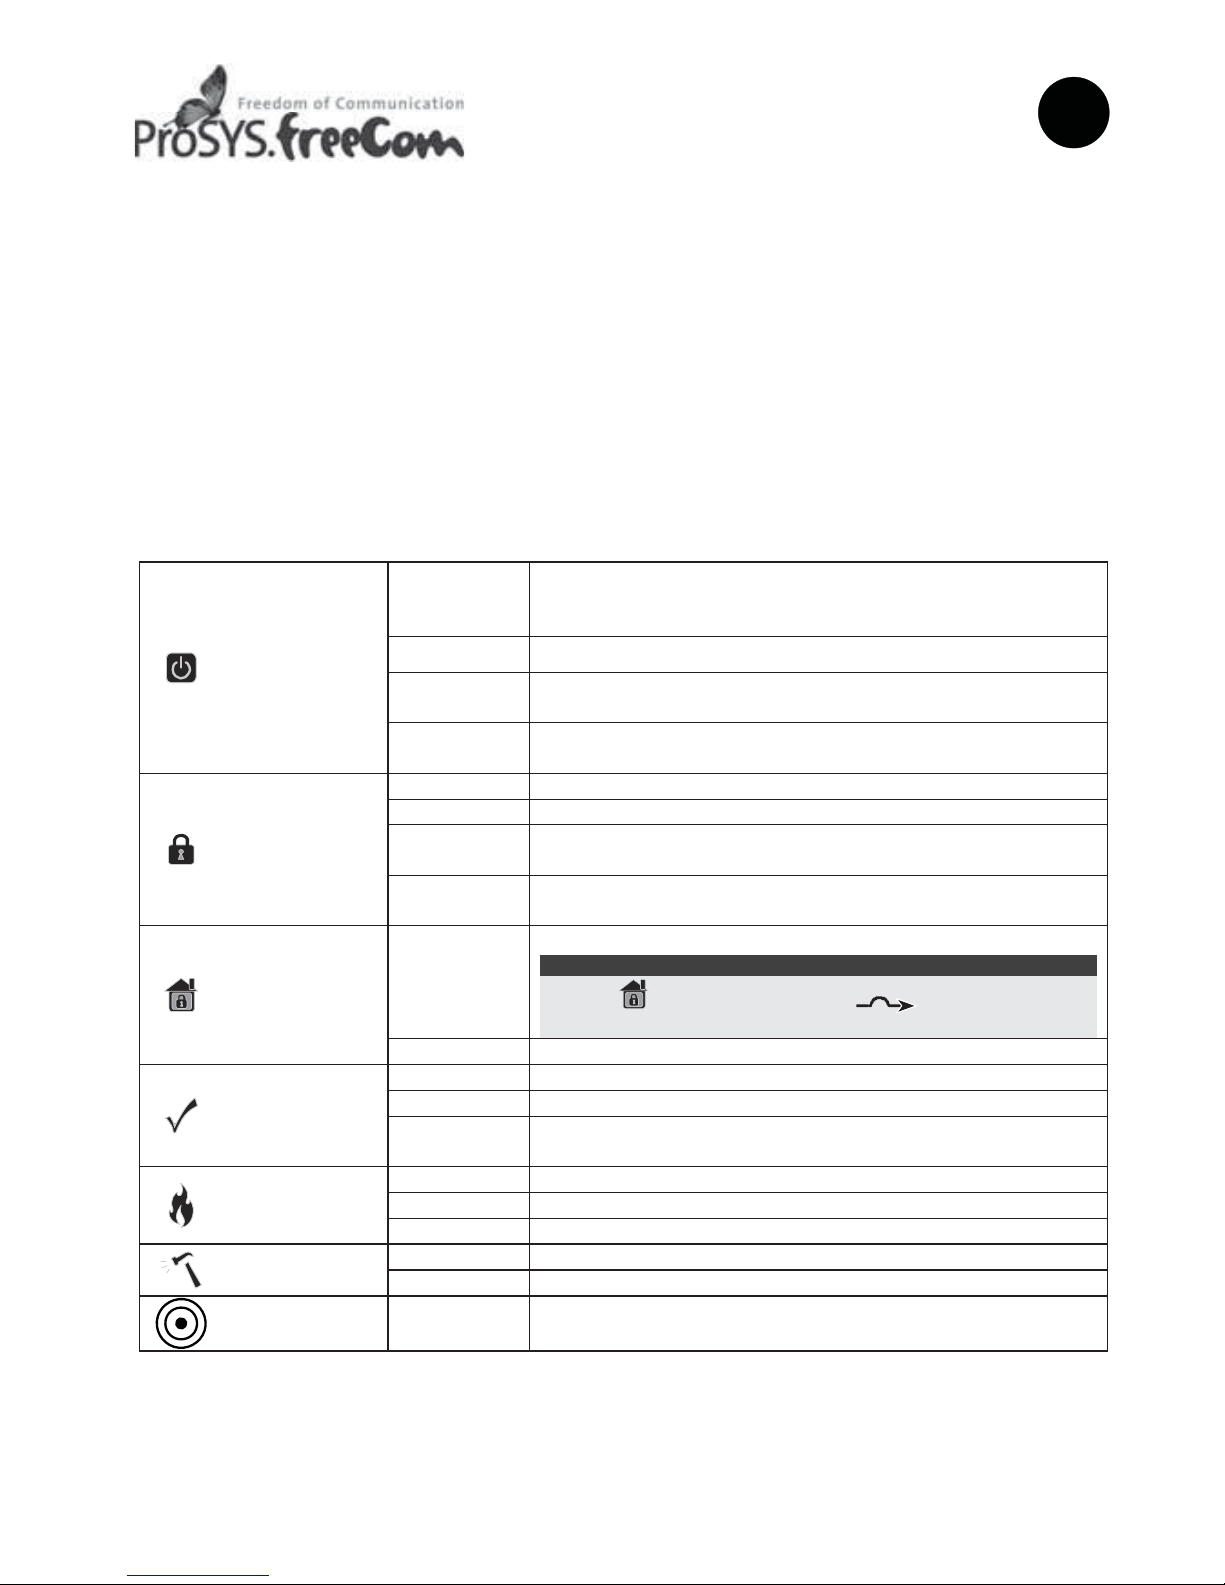
Indicators
Power
On
System is operating properly from AC power and backup
battery is in good condition
Off No power
Slow Flash System is programming
Rapid Flash System trouble (fault)
Arm (Set)
On System is armed (set) in Full Arm or Stay Arm mode
Off System is disarmed (unset)
Slow Flash System is in Exit Delay
Rapid Flash Alarm condition
Stay/
Bypass
(Part Set/
Omit)
On
System is in Stay Arm (Part Set) or Zone Bypass (omit)
mode
Note:
The icon is equivalent to the icon on other ProSYS
keypads.
Off No bypass zones in system
Ready
On System is ready to be armed (set)
Off System is not ready to be armed (set)
Slow Flash
System is ready to be armed (set) while exit/entry zone
remains open
Fire
On Fire alarm in progress
Off Normal operation
Flashing Fire circuit problem
Tamper
On Zone/keypad/external module has been tampered
Off All zones are operating normally
Proximity
Flashing Indicates that the keypad has a proximity reader
4
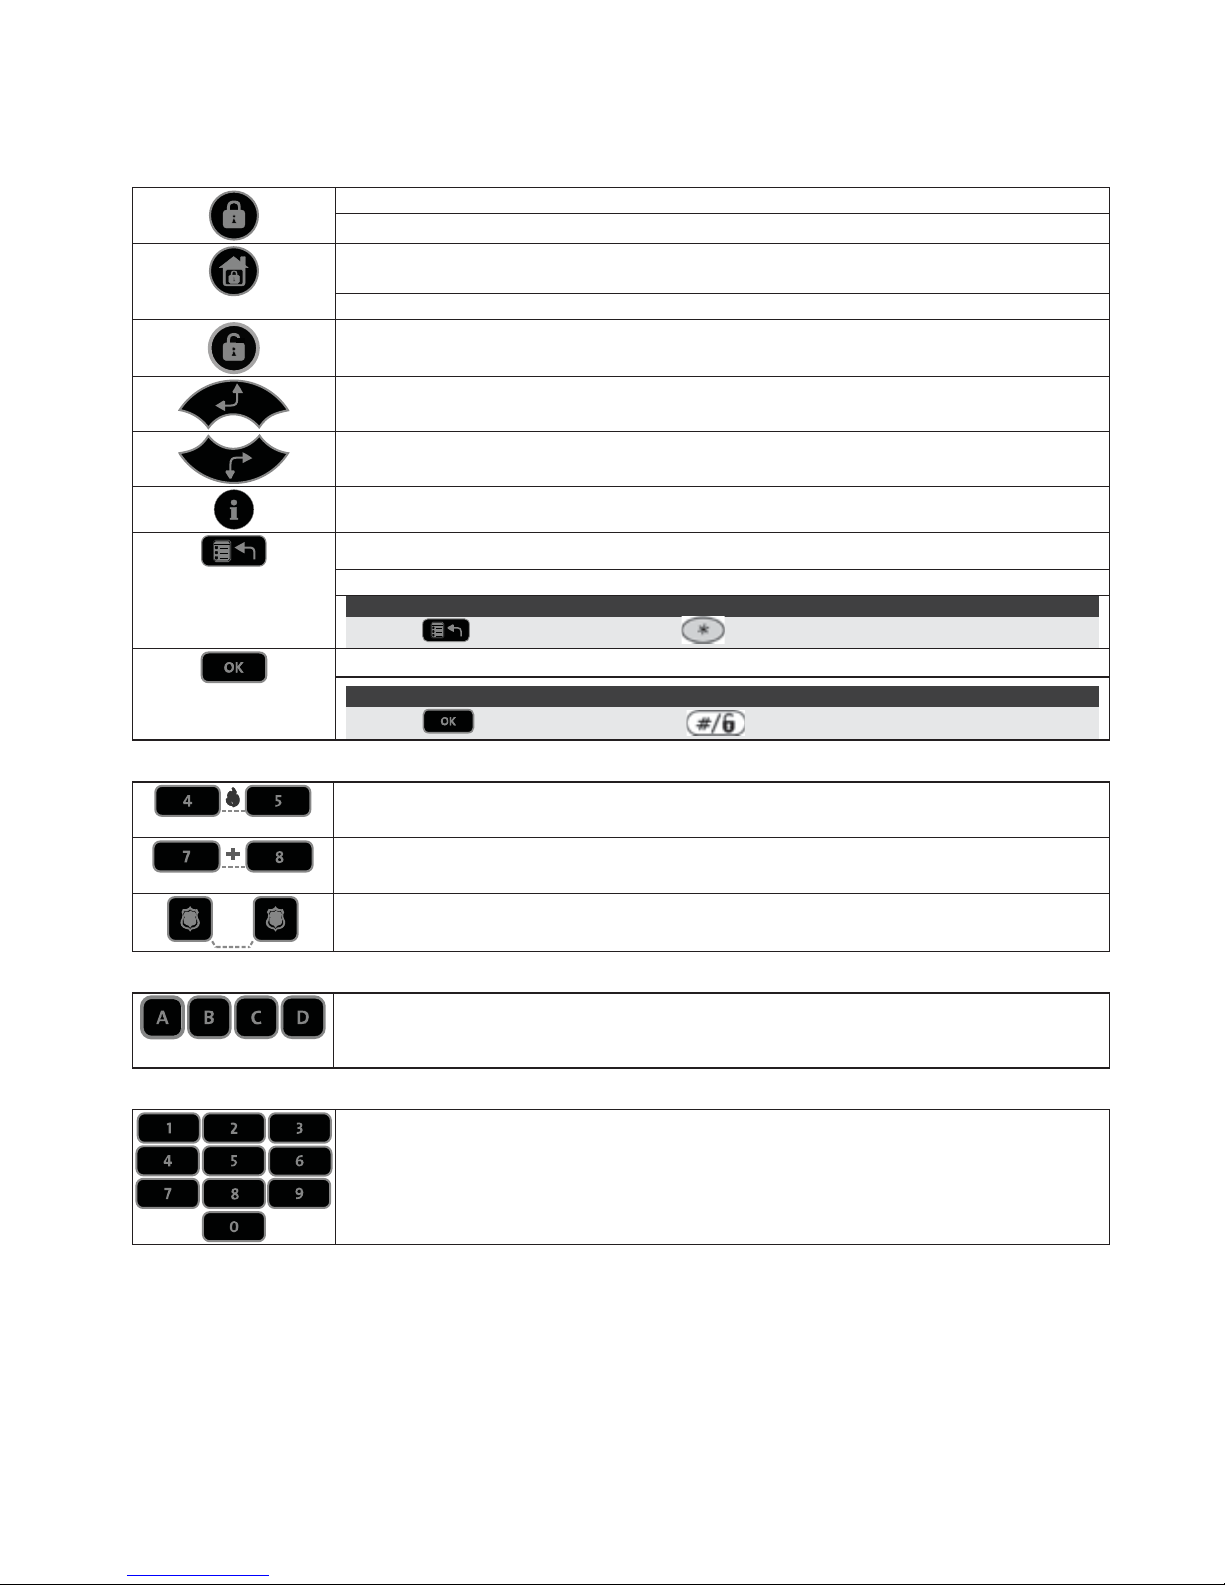
Keys
The keys on the keypad can be used for a variety of functions as explained below.
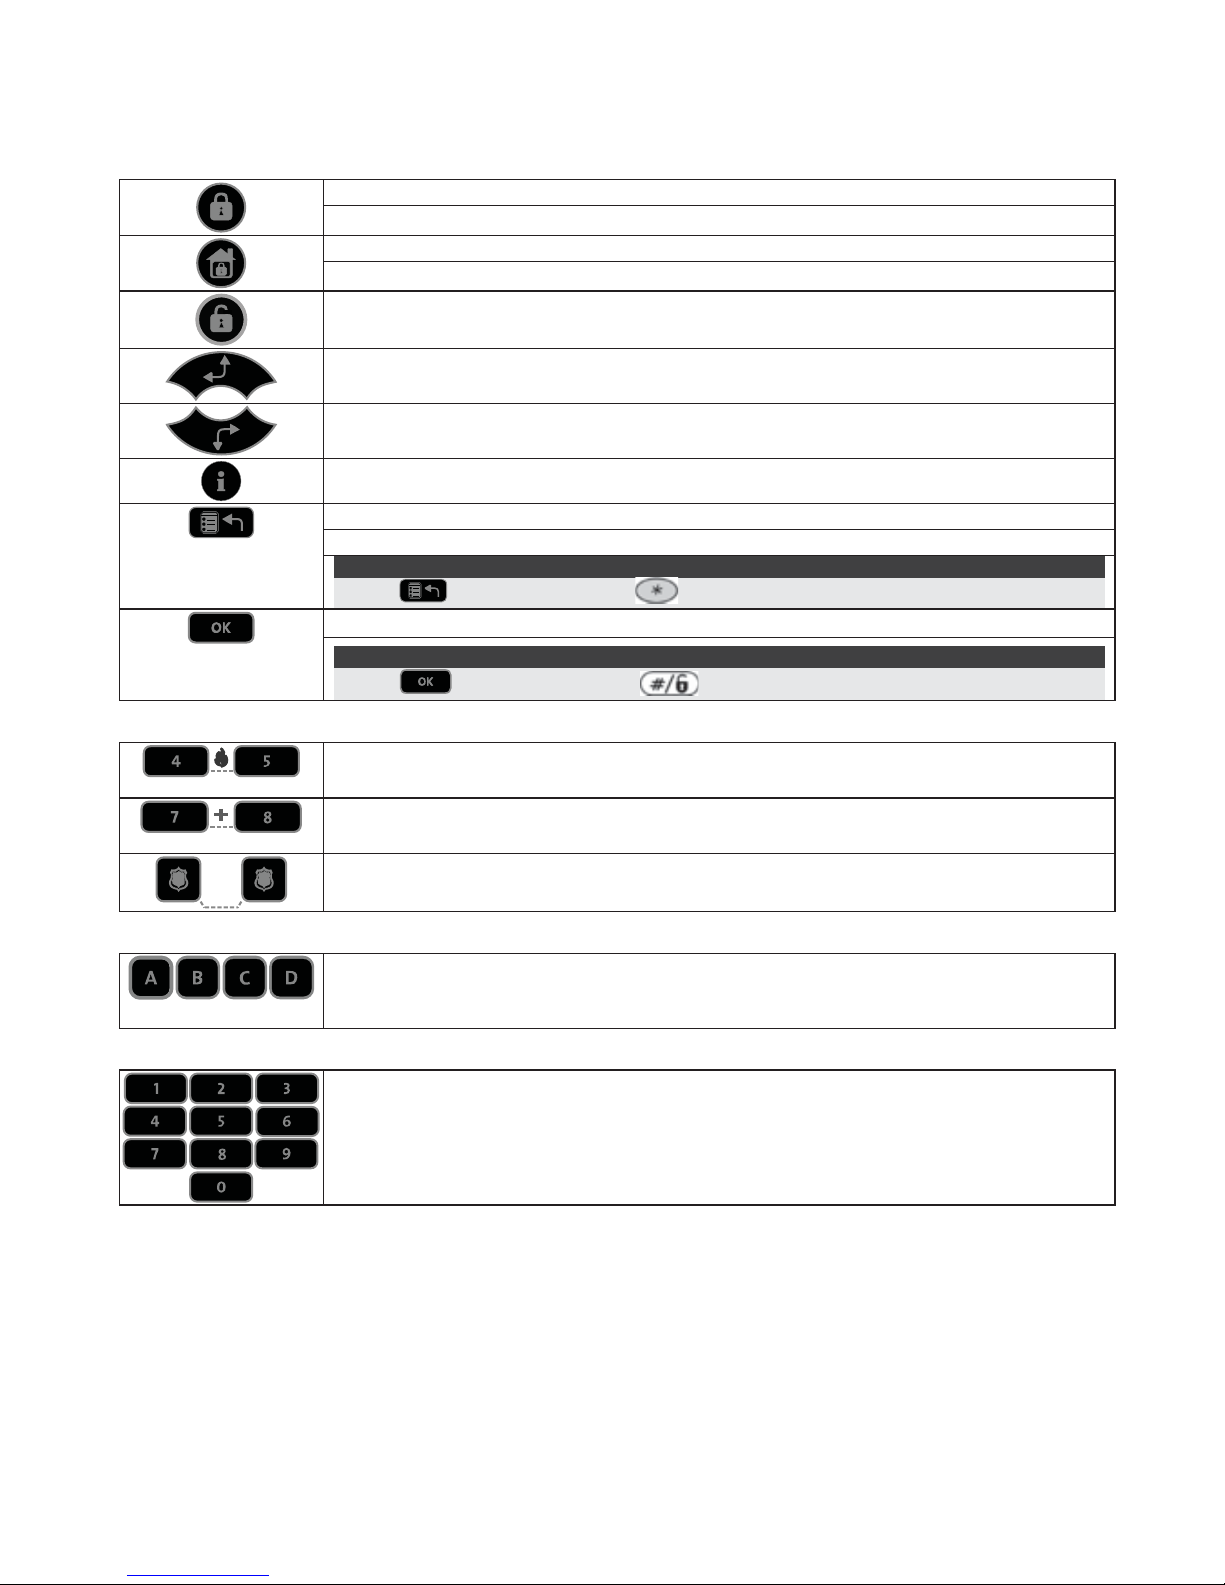
Control Keys
In Normal Operation mode: Used for Away (Full set) arming (setting)
In User Functions menu: Used to change data
In Normal Operation mode: Used for Stay arming (Partial setting)
In User Functions menu: Used to change data
Used to disarm (unset) the system after a user code is entered
Used to scroll up a list or to move the cursor to the left
Used to scroll down a list or to move the cursor to the right
Provides the system status (press for 2 seconds)
In Normal Operation mode: Used to enter the User Functions menu
In User Functions menu: Used to move back one step in the menu
Note:
The key is equivalent to the key on other ProSYS keypads.
Used to terminate commands and confirm data to be stored
Note:
The key is equivalent to the key on other ProSYS keypads.
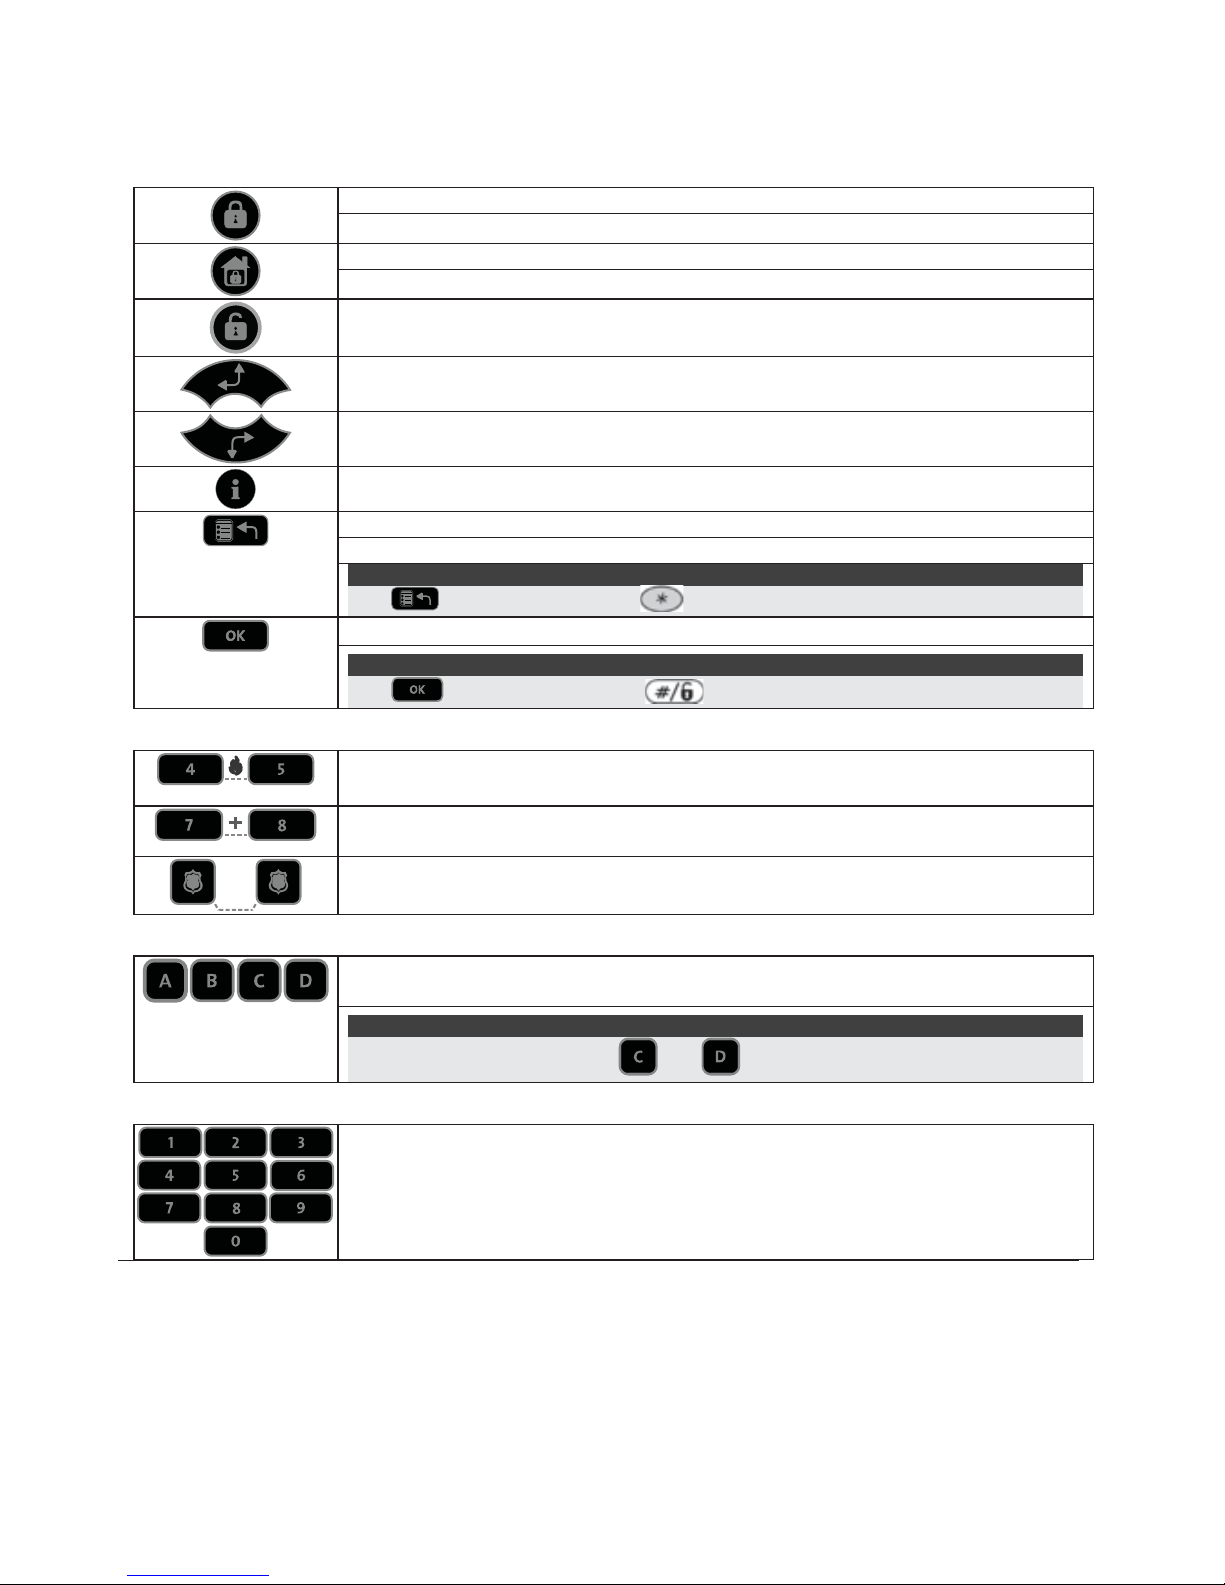
Emergency Keys
Pressing both keys simultaneously for at least two seconds activates a Fire
alarm
Pressing both keys simultaneously for at least two seconds activates an
Emergency alarm
Pressing both keys simultaneously for at least two seconds activates a
Police (Panic) alarm
Function Keys
Used to arm (set) groups of zones (by default) or to activate a prerecorded
series of commands (macros)
Note:
For ProSYS UK version: Keys and are inactive.
Numerical Keys
Used to input numeric numbers when required

5
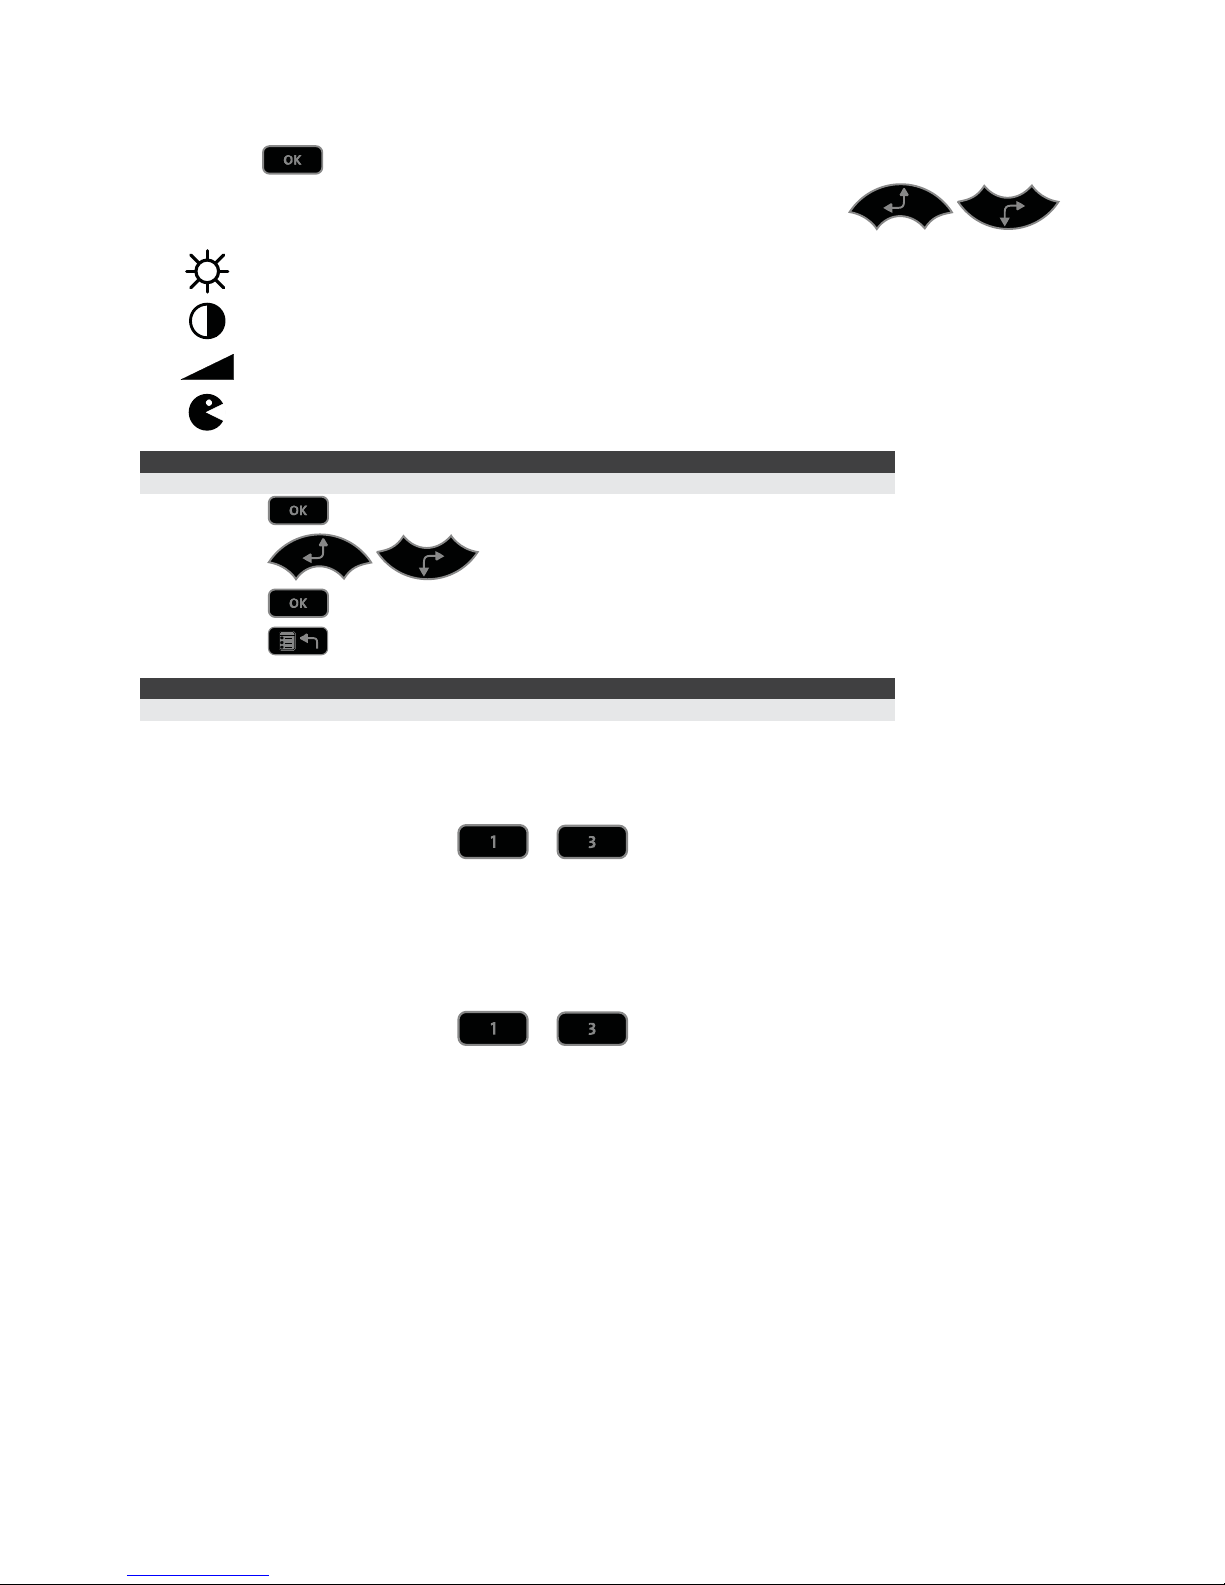
Keypad Settings
To define keypad settings follow this procedure:
1. Press
for two seconds until the Keypad Settings
menu appears
2. Select the relevant icon using the
keys:
Brightness
Contrast
Volume
Language
Note:
Set the keypad language according to the language in the ProSYS panel.
3. Press
4. Press
to adjust the level settings
5. Press
to save the adjustment
6. Press
to exit the Keypad settings menu
Note:
Each keypad's settings must be defined separately.
Keypad Lock
To lock the keypad:
Press
and simultaneously for 2 seconds.
The keypad will beep and the
icon will appear on the LCD screen to notify that the keypad has
been locked.
To release the keypad lock:
Press
and simultaneously for 2 seconds.
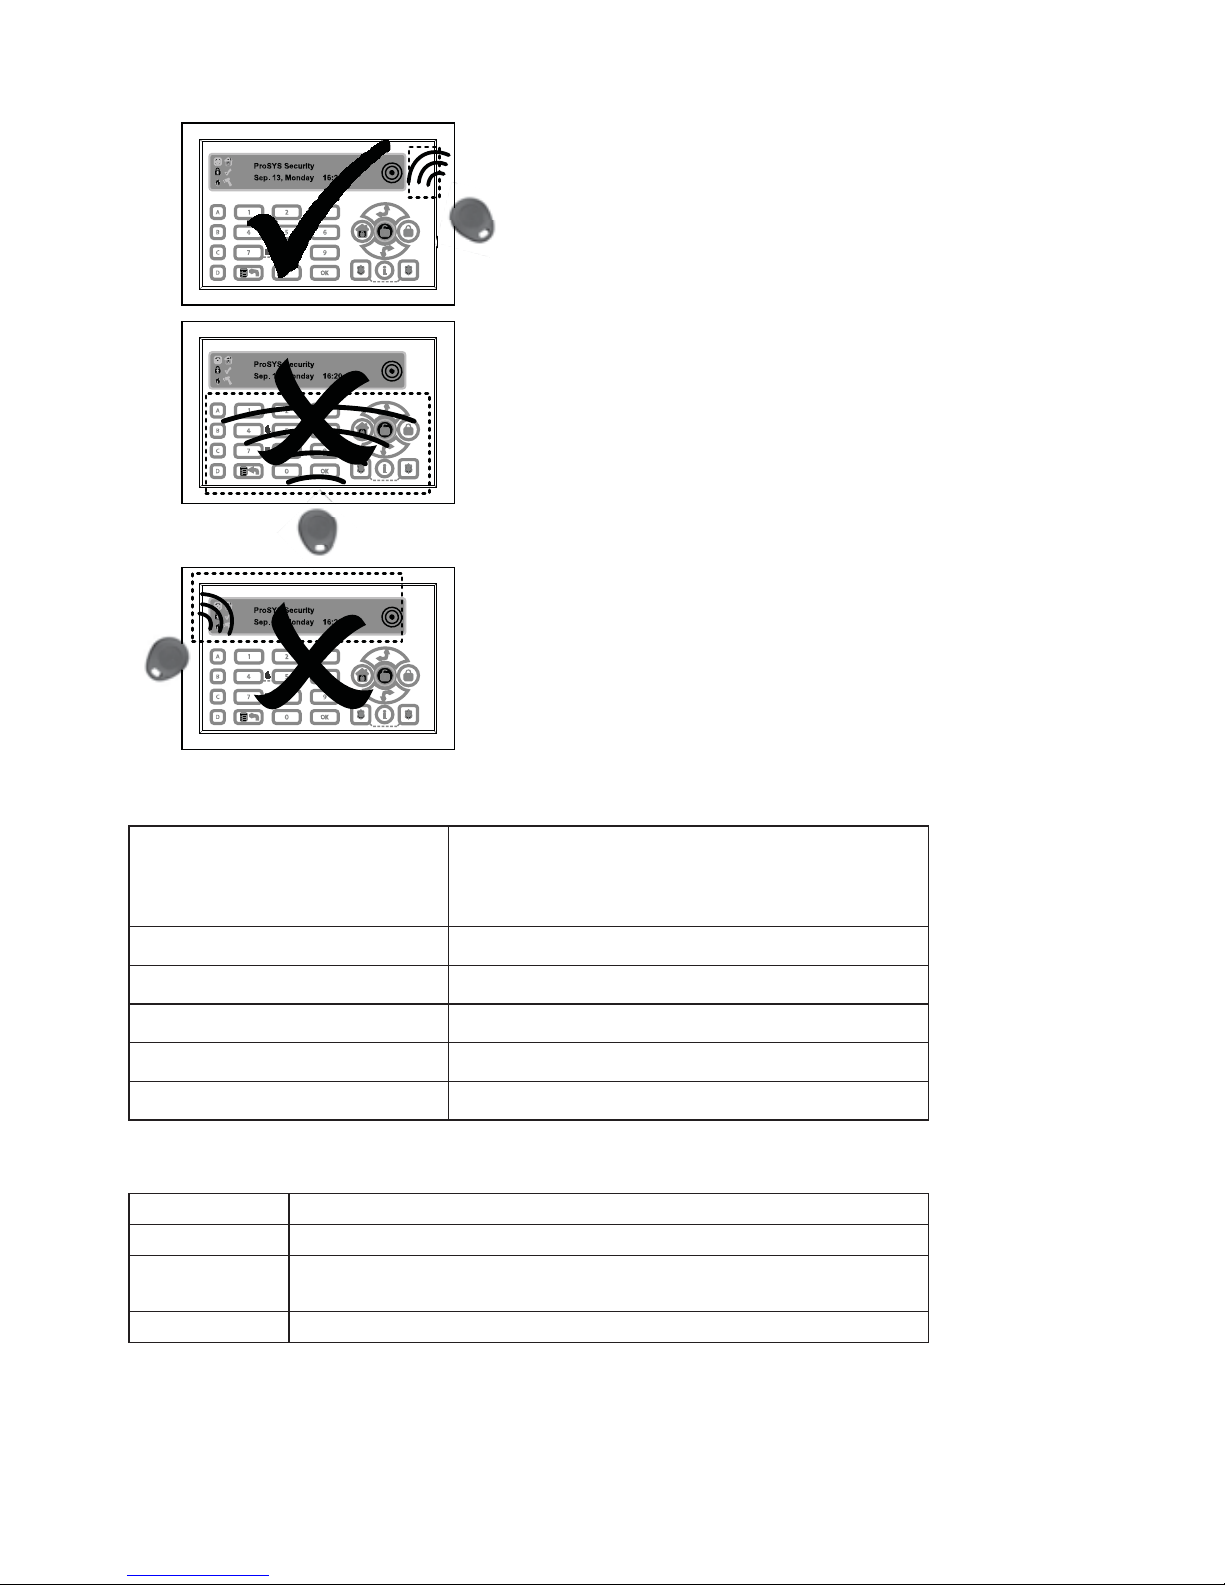
6
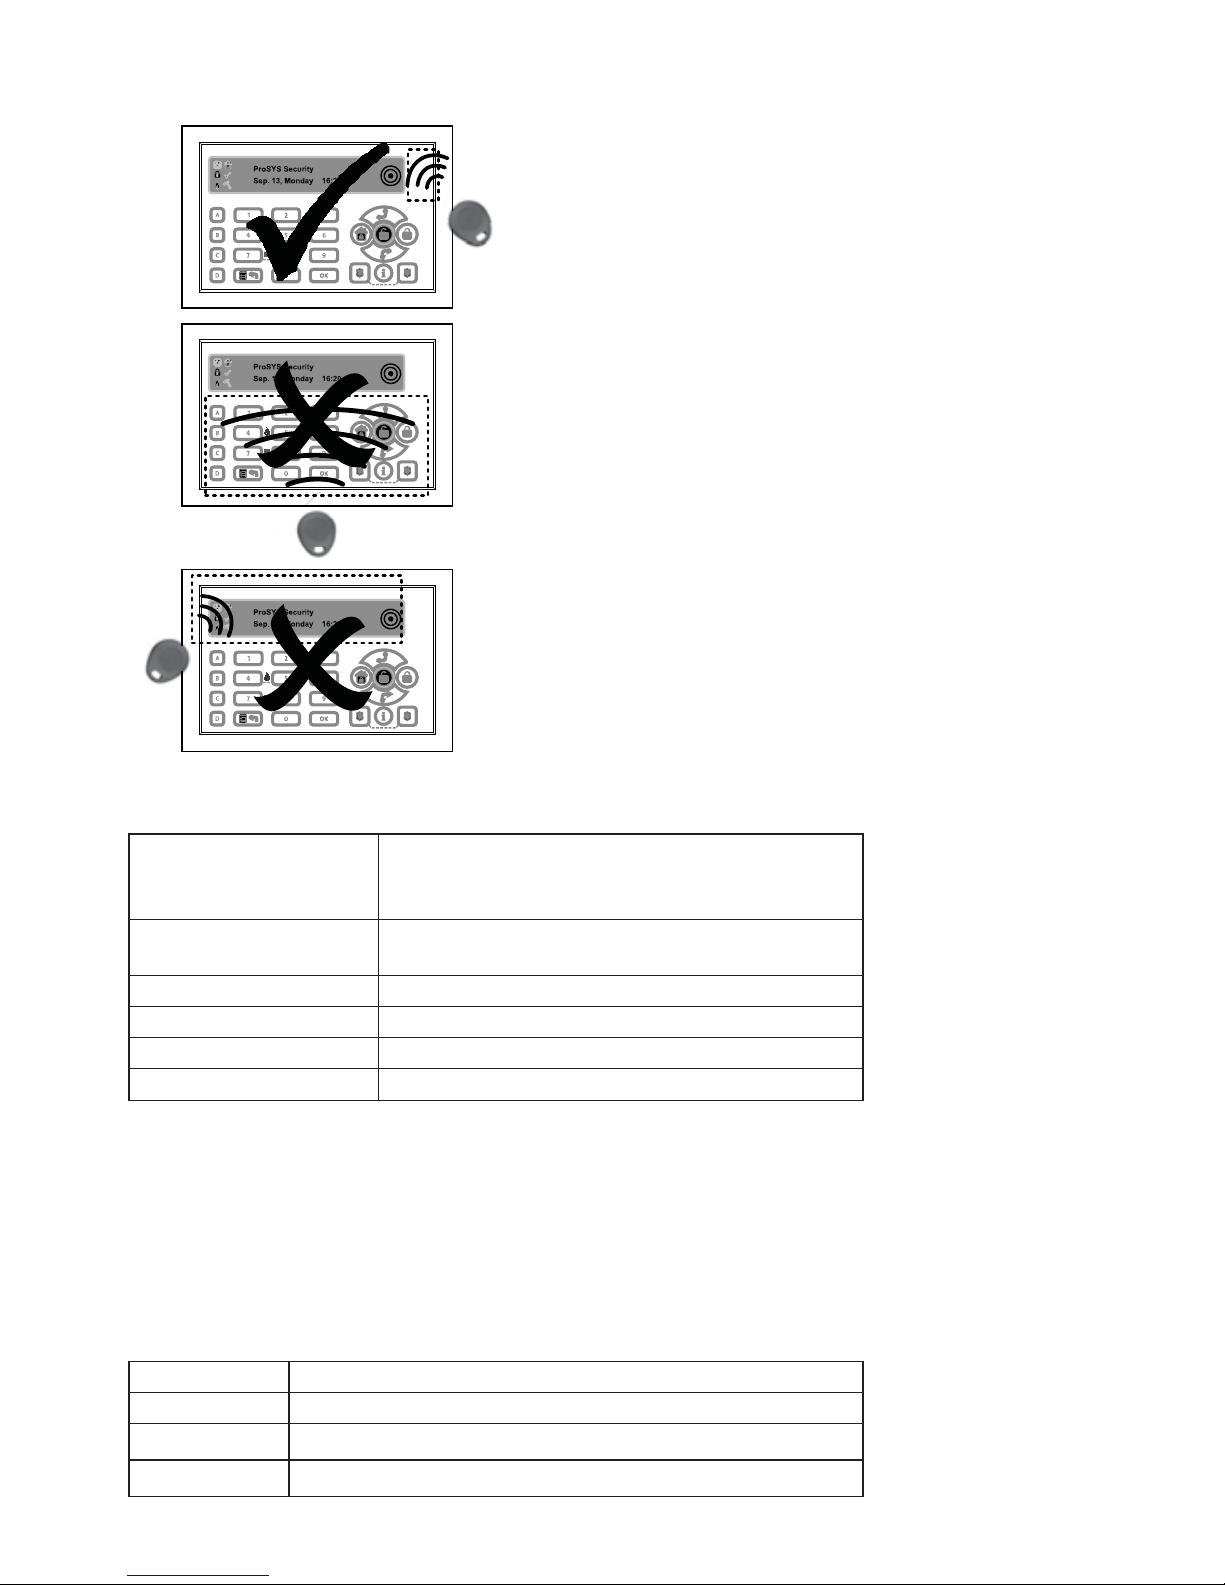
Present the Proximity Tag as shown below:
Technical Specifications
Current Consumption
ProSYS KP
ProSYS KPP
13.8V +/-10%, 30 mA typical/180 mA max.
13.8V +/-10%, 30 mA typical/280 mA max.
Main Panel Connection
4-wire BUS, up to 300 m (1000 ft) from Main
Panel
Dimensions 210 mm x 152 mm x 20 mm (8.2" x 5.9" x 0.7")
Operating temperature 0°C to 49°C (32°F to 120°F)
Storage temperature -20°C to 60°C (-4°F to 140°F)
Prox. RF Frequency 13.56MHz
Maintenance
• To clean the LCD Screen: Lock the keypad (see page 5). Use a non-abrasive
damp cloth. Do not expose the screen directly to liquid.
• Change the user codes regularly.
Ordering Information
Model Description
ProSYS KP ProSYS Touchscreen Keypad
ProSYS KPP ProSYS Touchscreen Keypad with Proximity 13.56MHz
RP200KT 10 prox keytags for Touchscreen & Agility (13.56MHz)
7
Tastiera Touchscreen
IT
Introduzione
La Tastiera Touchscreen di RISCO Group è una tastiera con display touchscreen a 7" compatta e
moderna realizzata per il sistema ProSYS. La Tastiera Touchscreen è compatibile con qualsiasi
versione di ProSYS ed è disponibile con o senza lettore di prossimità integrato. La tastiera
Touchscreen permette di controllare il proprio sistema di sicurezza così come programmare le sue
funzioni.
Per informazioni dettagliate sulla programmazione del sistema fare riferimento ai manuali Tecnico
e Utente della ProSYS.
Installazione
Per la procedura di installazione della Tastiera ProSYS Touchscreen, fare riferimento a pagina 2.
Indicatori
Alimentazione
Acceso
Indica che il sistema è in funzione con la normale rete elettrica
e che la batteria di riserva è in buone condizioni
Spento
Indica che il sistema non è in funzione a causa di una
mancanza di alimentazione (sia elettrica che della batteria di
riserva) ed è quindi necessario un controllo
Lampeggio
Lento
Indica che il sistema è in modo Funzioni Utente
Lampeggio
Rapido
Indica la presenza di un guasto
Inserimento
Acceso
Indica che i sensori del sistema sono inseriti; eventuali
intrusioni verranno segnalate con un allarme
Spento Indica che i sensori del sistema sono disinseriti
Lampeggio
Lento
Indica che il sistema è in modo Tempo di Ritardo in Uscita
Lampeggio
Rapido
Indica un allarme
Inserimento
Parziale /
Esclusione
Zona
Acceso
Indica che risulta esclusa almeno una zona, o che è stato
selezionato il modo Inserimento Parziale
Nota:
L’icona è equivalente all’icona sulle altre tastiere
ProSYS.
Spento
Indica che tutte le zone funzionano normalmente e il sistema è
in modo Inserimento Totale.
Pronto
all’Inserimento
Acceso Indica che il sistema è pronto all’inserimento
Spento Indica che il sistema non è pronto all’inserimento
Lampeggio
Lento
Indica che il sistema è pronto all’inserimento mentre c’è una o
più zone temporizzate rimaste aperte o zone programmate
come inserimento forzato aperte. Le zone programmate come
inserimento forzato verranno automaticamente escluse
dall’inserimento
Incendio
Acceso
Indica che si sono verificati un allarme o un’emergenza
incendio
Spento Indica che tutte le zone incendio funzionano correttamente
Lampeggiante
Indica che è stato rilevato un problema nel circuito incendio ed
è necessario un controllo
Manomissione
Acceso
Indica che un dispositivo collegato al sistema è stato
manomesso
Spento Indica che tutte le zone funzionano normalmente
Prossimità
Lampeggiante Indica che la tastiera ha il lettore di prossimità integrato
8
Tasti
I tasti della tastiera possono essere utilizzati per compiere numerose funzioni come spiegato sotto.
Tasti di Comando
In Modo di Funzionamento Normale: Attiva l’Inserimento Totale
Nel Menù Funzioni Utente: Modifica i dati
In Modo di Funzionamento Normale: Attiva l’Inserimento Parziale
Nel Menù Funzioni Utente: Modifica i dati
Disinserisce il sistema dopo l’inserimento del codice utente
Scorre un elenco verso l’alto/Sposta il cursore verso sinistra
Scorre un elenco verso il basso/Sposta il cursore verso destra
Informa sullo stato del sistema (premere per 2 secondi)
In Modo di Funzionamento Normale: Attiva il modo Funzioni Utente
Nel Menù Funzioni Utente: Viene utilizzato per uscire dal menù corrente
Nota:
Il tasto è equivalente al tasto sulle altre tastiere ProSYS.
Termina i comandi e conferma i dati da memorizzare
Nota:
Il tasto è equivalente al tasto sulle altre tastiere ProSYS.
Tasti Emergenza
Premendo simultaneamente e per almeno due secondi i tasti, si attiverà un
allarme incendio
Premendo simultaneamente e per almeno due secondi i tasti, si invierà un
allarme di soccorso medico
Premendo simultaneamente e per almeno due secondi i tasti, si attiverà un
allarme panico
Tasti Funzione
I tasti funzione vengono usati di default per inserire gruppi di zone definiti dal
tecnico oppure i tasti funzione possono anche essere usati per attivare una serie
di comandi memorizzati (Funzioni Macro)
Tasti Numerici
I tasti numerici vengono usati per digitare i codici numerici necessari per inserire
e disinserire il sistema, attivare gli allarmi di emergenza e per molte altre funzioni
9
Impostazioni Tastiera
Per programmare le impostazioni della tastiera seguire la procedura seguente:
1. Premere
per due secondi finché non appare il menù delle impostazioni della tastiera
2. Selezionare l’icona relativa l’impostazione desiderata utilizzando i tasti
:
Luminosità
Contrasto
Volume
Lingua
Nota:
Impostare la lingua della tastiera conformemente a quella in uso sulla centrale.
3. Premere
4. Premere
per regolare il livello dell’impostazione
5. Premere
per salvare la regolazione effettuata
6. Premere
per uscire dal menù delle impostazioni della Tastiera
Nota:
Ogni impostazione della tastiera deve essere programmata separatamente.
Blocco della Tastiera
Per bloccare la tastiera:
Premere simultaneamente i tasti
e per 2 secondi.
La tastiera emetterà un tono e l’icona
apparirà sullo schermo LCD per notificare che la tastiera
è stata bloccata.
Per disattivare il blocco tastiera:
Premere simultaneamente i tasti
e per 2 secondi.
10
Avvicinare il Tag di Prossimità nella posizione tratteggiata riportata sotto:
Specifiche Tecniche
Assorbimento di Corrente
Modello: ProSYS KP
Modello: ProSYS KPP
13.8V +/-10%, 30mA nom./180 mA max.
13.8V +/-10%, 30mA nom./280 mA max.
Collegamento con la Centrale 4 fili BUS, fino a 300 metri dalla Centrale
Dimensioni 210 mm x 152 mm x 20 mm
Temperatura di funzionamento Da 0°C a 49°C (Da 32°F a 120°F)
Temperatura di stoccaggio Da -20°C a 60°C (Da -4°F a 140°F)
Frequenza RF Prossimità 13.56MHz
Come Ordinare
Modello Descrizione
ProSYS KP Tastiera ProSYS Touchscreen
ProSYS KPP
Tastiera ProSYS Touchscreen con Lettore di Prossimità
integrato (13.56MHz)
RP200KT 10 chiavi tag di prossimità per Touchscreen e Agility (13.56MHz)
11
Teclado Táctil
ES
Introducción
El Teclado Táctil de RISCO Group es un delgado teclado táctil de 7’’, con un diseño moderno, para
los sistemas de seguridad ProSYS. El Teclado Táctil es compatible con cualquier versión de
ProSYS, y está disponible con o sin lector de proximidad. El Teclado Táctil le permite controlar su
sistema de seguridad, así como programar sus funciones.
Para una información más detallada de la programación del sistema, consulte los manuales de
Instalación y Usuario de la central ProSYS.
Instalación
Para el proceso de instalación del Teclado Táctil ProSYS, consulte la página 2.
Indicadores
Alimentación
Encendido
El sistema está funcionando correctamente con la
alimentación de CA, y la batería de respaldo está en
perfectas condiciones
Apagado Sin alimentación
Parpadeo
Lento
El sistema está en modo programación
Parpadeo
Rápido
Problema en el sistema
Armado
Encendido El sistema está armado en modo Total o Parcial
Apagado El sistema está desarmado
Parpadeo
Lento
El sistema está en el Tiempo de Salida
Parpadeo
Rápido
Alarma
Parcial /
Anulación
Encendido
El sistema está en Armado Parcial o hay Zonas Anuladas
Nota:
El icono es equivalente al icono en otros teclados
ProSYS.
Apagado No hay zonas anuladas en el sistema
Listo
Encendido El sistema está listo para ser armado
Apagado El sistema no está listo para ser armado
Parpadeo
Lento
El sistema está listo para ser armado mientras una zona
de entrada/salida permanece abierta
Incendio
Encendido Alarma de incendio
Apagado Funcionamiento normal
Parpadeo Problema en el circuito de incendio
Tamper
Encendido Una zona, teclado o módulo externo ha sido saboteado
Apagado Todas las zonas están funcionando normalmente
Proximidad
Parpadeo Indica que el teclado tiene un lector de proximidad
12
Teclas
Las teclas del teclado pueden usarse para diferentes funciones, como se explica a continuación.
Teclas de Control
En el modo Normal de funcionamiento: Se utiliza para hacer un Armado Total
En el menú de Usuario: Se utiliza para cambiar los datos
En el modo Normal de funcionamiento: Se utiliza para hacer un Armado
Parcial
En el menú de Usuario: Se utiliza para cambiar los datos
Se utiliza para desarmar el sistema después de introducir un código de
usuario
Se utiliza para desplazar hacia arriba una lista o mover el cursor a la izquierda
Se utiliza para desplazar hacia abajo una lista o mover el cursor a la derecha
Proporciona el estado del sistema (mantener pulsado durante 2 segundos)
En el modo Normal: Se utiliza para entrar en el menú de Usuario
En el menú de Usuario: Se utiliza para retroceder un nivel en el menú
Nota:
La tecla es equivalente a la tecla en otros teclados ProSYS.
Termina comandos y confirma los datos a ser almacenados
Nota:
La tecla es equivalente a la tecla en otros teclados ProSYS.
Teclas de Emergencia
Presionando ambas teclas simultáneamente durante al menos dos segundos
activa una alarma de Incendio.
Presionando ambas teclas simultáneamente durante al menos dos segundos
activa una alarma de Emergencia.
Presionando ambas teclas simultáneamente durante al menos dos segundos
activa una alarma de Pánico (Policía).
Teclas de Función
Se utilizan para armar grupos de zonas (por defecto) o para activar una serie
de comandos pregrabados (macros)
Teclas Numéricas
Se utilizan cuando es necesario introducir números.
 Loading...