

Risco GT 600, GT 601 User Instructions
GG
GGTTTT 666600000000 666600001111
CC
CCoooonnnnttttrrrroooollll
PP
PPaaaannnneeeellll
User Instructions

Contents
User Information ......................................................... 2
Introduction ................................................................... 3
User Code Types.......................................................... 3
Setting The System ...................................................... 6
Setting Unsetting via Keyswitch.................................... 7
Unsetting The System .................................................. 8
Part Setting The System............................................... 8
Quick Part Setting......................................................... 9
Area Setting .................................................................. 10
Removing Zones........................................................... 11
Testing The System...................................................... 12
Viewing The Event Log................................................. 13
Changing The Chime Status......................................... 14
Programming User Codes ............................................ 16
Programming Time & Date ........................................... 19
Vo-Comm (if fitted)........................................................ 20
Using Vo-Comm ........................................................... 23
Messages From Vo-Comm........................................... 23
User Initiating Remote Access (Optional)..................... 24
Resetting After An Alarm .............................................. 25
Setting Engineer Authorisation ..................................... 28
Setting The System With Mains Fail............................. 30
Re-setting the Display After a Mains Fail...................... 31
Setting the System With a Line Fault............................ 32
System G-Tag............................................................... 33
Advanced Code Programming (Control Codes) ........... 35
Advanced Setting Unsetting Using Group Area Codes 38
Setting Using Group Area Codes ................................. 38
Programming Group Area User Codes......................... 39
Setting Using Group Master & Main Codes................. 42
Unsetting Using Group Area Codes ............................. 43
Unsetting Using Group Master & Main Codes.............. 43
Adding Areas To a System with Area(s) Already Set ... 44
Display Blanking ........................................................... 45
End User Training......................................................... 45
Testing / Servicing Your System................................... 45
Keypad Alert ................................................................. 46
Keypad Tamper ............................................................ 46
System Tampers........................................................... 46
System Attributes.......................................................... 47
User Chart .................................................................... 51
Page 1
GT 600 601
User Manual
Page 2
GT 600 601
User Manual
User Information
Customer Name:-
Customer Address:-
System Information
No of Keypads
Keypad 1 Location Type
Keypad 2 Location Type
Keypad 4 Location Type
Keypad 5 Location Type
Keypad 6 Location Type
Keypad 7 Location Type
Keyswitch 1 Location, Area 1, User Code No.
Keyswitch 2 Location, Area 2, User Code No.
Keyswitch 3 Location, Area 3, User Code No.
Keyswitch 4 Location, Area 4, User Code No.
Keyswitch 5 Location, Area 5, User Code No.
Keyswitch 6 Location, Area 6, User Code No.
Keyswitch 7 Location, Area 7, User Code No.
External Proximity Reader 1 Location
External Proximity Reader 2 Location
Internal Proximity Reader 1 Location
Internal Proximity Reader 2 Location
Installation Company Name:-
Installation Company Address:-
Installation Company: Tel. Fax.
E-mail
Web Address
Other Information:-
Note: THIS SECTION MUST BE COMPLETED BY THE INSTALLATION ENGINEER.

Page 3
GT 600 601
User Manual
Introduction
The
GT 600
Control Panel is capable of controlling up to 40 zones with 31 individual
Users. The
GT 601
Control Panel is capable of controlling up to 136 zones with 99
individual Users. Control of the system is via Remote Keypads (RKPs). Control is also
possible via Proximity Reader(s). Facility is provided for Central Station and/or VoComm (message communication) to inform of system status and alarm events. VoComm messages may be sent to standard land line telephones or mobile telephones.
Please take time to familiarise yourself with the type of equipment fitted to your
premises as it will prove invaluable whilst using this manual.
If the Control Panel is non
EN then all displays will be shown and
“ENTER CODE CHECK” will not be displayed.
All information displays will remain until cleared by the User.
User Code Types
Master Level User Code BS / EN2 (default) - 5678
EN3 (default)- 005678
Several types of User Codes are available on the
GT 600 / 601,
and each type allows
different levels of access. The
GT 600
Control Panel can have a total of 31 User
codes programmed by a Master Level User Code. User number 1 will always be a
Master Level User but the remaining User Codes may be programmed to the required
level of access. The
GT 601
Control Panel can have a total of 99 User codes
programmed by a Master Level User Code. Again, the User number 1 will always be a
Master Level User but the remaining 98 User Codes may be programmed to the
required level of access.
You will be advised by your installation company on the code length required.
The Code Levels should be viewed as four groups, Global codes that give system
control, Area codes that give area control, Group codes giving control of more than 1
area and Control codes giving control off outputs.
The User Code levels available and the functions available for the levels are:-
Global Code Levels (affecting full system)
Set Only Only Allows for the setting of the system.
Main Allows Setting, Part Setting, Area Setting, Zone Remove, System
Test, Unsetting.
Master Allows Setting, Part Setting, Area Setting, Zone Remove, System
Test, Viewing the Log, Chime On/Off, Program User Codes, Set
Time/Date, Unsetting.
IMPORTANT USER INFORMATION

Page 4
GT 600 601
User Manual
Area Code Levels (affecting areas only)
Area 1 Allows Area 1 Setting, Area 1 Part Setting, Area 1 Unsetting.
Cleaner Full System Setting (from unset system), Cleaner Area Unsetting
(from set system), Cleaner Part Set (from part cleaner set system).
Area 2 Allows Area 2 Setting, Area 2 Part Setting, Area 2 Unsetting.
Area 3 Allows Area 3 Setting, Area 3 Part Setting, Area 3 Unsetting.
Areas 4 - 7
(601 Control Panel only)
. Allows Areas 4 - 7 Setting, Areas 4 - 7
Part Setting, Areas 4 - 7 Unsetting.
Main 1 Allows Area 1 Setting, Area 1 Part Setting, Area 1 Zone Remove,
Area 1 Test, Area 1 Unsetting.
Main 2 Allows Area 2 Setting, Area 2 Part Setting, Area 2 Zone Remove,
Area 2 Test, Area 2 Unsetting.
Main 3 Allows Area 3 Setting, Area 3 Part Setting, Area 3 Zone Remove,
Area 3 Test, Area 3 Unsetting.
Mains 4 - 7
(601 Control Panel only)
. Allows Areas 4 - 7 Setting, Areas 4 - 7
Part Setting, Areas 4 - 7 Zone Remove, Areas 4 - 7 Test,
Areas 4 - 7 Unsetting.
Group Code Levels (affecting group or groups of areas)
Group Master Allows Setting, Part Setting, Area Setting, Zone Remove, System
Test, Viewing the Log, Chime On/Off, Program User Codes, Set
Time/Date, Unsetting. Will also allow setting/unsetting of individual
areas for greater system control
Group Main Allows Setting, Part Setting, Area Setting, Zone Remove, System
Test, Unsetting. Will also allow setting/unsetting of individual
areas for greater system control
Group Area Allows group setting/unsetting/part setting of a selected group of
areas.
Group Area Codes are classed as an Advanced User Function as they allow for
greater flexibility on systems that are using multiple areas. For details on using
Group Area Codes please refer to the section Advanced Setting and Unsetting
Using Group Area Codes on page 38.

Control Code Levels (affecting an output)
Control Allows an output that has been pre-programmed by the installation
company to be operated.
May also have an attribute of Can or Can’t Unset. Control level
codes can never Set a system.
Page 5
GT 600 601
User Manual
Page 6
GT 600 601
User Manual
Setting The System
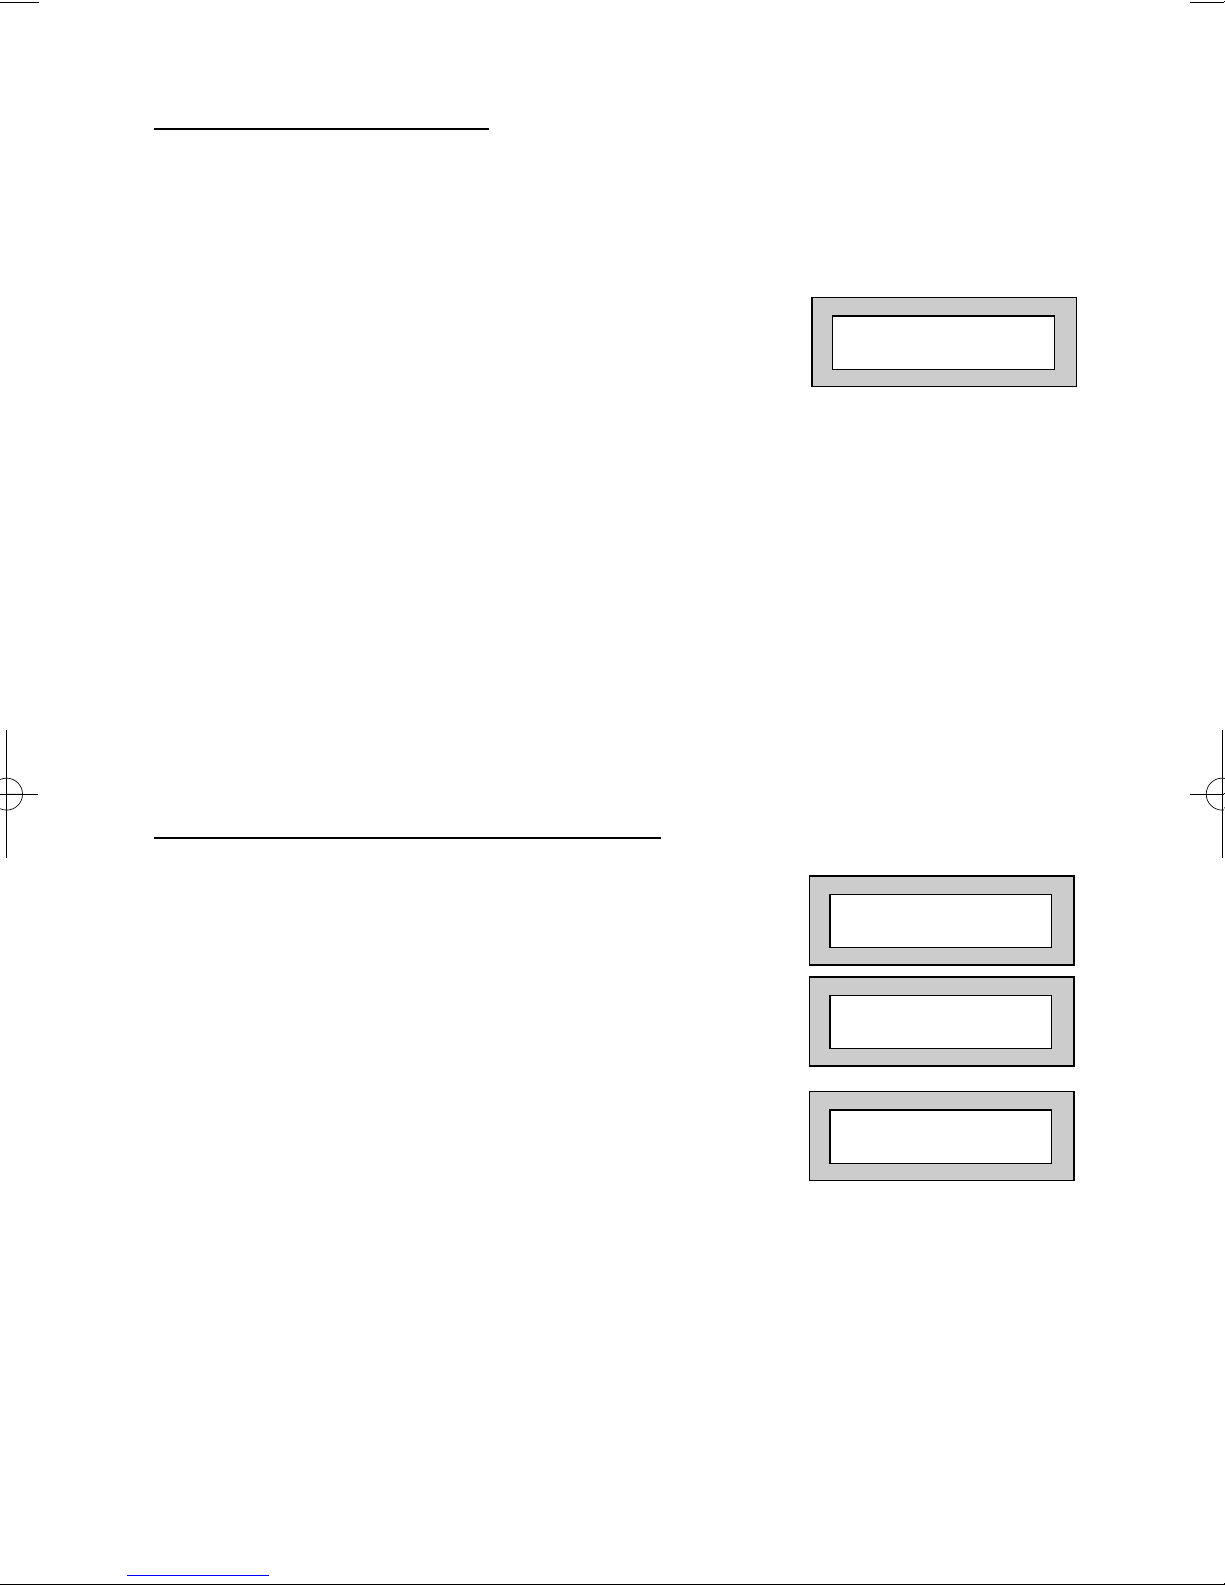
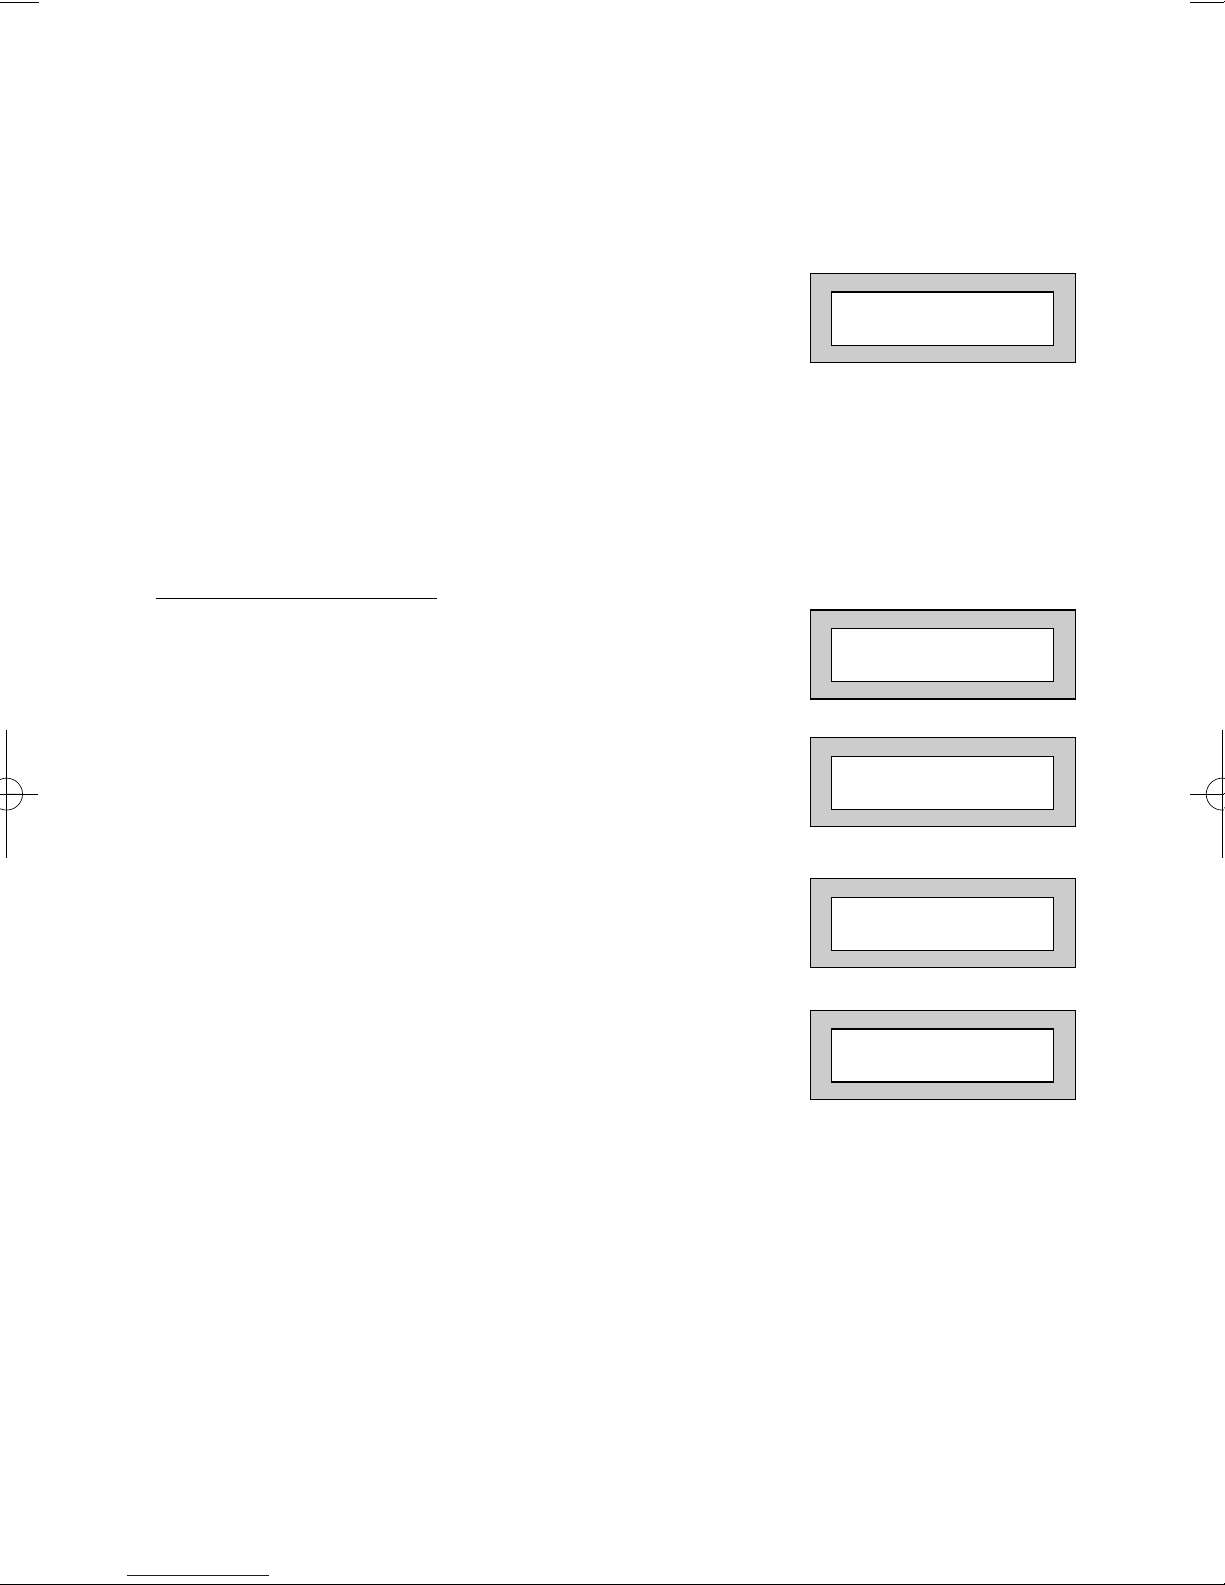
1) With the display showing:-
2) Enter your User code.
(Followed by YES if a Master or Main type code
has been used). The display will show:and a continuous exit tone will sound.
(See “Pre Exit Check” note below and/or “Pre Exit
Check in Wireless Installations” on page 7)
Note: Count down in display depends on the setting mode programmed by the Engineer.
3) Exit the premises via the authorised exit route.
(The exit tone will change if any detectors are violated during exit).
4) Once the premises are secure listen, (from outside
the protected area) that the exit tone returns to the
continuous tone.
5) Wait until the exit tone finishes before leaving.
Note: 1 Setting the system with an area code will set only the area(s)
associated with that code.
Note: 2 Setting an unset system with a cleaner code will set the full system.
Note: 3 To Set the system with cleaner on site Press CODE YES YES 0
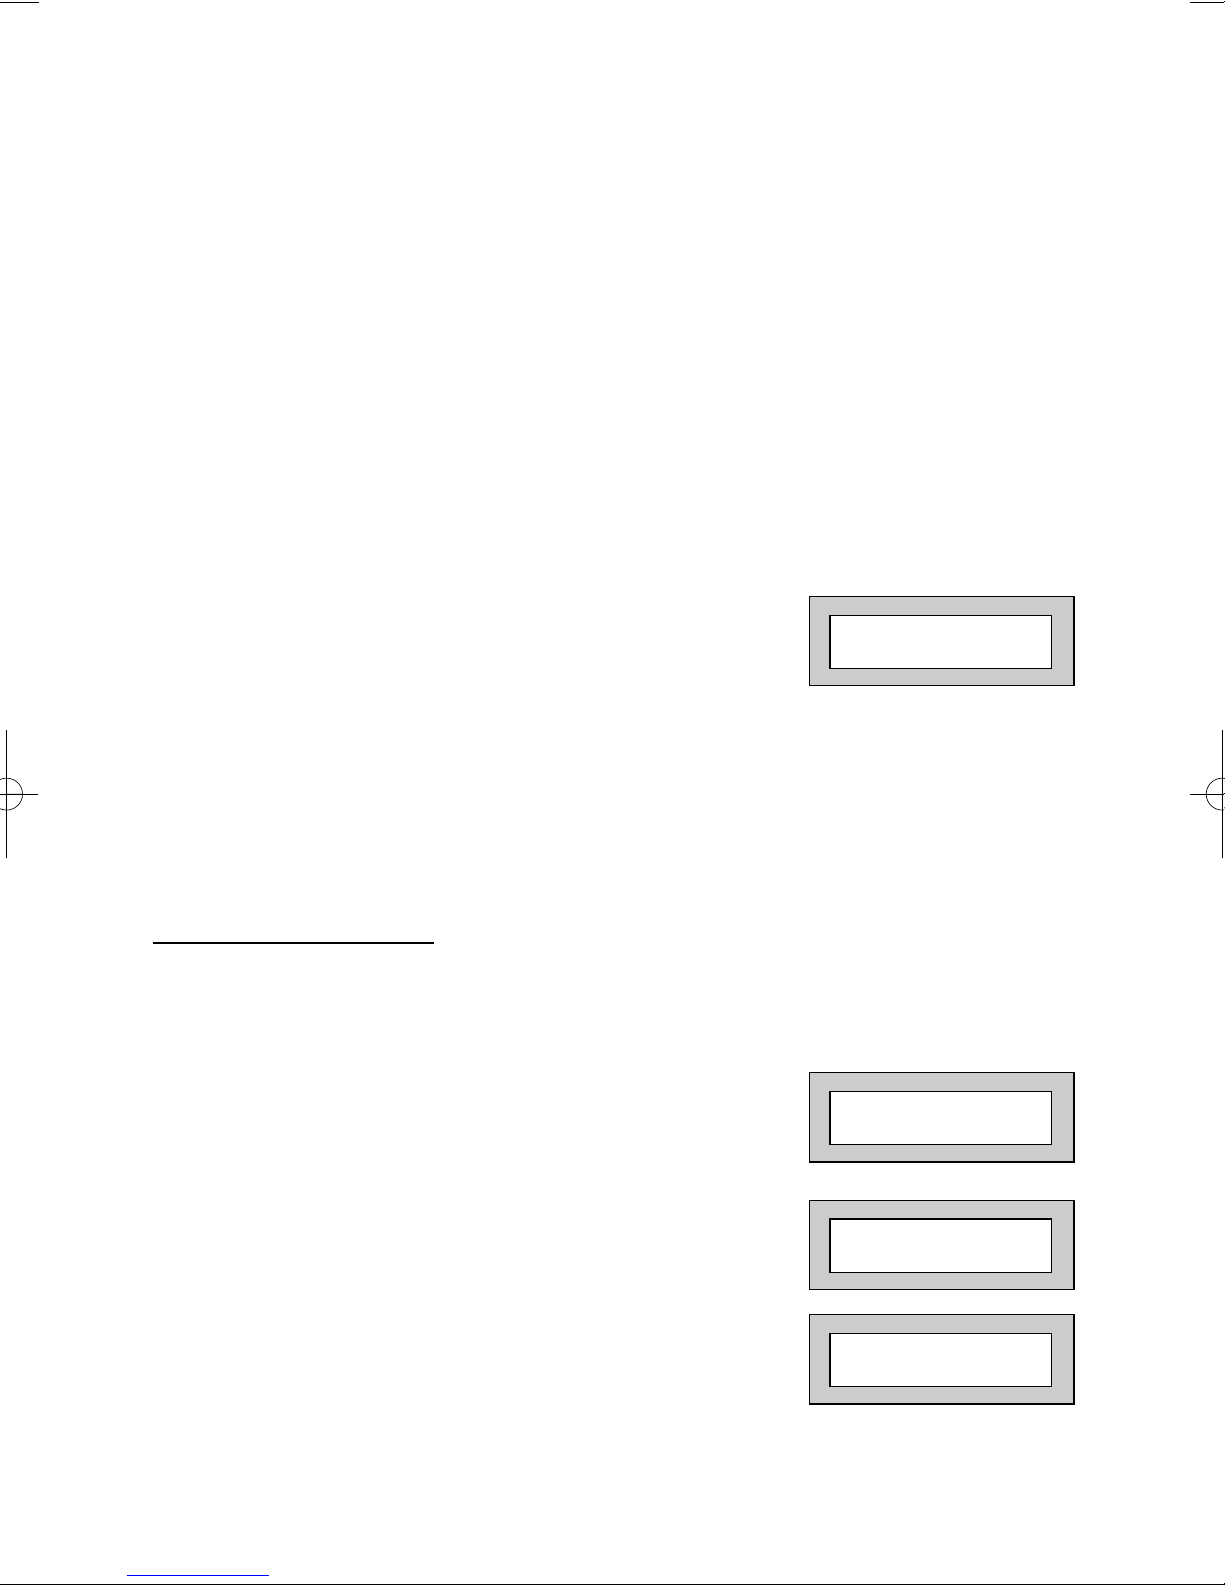
Pre Exit Check
At the start of the setting procedure any non exit routes that
are open will sound a fault tone. The display will show, for
example:If the fault clears within 20 seconds then the exit will begin,
otherwise the display will return to Day (Unset) Mode.
EXIT ! 1
All Zones ON 15
01 JAN 18 : 58 : 01
Time will count down
Zone 008 12hr
All Zones ON
Pre Exit Check in Wireless Installations
This feature is only applicable in wireless fitted installations. A zone (PIR, door contact
etc) will be rendered ‘Not Ready’ if it has not been heard by your Control Panel for 20
minutes.
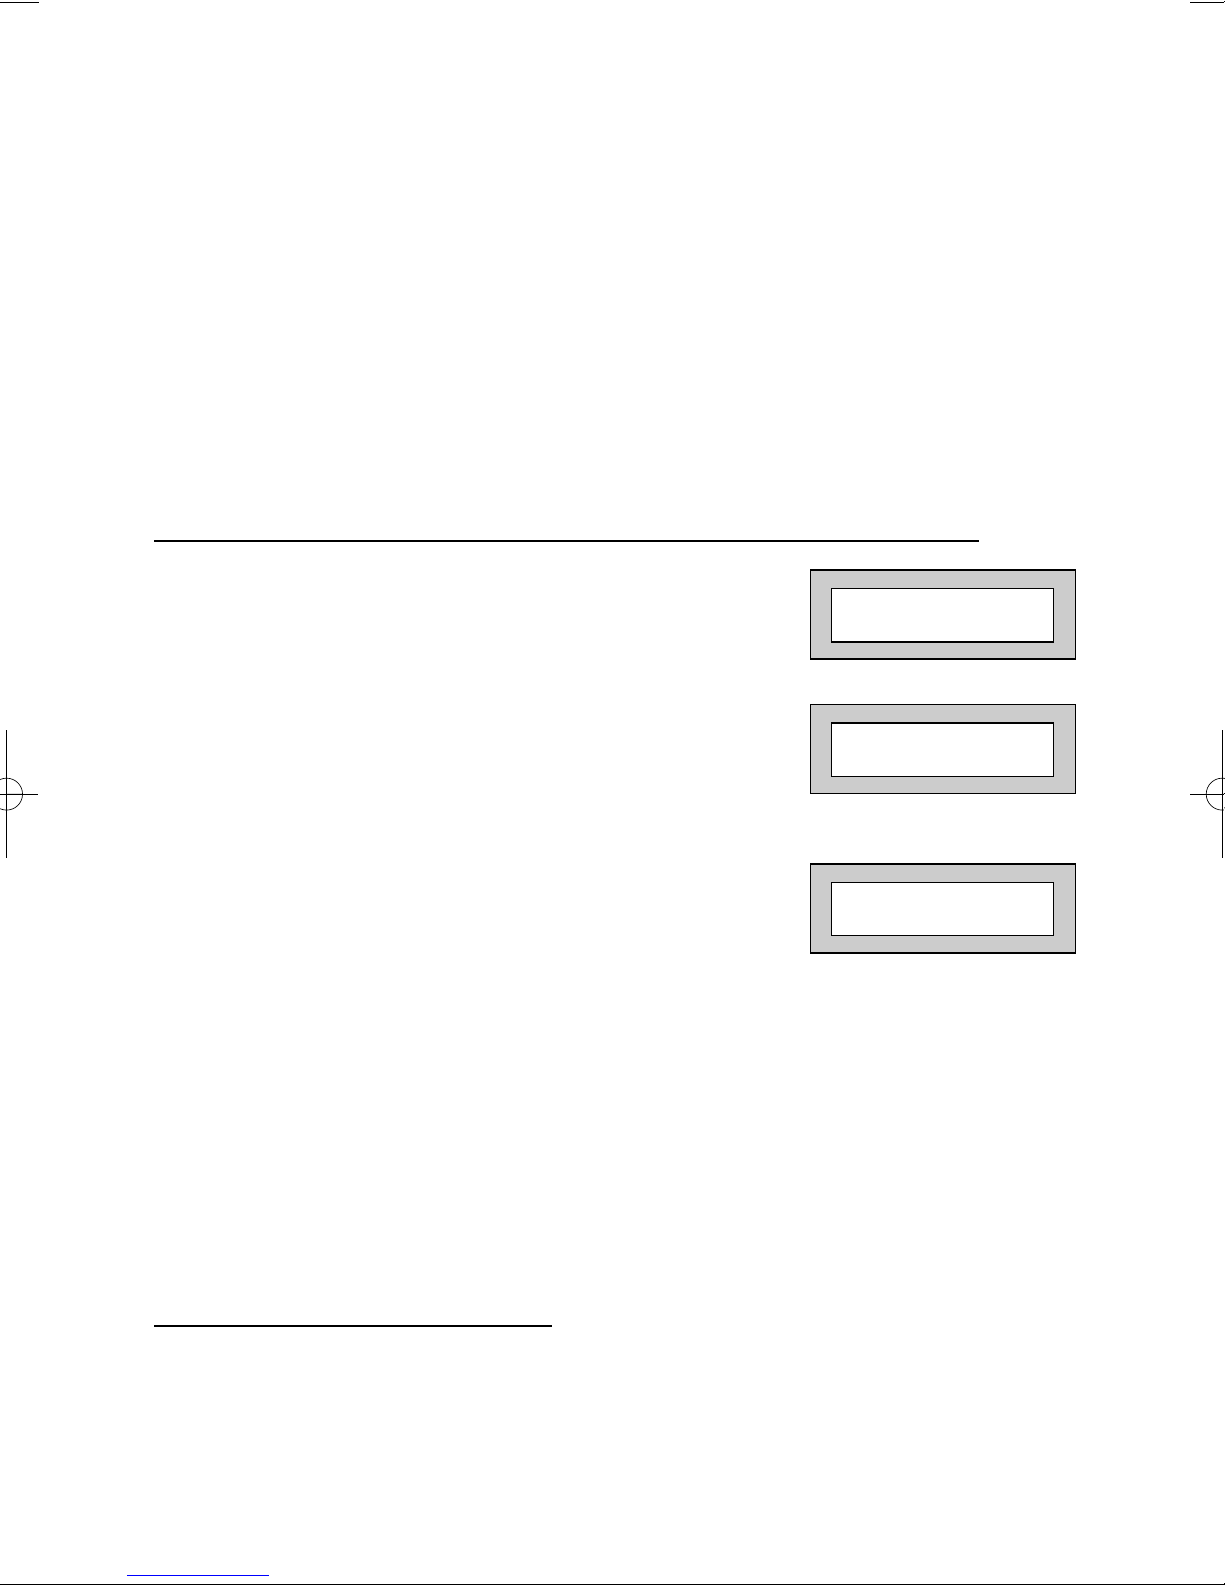
When attempting to set your system, the Control Panel
Keypad may show one of the following:-
Note: ### is the Zone Number
To Set the System
1) Enter your User code:
2) Proceed to the Zone/Detector stated and operate the device.
(See note below).
3) Repeat the setting procedure on page 6.
Note: Door Contact - Activate it by opening and closing the door.
PIR - Activate it by walking in front of the PIR
Shock Detector - Active it by tapping until the GREEN LED is seen.
Setting & Unsetting the System via a Keys
witch
One of two types of keyswitch(es) may have been fitted to your system.
Normal
To set the system with a normal keyswitch, insert the key and turn to the ON position
then remove the key and exit.
To unset, insert the key and turn to the OFF position.
Biased
To set the system with a biased keyswitch, insert the key and turn it then return the key
to the original position, remove the key and exit.
To unset, repeat this operation.
Page 7
GT 600 601
User Manual
Zone ###
Can’t Set! Check
Front Door
Can’t Set! Check
Or
Page 8
GT 600 601
User Manual
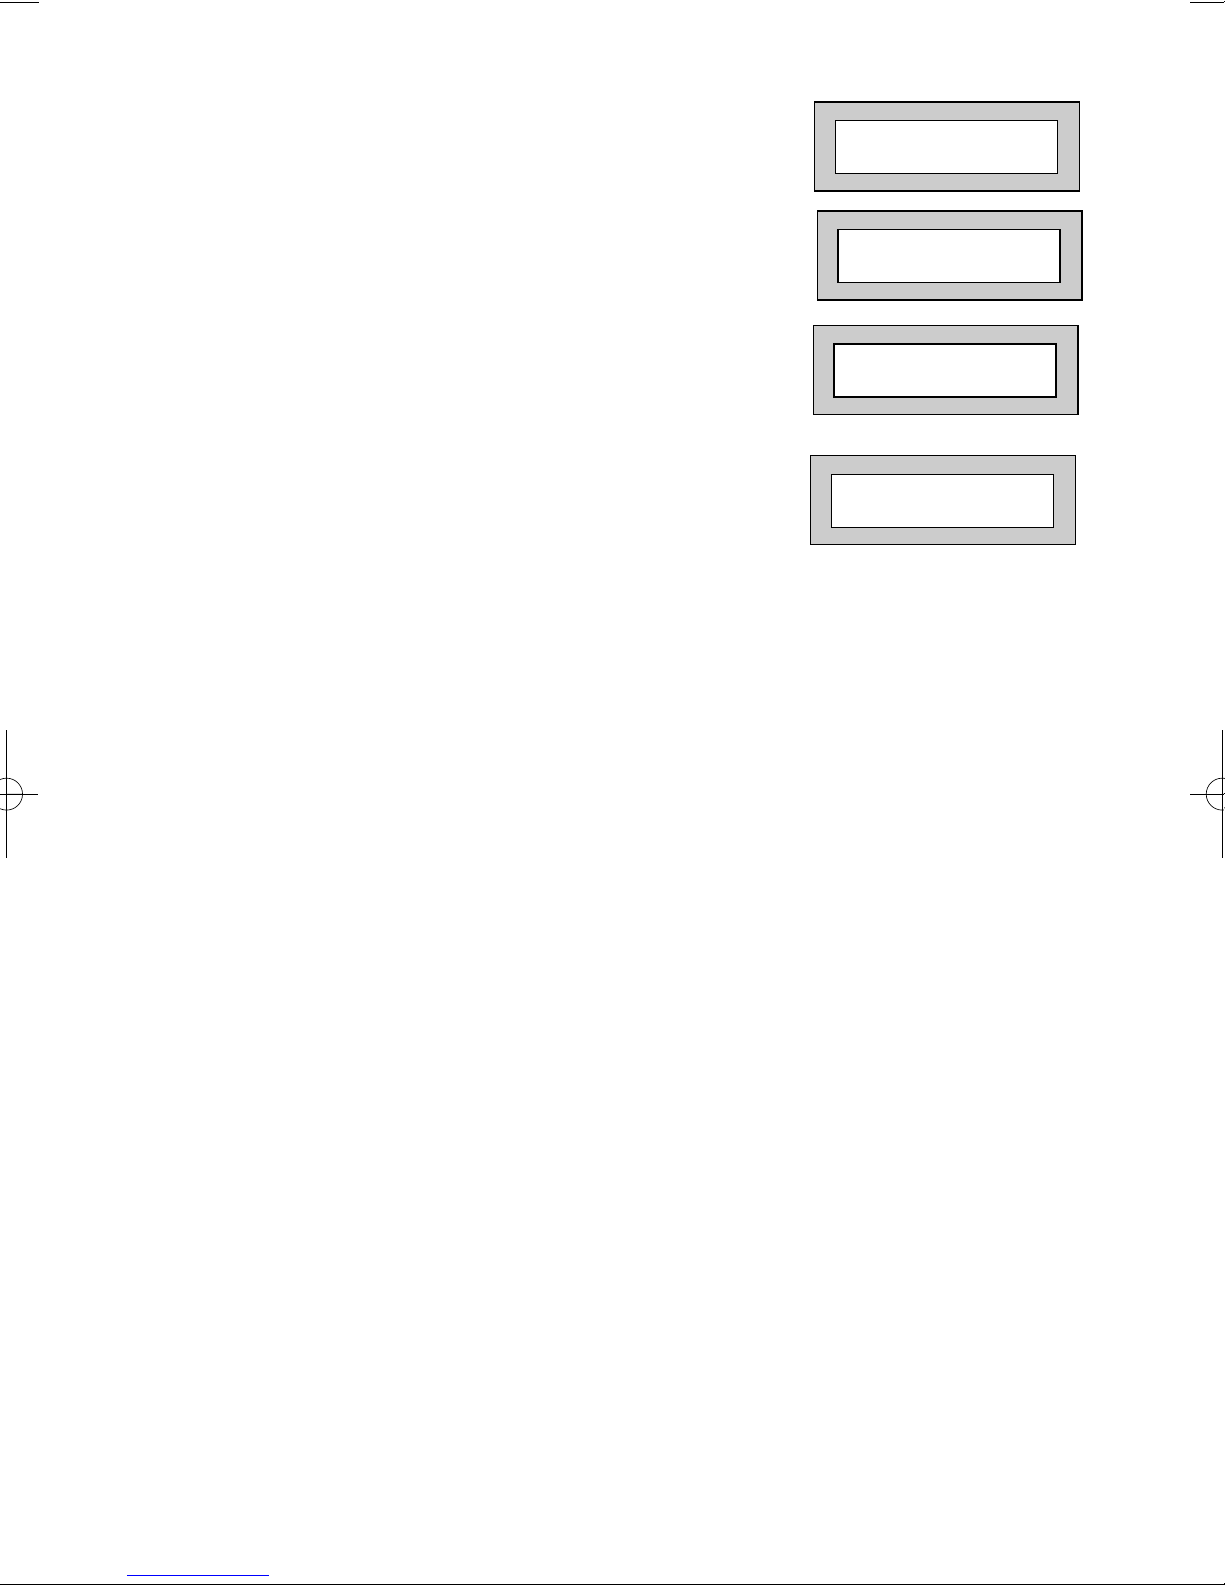
Unsetting The System
1) Enter the premises via the authorised entry route
(the broken entry tone will sound).
Proceed to the keypad.
2) At the keypad enter a valid code, the display
will show:-
3) The system is now unset.
Note: If an Area Code has been entered, only the area associated with that
code will be unset.
Note: If a Cleaner Code has been entered, only the cleaner area will be unset.
Part Setting The System
(using Master & Main type codes)
1) With the display showing:-
2) Enter a Master or Main type code, the
display will show for example:-
3) Press 1, 2 or 3 (for Part 1, 2 or 3), the
display will show for example:-
Note: If a Global code (Master or Main) has been used, all areas that are being
set will be Part 1 set.
Note: If an Area Main code has been used only Part 1 set for that associated
area will occur.
Note: Your installation company will have informed you what zones are being
removed (omitted) for the Part Set you are using. Refer to the System
Attributes section for what zones have been programmed as Part Set
zones.
01 JAN 18 : 58 : 01
01 JAN 18 : 58 : 01
Do you want to . .
Set the System ?
EXIT ! 1
Part 1 15
Page 9
GT 600 601
User Manual
4) The exit tone may or may not be heard
depending on the system settings.
5) Exit the premises or retire to an unprotected
part of the system. At the end of the exit time
either the exit sounder will stop or a single
beep will be emitted (depending on system
settings).
Part Setting System
(using Area 1, 2 or 3 codes, Area codes 4 - 7, 601 only)
1) With the display showing:-
2) Enter an Area Code (1, 2 or 3), the exit
tone will sound and the display
will show for example:-
3) Press NO then 1, 2 or 3 (4 - 7, 601) (for the Part Set
you require), the display will show for example:-
4) The exit sounders may or may not be silent,
this will depend on the system settings.
5) Exit the premises or retire to an unprotected
part of the system. At the end of the exit time
either the exit sounder will stop or a single
beep will be emitted (depending on system
settings).
Quic
k Par
t Setting System
If required there is a quick method to Part Set the system regardless of the level of
code being used (except Control Level). To Part 1 Set the system Enter YES, YES
CODE. The system will now start to Part 1 Set.
01 JAN 18 : 58 : 01
EXIT ! 1
All Zones ON 15
EXIT ! 1
Part 1 20
Page 10
GT 600 601
User Manual
Area Setting
(using Master or global Main codes)
Areas will need to have been set up by the installation company.
1) With the display showing:-
2) Enter a Master or global Main code, the
display will show for example:-
3) Press YES to start setting the system,
the exit tone will sound and the display
will show:-
4) To turn Area 1 Off press YES, 1
and / or
To turn Area 2 Off press YES, 2
and / or
To turn Area 3 Off press YES, 3
and / or
To turn the Cleaner Area Off press YES, 0
As areas are turned off they will be removed
from the display.
5) Exit the premises or retire to an un-protected
area (as detectors are violated the continuous
exit tone will change).
Note: Areas must first be programmed by the installation company before
they will appear on the display.
Area Setting (using Area codes)
Area codes are only effective to their own area with the exception of the cleaner area.
This may be turned off by an area code (only if all areas are in the unset condition).
01 JAN 18 : 58 : 01
Do you want to . .
SET the System ?
EXIT ! 1 2 3 C
All Zones ON 30

Page 11
GT 600 601
User Manual
Removing Zones
(Master & Main codes onl
y)
If programmed by the installation company individual zones may be removed, this may
only be done by a Master or Main level of code. If a zone has
not
been programmed
as ‘Remove’ an error message will be displayed when trying to remove it. It should be
noted that if an Area Main code is being used, only zones associated with that
area may be removed.
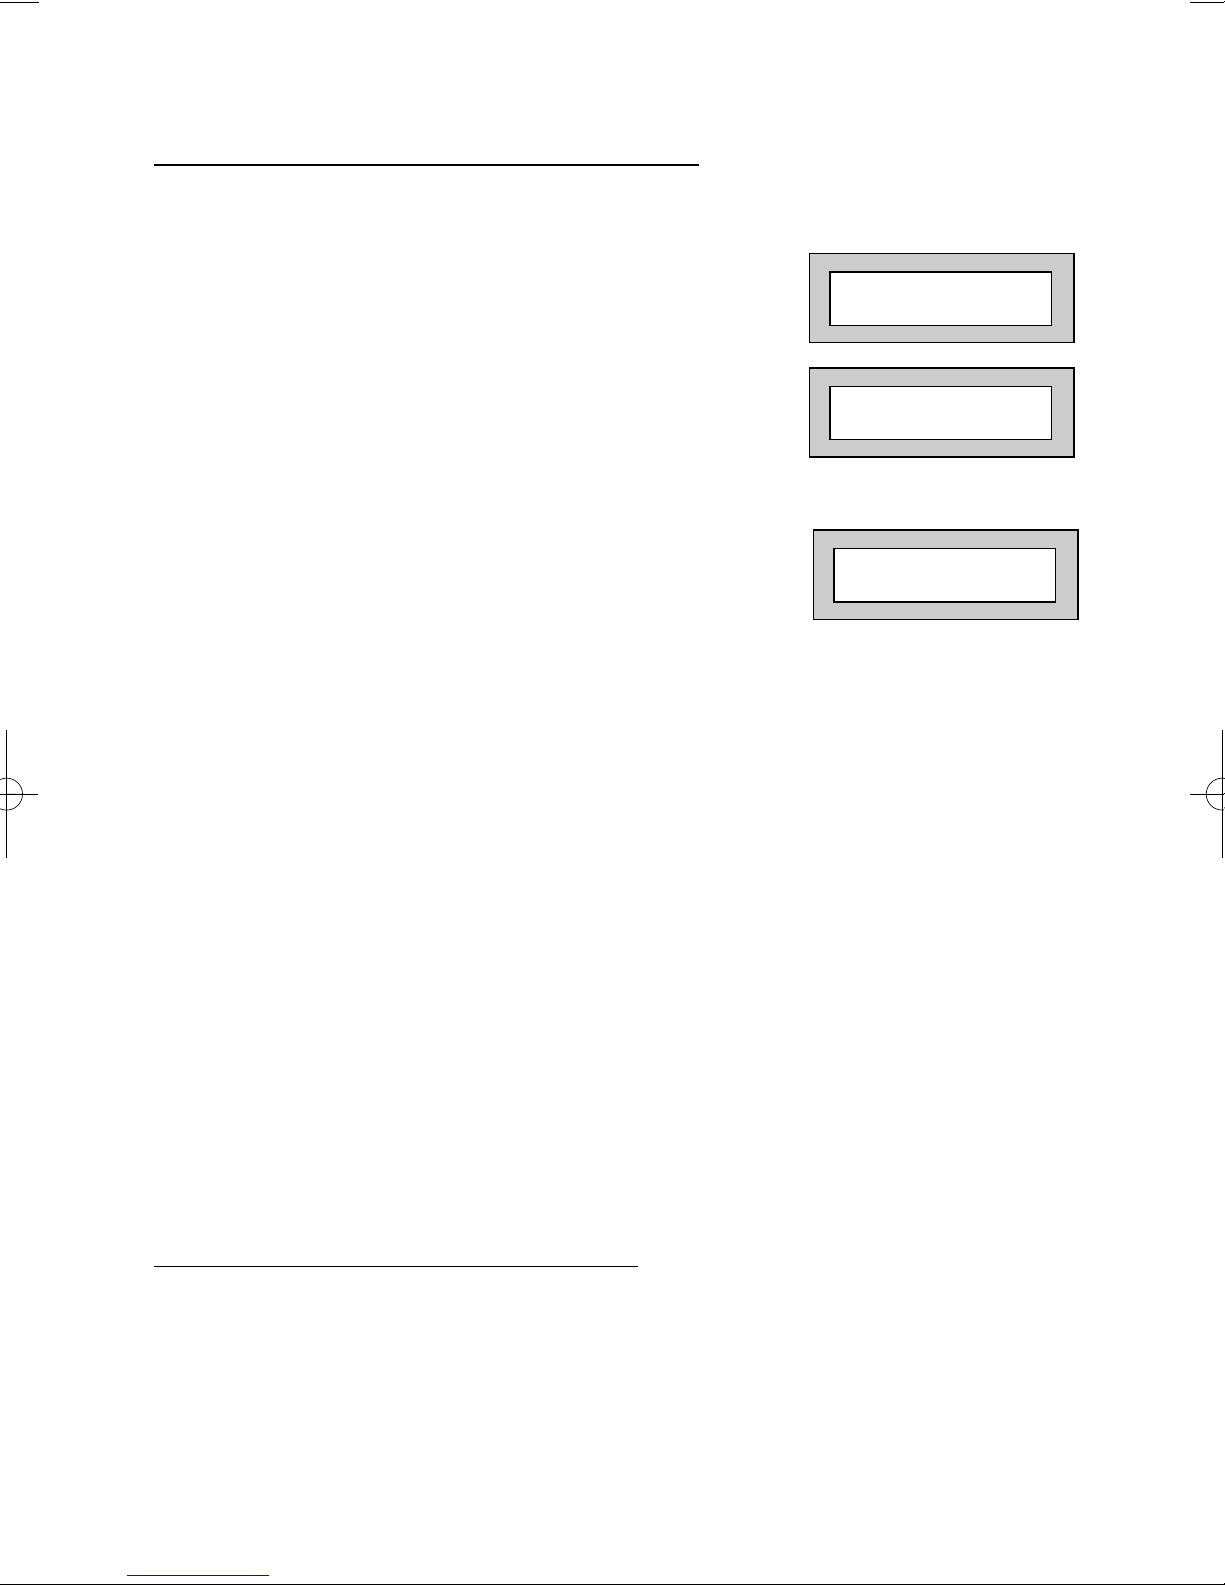
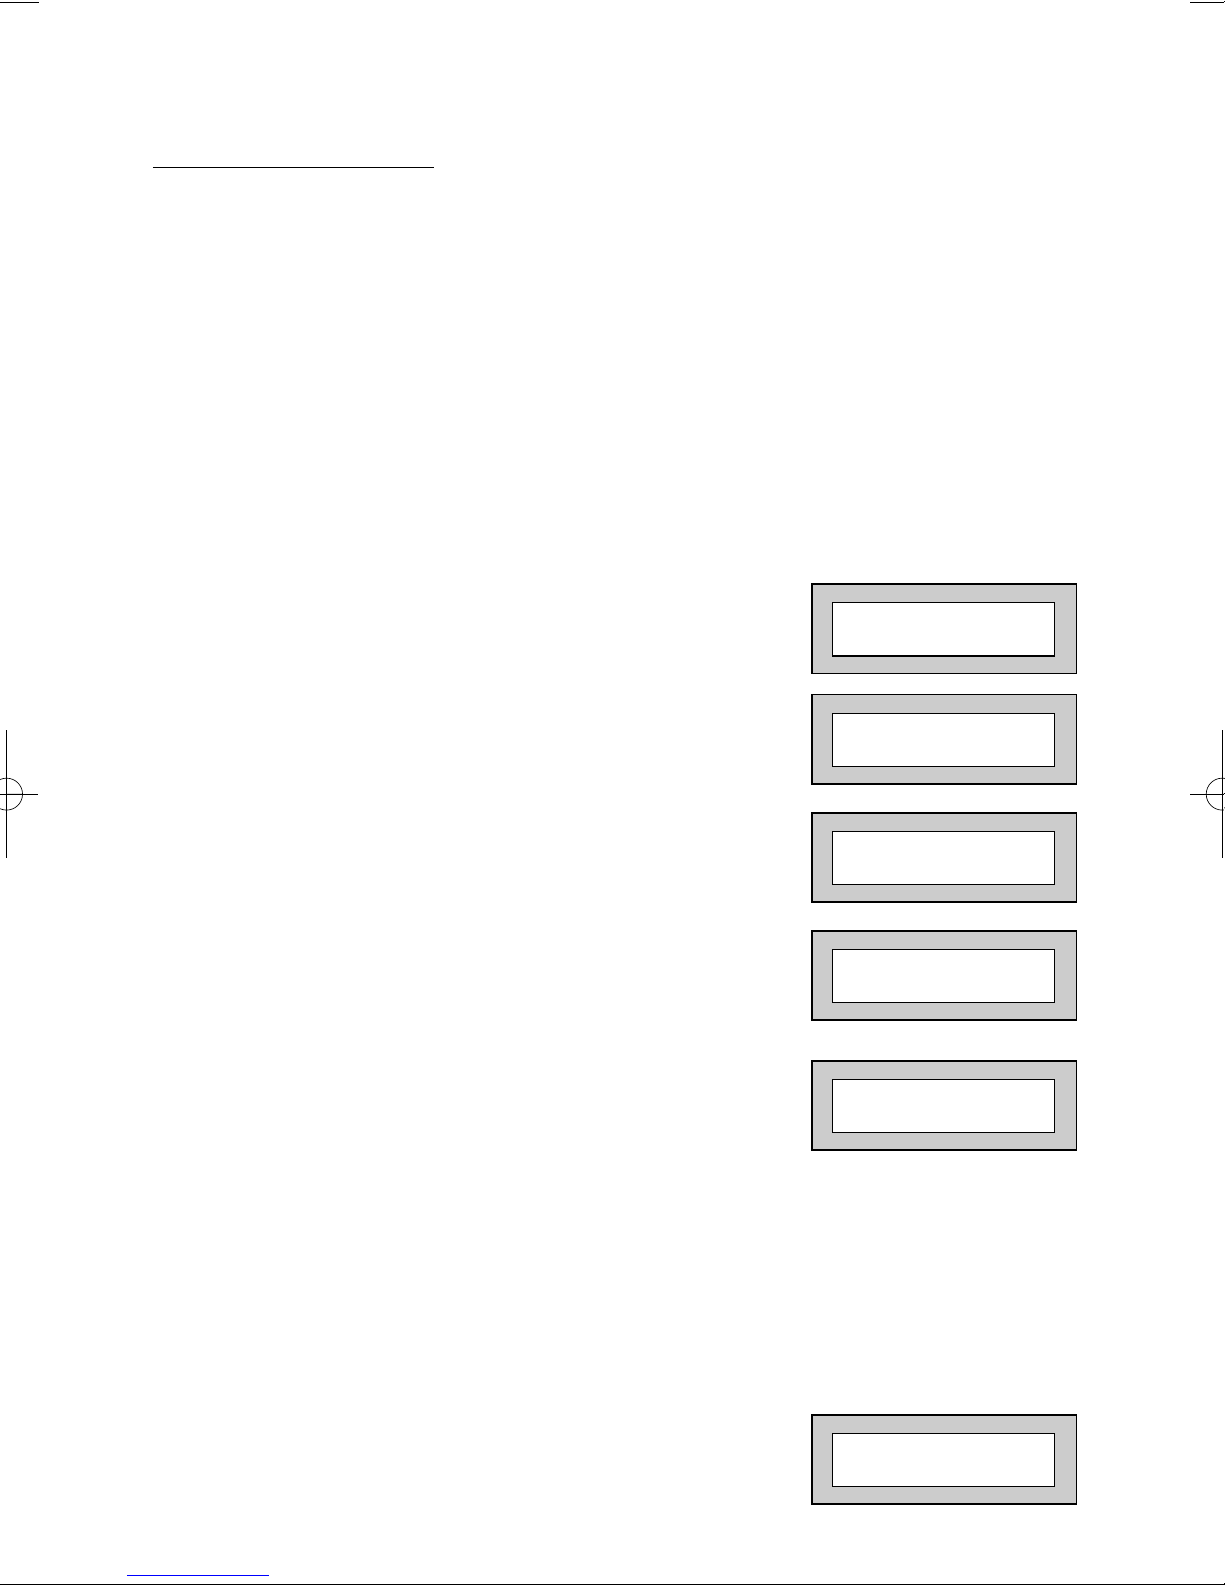
1) With the display showing:-
2) Enter a Master or Main level code,
the display will show:-
3) Press NO, the display will show:-
4) Press YES, the display will show:-
5) Enter the zone number you wish to
remove followed by YES (pressing
NO will 'un-remove' a zone), the
display will show:-
6) Repeat step 5 until you have removed all
the required zones.
7) Press 0 to escape, the display will show:-
8) Press YES, the continuous exit tone will
sound.
9) Exit the premises via the authorised
exit route ( the exit tone will change as detectors
are violated). When the premises are secure
listen that the exit tone returns to the continuous
tone. Wait until the exit tone finishes before leaving.
Note: Zone remove is only effective for the one set.
01 JAN 18 : 58 : 01
Do you want to . .
SET the System ?
Do you want to . .
REMOVE Zones ?
Enter Zone No. - then + YES or - NO
Enter Zone No. - then + YES or - NO
Do you want to . .
SET the System ?
Page 12
GT 600 601
User Manual
Testing The System
(Master & Main codes onl
y)
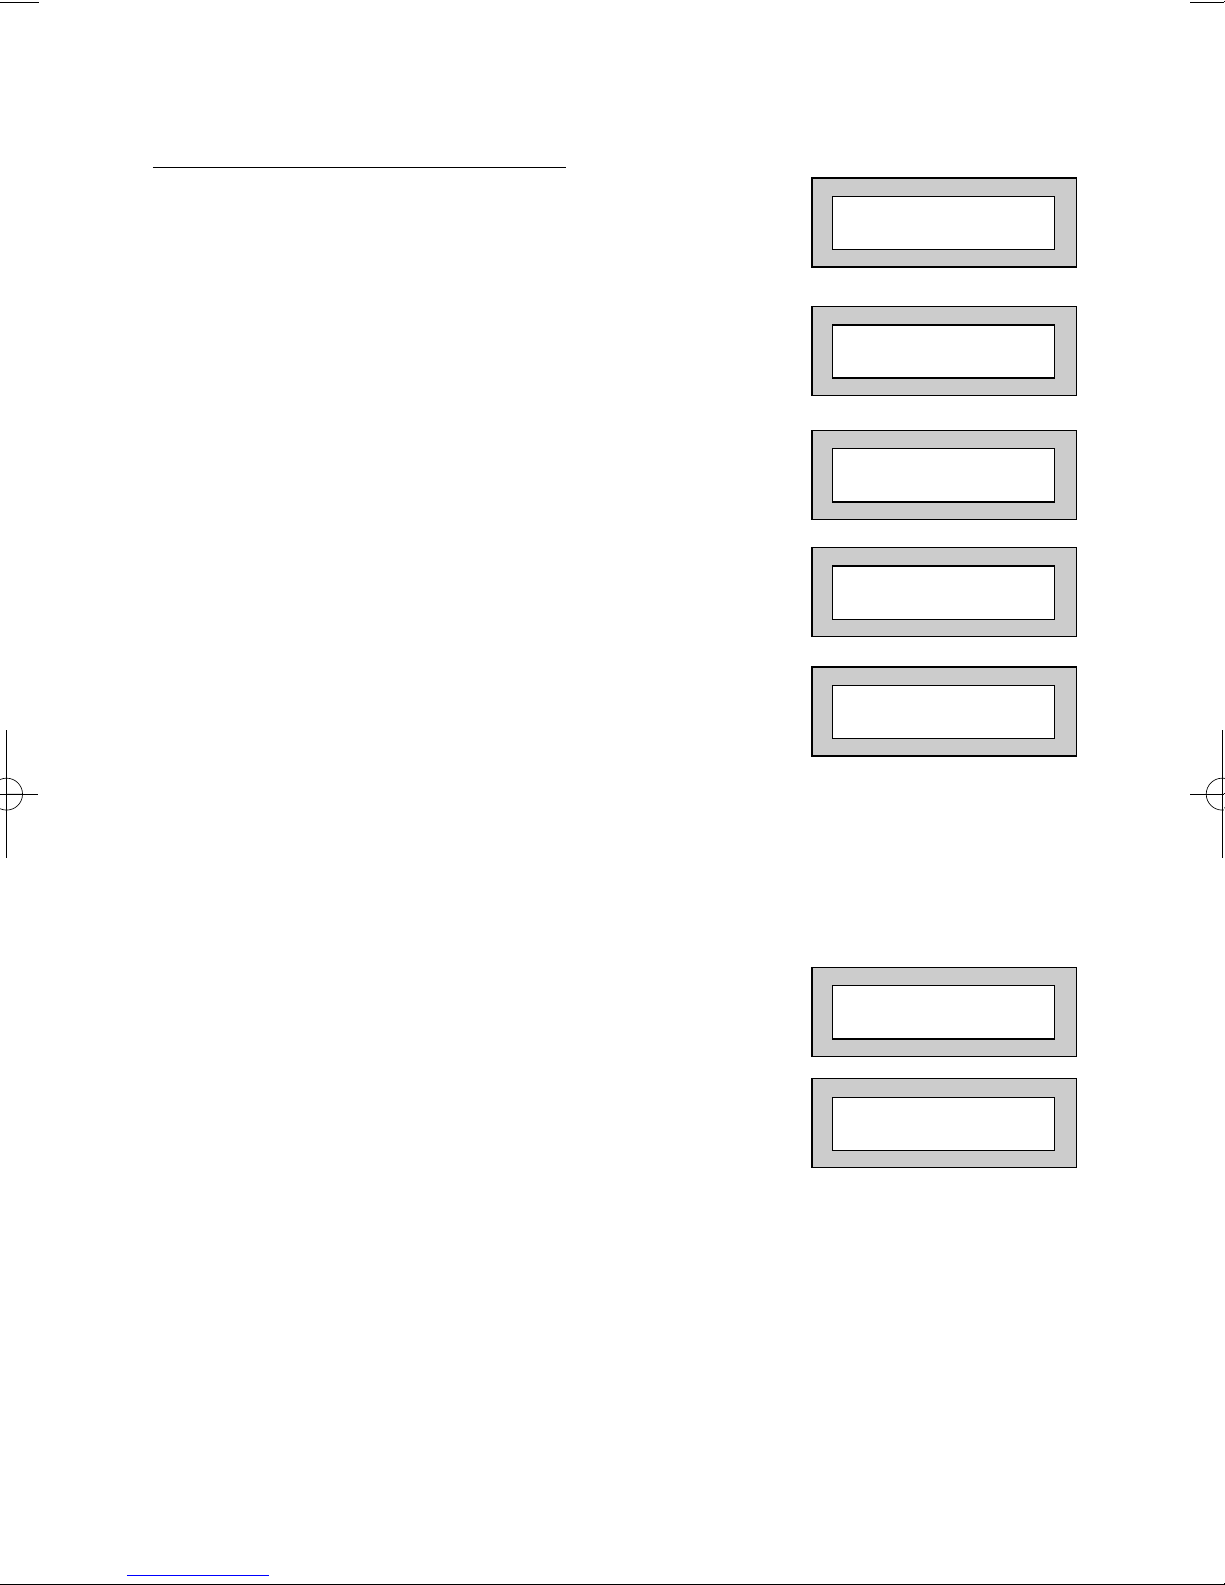
1) With the display showing:-
2) Enter a Master or Main level code,
the display will show:-
3) Press NO, the display will show:-
4) Press NO, the display will show:-
5) Press YES, the display will show:-
6) Press YES to test the full system.
or
NO.Then select the area you wish to test. Then press Yes.
The display will show:for 3 seconds.
7) The display will then show:-
8) Pressing 1 will enter zone Status mode (All zones will show on the display
and will be deleted as each zone is triggered). Press 0 to escape.
Pressing 6 will silence the internal sounder,
Pressing 4 will toggle the Strobe On/Off,
Pressing 9 will toggle the Bell On/Off
01 JAN 18 : 58 : 01
Do you want to . .
REMOVE Zones ?
Do you want to . .
TEST the System ?
Test ALL Areas ?
1=Status 4 = Strobe
6 = Sounder 9 = Bell
< All Zones ok >
TESTING . . .
Do you want to . .
SET the System ?
Page 13
GT 600 601
User Manual
9) Whilst in Test mode any zones violated
will sound the internal sounder (if it has
not been silenced) and show on the
display.
10) When you have finished testing the
system press 0 twice, the display will show:-
Viewing The Event Log
(Master code onl
y)
1) With the display showing:-
2) Enter a Master Code, the display
will show, for example:-
3) Press NO three times, the display
will show:-
4) Press YES, the display will show, for example:-
01 JAN 18 : 58 : 01
01 JAN 18 : 58 : 01
Do you want to . .
SET the System ?
Do you want to . .
View the LOG ?
Read Log
01 JAN 18 : 58 : 01
Page 14
GT 600 601
User Manual
5) This is the most recent event in the log.
Whilst viewing the Log,
Pressing NO will move back to the previous event.
Pressing YES will move forward to the next event.
Pressing 7 will take you to back to the last event of
the previous day.
Pressing 9 will take you forward to the first event of
the next day.
Whilst viewing a zone descriptor pressing 5 will
show the zone number
6) When you have finished viewing the Log press
0 twice the display will show:-
Changing The Chime Status
(Master code only)
The Chime zones will have previously been programmed by the installation company.
A Master level code may change the status of the Chime between On and Off. To do
so proceed as follows:-
1) With the display showing:-
2) Enter a Master Code, the display will
show for example:-
3) Press NO four times, the display will show:-
01 JAN 18 : 58 : 01
01 JAN 18 : 58 : 01
Do you want to . .
SET the System ?
Do you want to . .
Change Chime ?
Page 15
GT 600 601
User Manual
4) Press YES the display will show for example:-
Or:-
5) Press NO to change the status of the Chime,
then press YES, the display will show:-
6) Press 0 to escape, the display will show:-
Chime is Off ok ?
Chime is On ok ?
Do you want to . .
Change Chime ?
01 JAN 18 : 58 : 01
Page 16
GT 600 601
User Manual
Programming & Deleting User Codes
(Master code onl
y)
You will be advised by your installation company on the code length required. Under
no circumstances should the actual user code be written down.
If your installation company has given you keyswitches for the operation of your
system the last five user codes may have been reserved for use by these keyswitches.
If your engineer has indicated that some of the user numbers on your
system have been reserved you should not use them whilst
programming user codes. If you do so your system may be adversely
affected.
1) With the display showing:-
2) Enter a Master Code, the display will show:-
3) Press NO five times, the display will show:-
4) Press YES, the display will show:-
5) Enter the user number that you
wish to program followed by YES, the
display will show:-
If you need to see allocated user numbers,
press NO then keep pressing YES to view
used or spare numbers. If spare, press NO.
6) Either Enter the User Code you require
followed by YES
(
If you wish to Delete a Code enter six Zeros
followed by YES)
Or
Present your G-Tag to the Reader The display will
show:-
01 JAN 18 : 58 : 01
Do you want to . .
SET the System ?
Do you want to . .
Prog. USER CODES ?
Enter User No. - +YES or NO: View
Now Enter Code . .
- - - - - - Then YES
Code Type
= Master ok ?
 Loading...