

User’s Guide
Manual del Usuario / Manual de l‟utilisateur
Model: MP 1587

- 2 -
TABLE OF CONTENTS
Introduction ................................................................................................................................ 2
Getting to know your MP3 Player ............................................................................................... 3
Basic Functions .................................................................................................... 4
Adding Media to your Digital Media Player ........................................................... 5
Music ....................................................................................................................................... 6
Music Options and Features .............................................................................. 6-8
Movies and Videos ..................................................................................................................... 8
Voice Recording ......................................................................................................................... 9
Recording Options and Features .......................................................................... 9
Play back a recorded file ...................................................................................... 9
FM Radio ................................................................................................................................. 10
Pictures .................................................................................................................................... 11
E-Book ..................................................................................................................................... 11
Settings .................................................................................................................................... 12
Troubleshooting ....................................................................................................................... 12
Specifications ........................................................................................................................... 13

- 2 -
INTRODUCTION
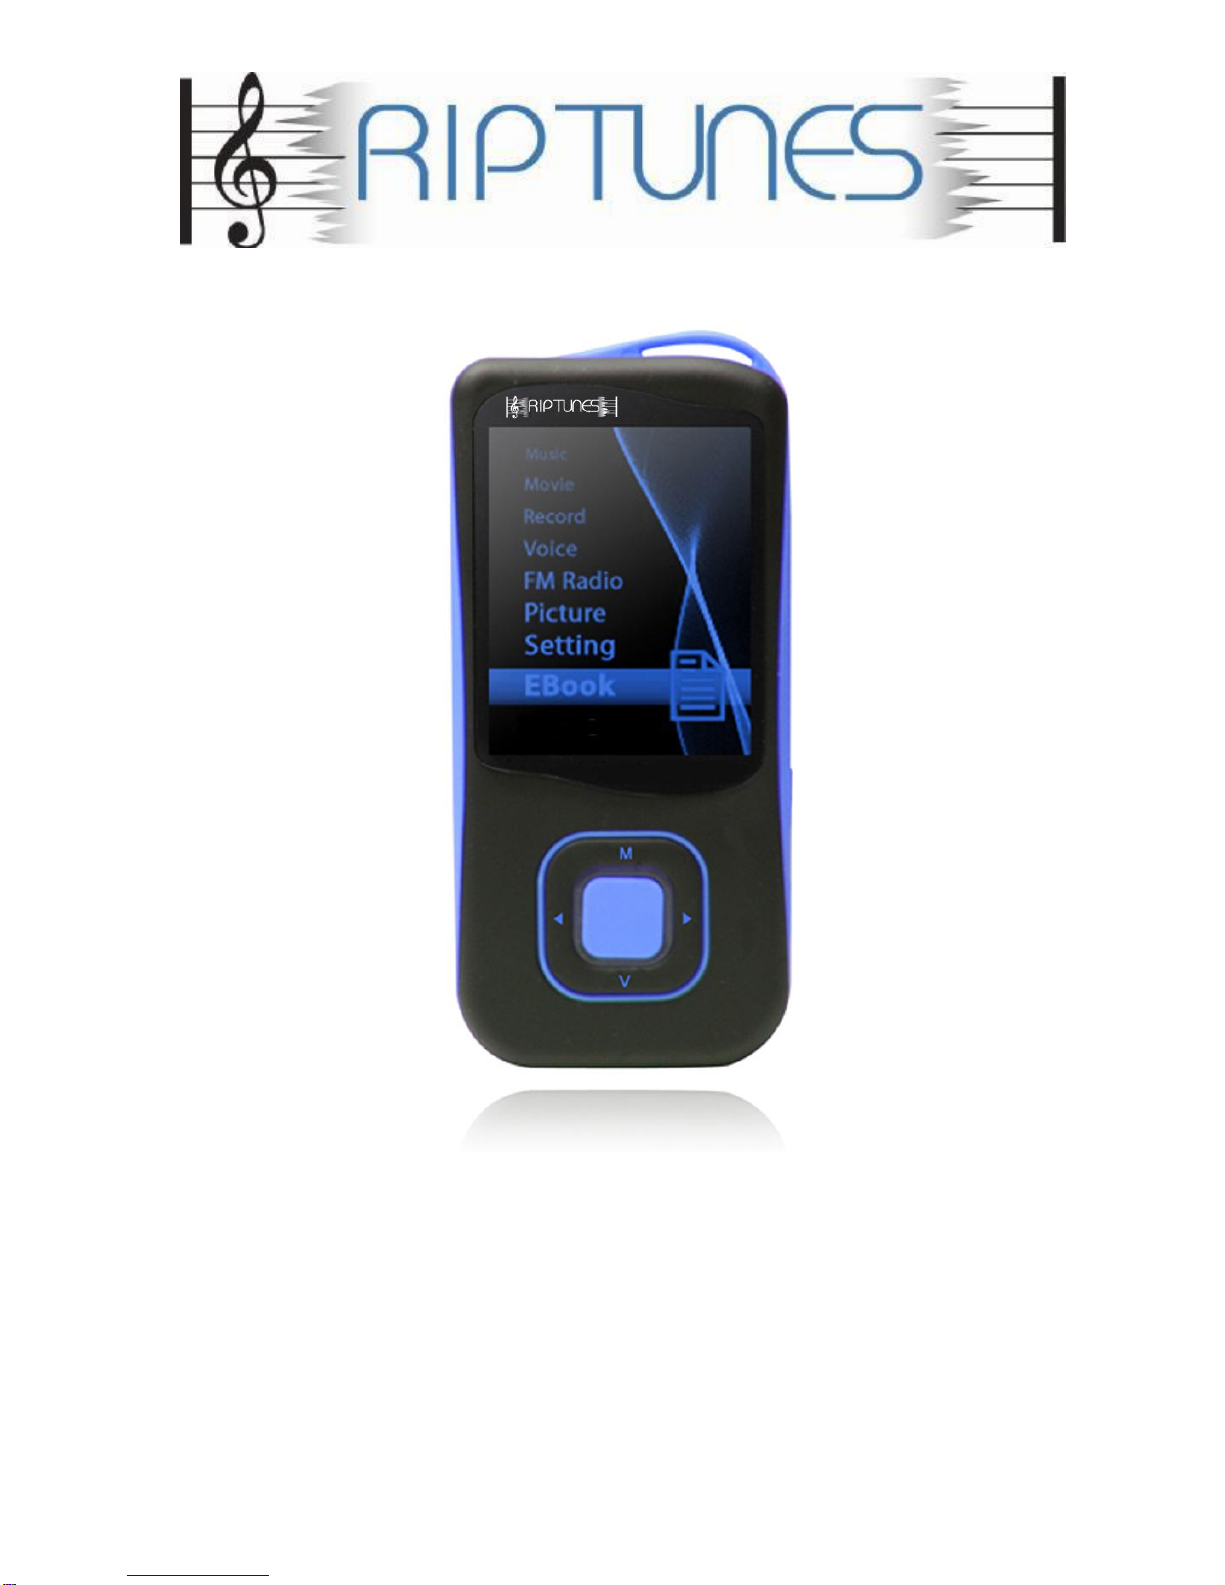
Congratulations on your purchase of the RIPTUNES MP-1857 Digital Media Player. Before using
your digital media player, it is recommended that you familiarize yourself with the features,
functions, and operating procedures described in this manual. Due to slight modifications in
production, the instructions, features, and/or descriptions found in this manual might be slightly
different from your product.
Features at a Glance
High Quality 1.8” Screen Display
Plays Most Audio File Formats
E-Book Functions
Video Playback
Photo Browsing
Built-In FM Radio
Audio Recording
Precautions
Follow these tips to preserve the operational lifespan of your Digital Media Player:
It is recommended that you allow the battery to fully charge before using the device for the first time. Do not
recharge unattended for longer than 5 hours.
Do not hang the player by its earphones or cables
Never force any cable connectors into the ports of your Digital Media Player or computer. Always make sure that
your cable connectors are identical in shape and size before attempting to connect.
When disconnecting your digital media player from a computer, use the Safely Remove Device function on your
computer. Do not disconnect your digital media player while transmitting data.
Do not use this player in extreme temperatures. Keep away from extreme hot, cold, dry, or damp areas. Also
keep away from water, fire, and radiation.
Do not disassemble your digital media player.
Do not allow young children to use your player unsupervised.
Do not install foreign software onto your digital media player.
Battery should only be charged with approved adaptors (available for purchase at the RipTunes website).
Permanent hearing damage or hearing loss may occur if earphones are used at a high volume. Hearing experts
advise against continuously listening to music at a high volume. If you hear a “hissing” noise in your ears, or if
you experience discomfort, lower the volume, or temporarily discontinue use of this product until discomfort
subsides.

- 3 -
GETTING TO KNOW YOUR MP3 PLAYER
Front View Side View Bottom View
Buttons and Controls
M Menu button - Enter or exit from menus and sub-menus and confirm
selections. While in any mode, press and hold “M” to access the main
menu.
Play/Pause - Press and hold to enter sleep mode.
► Next - While playing music or video, press and hold to Fast Forward.
◄ Previous - While playing music or video, press and hold to Rewind.
V Volume Control - While playing music or video, press the V button and
then use the arrow buttons to adjust volume.
Hold Toggle switch that locks the MP4 device from use. While locked, buttons
will not function.
ON/OFF Turns the Digital Media Player on or off.
Earphone Jack 3.5 mm standard earphone connector
USB Jack USB Jack – Interface with a USB cable to a PC to manage media files.

- 4 -
Basic Functions
Power On/Off
Use the ON/OFF switch on the side of the Digital Media Player to turn on the device. If the
device is already on but is in sleep mode, press and hold the (“Play/Pause”) button to
activate (On/Off switch must be set to „ON‟). While the Digital Media Player is in use, press
and hold the button to enter sleep mode. Use the ON/OFF switch on the side of the Digital
Media Player to turn off the device.
Note: Using the ON/OFF switch will cause you to lose your current bookmark or
location (if playing a file).
Hold / Lock
The hold function can help you lock all buttons to avoid accidental player operation.
To lock all buttons of MP3 player, slide the HOLD switch in the direction of the arrow. All
buttons are disabled. To deactivate the lock function, slide back the HOLD switch.
Menu
Press the “M” button to access the Main Menu. Use the “◄” or “►” arrows to navigate
between Music, Movie, Record, Voice, FM Radio, Picture, Settings, and E-book modes.
Press the “M” button again to enter a mode. While in a mode, press the “M“ button to access
features, options, or sub-menus. Press and hold the “M“ button to exit and return to the Main
Menu.
Volume
While playing music or video, press the “V” button to adjust volume.
Press “►” to increase the volume.
Press “◄” to decrease the volume.
When you are done adjusting the volume, press the “V” button to confirm your setting.
Recharging your Battery
The battery in your Digital Media Player can be recharged by connecting your Digital Media
Player to your computer. Connect the USB cable to the Digital Media Player USB Jack and
connect the other end of the cable to a USB port on your computer.
NOTE: Please also make sure the [ON]/[OFF] switch is placed in the [ON] position while
charging.
You can also charge your Digital Media Player by using an adaptor (not included). Connect
one end of the enclosed USB cable to the MP3 Player, and attach the other end to the
adaptor. Connect the adaptor to an electrical outlet. The AC Adaptor is an optional accessory
available for purchase on the Riptunes website - http://www.rip-tunes.com
When the battery is fully charged, the battery icon will look like this.
When battery power is low, the battery icon will look like this
Note: Charging will automatically stop when the battery is full. Charge time is
approximately 2 to 3 hours.

- 5 -
Adding Media To Your Digital Media Player
1. Connect one end of the enclosed USB cable to a computer. Connect the other end to
your Digital Media Player.
2. Your computer should automatically recognize your MP3 player. If the AutoPlay window
does not open automatically, double-click the My Computer icon (which should be
located on your desktop), and navigate to the Removable Disk. On a Mac, double-click
the Removable Disk icon on your desktop.
3. Copy and paste music/picture/video files into the folder of your Digital Media Player.
4. To transfer files from your Digital Media Player to your PC, drag the files or folders from
the player to your preferred location on your PC.
5. To delete files from your Digital Media Player, select the file or folder that you want to
remove and press the “Del” (delete) key on your keyboard.
6. When you are done, make sure to safely remove your Digital Media Player. If you are
using a Windows PC, you can eject your Digital Media Player by clicking the Safely
Remove Hardware icon in the Windows System tray, and selecting your Digital Media
Player. If you are using a Mac, you can eject your Digital Media Player by dragging its
icon to the trash.
When ready to disconnect your Digital Media Player, make sure that it is safely
removed in order to avoid data corruption.
Do not disconnect or remove your Digital Media Player while files are being
transferred.
To view a tutorial on working with media files, please visit:
http://www.rip-tunes.com/howitworks.html

- 6 -
PLAYING MUSIC
From the Main Menu, use the“◄” or “►” buttons and select Music.
1. Press “M” to enter Music mode.
In Music Mode:
a. Press the “M” button to select music from a different folder or directory.
b. Press the (“Play/Pause”) button to begin playing the currently selected
music. Press again to pause.
c. Press the “◄” or “►” button to select the previous or next song.
d. While a song is playing, press and hold the “◄” or “►” button to fast forward or
rewind.
e. Press the “V” button to adjust the volume. Use the “◄” or “►” button to
increase or decrease the volume, and then press “V” to confirm.
f. If the Lyrics Mode icon is illuminated, press and hold the “M” button to enter
Lyrics Mode. The Lyrics Mode will only be available if a “.lrc” file is associated
with the current song.
Music Options
While a song is playing, press the “M” button to enter the Music Play Setting menu.
(Not shown: “Replay Gap” and “Exit”)

- 7 -
Repeat Settings
Repeat Option
Repeat Indicator Icon
Function
Normal
1
The music files under the current path are
played one by one until all have been played.
Repeat One
1
Repeats a single song until stopped by user.
Folder
F
Plays all music files (one time) contained
within the chosen folder or directory.
Repeat Folder
F
Continuously plays all music files contained
within the chosen folder or directory until
stopped by user.
Repeat All
A
Continuously plays all music files contained in
the Digital Media Player until stopped by user.
Random
A
Plays all music files in a random order.
Intro
I
Plays the first ten seconds of each song within
the current folder.
Select „Repeat’ from the Music Options menu. A sub-menu of Repeat settings will display.
Choose a Repeat option and press “M” to confirm. Refer to the Repeat options in the table
below.
Equalizer Settings
1. Use the “◄” or “►” button to select an EQ setting:
Natural / Rock / Pop / Classic / Soft / Jazz / DBB (Digital Bass Booster)
2. Press “M” to confirm your selection.
3. You can also enable SRS WOW settings by selecting ‘SRS WOW’ mode. SRS WOW is
audio technology that uses the scientific principles of psychoacoustics to create a
psychological impression of the music players' sound space. SRS 3D (Sound Retrieval
System) enhances the surround sound effect. To adjust the SRS settings, select ‘SRS
WOW’ mode and then select „user setting’.
a) SRS 3D – Adjust virtual 3D setting levels.
b) TruBass – Adjust the Bass levels.
c) Focus – Adjust the Treble levels.
Tempo Rate – Adjusts the tempo of the song or songs currently playing. In addition to the
normal tempo rate, there are four levels of slower tempos and four levels of faster tempos.

- 8 -
Replay Feature
The Replay feature allows you to select and repeat portions of a song or voice recording.
Replay is useful for practicing lyrics or for memorizing languages through repetition. You can
also use the built-in microphone to record your input for playback.
1. While playing a song, press “M” to access the Music Play Settings menu, and then
select „Replay‟. The Repeat icon will flash at the top of the screen
2. Press the “►” button once to begin the section that you wish to repeat.
3. Press the “►” button again to end the section.
4. To add voice response, press the “►” button again. The AB Microphone icon will
appear. You can repeat the sentence or lyrics using the same timeframe as the
selection you have made.
5. To execute playback of the selection and your input, press the “►” button again. The
AB Playback icon will appear.
Replay Times – Set the number of times that the section will replay before continuing (1 -10).
Replay Gap – Set the gap between the playback of each section (1-10 seconds).
WATCHING VIDEOS
From the Main Menu, use the“◄” or “►” buttons and select Movie.
1. Press “M” to enter Movie mode.
a. Press the (“Play/Pause”) button to begin playing the currently selected
movie or video file. Press again to pause.
b. Press the “◄” or “►” button to select the previous or next video or movie.
c. While a movie or video is playing, press and hold the “◄” or “►” button to fast
forward or rewind.
d. Press the “V” button to adjust the volume. Use the “◄” or “►” to increase or
decrease the volume, and then press “V” to confirm.
There are no sub-menu options accessible while a movie or video is playing. To enable
„Repeat’, access the Movie options menu before playing a movie. A sub-menu of Repeat
settings will display. Refer to the Repeat options described in the Music section of this
manual. Choose a Repeat option and press “M” to confirm.

- 9 -
VOICE RECORDING
Fine REC
Excellent tone quality. Files are stored in WAV format.
File sizes are larger.
Long REC
Lower tone quality. Files are stored in ACT format.
Smaller file sizes.
Fine VOR
High quality voice-controlled recording. When sound or
voice input is detected, recording will begin. Recording
will pause when no sound or voice input is detected.
Larger file sizes. Stored in WAV format.
Long VOR
Lower quality voice controlled recording. When sound or
voice input is detected, recording will begin. Recording
will pause when no sound or voice input is detected.
Smaller file sizes. Stored in ACT format.
From the Main Menu, use the“◄” or “►” buttons and select Record.
1. Press “M” to enter Record mode.
a. Press “M” to select a recording format. There are four different recording formats
to choose from. For further explanation, see table below.
b. Press the (“Play/Pause”) button to begin recording. Press again to
pause.
c. Press and hold the “M” button to end recording and save to disk.
Types of Recording types:
Note: When using voice-controlled recording, be sure to speak clearly into the Digital Media
Player to ensure voice-activation.
Play a recorded file
From the Main Menu, use the“◄” or “►” buttons and select Voice.
1. Press “M” to play voice recordings.
2. Press the (“Play/Pause”) button to begin playback.
3. While a file is playing, press “M” to access the following options:
Repeat, Tempo rate, Replay
Note: Refer to the Music section for descriptions of these options.

- 10 -
FM RADIO
From the Main Menu, use the“◄” or “►” buttons and select FM Radio.
1. Press “M” to enter Radio mode.
Important Note: Always connect your earphones to the earphone jack, since the
earphone cable serves as antenna for the internal radio.
2. Use the “◄” or “►” button to manually adjust the frequency to locate FM broadcast
stations.
3. Press and hold the“◄” or “►” button to scan to the next available FM broadcast
station.
4. Press the “M” button to enter the FM Radio options menu.
a. Save – Saves the current frequency as a Preset/Saved Channel.
b. Record – Records the current broadcast. Refer to the Record section for
recording instructions.
c. Delete – Deletes the current channel from the Saved Channels list.
d. Delete All – Deletes all saved channels.
e. Autosearch – Scans entire frequency band and automatically builds a list of
channels.
f. Normal Band – 87.5 MHz through 108MHz
g. Japanese Band – 76 MHz through 90 MHz
5. Press the (“Play/Pause”) button to jump to the next Preset/Saved channel.
Note: You can store up to 20 channels for each frequency band.

- 11 -
VIEWING PHOTOS
System Time
Configure Date and Time settings.
LCD Set
Set the time that the LCD light will remain on after the last input
made. Options- Always on, 10 sec, 20 sec, 30 sec.
Language
Set user language preference.
Power off
Off time – Set auto-shutdown mode
Sleep time – Set auto sleep mode
Replay Mode
Configure replay settings – Manual or Automatic
Memory Info
Displays the total memory available and the % of memory used.
Firmware ver
Displays the current firmware version installed.
From the Main Menu, use the“◄” or “►” buttons and select Picture.
1. Press “M” to enter Radio mode.
2. Use the “◄” or “►” buttons to select the picture you want to view or press “M” to
access the Picture options menu.
3. Select „local folder‟ to navigate to a different folder or directory.
4. Select „play set‟ to configure the way that photos are displayed.
a. Manual play – You will need to use the “◄” or “►” buttons to browse each
photo.
b. Auto play – You can configure photos to automatically display as a slide show by
configuring the time interval between each photo ( 1 to 10 seconds ).
E-Book
From the Main Menu, use the“◄” or “►” buttons and select E-Book.
1. Press “M” to enter E-Book mode.
2. Use the “◄” or “►” buttons to select the TXT file you wish to read or press “M” to
access the E-Book options menu.
3. Select „local folder‟ to navigate to a different folder or directory.
4. Select „play set‟ to configure the way that photos are displayed.
a. Manual play – You will need to use the “◄” or “►” buttons to scroll through
each page.
b. Auto play – You can automatically scroll through the contents of your „E-Book‟ by
configuring the time interval between each page ( 1 to 10 seconds ).
5. Use the “◄” or “►” buttons to scroll to the next page.
6. To add a bookmark, press “M” and then select „Bookmark Add‟.
7. To return to a bookmark, press “M” and then select „Bookmark Select‟. If you have
set more than one, you will need to choose which one you wish to skip to.
SYSTEM SETTINGS
From the Main Menu, use the“◄” or “►” buttons and select Settings.

- 12 -
TROUBLESHOOTING
No power
1. Check battery level.
2. Recharge as per directions in User Manual
Unable to locate or play files
1. Check that the file is in a compatible format
2. Check to see if the file is stored in a different directory.
No music is heard in the earphones
1. Check the volume level
2. Check the connection (earphone to the earphone jack)
3. Check if your music file is compatible with your MP3
player.
Not charging
1. Check to make sure that your Digital Media Player is
connected to a USB port on your computer.
2. If you are using an A/C Adaptor (not included), check to
be sure that red & green indicator lights are on.
Unable to download music.
1. Check if you have enough space on your Digital Media
Player to download the music file.
2. Check to make sure that the USB cable is connected to
the PC and to the Digital Media Player.
Computer not recognizing Digital
Media Player
1. Check that the USB cable is properly connected to your
computer.
2. Try plugging the USB cable into one of the back ports
of your computer.
If you experience any issues that are not listed above, or if you are unable to resolve your issue after trying the
methods and solutions described above, please contact the Rip-Tunes technical support team:
Call: 1-888-217-7688
custserv@rip-tunes.com
Email:
http://www.rip-tunes.com/contactus.html

- 13 -
SPECIFICATIONS
DIMENSIONS
3.46 x 1.6 x 0.35 inches
WEIGHT
1.24 oz.
DISPLAY AREA
1.8” TFT
COMPUTER INTERFACE
USB 2.0
MEMORY
Flash memory: 2GB
RECORD
Record Format
WAV (32 Kbps) or ACT (8 Kbps)
Record time
35 hours (for 128 MB)
EARPHONES
Earphone max output
(L) 10mW + (R) 10mW (32 Ohm)
MP3 bit rate
8 Kbps – 320 Kbps
WMA, WAV bit rate
5 Kbps – 384 Kbps
Frequency response
20 Hz – 20 KHz
AUDIO FORMATS
MP3, WMA, WAV, ACT
MOVIE FORMATS
AMV, AVI(128X160)
IMAGE FORMATS
JPEG, GIF, BMP
SIZES: 128*160 , 160*128, 128*128
E-BOOK FORMAT
TXT
TEMPERATURE RANGE
-5 to + 40 Degrees Celsius
LANGUAGE SUPPORT
Simplified Chinese, English, Traditional Chinese, Japanese, Korean,
Russian, Hebrew, Thai, French, German, Italian, Dutch, Portuguese,
Spanish, Swedish, Czech, Polish, Finnish, Danish, Hungarian,
Slovakian
OPERATING SYSTEM
Windows ME/2000/XP, Vista, 7, Mac OS 10, Linux 2.4.2,
Riptunes ® Product works with the above mentioned operating systems.
This product is not made by or approved by the above mentioned firms.
Riptunes ® is a division of WBH Inc., all rights reserved.
All other trademarks are the property of their respective owners.
Used by WBH Inc. solely for descriptive purposes.
To obtain a warranty, please register your product online at: www.rip-tunes.com
 Loading...