

Page 1
1
Rinnai New Zealand
Super Ray Heat Shield Installation: 11450-A
01-09
Must be installed, commissioned and serviced by a licensed tradesperson in accordance
with all applicable local rules and regulations.
Installer, please leave this manual with the customer.
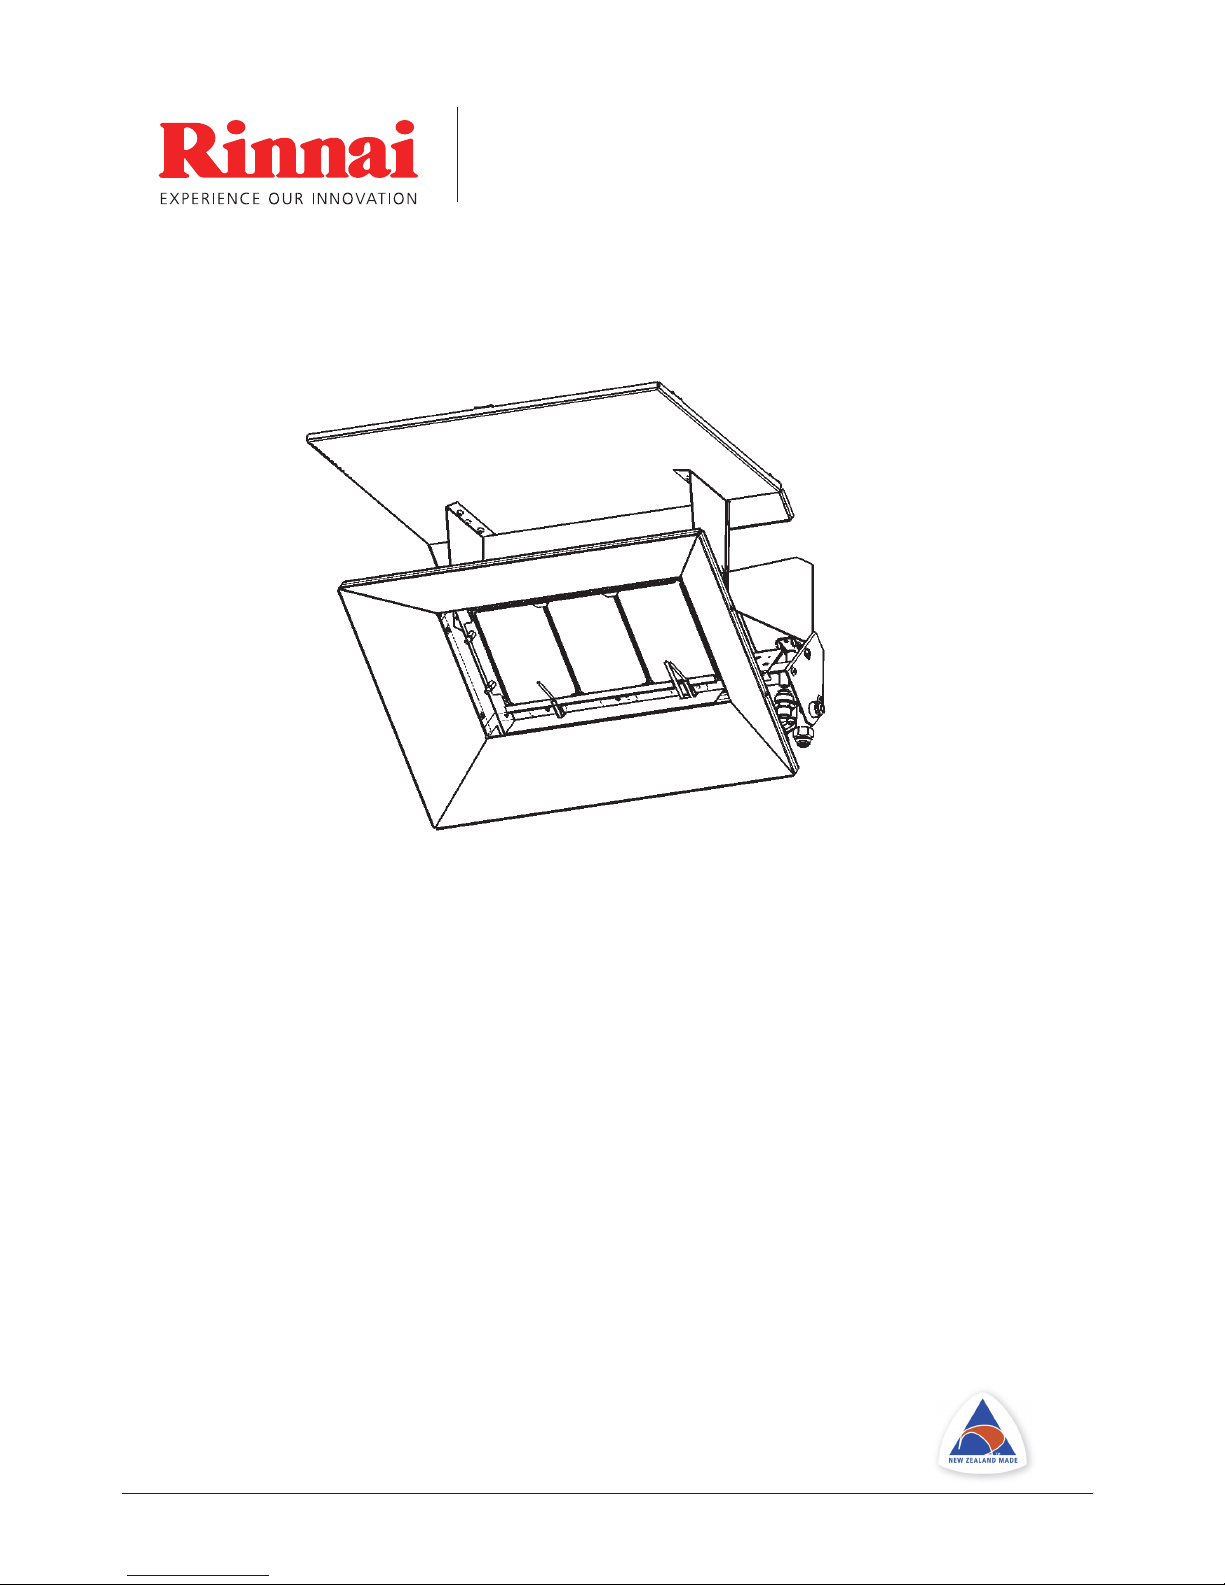
Super Ray Heat Shield
Installation Instructions
Heat Shield
Suitable for:
all Rinnai Super Ray W-Series (WMA, WEA and WFA) radiant heaters
Not suitable for Outdoor Super Ray models as these already have an
in-built heat shield.
Heat shield must be tted to the Super Ray heater prior to installation.
•
Page 2

2
Rinnai New Zealand
Super Ray Heat Shield Installation: 11450-A
01-09
LIMITED WARRANTY
Please keep these instructions in a safe place for future reference.
RECORD AND ATTACH YOUR PROOF OF PURCHASE BELOW:
Your Retailer:____________________________________________________
Name:_________________________________________________________
Address:_______________________________________________________
_______________________________________________________________
Telephone:( _______ ) ____________________________________________
Date of Purchase: ______ / ______ / _________
TERMS AND CONDITIONS
1. During the 24 month period from date of
purchase and subject to clauses 2 and 3 below,
Rinnai New Zealand Limited (“Rinnai”) will, at
its own discretion, either replace or repair any
defective product at no charge to the customer.
2. This warranty covers manufacturing defects
only. This warranty will not apply if (for
example) the product has been improperly
installed or is otherwise installed contrary to
manufacturer’s recommendations, or has been
subjected to damage or abuse beyond that
expected from conditions of normal use.
3. This warranty commences from the date of
purchase. Proof of purchase is required at the
time of any warranty claim.
The company is constantly improving its products
and as such specications are subject to change or
variation without notice.
Rinnai brings you peace of mind
with a 2 year minimum warranty.
Page 3

3
Rinnai New Zealand
Super Ray Heat Shield Installation: 11450-A
01-09
Contents
Limited Warranty 2
About the Super Ray Heat Shield 4
Before Installation 5
Kit Contents 5
Assembling the Heat Shield 6
Fitting the Heat Shield to the Heater 7
Customer Contacts 8
Page 4

4
Rinnai New Zealand
Super Ray Heat Shield Installation: 11450-A
01-09
About the Super Ray Heat Shield
The Rinnai Super Ray heat shield acts a deector/insulator when tted to a Super Ray
W-Series heater. This has the benet of reducing ceiling clearances, giving the owner exibility
about where the Super Ray heater can be positioned.
For example:
The ceiling clearance for a Rinnai Super Ray WMA 16 reduces from 1 m to 0.5 m with a heat
shield installed.
Constructed from stainless steel and heat resistant insulator board.
Heater Clearances with the use of a Super Ray Heat Shield
Super Ray W-Series
Model
Minimum Clearance from Wall
Bracket to Side Wall (A)
Minimum Clearance from Wall
Bracket to Ceiling (B)
16 1 m
0.5 m
24 1 m
0.6 m
40 1 m 0.6 m
48 1 m 0.6 m
Installer, please check wall and ceiling temperatures once tted. Temperatures not to
exceed 65 °C above ambient as stated in NZS 5261/AS5601.
A
Front View - Side Wall Clearance
B
Side View - Ceiling Clearance
Angle of deector is xed and must not be altered. This is a safety feature.
Installer, please note:
Due to heat being deected down and out, side
clearance extends to 1 m. This differs to the side
clearance of a Super Ray without a heat shield which
is 0.5 m.
Page 5

5
Rinnai New Zealand
Super Ray Heat Shield Installation: 11450-A
01-09
Kit Contents
Check for damage. DO NOT install any damaged items.
Check all components have been supplied, refer kit components below.
Read these instructions to get an overview of the steps required before starting.
Before Installation
Insulator
Brackets
Heat Shield
Rivets
Rivets
Page 6

6
Rinnai New Zealand
Super Ray Heat Shield Installation: 11450-A
01-09
Assembling the Heat Shield
Remove the insulator panel by sliding it out.
Remove plastic protective lm from shield and brackets.
Use the supplied pop rivets to attach the brackets to the shield. Make sure the heads of the
rivet are on the top of the shield facing the insulator.
Replace the insulator panel to its original position.
Bend the retainer tabs down to hold the insulator in place.
1.
2.
3.
4.
5.
Bending Rear Retainer Tabs - Open to Closed
Page 7

7
Rinnai New Zealand
Super Ray Heat Shield Installation: 11450-A
01-09
Fitting the Heat Shield to the Heater
Heat shield must be tted to the Super Ray heater prior to installation.
Remove mounting bolts on either side of the heater.
Remove top side screw on either side of the heater.
Secure the assembled heat shield to the heater using the original mounting bolts and top
side screw.
1.
2.
3.
Top side screw
Mounting bolts
Screw and Bolt Locations
Front View of Fitted Heat Shield
Brackets are xed in a 90 °
position (can not be altered)
Page 8

8
Rinnai New Zealand
Super Ray Heat Shield Installation: 11450-A
01-09
Consumers: 0800 RINNAI (746 624)
Installers: 0800 TO RINNAI (86 746 624)
Address: 105 Pavilion Drive, Airport Oaks, Mangere, Manukau
PO Box 53177, Auckland Airport, Manukau 2150
Phone: (09) 257 3800
Fax: (09) 257 3899
Email: info@rinnai.co.nz
Websites: www.rinnai.co.nz and www.rinnai-tradesmart.co.nz
 Loading...