

Rinnai RB-3Si-C Instruction Manual
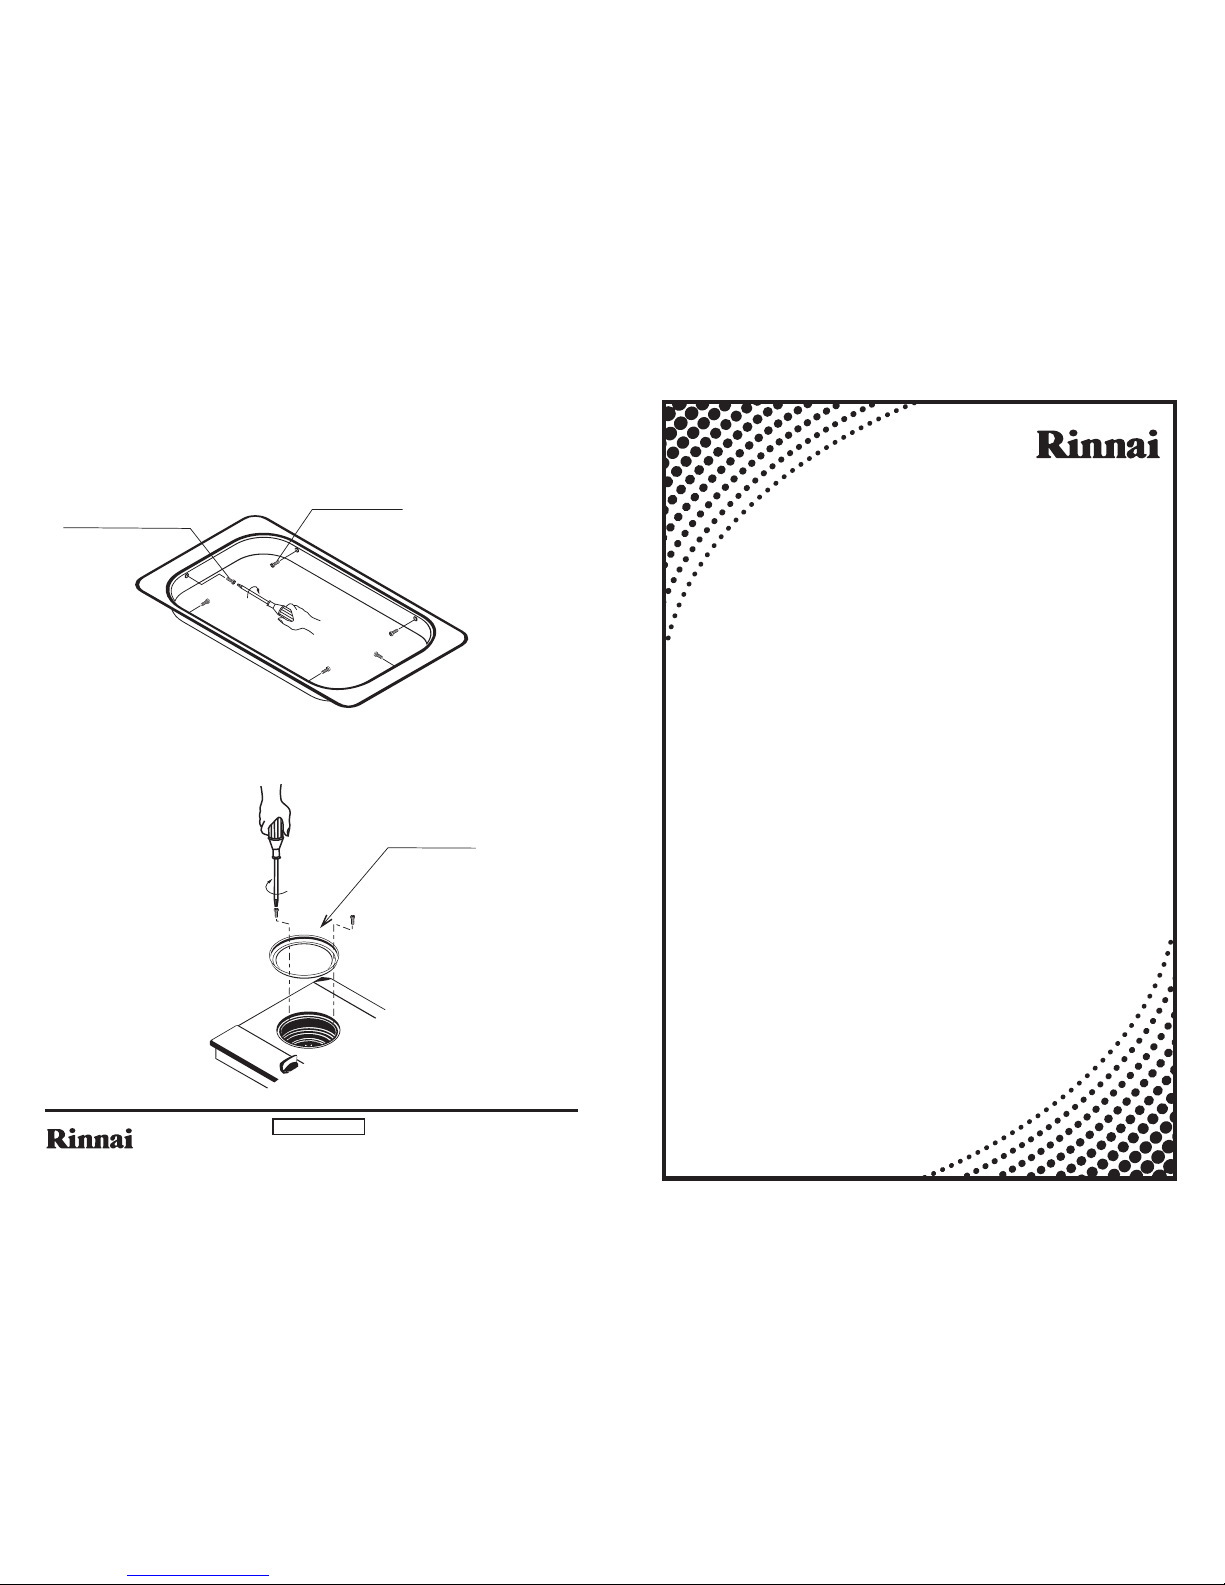
Attention: when installing the casing
• Adjust screw position as bench cut out size.
• If length of screw is not enough long (RHS/LHS screw) please change with longer
screw (M5x80) which included in packaging
• Confirm that six screws are secured firmly into the casing. (Eight screws are included.)
• Confirm that the four screws are secured firmly into the top plate pushing plate.
(Four screws are included.)
RB3SS-31-2x01
The fixing Screw M5 x 30
4 Pcs
The fixing Screw M5 x 30 / M5 x 80
Each 2 Pcs
The fixing Screw x 4 pcs.
040113
GEN
THREE-BURNERS GAS COOKER
INSTRUCTION MANUAL
RB-3Si-C
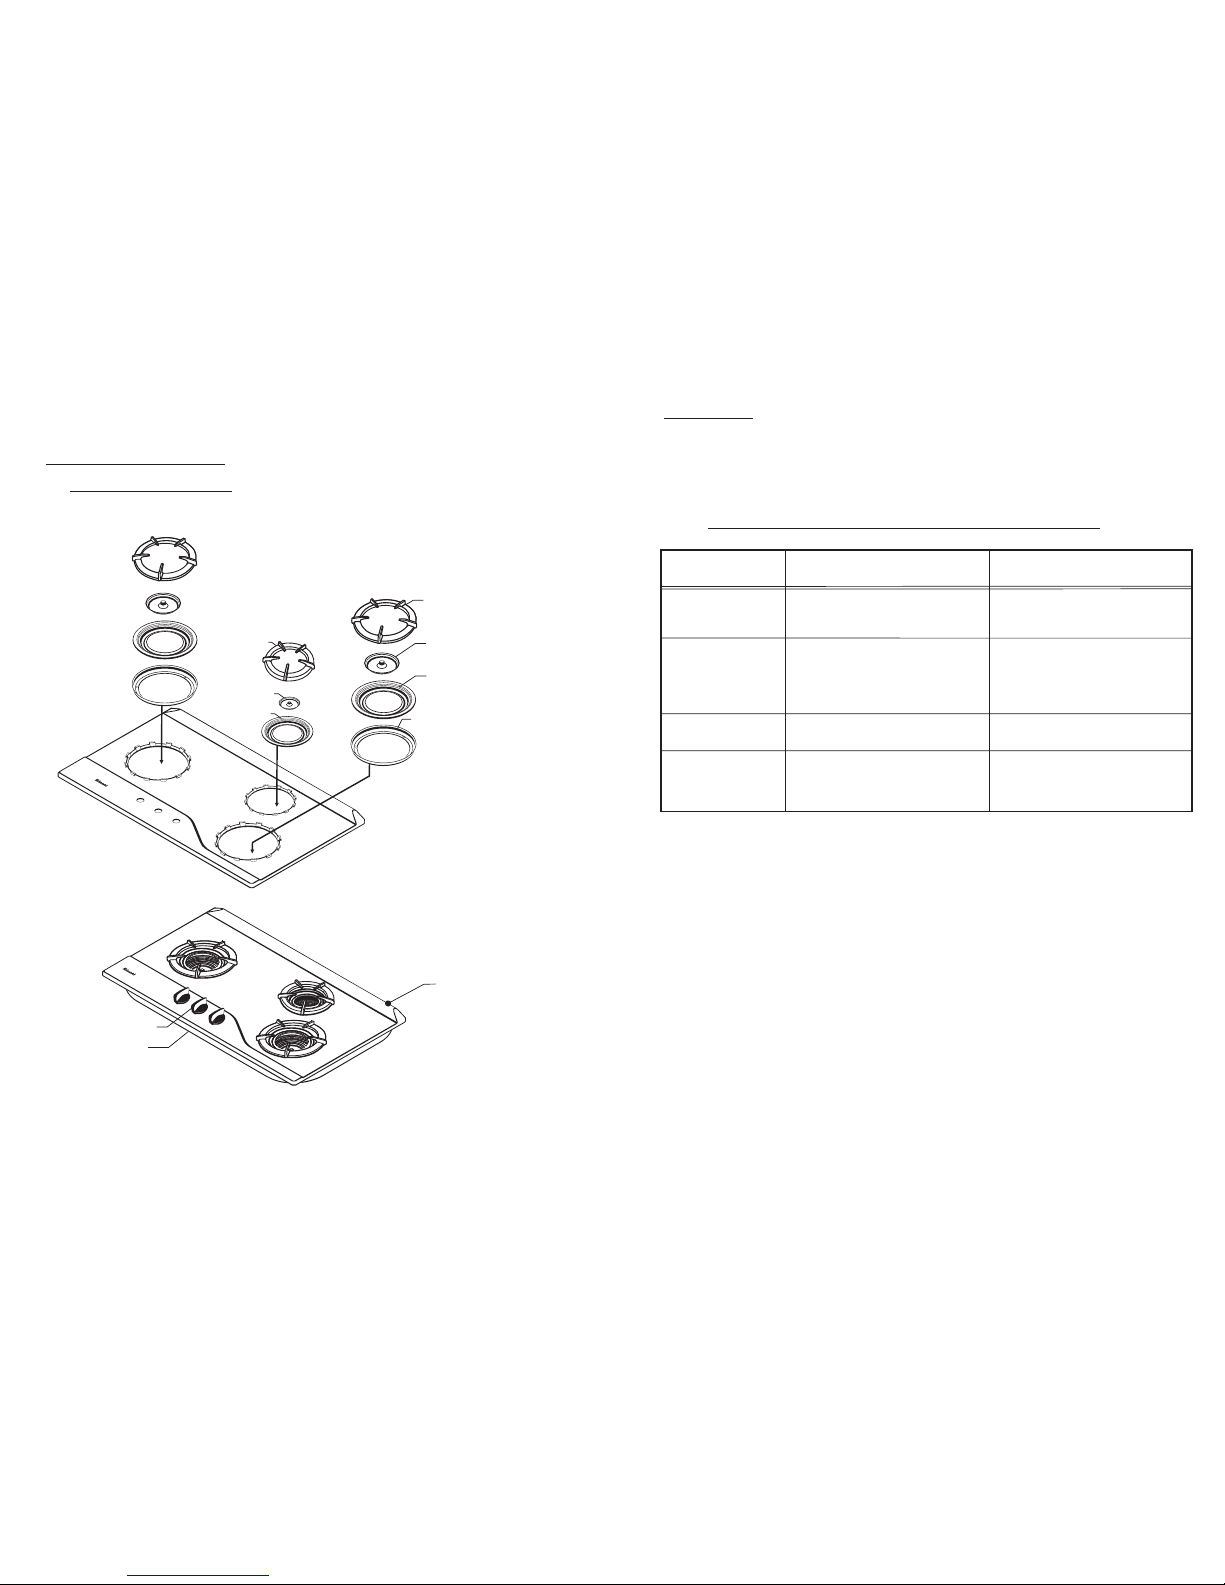
Components and Features
- 6 -
Trouble Shooting Manual for Rinnai RB-3Si Built-in Hob
Maintenance
• Wipe the tempered glass with a soft damp cloth and mild detergent
• Wash the Pan Support and Burner Covers in warm water and detergent.
- 1 -
Components and parts names
In order to obtain the best results and to maintain your Rinnai Built-In Hob in the best condition, please
read the instruction carefully.
FAULT
CAUSE
1. No Ignition
Spark electrode is wet, especially in
high humidity season
Dry the electrode with clean tissue
or dry cloth.
2. Flame cannot be
held
Incorrect turning of gas control
knob.
Push and turn the gas control knob
anti-clockwise until a ‘click’ sound
is heard. Hold for a few seconds until
flame is ignited.
4. Yellow flame
Accumulated grease and dirt
on the burner.
Wash the burner in warm water with
detergent. Leave it to dry; then place
it back in the correct position.
3. No main flame
Gas Regulator has been turned off
Open gas regulator completely
REMEDY
Stainless Top Plate
Casing
Knob
RB-3Si
Pan Support H
Pan Support M
Drip Pan
H Burner Cover
Top Plate Pushing Plate
Drip Pan S
S Burner Cover
RB-3Si
 Loading...