

Rinnai iHeat TB7100A1000 MultiPRO Installation Manual
iHeat thermostat
Installation guide
TB7100A1000 MultiPRO
TM
multispeed and multipurpose thermostat
This appliance shall be installed in accordance with:
- Manufacturer’s installation instructions
- AS/NZS 3000
- Local regulations and municipal building codes
Installation, servicing and repair shall be carried out only by
authorised personnel.
Please retain this manual for future reference.
Warning
Improper installation, adjustment, alteration, service or
maintenance can cause property damage, personal injury or loss
of life.
For more information about buying, living and servicing of Rinnai appliances call: 0800 RINNAI (0800 746 624)
Rinnai New Zealand Limited
105 Pavilion Drive, Mangere, Auckland
PO Box 53177, Auckland Airport, Auckland 2150
Phone: (09) 257 3800, Fax: (09) 257 3899
Email: info@rinnai.co.nz
Web: rinnai.co.nz, youtube.com/rinnainz
Important:

cnt:
General ....................................................................... 4
Batteries, wallplate, date, and time ............................5
Thermostat configuration .......................................... 6
Installer thermostat tests ...........................................8
Troubleshooting table ................................................10
4 | iHeat thermostat installation guide: 12064-A 01-13
General
Read these instructions carefully. Failure to follow them could damage the product or cause a
hazardous situation.
Select thermostat location
Select a location for the
thermostat approximately 1.5 m
above the floor on an internal wall,
and in the location that requires
heating.
DO NOT install the thermostat
where it can be affected by:
- draughts (hallways, regular
accessed doorways etc.)
- hotspots (direct sunlight,
above fireplaces/heaters,
warm air ducts etc.)
- deadspots where air does
not circulate freely (alcoves,
corners, behind doors etc.)
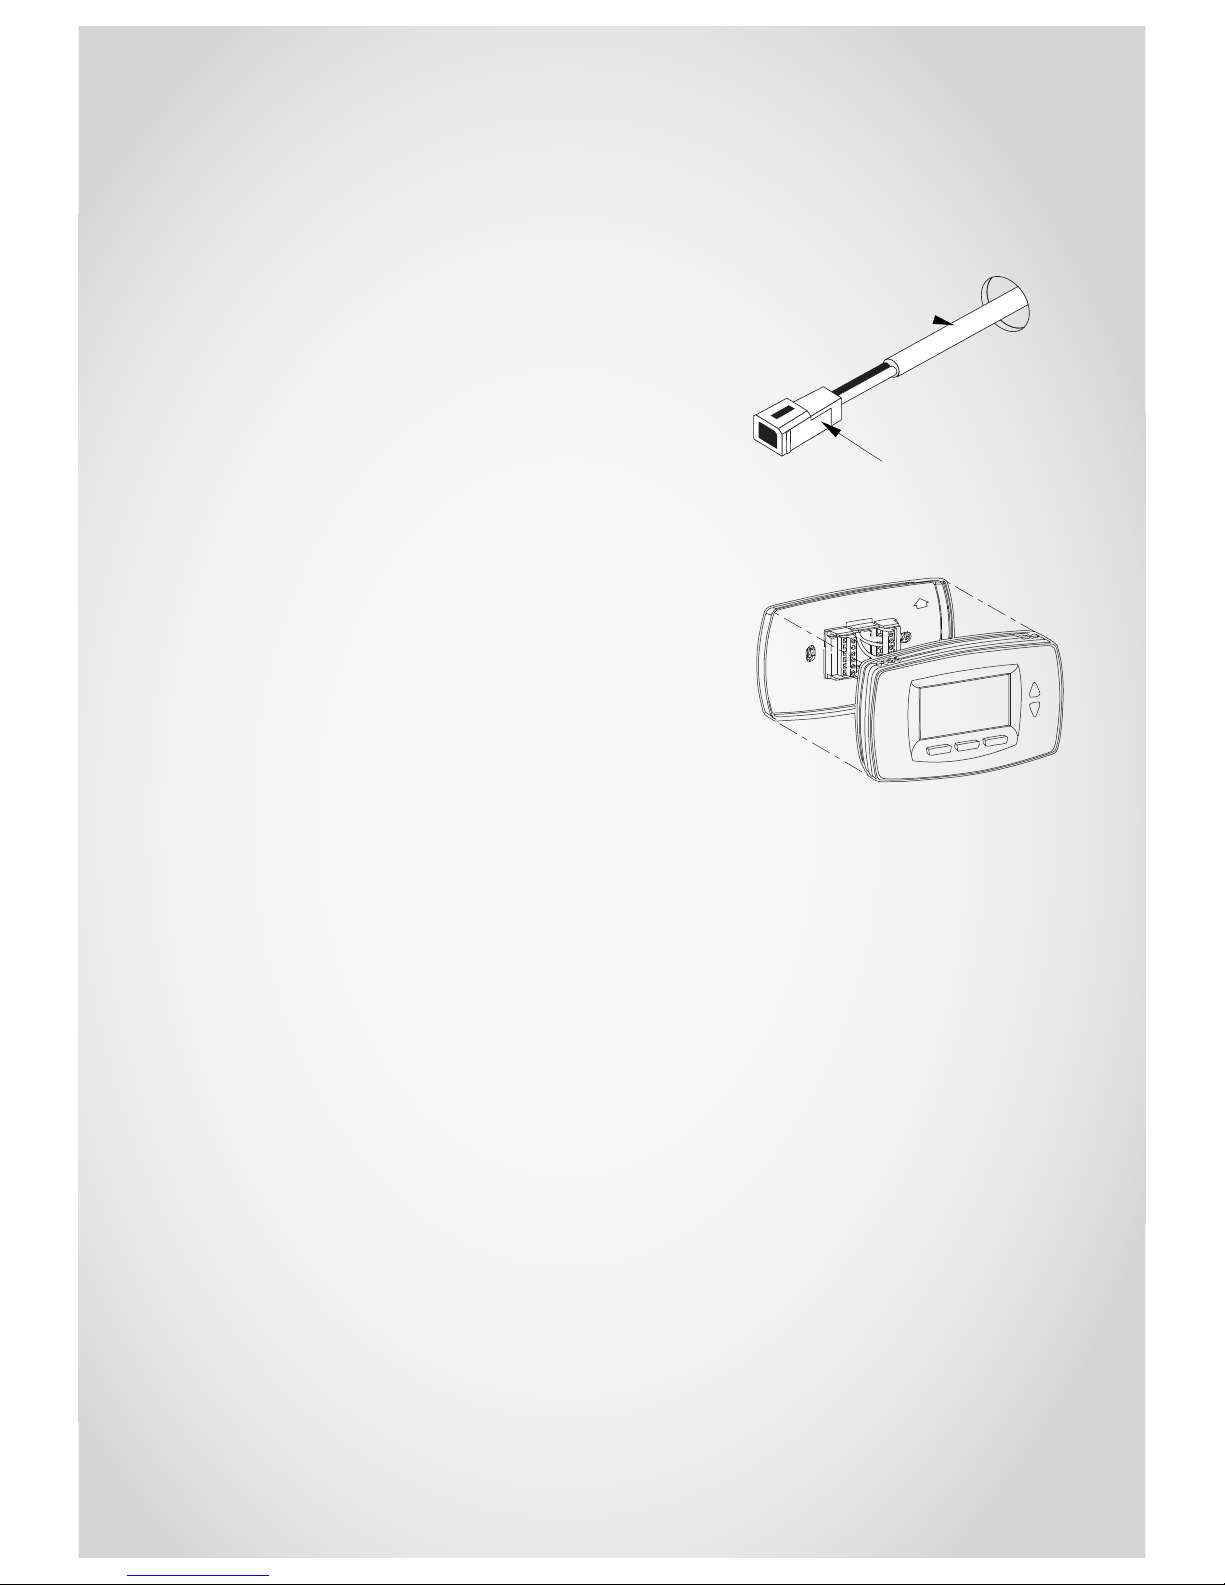
Installing the thermostat
Before installing the thermostat
make sure the electrician has
preinstalled the RJ45 cable.
1. Take the thermostat out of the
box, and remove the wall plate
from the face plate.
2. Connect the adaptor provided
to the RJ45 cable.
3. Push everything back into the
wall and secure the wall plate
to the wall.
4. Secure the face plate to the
wall plate.
RJ45 cable preinstalled by electrician
RJ45 cable
UP
1. Remove wall plate from face plate
 Loading...