

Rinnai GRANADA MkII, GALAXIE MkII, TITAN MkII, GRADUATE MkII Operating Information And Installation Instructions
Page 1
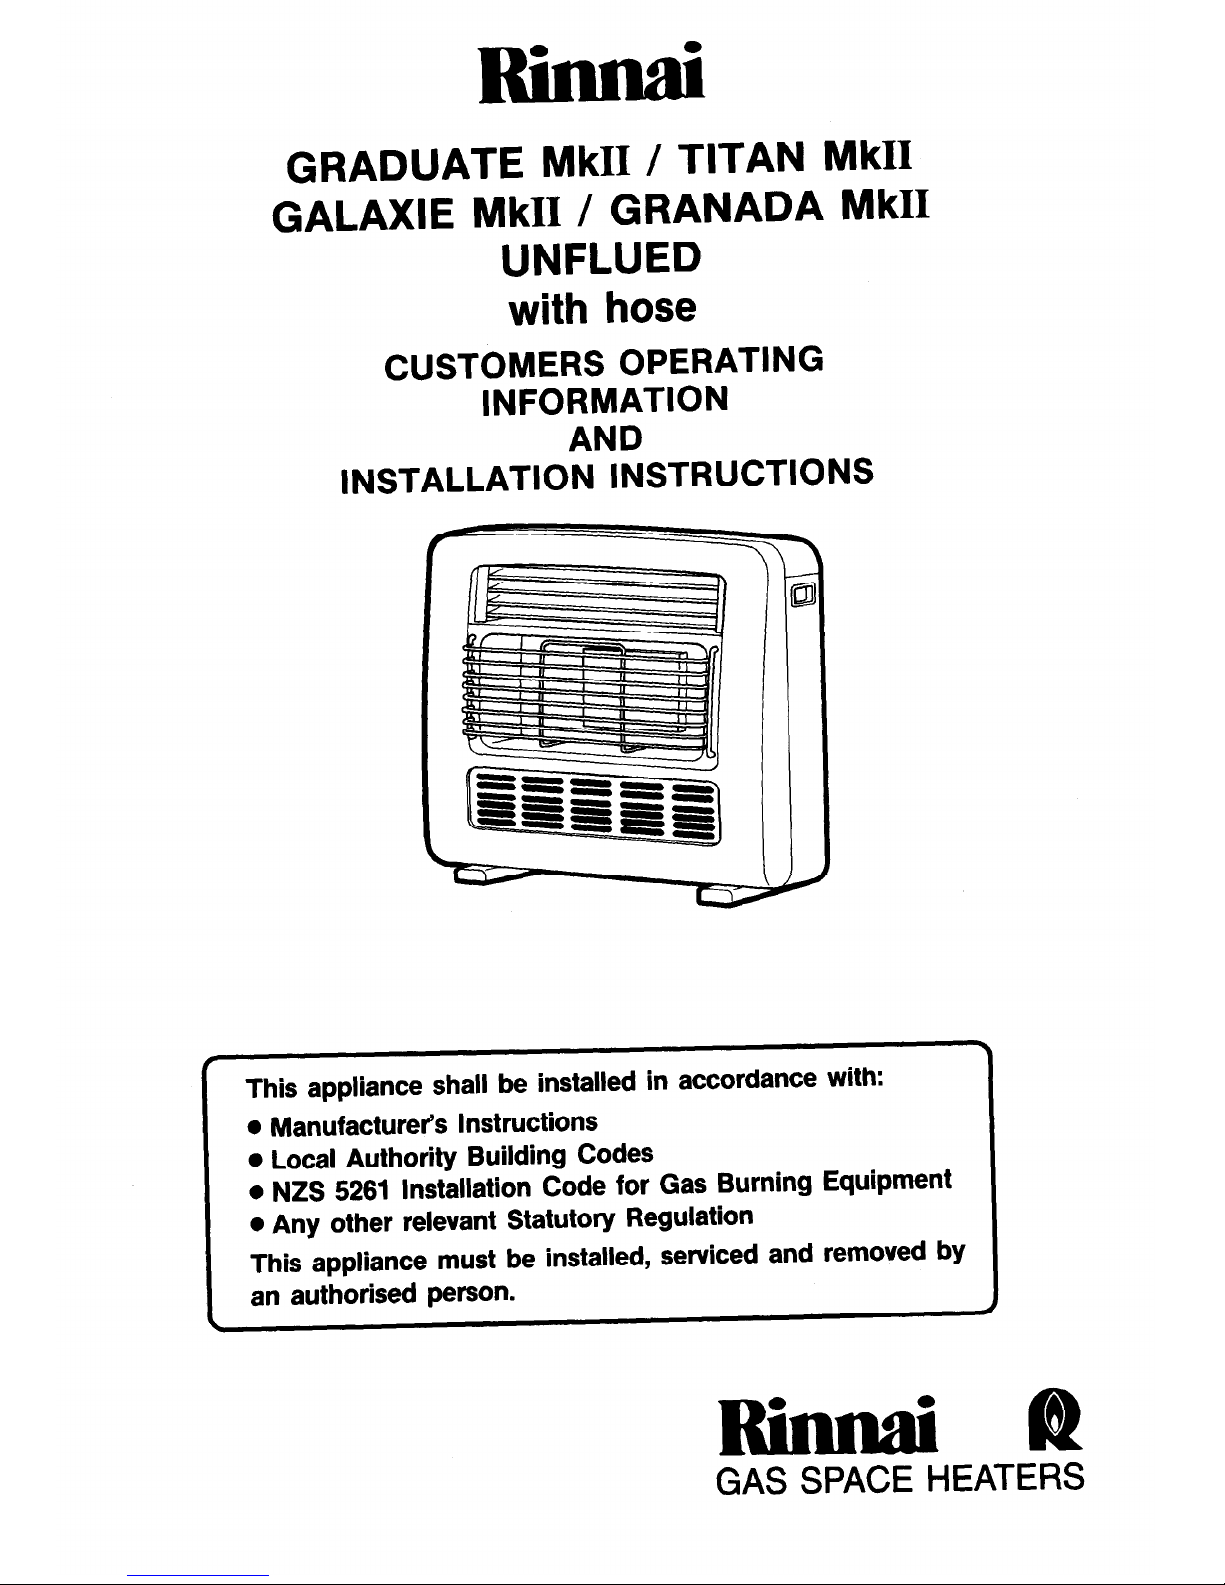
GRADUATE MkII / TITAN MkII
GALAXIE MkII / GRANADA MkII
UNFLUED
with hose
CUSTOMERS OPERATING
INFORMATION
AND
INSTALLATION INSTRUCTIONS
This appliance shall be installed in accordance with:
l Manufacturer’s Instructions
l Local Authority Building Codes
l NZS 5261 Installation Code for Gas Burning Equipment
l Any other relevant Statutory Regulation
This appliance must be installed, serviced and removed by
an authorised person.
.
RiMai
GAS SPACE HEATERS
Page 2
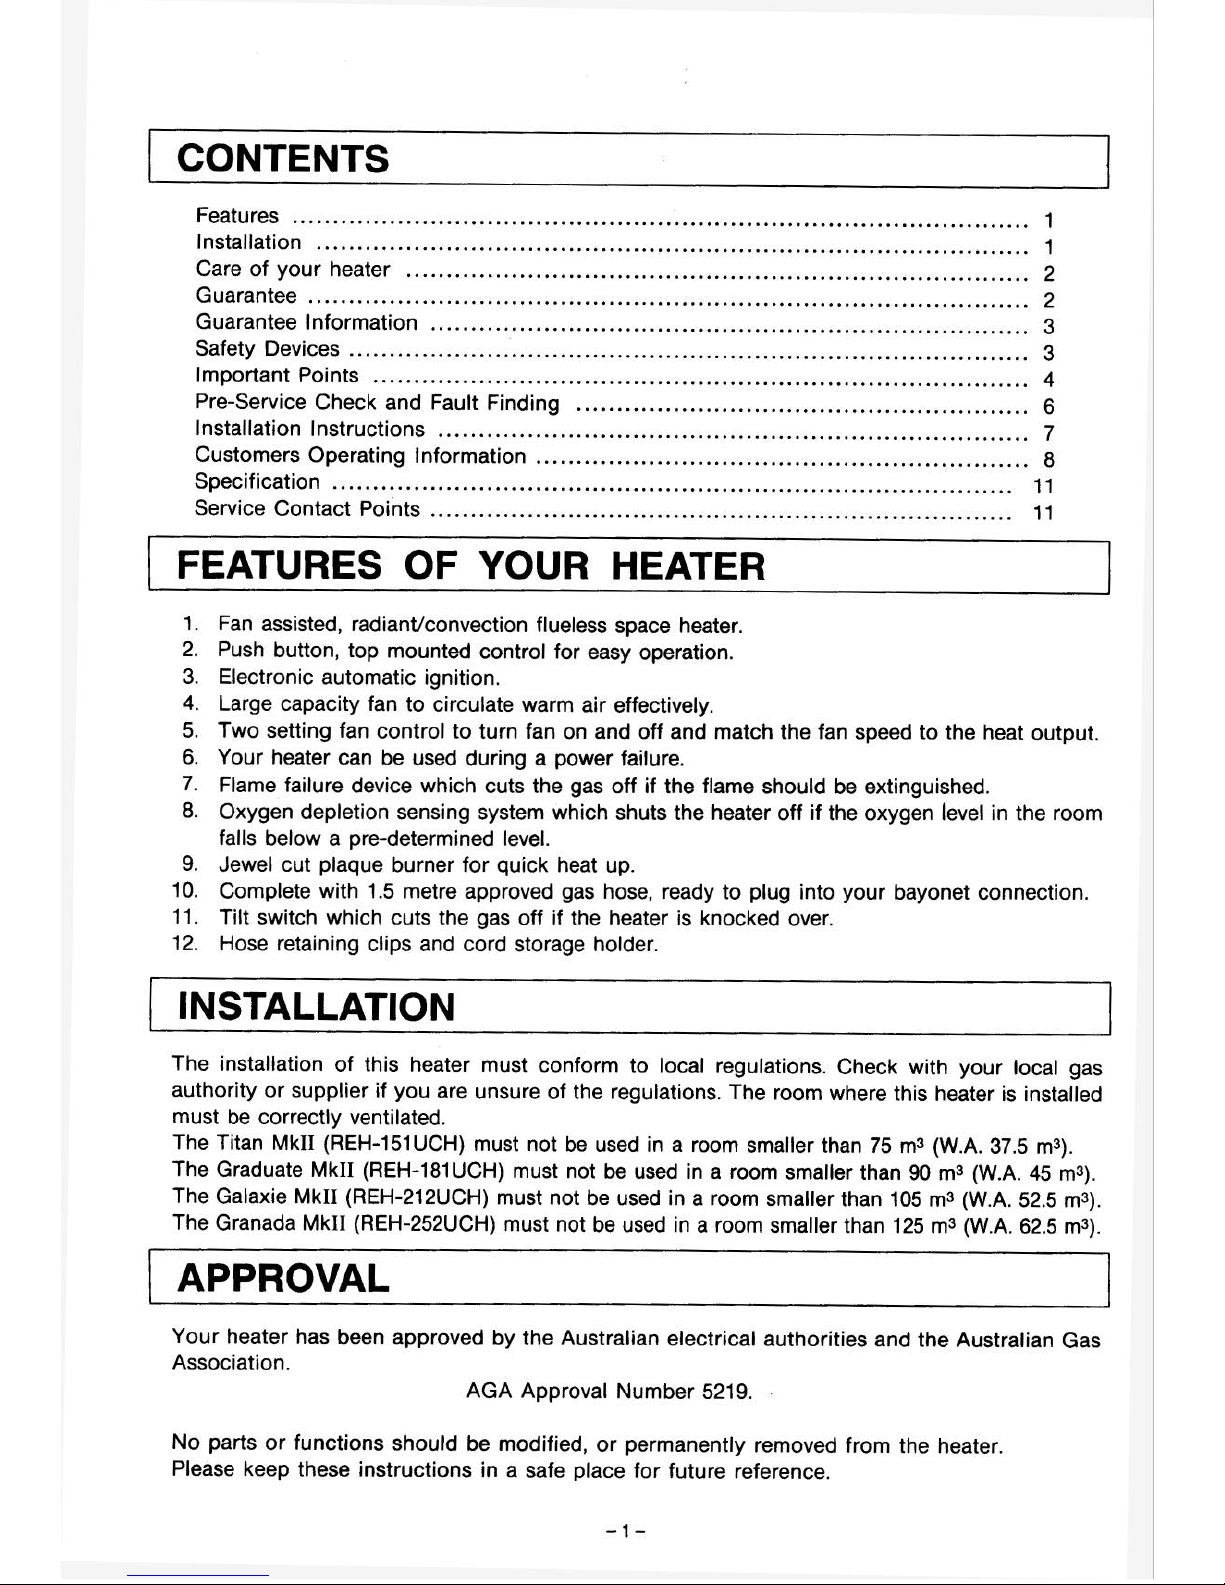
1 CONTENTS
Features ...........................................................................................
1
Installation ........................................................................................ 1
Care of your heater ............................................................................. 2
Guarantee .........................................................................................
2
Guarantee Information .......................................................................... 3
Safety Devices
.................................................................................... 3
Important Points
.................................................................................
4
Pre-Service Check and Fault Finding
........................................................ 6
Installation Instructions
.........................................................................
7
Customers Operating Information
............................................................. 8
Specification
....................................................................................
11
Service Contact Points ........................................................................ 11
I
I
1 FEATURES OF YOUR HEATER
1.
2.
3.
4.
5.
6.
7.
8.
Large capacity fan to circulate warm air effectively.
Two setting fan control to turn fan on and off and match the fan speed to the heat output.
Your heater can be used during a power failure.
Flame failure device which cuts the gas off if the flame should be extinguished.
Oxygen depletion sensing system which shuts the heater off if the oxygen level in the room
falls below a pre-determined level.
9.
Jewel cut plaque burner for quick heat up.
10.
Complete with 1.5 metre approved gas hose, ready to plug into your bayonet connection.
11.
Tilt switch which cuts the gas off if the heater is knocked over.
12.
Hose retaining clips and cord storage holder.
Fan assisted, radiant/convection flueless space heater.
Push button, top mounted control for easy operation.
Electronic automatic ignition.
1 INSTALLATION
The installation of this heater must conform to local regulations. Check with your local gas
authority or supplier if you are unsure of the regulations. The room where this heater is installed
must be correctly ventilated.
The Titan MkII (REH-151UCH) must not be used in a room smaller than 75 m3 (W.A. 37.5 m3).
The Graduate MkII (REH-181UCH) must not be used in a room smaller than 90 m3 (W.A. 45 m3).
The Galaxie MkII (REH-212UCH) must not be used in a room smaller than 105 m3 (W.A. 52.5 m3).
The Granada MkII (REH-252UCH) must not be used in a room smaller than 125 m3 (W.A. 62.5 m3).
I
,
1 APPROVAL
Your heater has been approved by the Australian electrical authorities and the Australian Gas
Association.
AGA Approval Number 5219. .
No parts or functions should be modified, or permanently removed from the heater.
Please keep these instructions in a safe place for future reference.
-l-
Page 3
1 CARE OF YOUR HEATER
Your heater needs very little maintenance, but the following will help you to keep it looking good
and working efficiently.
H Oxygen Depletion Sensor
Annual cleaning of the oxygen depletion sensor is recommended, this should be carried out by
Rinnai or our agent.
n Outer Case
The outer case of the heater should be cleaned with a soft, damp cloth.
Do not use aerosol polishes to clean the casing whilst the heater is in operation.
Do not place articles on or against this appliance.
Do not use or store flammable materials near this appliance.
Do not clean plastic parts with solvents; use a soft, damp cloth.
The guard is fitted to this appliance to reduce the risk of fire or injury from burns and no
part of it should be permanently removed.
For protection of young children or the infirm, a secondary guard is required.
GUARANTEE
DEAR CUSTOMER
THANK YOU FOR PURCHASING THIS RINNAI APPLIANCE. WE ARE PLEASED TO ADVISE
THAT RINNAI PRODUCTS ARE NOW COVERED BY A 2 YEAR. GUARANTEE: FREE PARTS
AND LABOUR FOR THE FIRST YEAR AND PARTS ONLY FOR THE SECOND YEAR.
THIS GUARANTEE IS IN ADDITION TO ANY GUARANTEES WHICH
CONSUMERS MAY HAVE UNDER THE CONSUMER GUARANTEES ACT -
SHOULD YOU HAVE ANY QUERIES REGARDING THIS GUARANTEE PLEASE CONTACT
YOUR LOCAL RINNAI AGENT.
Please record below the following information for your own records.
Your Retailer:
Address:
Phone:
Date of Purchase:
Your Installer:
Installer’s Licence No.
Address:
Phone:
Date of Installation:
-2-
Page 4
1 SAFETY DEVICES
W Oxygen Depletion Sensor
This system turns the heater off if the oxygen level in the room falls below a pre-set level.
This can be caused by lack of ventilation, or using the heater in a room which is too small.
Before relighting ventilate the room, then follow the ignition procedure.
Annual cleaning is recommended, this should be carried out by Rinnai or our agent.
W Flame Failure Device
If the flame goes out during operation, the flame failure device cuts the gas off.
H Fan Switch
The fan switch has two speed settings, and an OFF position. This allows you to choose the best
conditions for maximum comfort. The heater may also be used with the fan off.
H Tilt Switch
If the heater is knocked over, the tilt switch will cut off the gas supply.
To restore the supply, stand the heater up and follow the ignition procedure.
The tilt switch may also operate if heater is jolted or picked up whilst in operation.
-3-
Page 5

7
IMPORTANT POINTS
Do not use for any purpose other than
Do not allow curtains or other’ flammable
materials to come into contact with the
heater.
Do not store flammable products near the
heater.
Combustible materials must not be placed
where the heater could ignite them.
Supervise children near the heater.
These clearances must be maintained at all
times.
150 mm
c;=
150 mm
150 mm
-__I\)
1000 mm
Do not allow young children or the infirm to
sleep directly in front of the heater.
Do not allow children to “post” articles in the
louvres.
x
f??
-4-
Page 6

1 IMPORTANT POINTS
Do not place any articles containing
liquid on
top of the heater.
heater whilst
it is
in
operation.
Use of aerosols, paint, polishes, etc., while
this heater is in use may cause unpleasant
smells, Most aerosols contain butane gas,
and can be a fire hazard if used near this
heater when it is in use.
rticles on or against the
Do not use this heater in areas where spray
painting is taking place, or in areas such as
hairdressers, where there may be a lot of
fluff and dust, and where aerosols may be
used.
-5-
Page 7

1 PRE-SERVICE CHECK LIST AND FAULT FINDING 1
Please check this fault finding chart before asking for a service call.
You may be able to overcome the problem without a service call, or the heater may be operating
normally.
Service calls to a heater which is operating normally may be chargeable, even when it is under
guarantee.
Remedy
Problem
Cause
Not plugged in at power point
Power cut/failure
Air in gas pipe
Initial installation
Gas filter blocked
Not pushing ignition
button firmly enough
Louvre obstructed
Gas escape
l
0
l
l
l
Plug in and switch on.
Investigate cause
Allow to coo!, re-ignite
when power IS restored.
Purge air (installer)
0
Service call
a
Push button firmly
0
Remove obstruction
0
Turn off gas.
Service call
Room too large
0
Check with retailer
Faulty fan
0
Service call
Oxygen depletion system operating
l
Ventilate room
Air in hose
0
Try ignition again
Gas turned off at meter
0
Turn gas on
Automatic fan switch operating
0
Normal operation
-6-
Page 8

1 INSTALLATION INSTiWCTlONS
I
Specification: See back cover of this instruction booklet.
n UNPACKING
Undo straps, lift carton off heater.
Never lift the heater out of the carton by top louvres. Check for damage, if heater is damaged
contact supplier or Rinnai for advice.
W BEFORE USING THE HEATER
Check heater supplied is correct for gas type in your area.
Refer to local gas authority for confirmation of gas type if in doubt.
Gas type is indicated on the data plate.
1 INSTALLATION
Ventilation must comply with local regulations.
Do not install in a room smaller than that shown
below.
Minimum room size (ma)
All States except WA Western Australia
Titan
75 37.5
Graduate 90 45
Galaxie 105
52.5
Granada 125
62.5
H x D x W must equal or exceed
minimum room size shown opposite.
150 mm
This heater must not be installed where
curtains or other combustible materials could
come into contact with it. In some cases
curtains may need restraining.
Other clearances are shown in the diagram.
This heater is not designed to be built into
bookcases or shelves.
150 mm
c=
150 mm
3
1000 mm
An EARTHED power point, and bayonet gas
connection must be close enough to where
the heater will be used to avoid stretching
the connection.
yL+~T
AFTER INSTALLATION CHECKS HAVE BEEN COMPLETED
Connect gas and power Q Follow ignition instructions
-7-
Page 9

CUSTOMERS OPERATING INFORMATION
For trouble free operation, please read the following information carefully.
For your convenience, the controls on your heater are situated under the cover on the top right
hand side of the heater.
All necessary adjustments to the operation of your heater can be made with these controls.
CONNECT GAS AND PLUG INTO POWER POINT
Room must be ventilated
when this heater is in use.
Press the front control button firmly, this operates the
built in safety device and starts the electronic spark,
the centre burner will ignite. Check that the burner
has lit, continue to hold the button down for about
15 seconds. The spark will continue whilst the button
is held down.
Push front button
CONTROL BOX
GRANADA
GALAXI E
GRADUATE
3URNE
TITAN
Graduate
Galaxie
Granada
Titan
The Titan high burner control button may be in either position for ignition.
Note
If the burner does not remain alight, push the button again and release it, this will return it
to the “OFF’ position. Wait 30 seconds, then repeat the ignition procedure.
(The ignition button must be in the “OFF” position before attempting re-ignition).
The burner should glow evenly after a few
minutes of operation. If there is a large
difference in the glow, or there is an unusual
amount of flame coming from the top of the
burner, contact your agent or Rinnai.
Graduate burners shown here.
-8-
Page 10

1 CUSTOMERS OPERATING INFORMATION
MT0 INCREASE THE HEAT
Press the control buttons in order from front to rear, this will ignite additional burners as shown
in the diagram.
There is no need to hold the buttons for 15 seconds when increasing the heat.
WTO DECREASE THE HEAT
This is simply done by releasing the control buttons in order from rear to front, to the required
setting.
GRADUATE, GALAXIE, GRANADA
Ignition/Low
1 &I
Medium
J, ,
High
g, , ,
TITAN
rsziig )1
Ignition/Low
y, ,
Burner Settings (MJ/h)
LOW MEDIUM HIGH
Titan 7
Graduate
6
12
Natural 15 Propane 14
18
Galaxie
7
14
21
Granada
8
16
25
/ FAN
The fan switch has two speed settings, and an OFF position. This allows you to choose the best
conditions for maximum comfort.
If the fan switch is in the HIGH or LOW position, the fan starts automatically when the heater is
alight. When the heater is turned off, the fan stops automatically, there is no need to return the
manual fan switch to the off position each time the heater is turned off.
( TO TURN THE HEATER 04
Press and release the front button.
Ensure all burners are extinguished.
-9-
Page 11

( WIRING DIAGRAM
whit&bit.
b I l ck
I
1
fNZ AC2SOV)
AC24OV
SOHZ
* Supply lead must only
be replaced with Rinnai
part number 3010.
) DIMENSIONS
(TITAN)
r r
770 770
Page 12

1 SPECIFICATION
Description:
Input:
Gas Control:
Burner:
Gas Inlet:
Ignition:
Oxygen Depletion System:
Power Supply:
Fan:
Data Plate:
REH-151UCH (TITAN MkII WITH HOSE)
REH-181UCH (GRADUATE MkII WITH HOSE)
REH-212UCH (GALAXIE MkII WITH HOSE)
REH-252UCH (GRANADA MkII WITH HOSE)
Radiant/forced convection, open fronted, surface combustion
flueless space heater.
TlTAN.MkII (REH-151UCH) Propane 14 MJ/h / Natural 15 MJ/h
GRADUATE MkII (REH-181UCH) 18 MJ/h
GALAXIE MkII (REH-212UCH) 21 MJ/h
GRANADA MkII (REH-252UCH) 25 MJ/h
Rinnai Push Button Combination Control
Rinnai Jewel Cut Plaque
Supplied with approved 1.5 m Hose
Electronic
Rinnai ODS Pilot
230 V 50 Hz, heater is supplied with 3 pin plug and supply lead,
replace only with Rinnai part number 3019.
Tangential 2 speed, 24 Watt Rating.
Rear, near the gas connection.
Rinnai are continually updating and improving products, therefore specifications are subject to
change without prior notice.
) SERVICE CONTACT POINT
RINNAI NEW ZEALAND LTD.
691 MT ALBERT RD, ROYAL OAK
AUCKLAND
P.O. BOX 24-068 AUCKLAND
PHONE: 625-4285
FAX: 624-3018
-ll-
Printed in Japan
REH151-96 X 0-l (00)
96.01
 Loading...