

RIDGID R86009 Operator's Manual
OPERATOR’S MANUAL
MANUEL D’UTILISATION
MANUAL DEL OPERADOR
18 VOLT BRUSHLESS DRILL-DRIVER
18 V PERCEUSE/TOURNEVIS SANS BALAI
18 V TALADRO-DESTORNILLADOR SIN ESCOBILLAS
R86009
To register your RIDGID
product, please visit:
http://register.RIDGID.com
Pour enregistrer votre
produit de RIDGID,
s’il vous plaît la visite:
http://register.RIDGID.com
INCLUDES: Drill-driver, Auxiliary Handle
Assembly, Bit, Belt Hook/Screw, Operator’s
Manual
****************
TABLE OF CONTENTS
General Power Tool
Safety Warnings ..............................2-3
Drill-Driver Safety Warnings ...............3
Symbols ..............................................4
Assembly ............................................ 5
Operation .........................................5-7
Maintenance ....................................... 8
Illustrations ....................................9-11
Parts Ordering
and Service .........................Back page
WARNING:
To reduce the risk of injury, the
user must read and understand the
operator’s manual before using this
product.
INCLUT : Perceuse-tournevis, poignée
auxiliaire, embout, crochet de ceinture/vis,
manuel d’utilisation
****************
TABLE DES MATIÈRES
Règles de sécurité générales
relatives aux outils électriques ........2-3
Avertissements de sécurité relatifs
perceuse-tournevis ............................ 3
Symboles ............................................4
Assemblage ........................................ 5
Utilisation ........................................5-7
Entretien .............................................8
Illustrations ....................................9-11
Commande de pièces
et dépannage ....................Page arrière
AVERTISSEMENT :
Pour réduire les risques de blessures,
l’utilisateur doit lire et veiller à bien
comprendre le manuel d’utilisation
avant d’utiliser ce produit.
Para registrar su producto
de RIDGID, por favor visita:
http://register.RIDGID.com
INCLUYE:
de mango auxiliar, broca, gancho para el
cinto/tornillo, manual del operador
Advertencias de seguridad
Advertencias de seguridad taladro-
Símbolos ............................................4
Armado ..............................................5
Funcionamiento ............................. 5-7
Mantenimiento ...................................8
Illustraciones ................................ 9-11
Pedidos de piezas
Taladro-destornillador, conjunto
****************
ÍNDICE DE CONTENIDO
para herramientas eléctrica ........... 2-3
destornillador .....................................3
y servicio ....................... Pág. posterior
ADVERTENCIA:
Para reducir el riesgo de lesiones, el
usuario debe leer y comprender el
manual del operador antes de usar
este producto.
SAVE THIS MANUAL FOR
FUTURE REFERENCE
CONSERVER CE MANUEL
POUR FUTURE RÉFÉRENCE
GUARDE ESTE MANUAL
PARA FUTURAS CONSULTAS

GENERAL POWER TOOL SAFETY WARNINGS
Use personal protective equipment. Always wear eye
WARNING
Read all safety warnings and all instructions.
Failure to follow the warnings and instructions may
result in electric shock, fire and/or serious injury.
Save all warnings and instructions for future reference.
The term “power tool” in the warnings refers to your mainsoperated (corded) power tool or battery-operated (cordless)
power tool.
WORK AREA SAFETY
Keep work area clean and well lit. Cluttered or dark
areas invite accidents.
Do not operate power tools in explosive atmospheres,
such as in the presence of flammable liquids, gases
or dust. Power tools create sparks which may ignite the
dust or fumes.
Keep children and bystanders away while operating a
power tool. Distractions can cause you to lose control.
ELECTRICAL SAFETY
Power tool plugs must match the outlet. Never modify
the plug in any way. Do not use any adapter plugs with
earthed (grounded) power tools. Unmodified plugs and
matching outlets will reduce risk of electric shock.
Avoid body contact with earthed or grounded surfaces
such as pipes, radiators, ranges and refrigerators.
There is an increased risk of electric shock if your body
is earthed or grounded.
Do not expose power tools to rain or wet conditions.
Water entering a power tool will increase the risk of electric
shock.
Do not abuse the cord. Never use the cord for carrying,
pulling or unplugging the power tool. Keep cord away
from heat, oil, sharp edges or moving parts. Damaged
or entangled cords increase the risk of electric shock.
When operating a power tool outdoors, use an
extension cord suitable for outdoor use. Use of a cord
suitable for outdoor use reduces the risk of electric shock.
If operating a power tool in a damp location is
unavoidable, use a ground fault circuit interrupter
(GFCI) protected supply. Use of a GFCI reduces the risk
of electric shock.
Use battery only with charger listed. For use with 18V
nickel-cadmium and 18V lithium-ion battery packs,
see tool/appliance/battery pack/charger correlation
supplement 988000-302.
PERSONAL SAFETY
Stay alert, watch what you are doing and use common
sense when operating a power tool. Do not use a
power tool while you are tired or under the influence
of drugs, alcohol or medication. A moment of inattention
while operating power tools may result in serious personal
injury.
protection. Protective equipment such as dust mask, nonskid safety shoes, hard hat, or hearing protection used for
appropriate conditions will reduce personal injuries.
Prevent unintentional starting. Ensure the switch is in
the off-position before connecting to power source
and/or battery pack, picking up or carrying the tool.
Carrying power tools with your finger on the switch or
energising power tools that have the switch on invites
accidents.
Remove any adjusting key or wrench before turning
the power tool on. A wrench or a key left attached to a
rotating part of the power tool may result in personal injury.
Do not overreach. Keep proper footing and balance at
all times. This enables better control of the power tool in
unexpected situations.
Dress properly. Do not wear loose clothing or jewellery.
Keep your hair, clothing and gloves away from moving
parts. Loose clothes, jewellery or long hair can be caught
in moving parts.
If devices are provided for the connection of dust
extraction and collection facilities, ensure these are
connected and properly used. Use of dust collection
can reduce dust-related hazards.
Do not wear loose clothing or jewelry. Contain long
hair. Loose clothes, jewelry, or long hair can be drawn
into air vents.
Do not use on a ladder or unstable support. Stable
footing on a solid surface enables better control of the
power tool in unexpected situations.
POWER TOOL USE AND CARE
Do not force the power tool. Use the correct power
tool for your application. The correct power tool will
do the job better and safer at the rate for which it was
designed.
Do not use the power tool if the switch does not turn
it on and off. Any power tool that cannot be controlled
with the switch is dangerous and must be repaired.
Disconnect the plug from the power source and/or
the battery pack from the power tool before making
any adjustments, changing accessories, or storing
power tools. Such preventive safety measures reduce
the risk of starting the power tool accidentally.
Store idle power tools out of the reach of children and
do not allow persons unfamiliar with the power tool
or these instructions to operate the power tool. Power
tools are dangerous in the hands of untrained users.
Maintain power tools. Check for misalignment or
binding of moving parts, breakage of parts and any
other condition that may affect the power tool’s
operation. If damaged, have the power tool repaired
before use. Many accidents are caused by poorly
maintained power tools.
2 - English

GENERAL POWER TOOL SAFETY WARNINGS
Keep cutting tools sharp and clean. Properly maintained
cutting tools with sharp cutting edges are less likely to
bind and are easier to control.
Use the power tool, accessories and tool bits etc.
in accordance with these instructions, taking into
account the working conditions and the work to be
performed. Use of the power tool for operations different
from those intended could result in a hazardous situation.
BATTERY TOOL USE AND CARE
Recharge only with the charger specified by the
manufacturer. A charger that is suitable for one type
of battery pack may create a risk of fire when used with
another battery pack.
Use power tools only with specifically designated
battery packs. Use of any other battery packs may create
a risk of injury and fire.
When battery pack is not in use, keep it away from
other metal objects, like paper clips, coins, keys, nails,
screws or other small metal objects, that can make a
connection from one terminal to another. Shorting the
battery terminals together may cause burns or a fire.
Under abusive conditions, liquid may be ejected from
the battery; avoid contact. If contact accidentally
occurs, flush with water. If liquid contacts eyes,
additionally seek medical help. Liquid ejected from the
battery may cause irritation or burns.
SERVICE
Have your power tool serviced by a qualified repair
person using only identical replacement parts. This will
ensure that the safety of the power tool is maintained.
When servicing a power tool, use only identical
replacement parts. Follow instructions in the
Maintenance section of this manual. Use of unauthorized
parts or failure to follow Maintenance instructions may
create a risk of shock or injury.
DRILL-DRIVER SAFETY WARNINGS
Use auxiliary handle(s), if supplied with the tool. Loss
of control can cause personal injury.
Hold power tool by insulated gripping surfaces, when
performing an operation where the cutting accessory
may contact hidden wiring. Cutting accessory
contacting a “live” wire may make exposed metal parts
of the power tool “live” and could give the operator an
electric shock.
Know your power tool. Read operator’s manual
carefully. Learn its applications and limitations, as
well as the specific potential hazards related to this
power tool. Following this rule will reduce the risk of
electric shock, fire, or serious injury.
Always wear eye protection with side shields marked
to comply with ANSI Z87.1 when assembling parts,
operating the tool, or performing maintenance.
Following this rule will reduce the risk of serious personal
injury.
Protect your lungs. Wear a face or dust mask if the
operation is dusty. Following this rule will reduce the risk
of serious personal injury.
Protect your hearing. Wear hearing protection during
extended periods of operation. Following this rule will
reduce the risk of serious personal injury.
Battery tools do not have to be plugged into an
electrical outlet; therefore, they are always in
operating condition. Be aware of possible hazards
when not using your battery tool or when changing
accessories. Following this rule will reduce the risk of
electric shock, fire, or serious personal injury.
Do not place battery tools or their batteries near fire
or heat. This will reduce the risk of explosion and possibly
injury.
Do not crush, drop or damage battery pack. Do not
use a battery pack or charger that has been dropped
or received a sharp blow. A damaged battery is subject
to explosion. Properly dispose of a dropped or damaged
battery immediately.
Batteries can explode in the presence of a source
of ignition, such as a pilot light. To reduce the risk of
serious personal injury, never use any cordless product
in the presence of open flame. An exploded battery can
propel debris and chemicals. If exposed, flush with water
immediately.
Do not charge battery tool in a damp or wet location.
Following this rule will reduce the risk of electric shock.
For best results, your battery tool should be charged
in a location where the temperature is more than 50°F
but less than 100°F. To reduce the risk of serious personal
injury, do not store outside or in vehicles.
Under extreme usage or temperature conditions,
battery leakage may occur. If liquid comes in contact
with your skin, wash immediately with soap and water.
If liquid gets into your eyes, flush them with clean
water for at least 10 minutes, then seek immediate
medical attention. Following this rule will reduce the risk
of serious personal injury.
Save these instructions. Refer to them frequently and
use them to instruct others who may use this tool. If you
loan someone this tool, loan them these instructions also.
3 - English
SYMBOLS
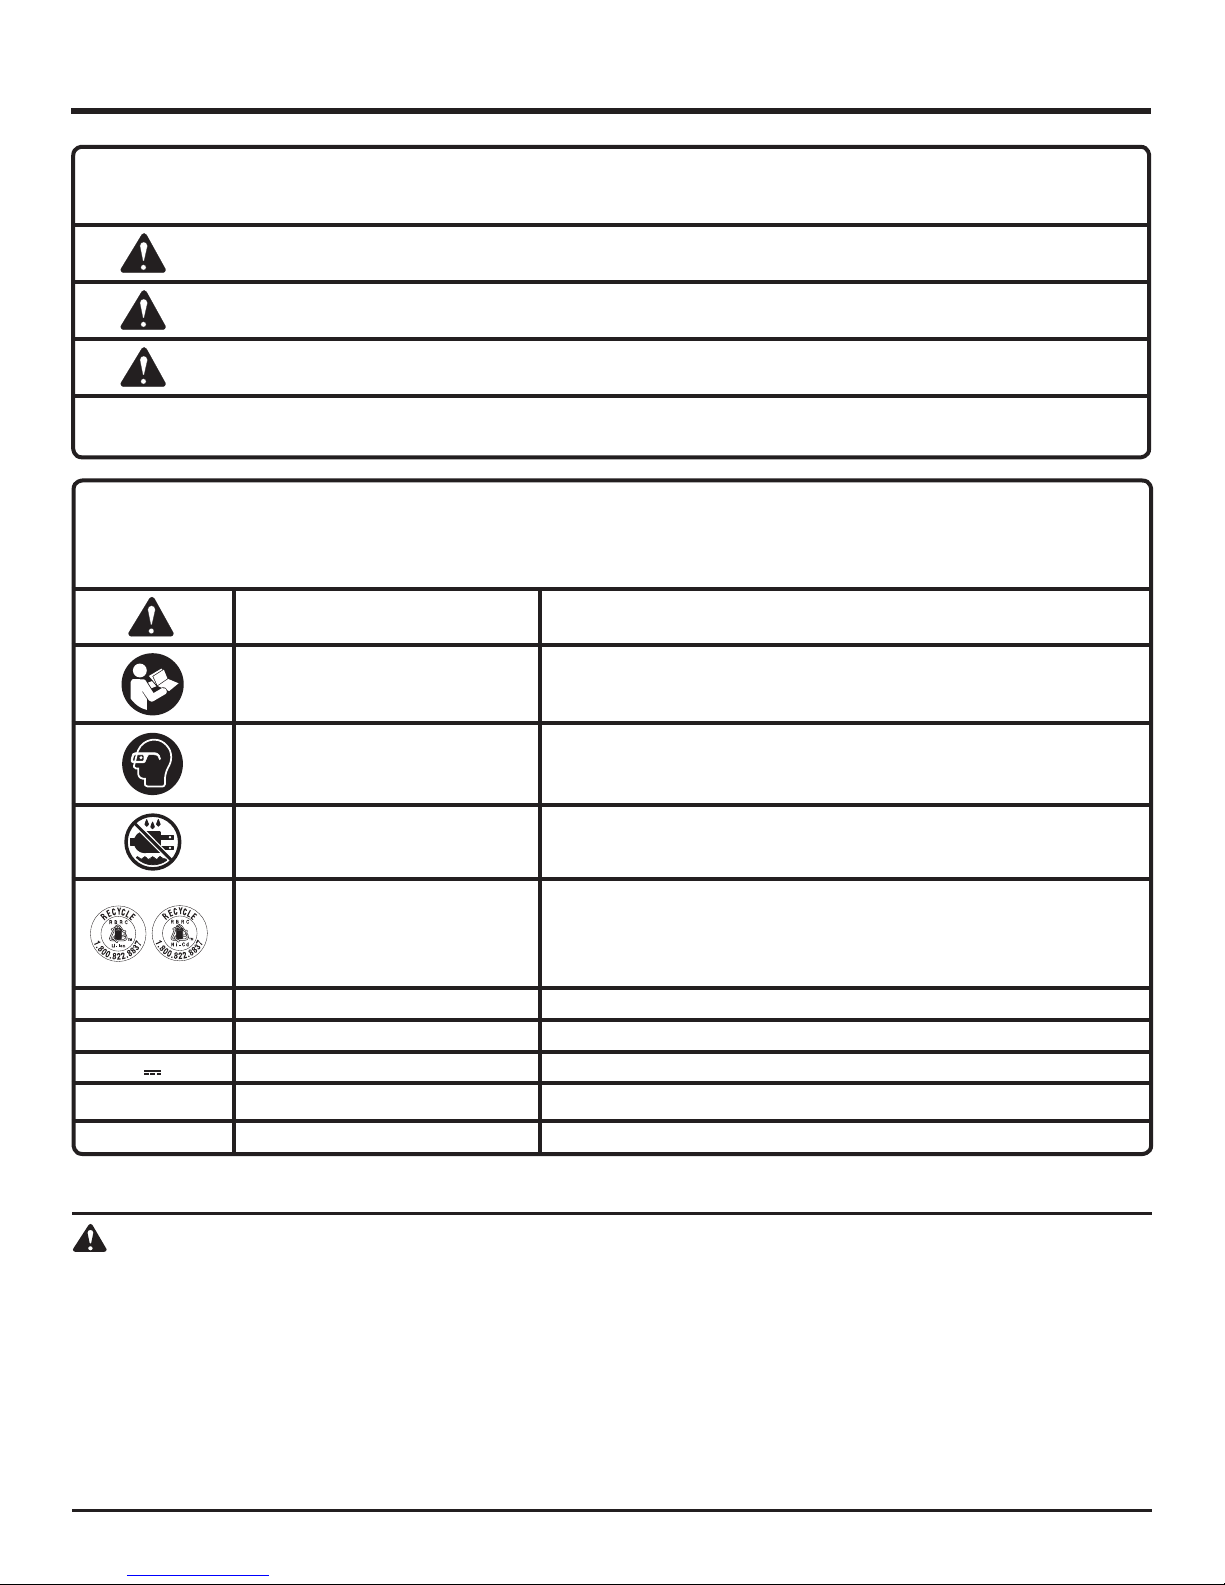
The following signal words and meanings are intended to explain the levels of risk associated with this product.
SYMBOL SIGNAL MEANING
DANGER:
WARNING:
CAUTION:
NOTICE:
Some of the following symbols may be used on this product. Please study them and learn their meaning. Proper interpretation of these symbols will allow you to operate the product better and safer.
Indicates an imminently hazardous situation, which, if not avoided, will result
in death or serious injury.
Indicates a potentially hazardous situation, which, if not avoided, could result
in death or serious injury.
Indicates a potentially hazardous situation, which, if not avoided, may result in
minor or moderate injury.
(Without Safety Alert Symbol) Indicates important information not related to an
injury hazard, such as a situation that may result in property damage.
SYMBOL NAME DESIGNATION/EXPLANATION
Safety Alert Indicates a potential personal injury hazard.
Read Operator’s Manual
Eye Protection
To reduce the risk of injury, user must read and understand operator’s manual before using this product.
Always wear eye protection with side shields marked to comply
with ANSI Z87.1.
Wet Conditions Alert Do not expose to rain or use in damp locations.
This product uses nickel- cadmium (Ni-Cd) and lithium-ion
Recycle Symbols
V Volts Voltage
min Minutes Time
Direct Current Type or a characteristic of current
n
o
.../min Per Minute Revolutions, strokes, surface speed, orbits etc., per minute
No Load Speed Rotational speed, at no load
(Li-ion) batteries. Local, state, or federal laws may prohibit disposal
of batteries in ordinary trash. Consult your local waste authority for
information regarding available recycling and/or disposal options.
CALIFORNIA PROPOSITION 65
WARNING:
This product and some dust created by power sanding, sawing, grinding, drilling, and other construction activities may
contain chemicals, including lead, known to the State of California to cause cancer, birth defects, or other reproductive
harm. Wash hands after handling.
Some examples of these chemicals are:
• lead from lead-based paints,
• crystalline silica from bricks and cement and other masonry products and,
• arsenic and chromium from chemically treated lumber.
Your risk from exposure to these chemicals varies, depending on how often you do this type of work. To reduce
your exposure, work in a well-ventilated area and with approved safety equipment, such as dust masks that are
specially designed to filter out microscopic particles.
4 - English
ASSEMBLY
UNPACKING
This product requires assembly.
Carefully remove the tool and any accessories from the
box. All items listed in the Includes section must be
included at the time of purchase.
WARNING:
Items in this Assembly section are not assembled
to the product by the manufacturer and require
customer installation. Use of a product that may
have been improperly assembled could result in
serious personal injury.
If any parts are damaged or missing, please call
1-866-539-1710 for assistance.
WARNING:
If any parts are damaged or missing do not operate
this product until the parts are replaced. Use of
this product with damaged or missing parts could
result in serious personal injury.
WARNING:
Do not attempt to modify this product or create
accessories or attachments not recommended
for use with this product. Any such alteration
or modification is misuse and could result in a
hazardous condition leading to possible serious
personal injury.
INSTALLING/REMOVING THE AUXILIARY
HANDLE ASSEMBLY
See Figures 1 - 2, page 9.
WARNING:
Always use the auxiliary handle when using this
tool to help resist torque reactions. Binding or
stalling of this product could lead to serious
personal injury.
An auxiliary handle is included for ease of operation and to
help prevent loss of control. The handle can be mounted for
left or right hand use.
To install the auxiliary handle:
Turn the handle grip counterclockwise to loosen it and
open the hooks wide enough to fit over the mounting ribs,
behind the torque adjustment ring.
Place the hooks over the mounting ribs, making sure the
hooks are positioned in the slots as shown.
NOTE: Make sure the notches on the inside of the auxiliary
handle engage the tabs on the drill housing.
Turn the handle clockwise to tighten. Make sure the
handle is secure before beginning operation.
To remove the handle and install it on the opposite side:
Turn the handle grip counterclockwise to loosen and
remove the handle.
Reinstall the handle in the desired position.
OPERATION
WARNING:
Do not allow familiarity with this product to make
you careless. Remember that a careless fraction
of a second is sufficient to inflict serious injury.
WARNING:
Always remove battery pack from the tool when
you are assembling parts, making adjustments,
cleaning, or when not in use. Removing battery
pack will prevent accidental starting that could
cause serious personal injury.
WARNING:
Always wear eye protection with side shields
marked to comply with ANSI Z87.1. Failure to do
so could result in objects being thrown into your
eyes and other possible serious injuries.
WARNING:
Do not use any attachments or accessories not
recommended by the manufacturer of this product.
The use of attachments or accessories not
recommended can result in serious personal injury.
APPLICATIONS
You may use this product for the purposes listed below:
Drilling in all types of wood products (lumber, plywood,
paneling, composition board, and hard board), ceramics,
plastics, fiberglass, laminates, and metals; driving screws
into wood and drywall with screwdriver bits
5 - English
OPERATION
INSTALLING BELT HOOK
See Figure 3, page 10.
The belt hook may be installed on either side of the housing.
Align hole in belt hook with hole in tool’s base.
Install screw to secure belt hook in place.
To uninstall, remove screw and then belt hook.
VARIABLE SPEED SWITCH TRIGGER
See Figure 4, page 10.
The variable speed switch trigger delivers higher speed with
increased trigger pressure and lower speed with decreased
trigger pressure.
To turn the drill ON, depress the switch trigger. To turn it
OFF, release the switch trigger and allow the chuck to come
to a complete stop.
NOTE: A whistling or ringing noise coming from the switch
during use is a normal part of the switch function.
DIRECTION OF ROTATION SELECTOR
(FORWARD/REVERSE/CENTER LOCK)
See Figure 4, page 10.
Set the direction of rotation selector in the OFF (center lock)
position to lock the switch trigger and help prevent accidental
starting when not in use.
Position the direction of rotation selector to the left of the
switch trigger for forward drilling. Position the selector to the
right of the switch trigger to reverse the direction.
NOTE: The drill will not run unless the direction of rotation
selector is pushed fully to the left or right.
INSTALLING/REMOVING BITS
See Figures 6 - 7, page 10.
The arrows on the keyless chuck indicate which direction
to rotate the chuck body to tighten or release the drill bit.
Do not use a wrench to tighten or loosen the chuck jaws.
To install bits, lock the switch trigger.
Open or close the chuck jaws until the opening is slightly
larger than the bit size you intend to use.
Raise the front of the drill slightly and insert the drill bit.
WARNING:
Make sure to insert the drill bit straight into the
chuck jaws. Do not insert the drill bit into the chuck
jaws at an angle, then tighten. This could cause
the drill bit to be thrown from the drill, resulting in
possible serious personal injury or damage to the
chuck.
Rotate the chuck body to close and tighten the chuck
jaws.
WARNING:
Do not hold the chuck body with one hand and use
the power of the drill to tighten the chuck jaws on
the drill bit. The chuck body could slip in your hand,
or your hand could slip and come in contact with
the rotating drill bit. This could cause an accident
resulting in serious personal injury.
NOTICE:
To prevent gear damage, always allow the chuck
to come to a complete stop before changing the
direction of rotation.
WARNING:
Battery tools are always in operating condition.
Lock the switch when not in use or carrying at your
side, when installing or removing the battery pack,
and when installing or removing bits.
INSTALLING/REMOVING BATTERY PACK
See Figure 5, page 10.
Lock the switch trigger.
Insert the battery pack into the product as shown.
Make sure the latches on each side of the battery pack
snap in place and that battery pack is secured in the
product before beginning operation.
Depress the latches to remove the battery pack.
To remove bits, lock the switch trigger and open the
chuck jaws.
The bit provided with the drill can be placed in the storage
area, located on the rear base of the drill.
LED LIGHT
See Figure 8, page 10.
The LED light, located on the front of the tool base, illuminates when either the switch trigger or grip light switch is
depressed.
If the drill is not in use, the time-out feature will cause the
light to start fading and then shut off.
The LED light illuminates only when there is a charged battery pack in the tool.
HI-LO SPEED SWITCH
See Figure 9, page 11.
Select LO (1) speed for applications requiring higher
power and torque.
Select HI (2) speed for fast drilling or driving applications.
NOTE: Running at low speeds under constant usage may
cause the drill to become overheated. If this occurs, cool
the drill by running it without a load and at full speed.
6 - English

OPERATION
NOTICE:
Never change speeds while the tool is running.
Failure to obey this caution could result in serious
damage to the drill.
Move the bit into the workpiece, applying only enough
pressure to keep the bit cutting or driving the screw. Do
not force the drill or apply side pressure to elongate a
hole. Let the tool do the work.
ADJUSTING TORQUE
See Figure 9, page 11.
When using the drill for various driving applications, it becomes necessary to increase or decrease the torque to help
prevent the possibility of damaging screw heads, threads,
workpiece, etc. In general, torque intensity should correspond
to the screw diameter. If the torque is too high or the screws
too small, the screws may be damaged or broken.
The torque is greater when the torque adjustment ring is
set on a higher setting. The torque is less when the torque
adjustment ring is set on a lower setting.
DRILLING/DRIVING SCREWS
See Figure 10, page 11.
WARNING:
Always use the auxiliary handle when using this
tool to help resist torque reactions. Binding or
stalling of this product could lead to serious
personal injury.
Installtheauxiliaryhandle.
Check the direction of rotation selector for the correct
setting(forwardorreverse).
Use LO (1) speed for high torque applications and
HI (2) speed for fast drilling or driving applications. Refer
to Hi-Lo Speed Switch and Adjusting Torque.
Secure the workpiece in a vise or with clamps to keep it
fromturningasthebitrotates.
Hold the drill firmly and place the bit at the point to be
drilled,orwherethescrewistobedriven.
WARNING:
Do not drive a screw where there is likely to be
hidden wiring behind the surface. Contact with a
“live” wire will make exposed metal parts of the tool
“live” and possibly shock the operator. If you must
drive a screw where hidden wire may be present,
always hold tool by insulated gripping surfaces
(handle) when performing the operation to prevent
a shock to the operator.
Depress the switch trigger to start the drill.
WARNING:
When drilling, be prepared for binding at bit
breakthrough. When these situations occur, drill
has a tendency to grab and kick opposite to the
direction of rotation and could cause loss of control
when breaking through material. If not prepared, this
loss of control can result in possible serious injury.
With hard, smooth surfaces, use a center punch to mark
the desired hole location. This will prevent the bit from
slipping off-center as the hole is started.
If the bit jams in the workpiece or if the drill stalls, stop
the tool immediately. Remove the bit from the workpiece
and determine the reason for jamming.
NOTE: This drill has an electric brake. When the switch trigger is released, the chuck stops turning. When the brake is
functioning properly, sparks will be visible through the vent
slots on the housing. This is normal and is the action of the
brake.
WOOD AND METAL DRILLING
For maximum performance, use high speed steel bits for
woodormetaldrilling.Selectdrilling mode. Begin drilling
at a very low speed to prevent the bit from slipping off the
starting point.
Wood Drilling
Increasethespeedasthedrillbitbitesintothematerial.
When drilling through holes, place a block of wood behind
the workpiece to prevent ragged or splintered edges on
thebacksideofthehole.
Metal and Steel Drilling
Use a light oil on the drill bit to keep it from overheating.
The oil will prolong the life of the bit and increase the
drilling action.
Maintain a speed and pressure which allows cutting
without overheating the bit. Applying too much pressure
will:
• Overheat the drill;
• Wear the bearings;
• Bend or burn bits; and
•Produceoff-centerorirregular-shapedholes.
When drilling large holes in metal, start with a small bit,
then finish with a larger bit.
NOTE: Maintenance information begins on page 8 after French
and Spanish language sections. Illustrations start on page 9.
This product has a 90-Day Satisfaction Guarantee Policy, as well as a Three-year Limited Warranty.
For Warranty and Policy details, please go to www.RIDGID.com or call (toll free) 1-866-539-1710.
7 - English

RÈGLES DE SÉCURITÉ GÉNÉRALES RELATIVES AUX OUTILS
ÉLECTRIQUES
AVERTISSEMENT
Lire tous les avertissements et toutes les instructions.
Ne pas suivre l’ensemble des avertissements et des
instructions peut entraîner une électrocution, un incendie
ou des blessures graves.
Conserver les avertissements et les instructions à des fins de
référence ultérieure. Le terme « outil motorisé », utilisé dans tous
les avertissements ci-dessous désigne tout outil fonctionnant sur
secteur (câblé) ou sur piles (sans fil).
SÉCURITÉ DU LIEU DE TRAVAIL
Garder le lieu de travail propre et bien éclairé. Les endroits
encombrés ou sombre s sont propices aux accidents.
Ne pas utiliser d’outils électriques dans des atmosphères
explosives, par exemple en présence de liquides, gaz ou
poussières inflammables. Les outils électriques produisent
des étincelles risquant d’enflammer les poussières ou vapeurs.
Garder les enfants et badauds à l’écart pendant l’utilisation
d’un outil électrique. Les distractions peuvent causer une perte
de contrôle.
SÉCURITÉ ÉLECTRIQUE
Les fiches des outils électriques doivent correspondre à
la prise secteur utilisée. Ne jamais modifier la fiche, de
quelque façon que ce soit. Ne jamais utiliser d’adaptateurs
de fiche avec des outils mis à la terre. Les fiches et prises
non modifiées réduisent le risque de choc électrique.
Éviter tout contact du corps avec des surfaces mises
à la terre, telles que tuyaux, radiateurs, cuisinières et
réfrigérateurs. Le risque de choc électrique est accru lorsque
le corps est mis à la terre.
Ne pas exposer les outils électriques à l’eau ou l’humidité.
La pénétration d’eau dans ces outils accroît le risque de choc
électrique.
Ne pas maltraiter le cordon d’alimentation. Ne jamais
utiliser le cordon d’alimentation pour transporter l’outil et
ne jamais débrancher ce dernier en tirant sur le cordon.
Garder le cordon à l’écart de la chaleur, de l’huile, des
objets tranchants et des pièces en mouvement. Un cordon
endommagé ou emmêlé accroît le risque de choc électrique.
Pour les travaux à l’extérieur, utiliser un cordon spécialement
conçu à cet effet. Utiliser un cordon conçu pour l’usage
extrérieur pour réduire les risques de choc électrique.
S’il est nécessaire d’utiliser l’outil électrique dans un endroit
humide, employer un dispositif interrupteur de défaut à la
terre (GFCI). L’utilisation d’un GFCI réduit le risque de décharge
électrique.
Ne recharger les piles qu’avec l’appareil indiqué. Pour
utiliser l’appareil avec des piles au nickel-cadmium et au
lithium-ion de 18 V, consulter le supplément de raccordement
pour chargeur/outils/piles/appareil n˚ 988000-302.
SÉCURITÉ PERSONNELLE
Rester attentif, prêter attention au travail et faire preuve
de bon sens lors de l’utilisation de tout outil électrique. Ne
pas utiliser cet outil en état de fatigue ou sous l’influence
de l’alcool, de drogues ou de médicaments. Un moment
d’inattention pendant l’utilisation d’un outil électrique peut
entraîner des blessures graves.
Utiliser l’équipement de sécurité. Toujours porter une
protection oculaire. L’équipement de sécurité, tel qu’un
masque filtrant, de chaussures de sécurité, d’un casque
ou d’une protection auditive, utilisé dans des conditions
appropriées réduira le risque de blessures.
Éviter les démarrages accidentels. S’assurer que le
commutateur est en position d’arrêt avant de brancher
l’outil. Porter un outil avec le doigt sur son commutateur ou
brancher un outil dont le commutateur est en position de marche
peut causer un accident.
Retirer les clés de réglage avant de mettre l’outil en marche.
Une clé laissée sur une pièce rotative de l’outil peut causer des
blessures.
Ne pas travailler hors de portée. Toujours se tenir bien
campé et en équilibre. Ceci permettra de mieux contrôler
l’outil en cas de situation imprévue.
Porter une tenue appropriée. Ne porter ni vêtements amples,
ni bijoux. Garder les cheveux, les vêtements et les gants
à l’écart des pièces en mouvement. Les vêtements amples,
bijoux et cheveux longs peuvent se prendre dans les pièces en
mouvement.
Si les outils sont équipés de dispositifs de dépoussiérage,
s’assurer qu’ils sont connectés et correctement utilisés.
L’usage de ces dispositifs de dépoussiérage peut réduire les
dangers présentés par la poussière.
Ne porter ni vêtements amples, ni bijoux. Attacher ou couvrir
les cheveux longs. Les vêtements amples, bijoux et cheveux
longs peuvent se prendre dans les ouïes d’aération.
Ne pas utiliser l’outil sur une échelle ou un support instable.
Une bonne tenue et un bon équilibre permettent de mieux
contrôler l’outil en cas de situation imprévue.
UTILISATION ET ENTRETIEN DES OUTILS
ÉLECTRIQUES
Ne pas forcer l’outil. Utiliser l’outil approprié pour
l’application. Un outil approprié exécutera le travail mieux et de
façon moins dangereuse s’il est utilisé dans les limites prévues.
Ne pas utiliser l’outil si le commutateur ne permet pas de le
mettre en marche ou de l’arrêter. Tout outil qui ne peut pas
être contrôlé par son commutateur est dangereux et doit être
réparé.
Débrancher l’outil et/ou retirer le bloc-piles avant d’effectuer
des réglages, de changer d’accessoire ou de remiser l’outil.
Ces mesures de sécurité préventives réduisent les risques de
démarrage accidentel de l’outil.
Ranger les outils motorisés hors de la portée des enfants
et ne laisser personne n’étant pas familiarisé avec l’outil ou
ces instructions utiliser l’outil. Dans les mains de personnes
n’ayant pas reçu des instructions adéquates, les outils sont
dangereux.
Entretenir les outils motorisés. Vérifier qu’aucune pièce
mobile n’est mal alignée ou bloquée, qu’aucune pièce n’est
brisée et s’assurer qu’aucun autre problème ne risque
d’affecter le bon fonctionnement de l’outil. En cas de
dommages faire réparer l’outil avant de l’utiliser de nouveau.
Beaucoup d’accidents sont causés par des outils mal entretenus.
2 — Français
 Loading...