

Ricoh M 2701, M 2700 Quick Manual
Quick Guide
Read this manual carefully before you use the product and keep it handy for future reference. For safe and correct use, please be
sure to read “Safety Information” before using the machine.
Press the [Start] key.
Place the original on the
exposure glass with the back side
faced down and with the top to
the rear of the machine, and then
press the [Start] key again.
Scanning an ID Card
You can scan both sides of an ID card and transmit
the scanned image to an e-mail address, a folder,
or a USB fl ash memor y device.
This function is available only when the
original is set on the exposure glass, not
when it is set in the ADF.
When using the ID Card Scan function, you
must fi rst register the destination in the
Address Book using Web Image Monitor.
For details, see Web Image Monitor Help.
Press the [Scanner] key.
Place the original front side
down and top to the machine
rear on the exposure glass.
Press the selection key under
[ID Scan].
Press the [Start] key.
Using Folder Print
Up to 3 documents can be stored on the machine.
The stored documents can be accessed and
printed with a single keystroke. This function
is called “Folder Print”.
Enter the length using number
keys, and then press the [OK]
key.
To enter a decimal point, press the
[./
] key.
Press the [User Tools/Counter]
key to return to the initial screen.
Copying an ID Card
You can copy the front and back sides of an ID
card or other small documents onto one side of
a sheet of paper.
This function is available only when the
original is set on the exposure glass, not
when it is set in the ADF.
To use this function, the paper size used for
printing copies must be set to A6, A5, A4,
Half Letter, or Letter.
CES165
Press the [ID Card Copy] key.
To make multiple copies, enter
the number of copies using the
number keys.
Place the original with the front
side faced down in the upperleft area of the exposure glass.
Make sure the original faces down in the
scan area
specifi ed on the exposure
glass (as indicated by the scale).
Specifying the Paper Size
This section explains how to specify the paper
size and paper type using the control panel.
You can specify the size of the paper that is
loaded in the paper tray.
Basically, it is not necessary to specify the
paper size manually because the default value
of the paper size settings for each tray is [Auto
Detect]. If you load paper whose size is not
detected automatically or load custom size
paper, specify the paper size manually using
the following procedures:
Press the [User Tools/Counter]
key.
Press the [] or [] key to
select [System Settings], and
then press the [OK] key.
Press the [] or [] key to
select [Tray Paper Settings], and
then press the [OK] key.
Press the [] or [] key to
select the paper size setting for
the desired tray, and then press
the [OK] key.
Specifying the Standard Paper Size
❖
Press the [], [], [], or
[] key to select the desired
paper size, and then press the
[OK] key.
Press the [User Tools/Counter]
key to return to the initial screen.
Specifying a Custom Paper Size
❖
Press the [], [], [], or []
key to select [CustomSize],
and then press the [OK] key.
Press the [] or [] key to
select [mm] or [inch], and then
press the [OK] key.
Enter the width using number
keys, and then press the [OK]
key.
To enter a decimal point, press the
[./
] key.
For details about deleting documents, see “Storing
Scanned Documents (Folder Print)”, User Guide
in the provided CD-ROM or our website.
Storing Documents
❖
Press the [Folder Print] key.
Press the selection key under
[Store].
Press the [] or [] key to
select an “Empty” document.
Press the [OK] key.
When using the ADF
●
Place the originals into the
ADF with their fronts facing
up.
Press the [Start] key.
Enter a Name.
Press the [OK] key.
When using the Exposure Glass
●
Place the original on the
exposure glass with the back
side faced down and with the
top to the rear of the machine.
Press the [Start] key.
Place the original on the
exposure glass with the back
side faced down and with the
top to the rear of the machine.
Press the [Start] key again.
When all originals have been scanned,
press the [
] key.
Enter a Name.
Press the [OK] key.
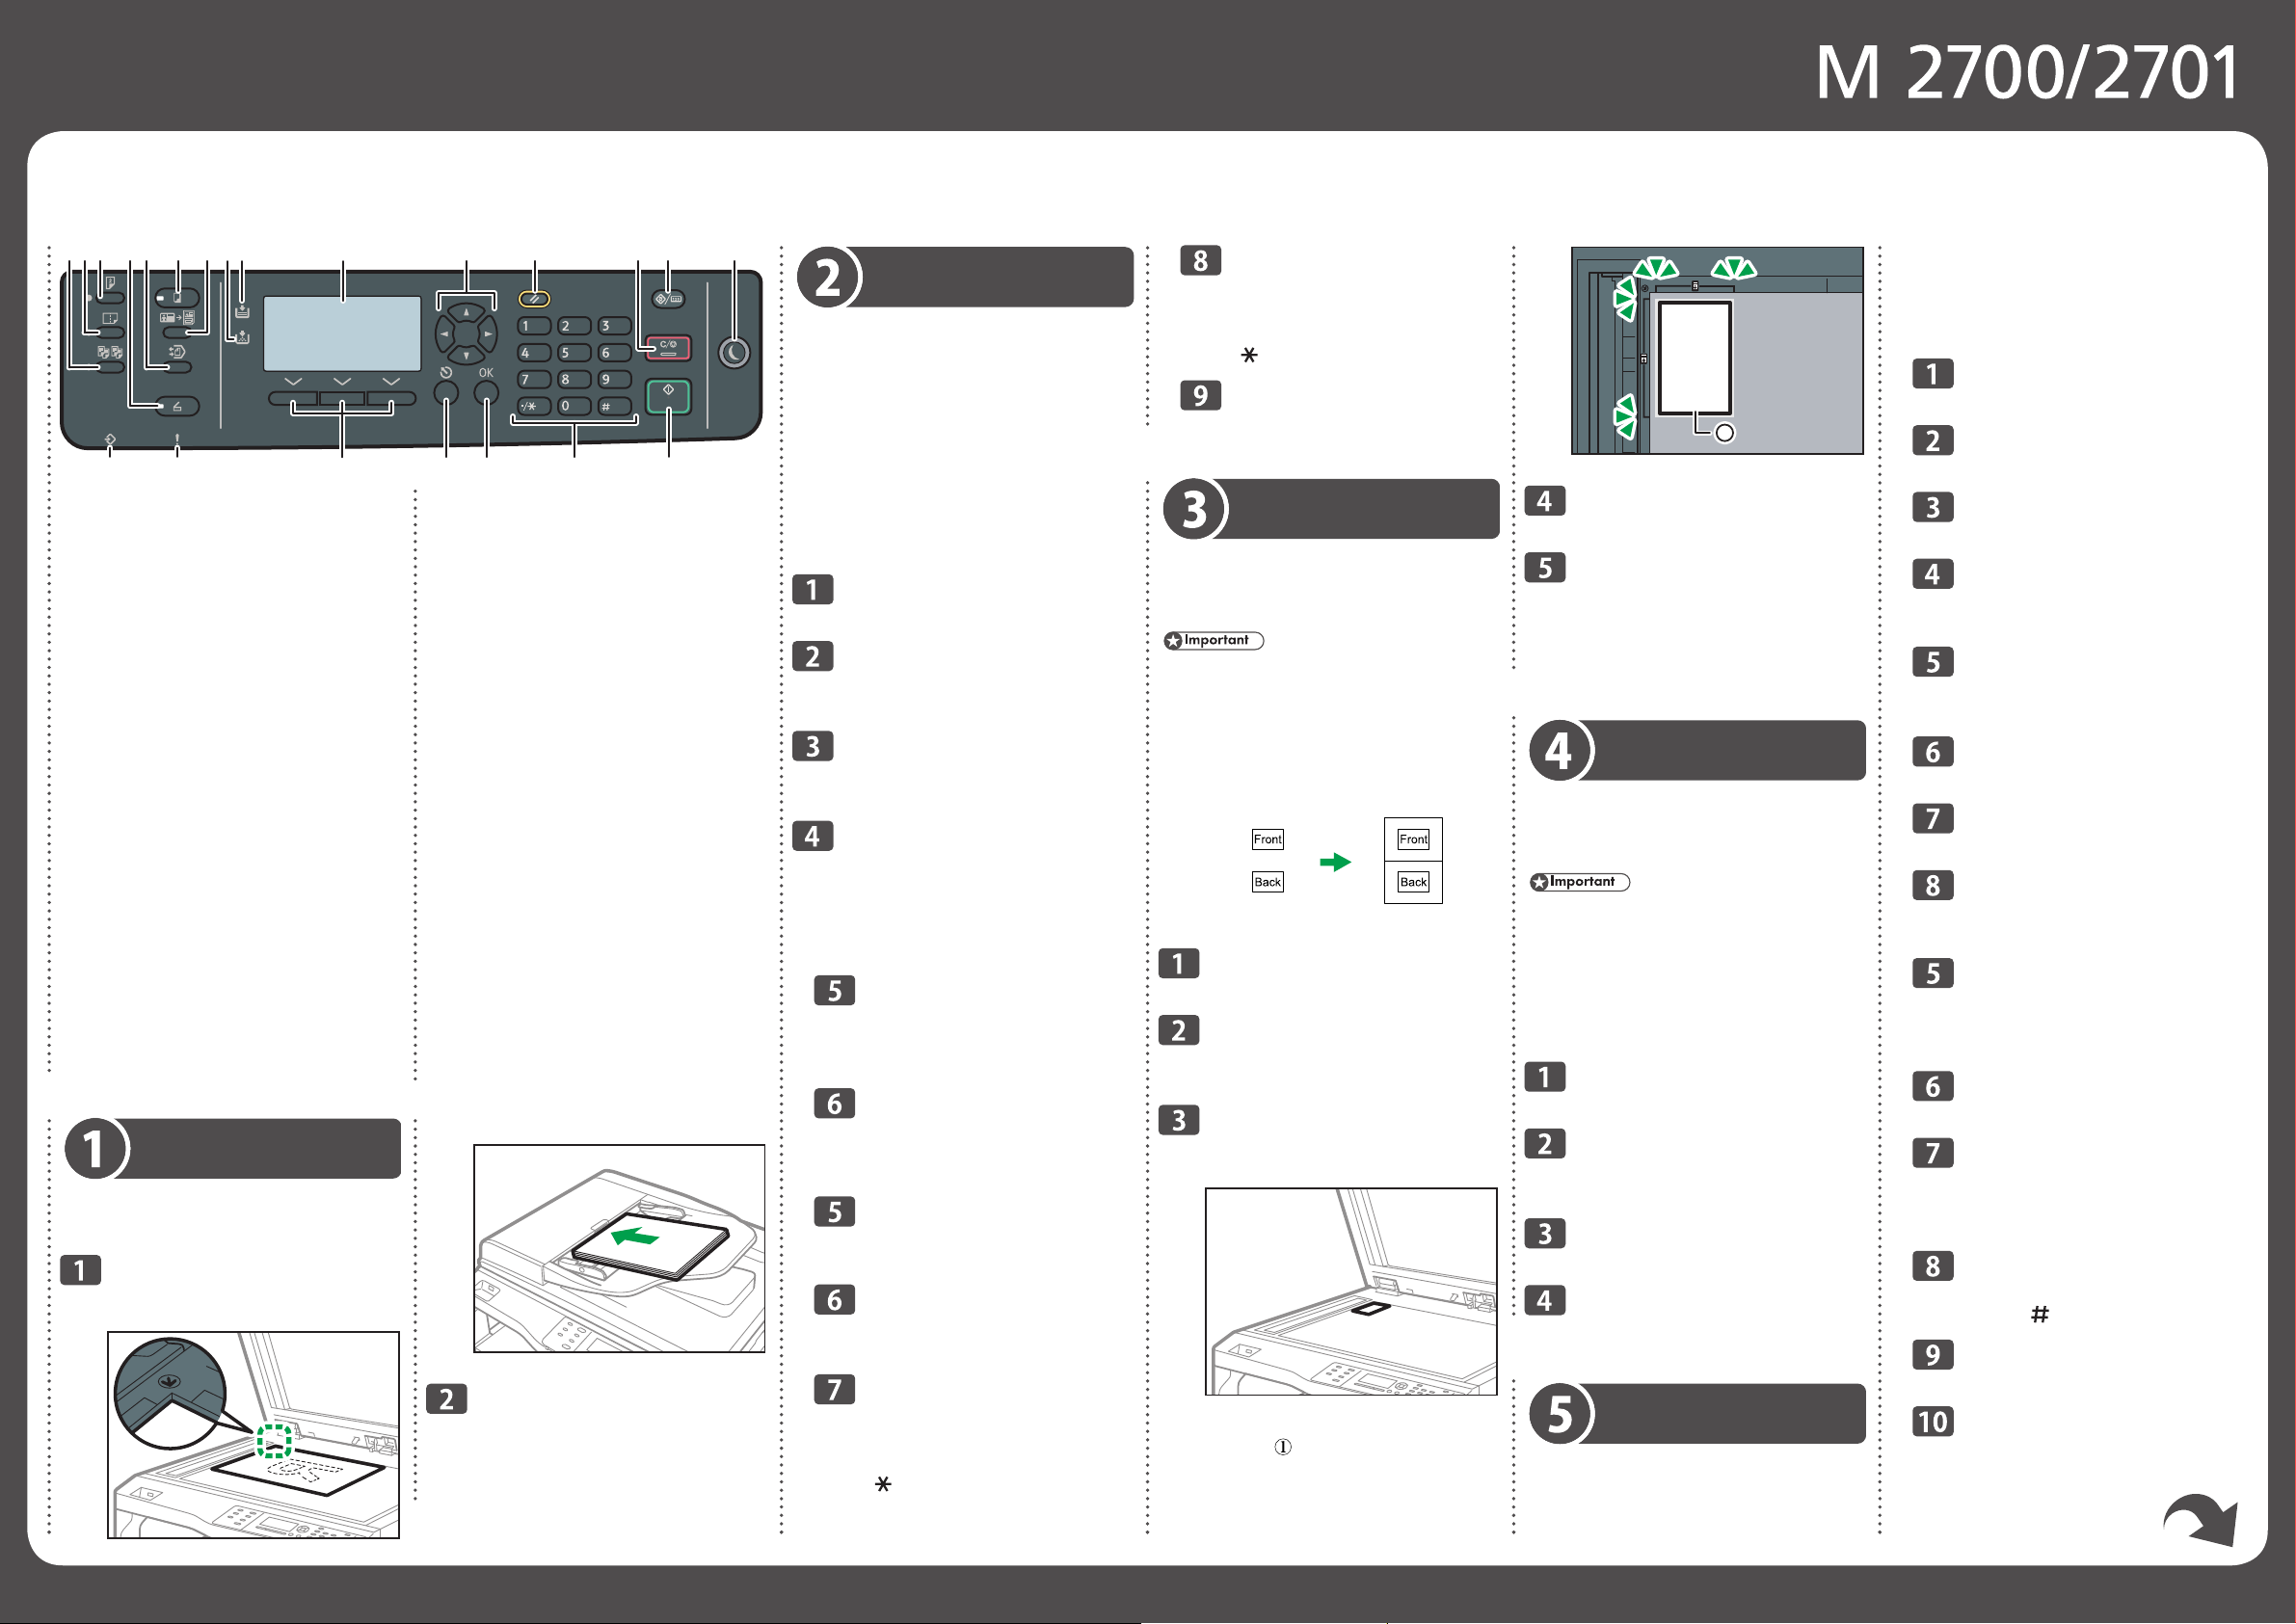
12. [Reset] key
Press to clear the current settings.
13. [Clear/Stop] key
14. [User Tools/Counter] key
Press to display the menu for configuring the
machine’s system settings. You can also check
or print the counter value. If you press this key
while performing the various settings, the machine
returns to the initial screen.
15. [Energy Saver] key
16. Data In Indicator
17. Alert Indicator
18. Selection keys
19. [Escape] key
Press to cancel the last operation or to return to
the previous level of the menu tree.
20. [OK] key
Press to confirm settings and specified values, or
to move to the next menu level.
21. Number keys
Press to enter numerical values when specifying
settings such as copy quantities or to enter letters
when specifying names.
22. [Start] key
Press to start copying or scanning.
1. [Sort] key
Press to assemble copies as sets in sequential order.
2. [Combine] key
Press to combine two one-sided originals or one
two-sided original to one side of a sheet.
3. [Duplex] key
Press to print on both sides of paper.
4. [Scanner] key
Press to switch the machine to scanner mode.
5. [Folder Print] key
Press to enter Folder Print mode for the current job.
6. [Copy] key
Press to switch the machine to copier mode.
7. [ID Card Copy] key
Press to enter ID card copy mode for the current job.
8. Add Toner Indicator
9. Load Paper Indicator
10. Screen
11. Scroll keys
Press to move the cursor in the direction indicated
by the key.
Pressing the [][] keys while the machine is in
standby mode will display the menu for configuring
the settings of the machine’s current operation
mode (copier or scanner).
Pressing the [▲][▼] keys allows you to scroll the
screen and select items on the menus.
Placing Originals
This section describes the procedure for placing
originals on the exposure glass and in the ADF.
Place the originals.
Exposure Glass (Face down)
Auto Document Feeder (Face up)
If necessary, confi gure advanced
photocopy settings.
For details, see “Specifying Scan
Settings for Scanning”, User Guide in the
provided CD-ROM or our website.
181716
DZV419
151413121110987654321
2019
2221
DZV102
DZV421
DZV423
1
DZV424
Quick Guide 2/2
Printing Documents
❖
Press the [Folder Print] key.
Press the selection key under
[Print].
Press the [] or [] key to
select a document to print.
Press the [OK] key.
Press the [Start] key.
Making Copies
This section describes the basic procedure for
making copies.
Use paper and originals that are the same size.
Specify a scaling ratio if the original is not the
same size as the paper. For details, see
“Specifying Reduce/Enlarge”.
Press the [Copy] key.
Place the original on the exposure
glass or in the ADF.
To place the original, see “Placing Originals”.
To make multiple copies, enter
the number of copies using the
number keys.
Press the [Start] key.
Specifying Reduce/Enlarge
There are two ways to set the scaling ratio.
Press the [Copy] key.
Press the selection key under [Scale].
Preset ratio
❖
When using the Exposure Glass
●
Place the original on the
exposure glass front side
down and with the top to the
rear of the machine.
Press the [Start] key.
Place the next original on the
exposure glass.
When selecting [2 Sided->2 Sided] in
Step 2, place the original on the
exposure glass with the back side
faced down and with the top to the
rear of the machine.
Press the [Start] key again.
When all originals have been scanned,
press the [
] key.
Combined Copying
This section explains how to copy two original
pages to one sheet, or copy four original pages
to one sheet with two pages per side.
One-Sided Combine
❖
Press the [Combine] key.
Press the [] or [] key to
select [2 in 1] or [4 in 1]
according to how you want
the document to be output,
and then press the [OK] key.
Press the [] or [] key to
select paper orientation and
page order, and then press
the [OK] key.
When using the ADF
●
If you want to copy 2-sided originals onto
one side of a sheet, proceed to the next step.
If not, proceed to Step 7.
Press the [Duplex] key.
Press the [▲] or [▼] key to
select the desired copy mode,
and then press the [OK] key.
Press the [▲] or [▼] key to
select original orientation and
page order, and then press
the [OK] key.
Press the selection key under
[R/E] or [Auto R/E].
For [R/E], press the [] or [] key to
select the desired ratio.
Press the [OK] key.
Custom ratio
❖
CES106
Press the selection key under
[Custom].
Specify the desired ratio using the
number keys.
Press the [OK] key.
Duplex Copying
This section explains how to copy two 1-sided
pages or one 2-sided page onto a 2-sided page.
1 Sided->2 Sided
●
Copies two 1-sided pages on one 2-sided page.
2 Sided->2 Sided
●
Copies one 2-sided page on one 2-sided page.
Press the [Duplex] key.
Press the [▲] or [▼] key to
select [1 Sided->2 Sided] or [2
Sided->2 Sided] according to
how you want the document
to be output, and then press
the [OK] key.
Press the [▲] or [▼] key to
select the desired original
orientation, and then press
the [OK] key.
Press the [▲] or [▼] key to
select the desired duplex
orientation, and then press
the [OK] key.
When using the ADF
●
Place the originals into the ADF
with their fronts facing up.
Press the [Start] key.
Place the originals into the
ADF with their fronts facing
up.
Press the [Start] key.
When using the Exposure Glass
●
Place the original on the
exposure glass front side
down and with the top to the
rear of the machine.
Press the [Start] key.
Place the next original on the
exposure glass.
Press the [Start] key again.
When all originals have been scanned,
press the [
] key.
Two-Sided Combine
❖
To use this function, you have to use the duplex
function simultaneously. For details about the
duplex function, see “Duplex Copying”.
Press the [Combine] key.
Press the[] or [] key to
select [2 in 1] or [4 in 1]
according to how you want
the document to be output,
and then press the [OK] key.
Press the [] or [] key to
select paper orientation and
page order, and then press
the [OK] key.
Press the [Duplex] key.
Press the [▲] or [▼] key to
select the desired copy mode,
and then press the [OK] key.
Press the [] or [] key to
select original orientation and
page order, and then press
the [OK] key.
When using the ADF
●
Place the originals into the ADF
with their fronts facing up.
Press the [Start] key.
When using the Exposure Glass
●
Place the original on the
exposure glass front side
down and with the top to the
rear of the machine.
Press the [Start] key.
Place the next original on the
exposure glass.
When copying 2-sided originals, place
the original on the exposure glass with
the back side faced down and with the
top to the rear of the machine.
Press the [Start] key again.
When all originals have been scanned,
press the [
] key.
Using Scan to E-mail/ Folder
This section describes the basic operation for
sending scanned fi les via e-mail or to a computer.
To send scanned fi les to an e-mail address (Scan
to E-mail) or a shared folder on a network
computer (Scan to Folder), you must fi rst register
the destination in the Address Book using Web
Image Monitor. See "Registering Scan
Destinations", User Guide in the provided
CD-ROM or our website.
Place the original on the
exposure glass or in the ADF.
To place the original, see “Placing Originals”
Press the [Scanner] key.
Press the selection key under
[Addr].
Press the [] or [] key to select
[Search By Name] or [Search By
ID], and then press the [OK] key.
If you want to search for a specifi c
entry by its name, enter the fi rst
letters of the name using the
number keys, and then press the
[OK] key. Each time you enter a
character, the display changes to
show the matching name.
Search for the desired destination
by pressing the [] or [] key to
scroll the Address Book, and
then press the [OK] key.
Press the [Start] key.
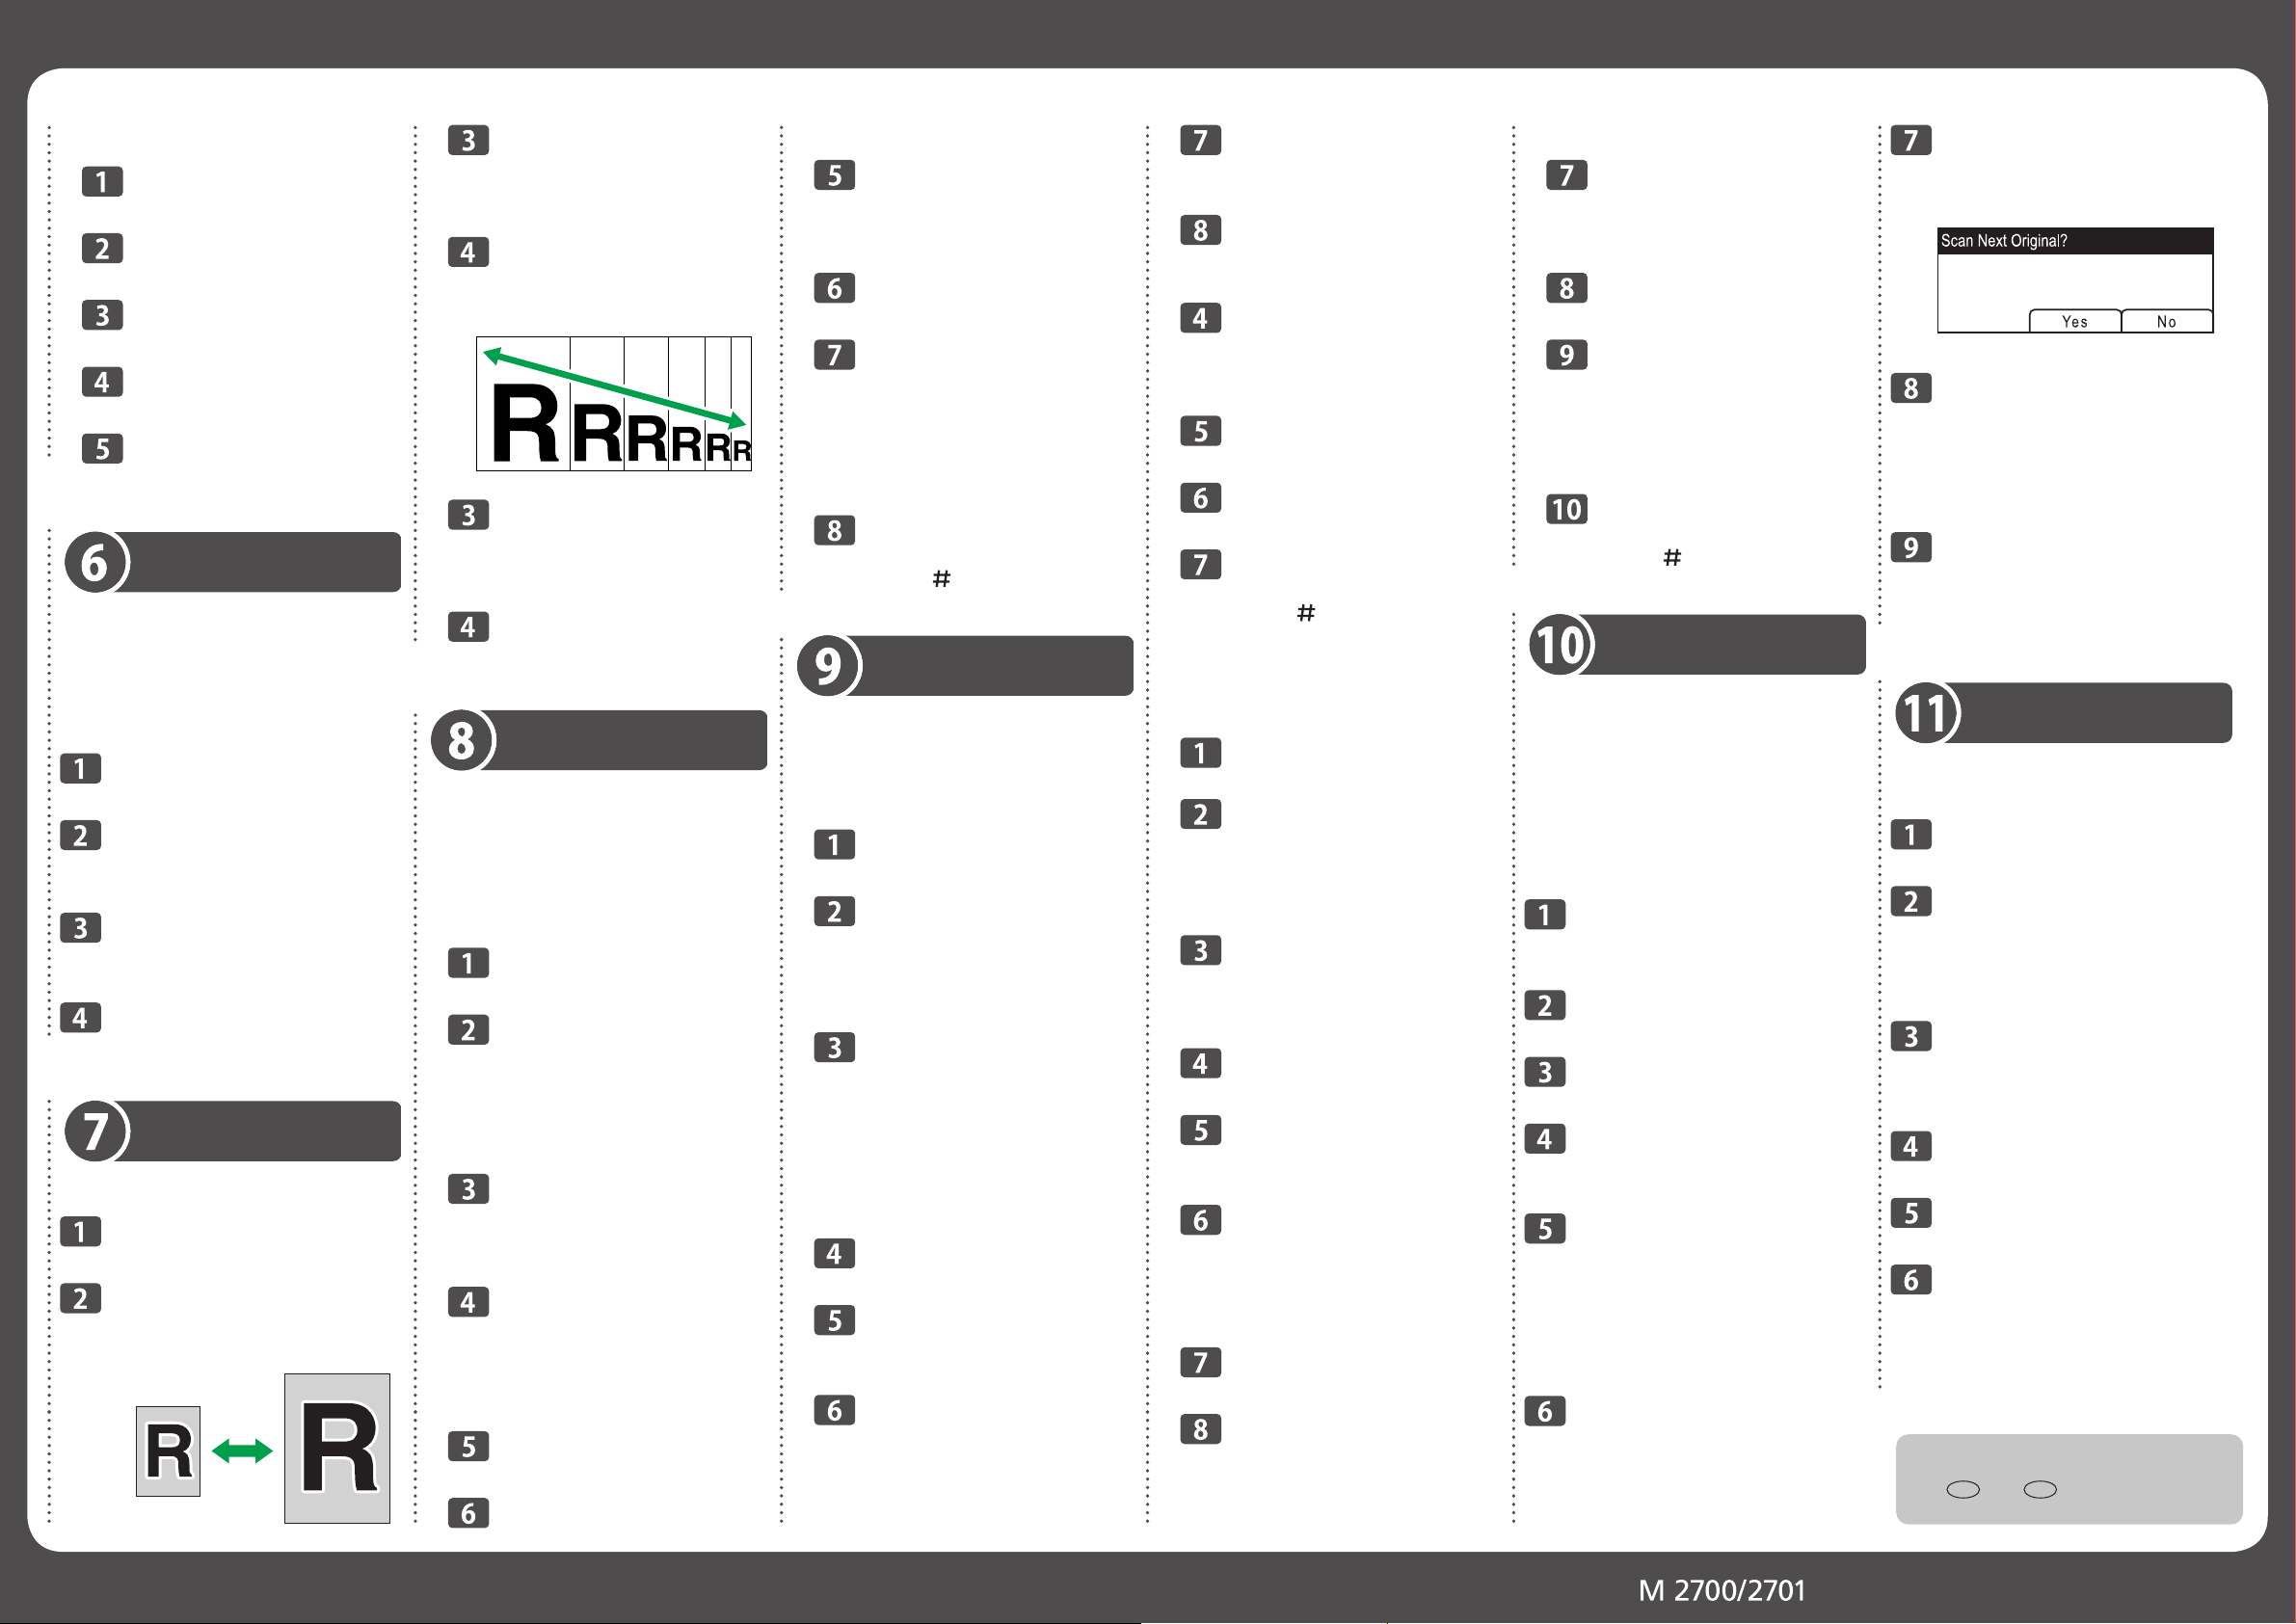
Depending on the machine’s settings, you
may see the following screen on the display
when scanning from the exposure glass.
If you see this screen, proceed to the next step.
If you have more originals to
scan, place the next original on
the exposure glass, and then
press the selection key under
[Yes]. Repeat this step until all
originals are scanned.
When all originals have been
scanned, press the selection key
under [No] to start sending the
scanned fi le.
Installing the Printer Driver
Using the CD-ROM supplied with this machine,
you can install the driver from your computer.
Turn on your computer.
Insert the provided CD-ROM
into the CD-ROM drive of the
computer.
If your computer does not have a CD-ROM
drive, download a setup fi le from our website.
Click [Quick Install].
The software license agreement appears
in the [Software License Agreement]
dialog box.
After reading the agreement,
click [Yes].
Follow the instructions in the
setup wizard.
Click [Finish] in the [Setup
Complete] dialog box. If the
installer prompt you to restart
Windows, reboot your computer.
Setup is completed.
© 2018
EN GB EN AU D0B3-7108
DAC578
 Loading...