

Ricoh CAPLIO RR10 User Manual

Chapter
2
MASTERING BASIC OPERATION
Turning the Camera On and Off ......................................30
Using the Mode Dial........................................................31
Explanation of the Data Displays ....................................32
Before You Start Recording .............................................34
Setting the Date and Time.............................................................. 34
How to Hold the Camera ................................................................ 35
Adjusting the Focus........................................................................ 36
Changing the Size of the Subject (Zoom) ...................................... 38
Changing the PIC (Image Quality) Mode ....................................... 38
Adjusting the Brightness of the LCD Monitor ................................. 39
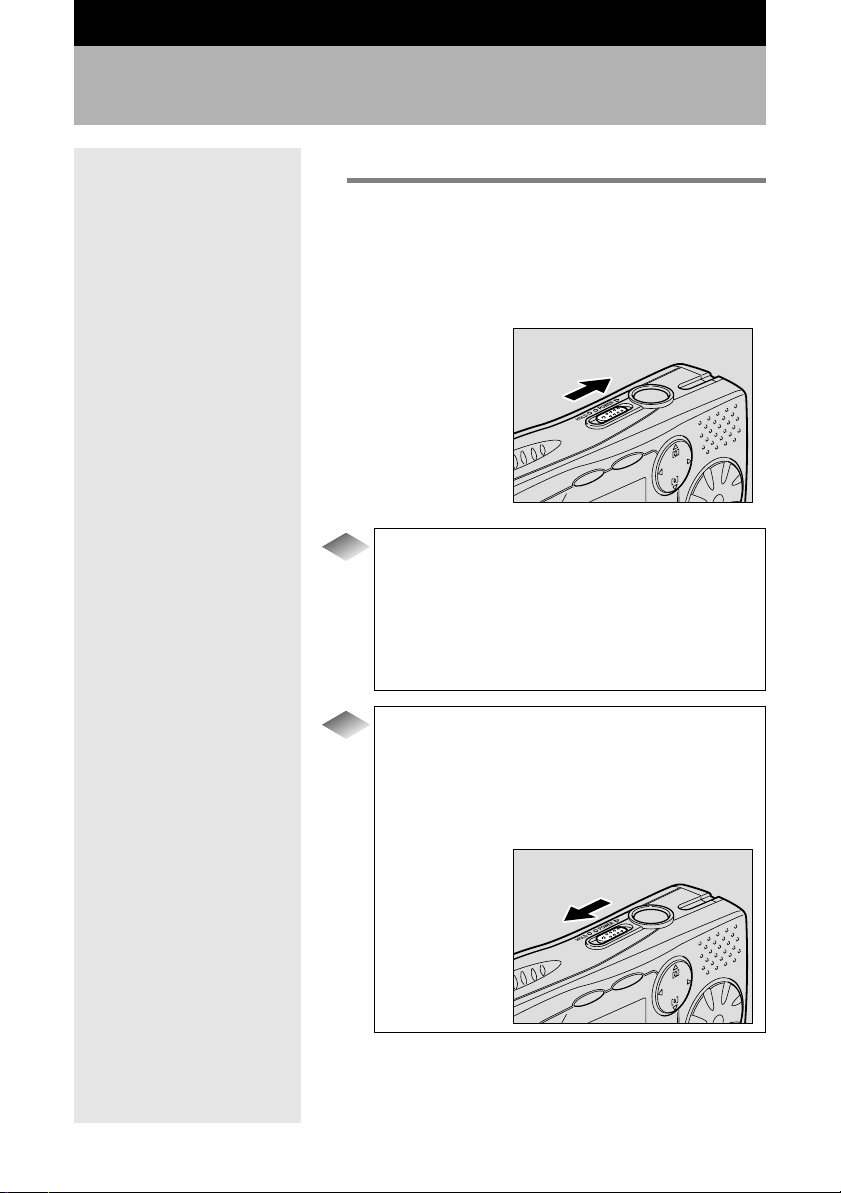
Turning the Camera On and Off
Follow the procedure below to turn the camera on and off.
1
Slide the power switch in the direction
shown by the arrow (toward POWER).
The camera will turn on.
To turn the camera off, slide the power switch toward
POWER again.
Tips
Auto Power Off
The auto power off function will be activated and the
monitor and camera will be turned off automatically
to conserve the battery if the camera is left with no
buttons operated for the preset time. To resume use,
turn the power on again.
mmmmSee “Changing the Auto Power Off Setting” (p.98).
30
Tips
HOLD Switch
If you slide the power switch toward HOLD, all
button operations will be disabled. Use the function
to avoid misuse of the buttons during playing back
music.
mmmmSee “Playing Music” (p.91).
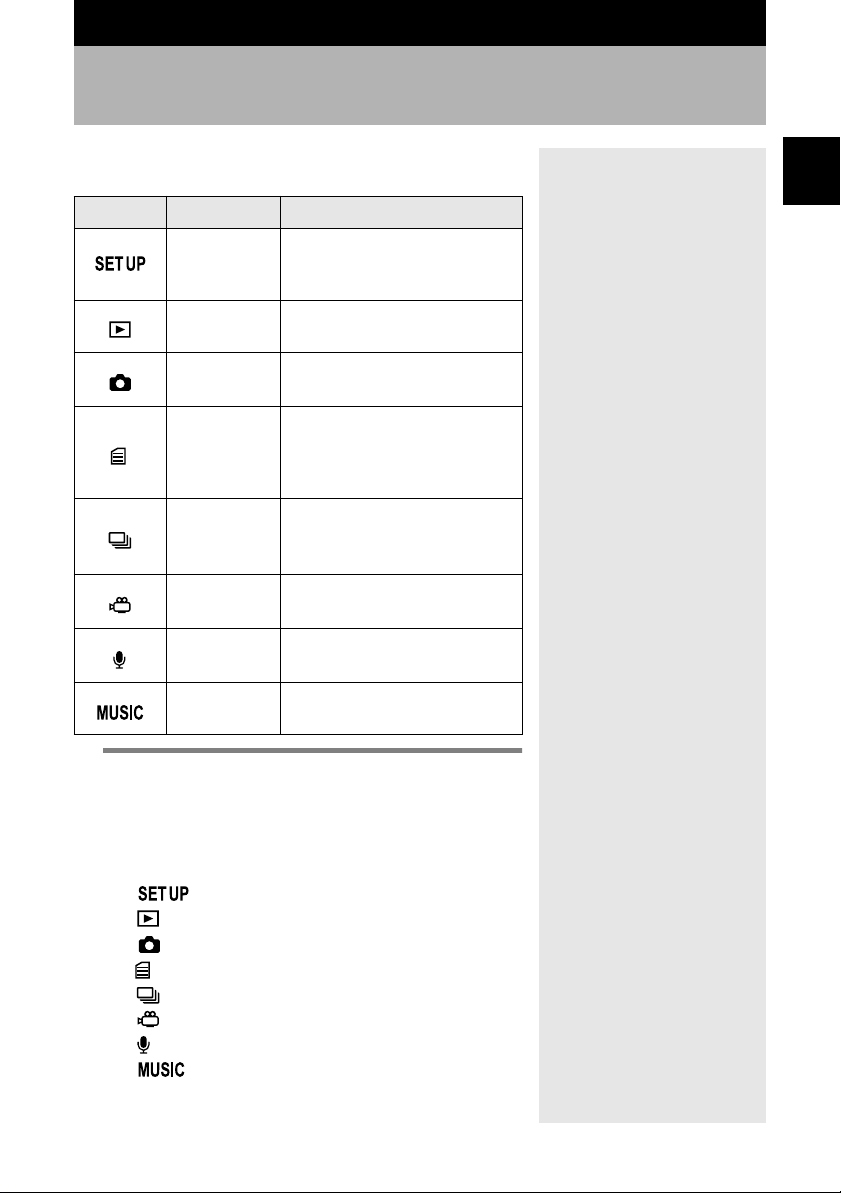
Using the Mode Dial
The camera offers a number of modes for recording and
playback. The mode dial is used to select the desired mode.
Mode dial Mode name Description
Setup mode
Play mode
Still Picture
mode
Text mode
Continuous
Shooting
mode
Motion
Picture mode
Voice Memo
mode
Music mode
This mode is used for changing
and confirming the camera
settings.
This mode is used for playing
recorded files.
This mode is used for normal
shooting.
This mode is used for recording
text. Colour is eliminated and
the picture is recorded in 2
values, black and white.
Pictures are recorded
continuously while the shutter
release button is pressed.
This mode is used for recording
motion pictures with sound.
This mode is used for recording
voice memos.
This mode is used for playing
music.
2
MASTERING BASIC OPERATION
1
Turn the mode dial and set it to the
desired mode.
The screen displayed on the LCD monitor varies
depending on the mode. Refer to the following pages
for operating instructions.
• (Setup) (p.96)
•
(Play) (p.70)
•
(Still picture) (p.43)
• (Text) (p.45)
• (Continuous shooting) (p.46)
•
(Motion picture) (p.47)
• (Voice memo) (p.48)
•
(Music) (p.90)
31
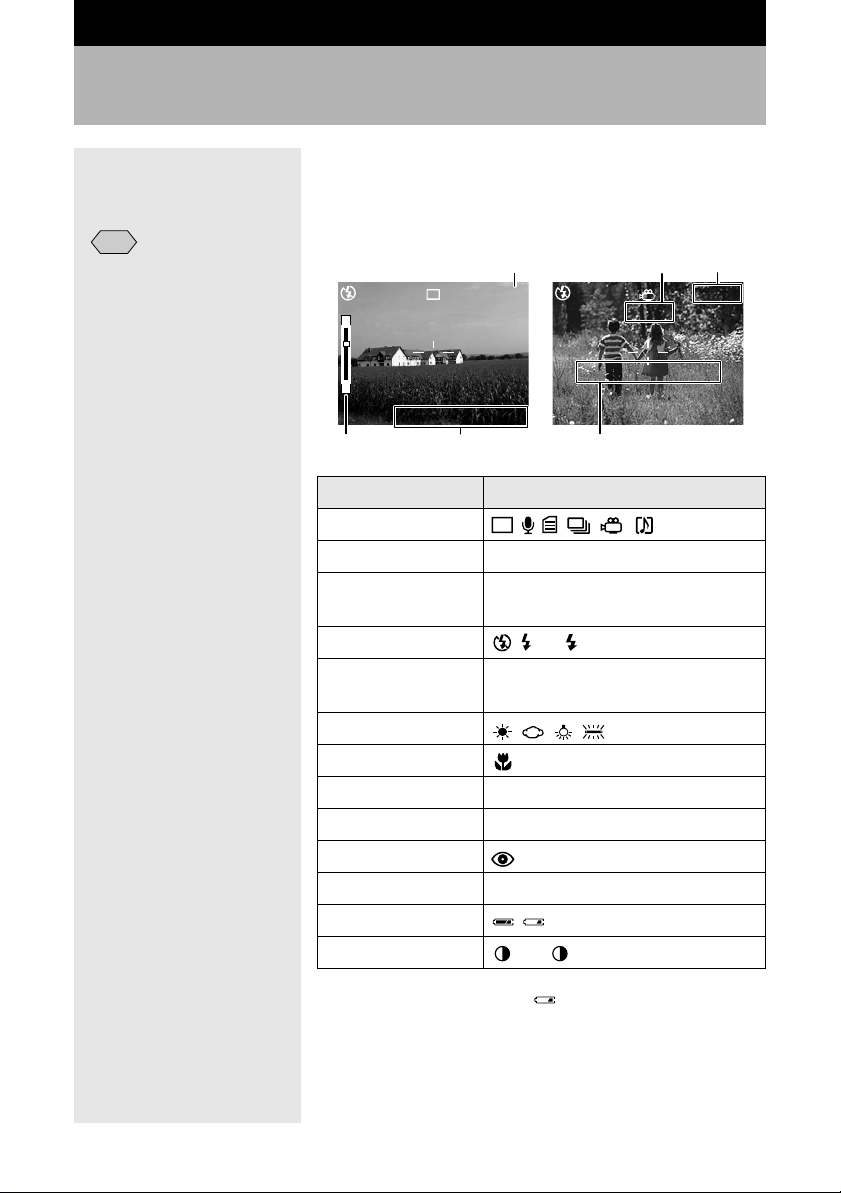
Explanation of the Data Displays
The LCD monitor displays symbols and figures showing the
status of the camera, such as the battery level, the number of
recordable images, and the mode setting.
■
Note
• If a message is displayed,
see “Error Messages”
(p.113).
Recording Mode Display
Remaining number of pictures
25
T
N 1600
Recording time
00:00
Remaining
recording time
10:12
320
W
2001/07/15 11:25
Zoom
indication bar
Date and time Message
Type of file
Size/No. of pixels
Image quality/
Compression rate
Flash mode
Exposure
compensation
White balance
Macro mode
Focus
ISO sensitivity
Red-eye reduction
Time exposure
Battery symbol
Brightness control
START:RELEASE
2001/07/15 11:25
LCD monitor
1600 • 1280 • 640 • 320
F • N • E • NC
(lit) (blinking)
EV-2.0 ~ EV+2.0
MF
ISO200 • ISO400
L1 • L2 • L4
*
-2 ~ +2
32
* When the low battery icon ( ) is displayed, change or
charge the battery.
mmmmSee “Loading the Battery” (p.21) and “Charging the Battery”
(p.22).
 Loading...