

Page 1
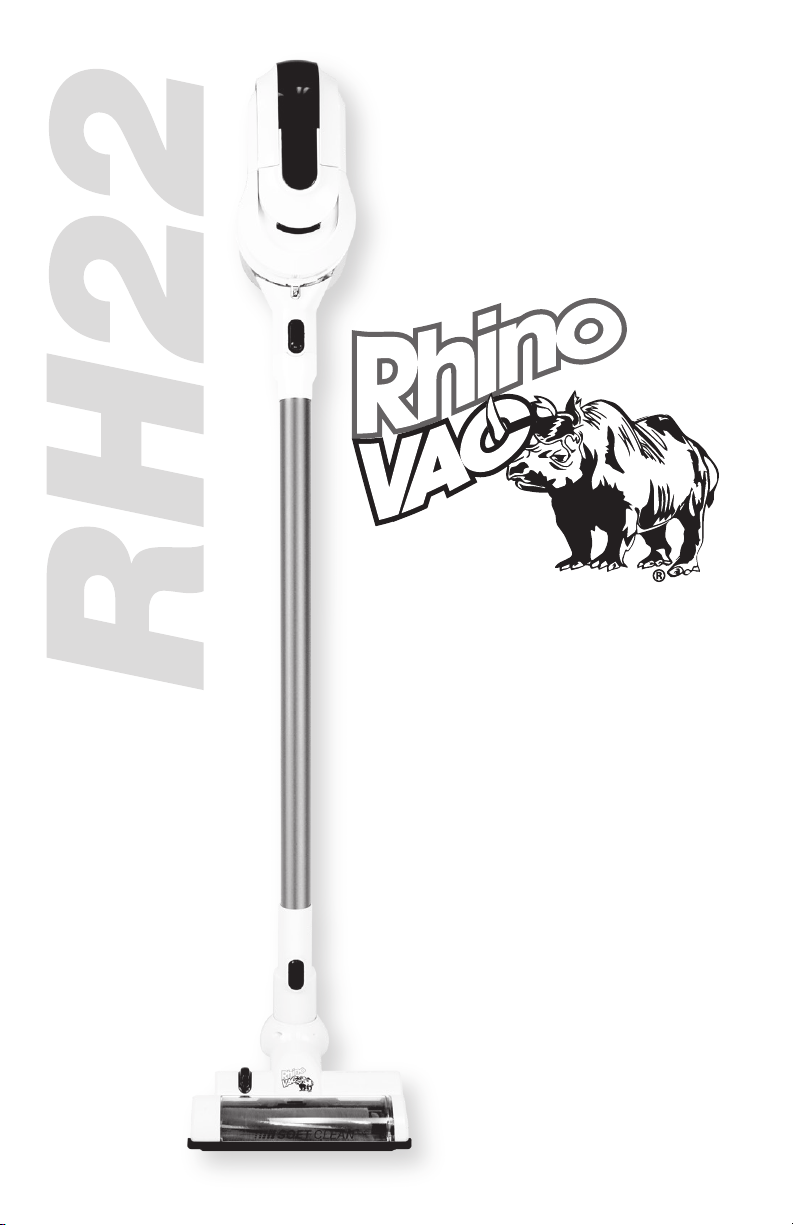
USER
GUIDE
Cordless
Vacuum
Cleaner
A powerful
vacuum cleaner,
light and
maneuverable
Page 2
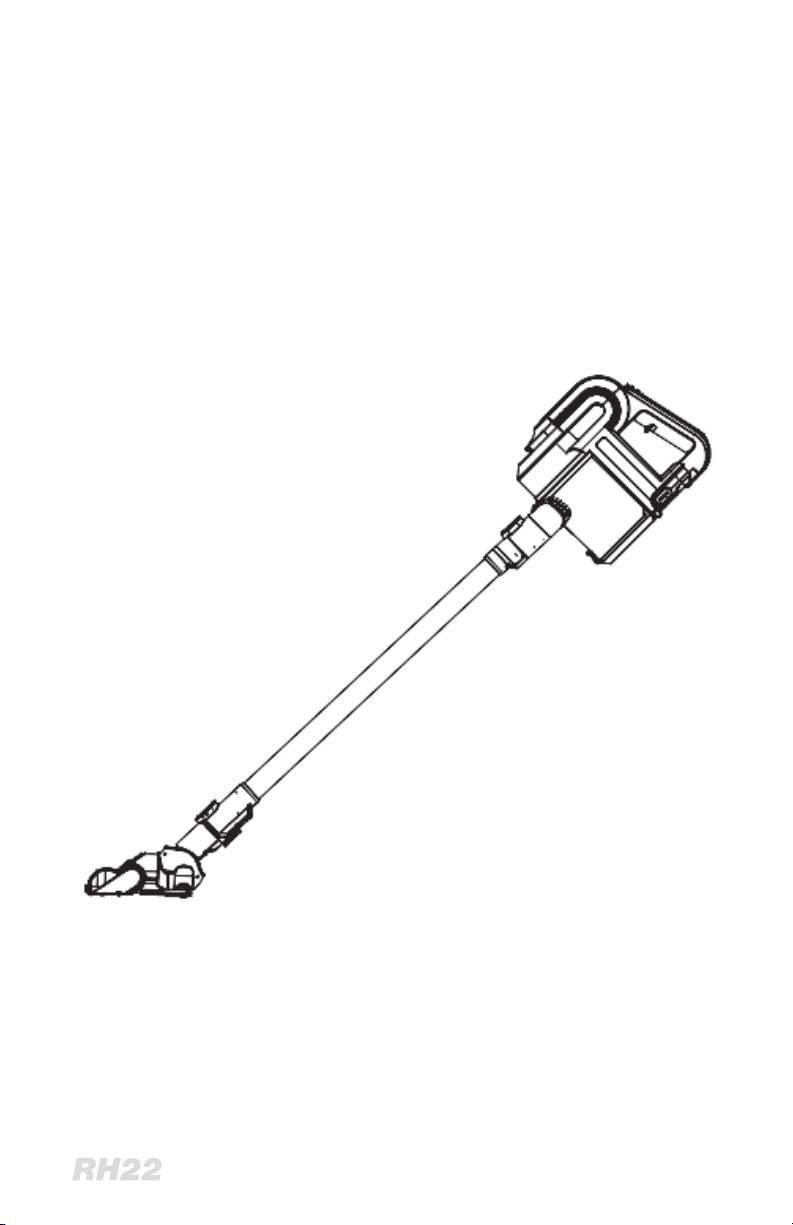
RH22
AS S E M B LY
Read and save the safety precautions
located at page 3
- 2 -
User Guide
Page 3

SAFETY PRECAUTIONS
1. This appliance can be used by children aged from 8 years and above and people
with reduced physical, sensory or mental capabilities or lack of experience and
knowledge if they have been given supervision or instruction concerning use of
the appliance in a safe way and understand the hazards involved. Children shall
not play with the appliance. Cleaning and user maintenance shall not be made by
children without supervision.
2. This appliance is designed for domestic use only.
3. Do not pull on the power cord, but rather on the plug, to separate the appliance
from the mains.
4. Do not use outdoor.
5. Do not leave the appliance unattended when it is switched on, as this may be a
source of danger.
6. If the supply cord is damaged, it must be replaced by the manufacturer, its
service agent or similarly qualified technician in order to avoid a hazard.
7. The following objects are strictly banned, otherwise the vacuum cleaner will be
damaged or fire calamity will be caused, which bring such accidents as human
body injuries:
• Don’t pick up large or sharp broken such as glasses,
• Don’t pick up harming liquid solvents like gasoline, detergent or corrosive acids,
• Don’t pick up inflammable or explosive substance such as gasoline or alcohol.
8. Check the device and connections regularly for visible damage. The device must
not be used if the housing is damaged or other damage is present.
9. Never attempt to open the device or the main adapter yourself or to replace the
connecting cable. Always has repairs to the device carried out by a specialist
workshop. There is considerable danger to the user if repairs are faulty.
10. Do not trap the main adapter cable and when using the adapter, pay attention
to where the cable is to prevent any danger of tripping over it. Keep the cable away
from heated surfaces (e.g. cooker surfaces).
11. Do not touch the main adapter and cable with wet hands.
12. Do not point the vacuum cleaner at persons or animals when in operation.
13. Only use the main adapter on dry surfaces.
14. Only use the device with the accessories supplied.
15. Please keep these instructions in a safe place. Use only with the provided
adapter.
16. The appliance must only be supplied at safety extra low voltage corresponding
to the marking on the appliance.
17. This appliance includes Li-ion batteries; do not incinerate the batteries or
expose to high temperatures, as they may explode.
18. This appliance is only charged with the adapter delivered together.
- 3 -
User Guide
Page 4
COMPONENTS
5
6
1
2
2
3
4
1. 3 IN 1 TOOL
2. Charging base
JV222BASE - OPTIONAL
3. Aluminum tube
4. Power head
5. Brush clip
6. Filter
7
8
9
14
15
10. ON / OFF indicator
11. Main body
12. Dust cup
13. Li-ion battery
14. Battery lock
15. Wall-mounted tool
charging station
10
11
12
13
16
7. Lock for the filter
compartment
8. Tools release button
9. Tube enter
16. Appliance charger
- 4 -
User Guide
Page 5

TEC HNICAL DATA
Model RH22
Rated voltage 22.2V d.c.
Unpacking and Assembling
Check that all the parts in the box. (See page. 4)
Step 1.
Install the battery as shown in the drawing below.
Step 2.
Insert the power brush carefully in the aluminum tube as shown in the
drawing below.
- 5 -
User Guide
Page 6

Step 3.
Insert the aluminum tube with the power
brush into the vacuum as shown in
the drawing below.
Step 4.
Insert the 3 in one accessory to the aluminum tube or to the vacuum as
shown in the drawing below.
Simply push out the tip
Push and slide
Result
Vacuuming floors and carpets
You should regularly check that the nozzle cushions and the brush roller are clean in
order to avoid scratching sensitive floors.
Following Step 1 to Step 3 to assemble the whole unit and then start the device by
pushing ON/OFF button.
- 6 -
User Guide
Page 7

Vacuuming tables, furniture, car seats, etc.
To clean the tables, furniture, car seats or some corners, just remove the
tube by pressing the release button. And following step 4 to install the 3 in1 tools.
Press ON/OFF button to start the cleaning.
- 1st CLICK : START THE VACUUM.
nd
CLICK : START THE ELECTRIC BRUSH AND THE VACUUM AT THE SAME TIME.
- 2
rd
CLICK: TURN OFF COMPLETELY THE RH22.
- 3
CHARGING
Insert the adapter into the mains socket (Note: Always make sure that the appliance is
turned off) and then connect to the device. The indicator light will flash once the
device has made contact with the adapter.
It takes 3 hours or so to fully charge the battery before the first use. The light will turn
off once the battery loading is done and the appliance ready to use. In order to ensure
that it is always ready when you need it, the appliance should always be left connected with the adaptor when it's not in use.
The adaptor may become warm during charging : this is normal.
Your cordless vacuum cleaner RH22 may come with a charging station : this is
optional.
If it so, put the battery on the charging base, always away from heat sources and wet
places.
Insert the adaptor into the main socket and connect to the charging station, as shown
in the drawings below.
- 7 -
User Guide
Page 8

HOW EMPTYING / CLEANING
1. Remove the accessories from the body by pressing the release button
provided to that purpose as shown in the drawing below.
2. Press the release button to open the dust hatch, then drop out the dust
into a trash pan as shown in the drawing below.
3. Remove the dust cup by pressing the release button; clean the cyclone
component with a toothbrush. Make sure that the parts are dry before they are
assembled back for next using.
- 8 -
User Guide
Page 9

FOR CLEAN OR REPLACE THE FILTER
4. Press the button to open the front cover and take out the filter. Wash the
filter under flowing water. Let it completely dry before reusing it again (Make
sure the filter is dry before next time using).
To replace with a new filter, press the button to open the front cover and
take out the use filter and put a new filter as shown in the drawings blow.
TO REINSTALL THE COMPONENTS
First, reinstall the dust cup back to the unit following up the opposite
procedures when detaching the dust cup. Then install the filter, the
aluminum tube, the brush or 3 in 1 tools for next time using as shown in the
drawing below.
- 9 -
User Guide
Page 10

HOW TO CLEAN THE ROLLER BRUSH
If the roller brush becomes blocked or jammed with debris, the vacuum will shut
down, or be less efficient.
The roller brush may then need to be cleaned. Switch off the device first and then
carefully use a pair of scissors or a sharp knife to remove any items such as hairs that
may have become entangled.
If the roller brush needs cleaning, push the slip attach on the bottom of brush with a
finger or a coin, remove the slip attach as shown in the drawing below, take out the
roller brush for cleaning. When the cleaning is done, put the roller brush in place and
lock it with the slip attach.
NOTE: do not wash the roller brush with water.
Cleaning of Wheel Axles
If a wheel is jammed with debris: remove the wheels by carefully by using a screwdriver inserted into the cavity. Remove any debris that may have jammed the wheel
axles.
Reassemble the wheels by pressing them tightly together.
HOW TO STORE THE VACUUM CLEANER
Install the wall-mounted tool on the wall, put the
vacuum cleaner by insert it into hook as shown in the
drawing.
- 10 -
User Guide
Page 11

If your vacuum cleaner comes with a
OPTIONAL charging station, insert the
handheld vacuum cleaner into the station,
then put the aluminum tube into the hook as
shown in the drawing.
NOTE: THE CHARGING STATION IS
OPTIONA L.
Basic Technical Data
BATTERY: 22.2 V 2200 mah Li-ion
ADAPTER: Input 100~240V 50Hz
OUTPUT:27V 800 mah
CHARGE TIME: 3 hours
DISPOSAL
If the device is to be disposed, the battery should be
removed. Used battery should never be disposed with
household waste. A battery should always be taken to a
recycling station.
Made in China
- 11 -
User Guide
Page 12

Extension
VISIT OUR WEBSITE AT
www.rhino-vac.com
GUIDE D'U TILISATION RH22FR/EN
 Loading...