

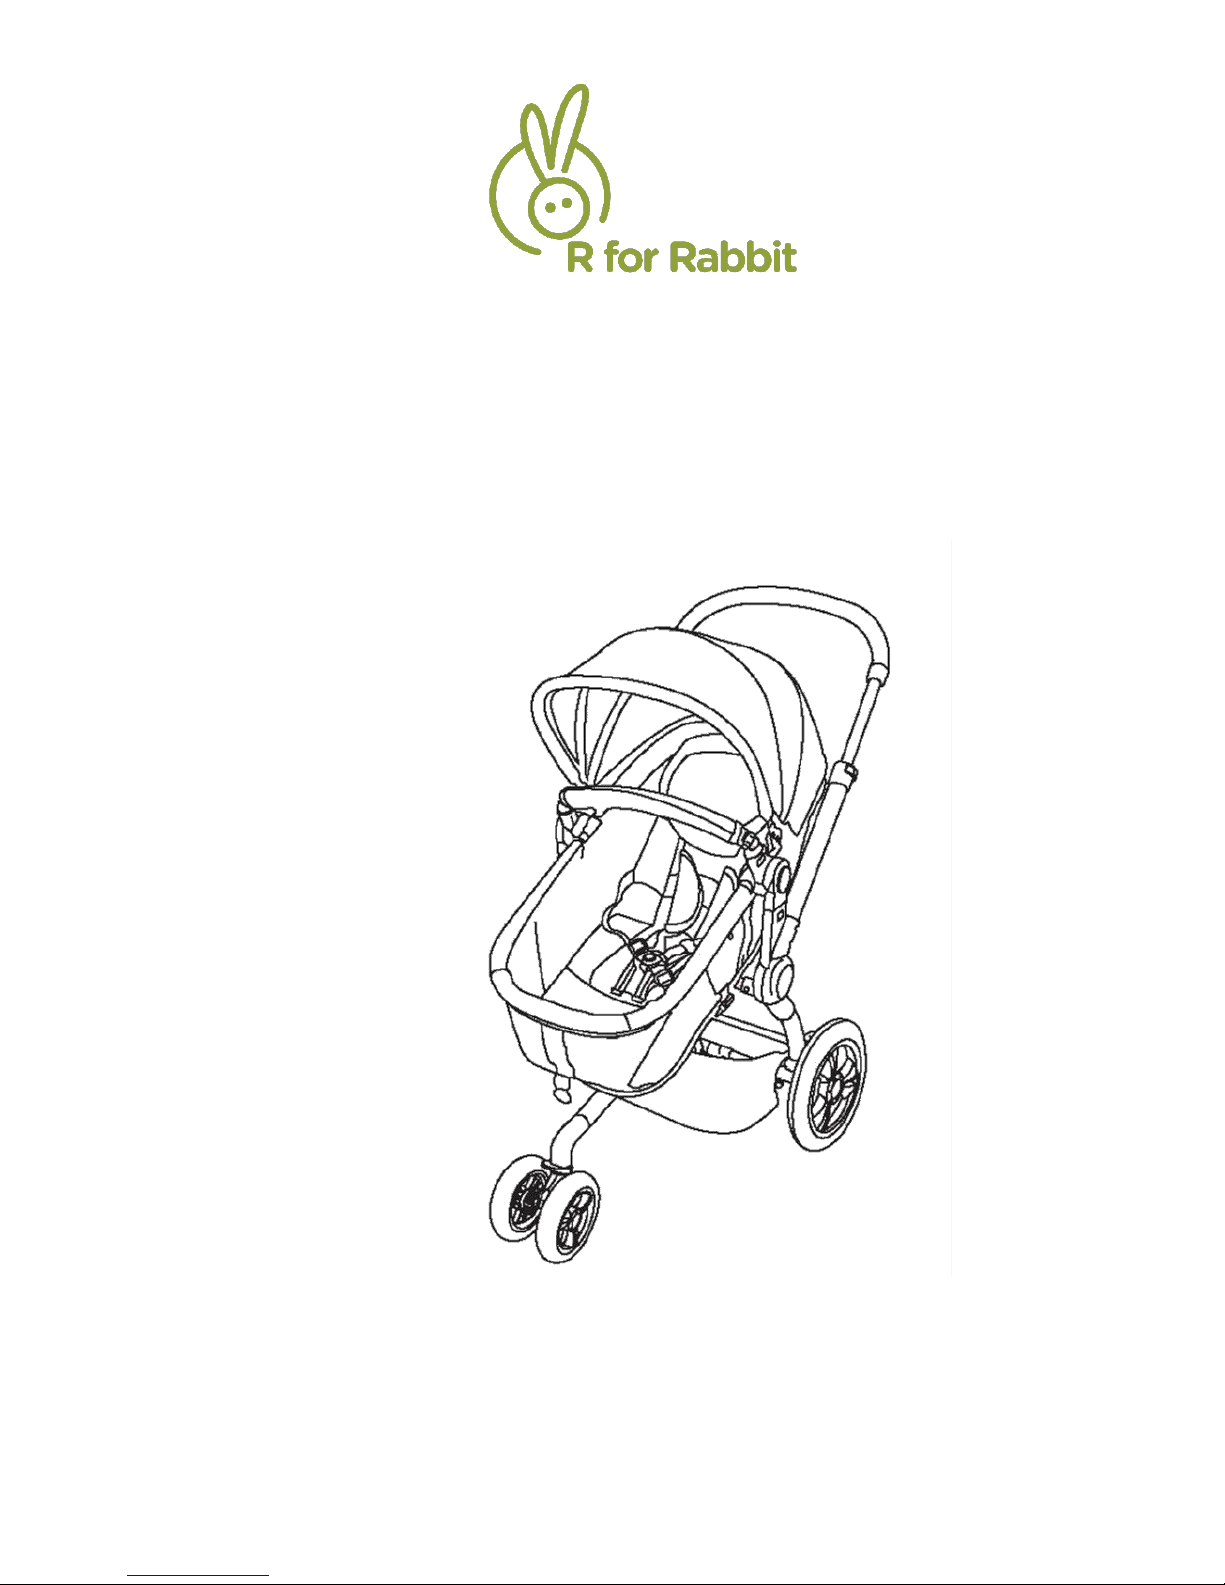
Honey Bunny
Instruction Manual
These instructions are important. Please read them carefully before using the stroller and retain it for further reference.

General Instructions
You have chosen one of the most innovative strollers. This
stroller is functional, versatile and comfortable. You will
increasingly discover how this stroller’s innovative design
provides everything you wish for in a stroller. We wish the
most joyous and comfortable ride for your baby.
Important:
Read the instructions carefully before you use the product
and preserve it for your future reference. Your child’s safety
may be affected if you do not follow these instructions.
This user guide is for the stroller model number Honey
bunny.
1. Our stroller complies with EN 1888:2012 certification
and the design of the stroller is patented.
2. For replacements, only use original parts that are
supplied or approved by manufacturer.
3. Use original accessories. The warranty does not cover
damage to the stroller caused by overloading incorrect
folding or the use of non-original accessories. The
warranty conditions are stated in this manual which
also provides further information.
4. This stroller is suitable for children from 0-4 years of
age. Maximum load bearing capacity of the stroller is
15 kgs.
5. The use of carry cot, which is combination with the
stroller, is recommended for baby aged 0-6 months.
The maximum load bearing capacity for the carry cot is
9kgs.
Safety:
1. The stroller is not a car seat. Use an approved car seat
when travelling with baby in the car.
2. Approved car seats can be readily fitted into the
stroller using specific stroller adapter.
3. Do not allow children to play with or near the stroller.
It can cause serious accidents.
4. The stroller is intended to carry one child only.
5. Secure your child with the 5 point harness belts
whenever the child is in the stroller.
6. Do not leave your child unattended .
7. Always use the wrist strap that is attached to the
handle bar.
8. Do not keep the baby in stroller when using the
escalator or climbing up or down the stairs.
9. The parking locks must be engaged when placing and
removing children.
10. Do not carry the stroller from the front bar attached to
the carry cot.
11. Do not stand on the axles between the wheels. This is
unsafe and could damage the stroller.
12. Keep the stroller away from open flames and other
heat sources, such as electrical or heaters etc…
Check what you have received:
Check the contents of the box against the list below. If
anything is missing, kindly contact your supplier.
The product comprises of the following parts:
1 chassis with handlebar, parking brake
1 swivel wheel
2 large wheels
1 frame, seat and carry cot fabric
1 under seat bag
1 seat with safety bag
1 seat with safety belts
1 sun canopy
Warning
Infants and young children may suffocate due to plastic
bags. Discard the plastic bags immediately. Keep the plastic
bags away from children, infants, cribs, beds, playpens or
carriages.
Step by Step User Guide
1. The stroller is easy to assemble. It is advisable to
repeat actions a couple of times when indicated.
2. The chassis is the main part of the stroller. The frame
fits onto the chassis and is the base for carrycot and
seat.
Basic steps
This section explains how to assemble the stroller. Each
basic step in the stroller’s assembly is explained separately
in the text boxes. It is advisable to practise the basic steps.
Chassis
The parts are attached to the chassis. The chassis comprises
of axle for the large wheels, axle for the swivel wheel with
holders, handlebar with frame bearers, parking brake and
wrist strap.
You also need the following for the assembly:
1 swivel wheel, 2 large wheels and frame.
Advice: Use the cardboard packaging as a mat during
assembly.
Step 1: Folding out chassis and
handlebar
a) Place the chassis with the 3
points on the floor.
b) Stand with the handlebar in
front of you.
c) Hold the handlebar lightly in
your hands. Do not push.
d) Release the 2 white buttons on
the inside of the handlebar
towards you and fix the
buttons after getting a proper
length of the handle bar.
e) Move the handlebar upwards
and away from you and let go
off the white buttons. You will
hear a “click” when the
handlebar is upright.

Large Wheels
The large wheels are made from EVA materials. This
provides an optimum maneuverability and also brings ore
comfort to your child when using the stroller.
Step 2: Fitting the large wheels to the axle
a) Without releasing the
handlebar, move it to the
floor. The wheel axles now
face upwards. It is easy to
install the wheels this way.
b) Stand with wheel axles y
horizontally in front of you.
With the wheel facing
upwards and the large
wheel lock facing away from
you, push the large wheel
into the end of the holder.
Your will hear a ‘click’ for
each wheel. The large
wheels are now attached.
c) Press the button on large
wheel axle by one hand and
pull the wheel by another
hand to remove the large
wheel.
Note: Large wheel cannot be
removed if the brake is turned on.
Step 3: Fitting the underbag
a) The underbag hangs under
the carrycot or seat.
b) Remove the frame from the
chassis. Fit the underseat
bag to the chassis between
the axles of the wheels. The
touch fadteners are fixed to the large wheel axle, the
plastic pole fixed to the chassis by the screws.
(Underbag usually is assembled by the manufacturer.
Note: The underseat bag is made to carry maximum weight
of 4 kgs. Ensure that the tall touch fasteners are properly
attached before use.
Placing the swivel wheel in the
holder
a) You will hear a ‘click’ while
placing the swivel wheel to
the end of the wheel pipe.
Pull the wheel to check that it
is properly attached.
Swivel non – active
b) Push down the swivel lock.
Now the swivel is not
active, the stroller now
moves in straight line.
The Stroller Braking System
The parking brake is on rear axle. It
stops the large wheels from
turning. Always apply the parking
brakes while putting your child into
the stroller seat.
Step 4: Braking
a) Press the braking pole
downward.
Note: You will be able to feel when
the parking brakes are working
properly. Do not force the parking
brakes.
b) Releasing the parking brake:
Hold the handlebar firm and
lift the braking pole upwards
with another foot.
Fitting the Frame
c) The frame is attached to the
chassis. The carrycot or seat
are attached to the frame.
There are two frame bearers
on chassis. You will hear
‘click’ when you press the
frame on both sides of the
bearers.
Step 5: Fitting the frame on Chassis
a) Keeping the frame bearer
upright, press the frame on
the bearer till you hear a
click from both sides.
Warning; Check that the frame is
attached to the chassis. Try picking
up the frame, if it is easily picked, it
is not yet fixed properly.
Placing the frame in different positions
a) Place the frame on the
chassis. Squeeze together the
squeeze-fastener on center
axle. Tilt the frame by lifting
the top part. Put the frame in
one of the 3 positions
Note: Just the seat can be put in
3 frame positions. The carrycot
can only be used horizontally.

Removing the frame from the chassis
b) Place the frame in horizontal
position. Simultaneously press
the 2 round buttons on the
frame supports which will
release the frame.
c) Pick up the frame and remove
from the frame supports.
Note: The 2 round white buttons are
always used to remove the frame
with the carrycot or the seat on.
Turning the frame around
a) You can turn the frame around to use it as a seat or a
carry cot. To turn the frame,
remove the frame from the
chassis. While holding the
frame in horizontal position,
turn it around and place it
back on the chassis.
Note: Always fi and remove the
frame with the frame bearers
of the chassis in vertical position.
Assembling the carrycot:
The carrycot consists of the frame, the carrycot fabric,
touch fasteners and zppers to ensure that carrycot
hangs stable in the frame.
Step 6:Fixing the carrycot in
the chassis
a) Zipper the carrycot fabric up
as shown in picture to the
back of the frame. Place the
bumper onto the bumper
bearers till you hear a click.
b) Press the carrycot
downwards until you hear a
‘click’ on both sides. Now the
carrycot is attached to the
chassis.
Assembling the seat fabric to the
frame
a) Zipper the seat fabric up on
the frame as previous
carrycot picture. Turning the
frame so that its base is
facing you, attach the ends
of the stretch belts till you
hear a click and it is fixed
tightly.
b) Fix the seat with chassis
Note: Please assemble the seat fabric
cover with frame in advance. The
seat cannot be fixed with frame
before fabric cover assembly.
Using the seat safety belts:
Step 1: Using safety belts
a) Apply the brakes and place your
child in the stroller. Pull the crotch
belt forward between the child’s
leg. If the child slides down, first
pass the crotch belt through the
black loop on the seat pad.
b) Bring the waist belt over child’s
waist and attach it to the crotch
belt. Adjust the belts by pulling them lightly.
c) Drape the shoulder belts over the child’s shoulders
and attach them to the lap belts.
Warning: Ensure that you hear a click when fastening the
harness belts. Always use the crotch belt in combination
with the waist belt.
Assembling the sun canopy:
The sun canopy comprises of 2 clamps, 1
removable frame and fabric.
Step 1 Fitting the sun canopy
a) Fit the carrycot onto the chassis.
Pull the sun canopy around the
round edge of the frame. Attach 2
canopy clamps on the frame, right
beside the handles, you should hear
a click.
b) Pull out the sun canopy.
Warning: Never take out baby in stroller
without fitting the sun canopy.
Traveling and storage:
Step 1 : a) Remove the seat or carrycot
from the chassis.
Step 2 : b) Release the button on handlebar
and push the stroller. Press both the round
button to release the handlebar by pulling
it towards you. Release the brakes if
applied on the wheels. Remove the wheels
and store the stroller.
Maintenance:
Cleaning the fabric: The stroller’s fabric is
detachable and can be washed in washing
machine carefully. Note when washing the
fabric, remind the following: -maximum
temperature 30"C.
- Do not bleach
- Do not iron
- Do not dry clean
- Do not tumble dry
The aerated
inlay can be
washed at 60"C.At this temperature, the inlay will
become totally clean. The aerated inlay is placed on top of the
thicker foam mattress and can be taken of by removing the
mattress caver. After washing the fabrics, ensure that all parts
are replaced in their original positions.th The aerated inlay
should be placed on top of the foam mattress. Do not use the
mattress without the aerated inlay.
 Loading...