

REVELL Dale Earnhardt Goodwrench Service Plus 2001 Mon User Manual [nl, it, gr, da, no, fi, sv, es, pt, hr, et, fi, hu, lv, lt, pl, ro, RU, sr, sk, sl, cs, tr, bg, uk, he, hi, id, kk, ms, fa, th, vi, sq, mk]
Page 1
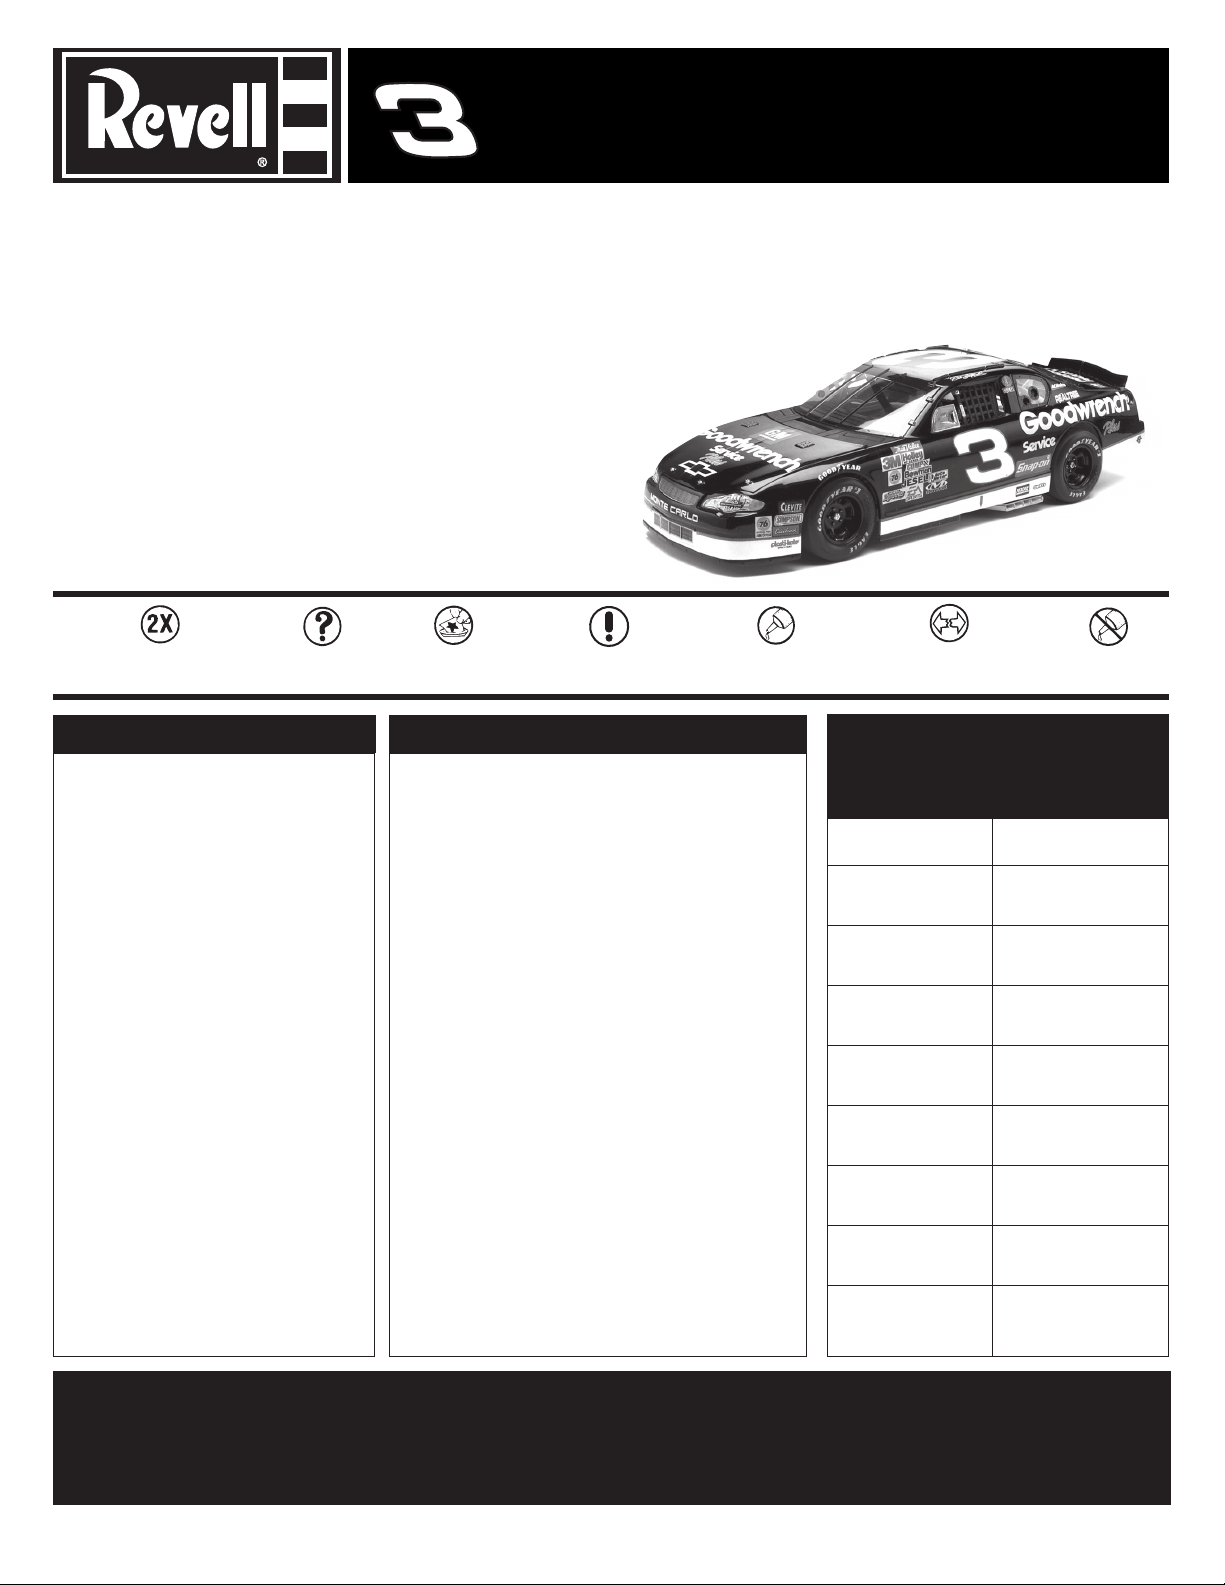
KIT 2375 85237500200
DALE EARNHARDT
GOODWRENCH SERVICE PLUS
2001 MONTE CARLO™ STOCK CAR
Historians may discover that Dale Earnhardt will remain NASCAR’s all-time greatest driver of the Modern Era, (since 1971). His record of seventy six career wins, 281 top five and 428 top ten finishes,
including twenty two pole position starts en route to seven NASCAR Cup Championships might not ever be exceeded. He scored his only Daytona 500 victory, a race the sports media calls “The Superbowl
of Stock Car Racing” in the Fiftieth Anniversary Year of NASCAR at Daytona, Florida; the birthplace of NASCAR.
His record at Daytona is remarkable. Dale Earnhardt was, after 1997, the single most successful driver at Daytona since King Richard Petty. Dale won over four million dollars there; more money than
any other driver in NASCAR history. He was a two-time winner of the Pepsi 400, held on the Independence Day weekend every July. Dale won the Clash, now hailed as the Shootout; the sprint race for past
year pole winners, six times. Dale has won in the International Race of Champions (IROC) at Daytona. Since 1990, Earnhardt had been victorious in his half of the Twin 125 Qualifiers, weekday races that
set the field for Sunday’s Daytona 500, every time he entered until 2000, when the Fords shut him out.
In 1998, when Earnhardt entered the fortieth running of the Daytona 500 there were doubts. After a slim 1997 season, many expected not to see him capture the checkered flag. Richard Childress
Racing was prepared for victory however, as the GM Goodwrench Service Plus Team, led by the former Daytona 500 winning crew chief Larry McReynolds had all tested well, helping Dale to win
yet another Twin 125 Qualifier. On Sunday, they ran strong and avoided all the trouble on the race track. There was plenty of that, the race in fact ended
under caution, with the #3 car first to the yellow flag with only a few laps to go. On his way to Victory Lane, Earnhardt was applauded by every
single team on pit row, and crew after crew came out to congratulate him. No one will forget Speedweeks 1998, when Dale Earnhardt and
the Goodwrench team won their first Daytona 500.
Your Revell kit depicts Dale’s Chevrolet as it appeared for the 2001 Daytona 500, or as it appeared in the 2001
shootout with Oreo graphics to fit the most recent Monte Carlo body shell, having the latest roof and cowl flaps,
flush right-side window, vented front air dam, side skirt extensions and jack posts. Quarter windows have air
circulation vents, connecting to a network of four interior mounted cooling air duct hoses.
The body will lift off to reveal a superspeedway chassis, with single-shock suspension, belt driven oil recir-
culation pumps on both engine and rear end, inboard mounted oil tank, contoured driver’s seat, and an up-to-date
full perimeter roll cage. It rides on Aero eight-hole racing wheels and Goodyear radial slicks. Detail include engine water hoses, and
interior roll bar padding, making this a true state-of-the-art stock car replica.
®
* REPEAT SEVERAL TIMES
* A REPETER PLUSIEURS FOIS
READ THIS BEFORE YOU BEGIN LIRE CE QUI SUIT AVANT DE COMMENCER
* Study the assembly drawings.
* Each plastic part is identified by a number.
* In the assembly drawings, some parts will be
marked by a star (★) to indicate chrome
plated plastic.
* For better paint and decal adhesion, wash
the plastic parts in a mild detergent solution.
Rinse and let air dry.
* Check the fit of each piece before cementing
in place.
* Use only cement for polystyrene plastic.
* Scrape plating and paint from areas to be
cemented.
* Allow paint to dry thoroughly before
handling parts.
* Any unused parts may be discarded.
DECAL APPLICATION INSTRUCTIONS
1. Cut desired decal from sheet.
2. Dip decal in water for a few seconds.
3. Place wet decal on paper towel.
4. Wait until decal is movable on paper backing.
5. Place decal in position on model, face up
and slide backing away.
6. Press out air bubbles with a soft damp cloth.
7. Milkiness that may appear is for better decal
adhesion and will dry clear. Wipe away any
excess adhesive.
8. Do not touch decal until fully dry.
9. Allow the decals 48 hours to dry before
applying clear coat.
NOTE: Decals are not compatible with
setting solutions or solvents.
* OPTIONAL PARTS
* PIECES EN OPTION
* DECAL
* DECAL COMANIE
* Etudier les schémas de montage.
* Chaque pièce en plastique est identifiée par un numéro.
* Sur les schémas de montage, certaines pièces sont mar
quées d'une étoile (★) pour indiquer qu'elles sont en
plastique chromé.
* Pour une meilleure prise de la peinture et des autocollants,
laver les pièces en plastique avec une solution détergente
peu concentrée. Les rincer et les laisser sécher à l'air.
* Vérifier que chaque pièce s'ajuste bien avant de la coller
en place.
* N'utiliser que de la colle pour polystyrène.
* Gratter les parties à coller pour enlever le chrome et la peinture.
* Laisser la peinture bien sécher avant de manipuler les pièces.
* Toute pièce inutilisée peut être jetée.
DIRECTIVES D'APPLICATION DES AUTOCOLLANTS
1. Découper l'autocollant désiré de la feuille.
2. Tremper l'autocollant dans de l'eau pendant quelques secondes.
3. Placer l'autocollant mouillé sur une serviette en papier.
4. Attendez que l'autocollant puisse être déplacé sur son sup
port en papier.
5. Mettre l'autocollant en position sur le modèle face sur le
dessus et faire glisser le support pour l'enlever.
6. Appuyer avec un chiffon doux humide pour éliminer les bulles
d'air.
7. La substance laiteuse qui peut apparaître est destinée à
améliorer l'adhésion de l'autocollant et devient incolore au
séchage. Essuyer pour enlever tout excédent d'adhésif.
8. Ne pas toucher l'autocollant tant qu'il n'est pas bien sec.
9. Laisser l'autocollant sécher pendant 48 heures avant
d'appliquer une couche transparente.
* ALTERNATIVE ASSEMBLY
* ENSEMBLAGE ALTERNATIVE
* CEMENT TOGETHER
* A COLLER
* REMOVE AND THROW AWAY
* A RETIRER ET JETER
* DO NOT CEMENT
* NE PAS COLLER
This paint guide is provided to
complete this kit as shown on the box
Ce guide de peinture est fourni pour reproduire le
modèle réduit qui apparaît sur la boîte.
Aluminum
Flat Black
Gloss Black
Gloss Red
Light Gray
Satin Black
Silver
Steel
Yellow
Aluminum
Noir mat
Noir lustré
Rouge lustré
Gris clair
Noir satin
Argent
Acier
Jaune
.
If you have any questions or comments, call our hotline at: (800) 833-3570
or, please write to:
Revell-Monogram Consumer Service Department, 8601 Waukegan Road, Morton Grove, Illinois 60053
Be sure to include the plan number (85237500200), part number, description, your return address and phone number.
Visit our website: www.revell-monogram.com
REVELL-MONOGRAM, LLC Morton Grove, IL. Copyright © 2001. All rights reserved. Made in U.S.A.
Page 2

1
A
ENGINE ASSEMBLY
NOTE: BEND PLUG WIRES SO THAT LONG TABS ON
✱
WIRES FIT INTO DEPRESSIONS ON CYLINDER HEADS
DISTRIBUTOR / WIRES
65
CYLINDER
HEAD
ALUMINUM
✱
✱
36
FLAT BLACK
(PAINT WIRES YELLOW)
69
INTAKE
MANIFOLD
ALUMINUM
B
93
AIR CLEANER
ALUMINUM
70
CARBURETOR
ALUMINUM
30
ENGINE HALF
ALUMINUM
C
41
HEADER
STEEL
40
HEADER
STEEL
BELT ASSEMBLY
FLAT BLACK
OIL PAN
ALUMINUM
32
35
64
ALTERNATOR
ALUMINUM
SUMP BELT
FLAT BLACK
65
CYLINDER
HEAD
ALUMINUM
29
ENGINE HALF
ALUMINUM
39
HEADER
STEEL
33
POWER STEERING PUMP
34
ALUMINUM
67
ROCKER
COVER
ALUMINUM
38
HEADER
STEEL
66
ROCKER
COVER
ALUMINUM
2
A
LOWER FRONT
SUSPENSION
SATIN BLACK
LEAVE SUPPORT STRAP IN
14
4
FRAME
LIGHT GRAY
CHASSIS / INTERIOR ASSEMBLY
NOTE:
PLACE UNTIL STEP 4A
B C
15
RIGHT UPPER
ARM
LIGHT GRAY
(SHADED AREA
SATIN BLACK)
96
LEFT UPPER
ARM
LIGHT GRAY
(SHADED AREA
SATIN BLACK)
44
PEDALS
ALUMINUM
7
FIREWALL
LIGHT GRAY
Page 3

2
CHASSIS / INTERIOR ASSEMBLY
D E
6
CAGE SIDE
LIGHT GRAY
8
ROLL BAR
LIGHT GRAY
(PAINT SHADED AREA
FLAT BLACK)
CONTINUED
27
F G
25
STEERING
SHAFT
STEEL
11
STIFFENER
BRACE
LIGHT GRAY
(SHADED AREA
FLAT BLACK)
52
SHIFTER
FLAT BLACK
FIRE EXTINGUISHER
34
49
GLOSS RED
47
SEAT
SATIN BLACK
33
H
5
CAGE SIDE
LIGHT GRAY
(SHADED AREAS
FLAT BLACK)
44
I
10
STIFFENER
BAR
LIGHT GRAY
(SHADED AREA
FLAT BLACK)
Page 4

2
CHASSIS / INTERIOR ASSEMBLY
CONTINUED
J K
57
PETTY BAR
LIGHT GRAY
L
TOP STIFFENER BAR
(SHADED AREA FLAT BLACK)
73
LIGHT GRAY
FIRST
9
TOP BRACE
LIGHT GRAY
(SHADED AREA
FLAT BLACK)
SECOND
72
MIRROR
FLAT BLACK
(MIRROR FACE SILVER)
FUEL CELL
LIGHT GRAY
(PAINT SHADED
AREA ALUMINIUM)
FLAT BLACK
M
13
FLAT BLACK
51
HOSE
56
REAR SHELF
LIGHT GRAY
THIRD
50
HOSE
12
KICKER BAR
ASSEMBLY
LIGHT GRAY
SECOND
REAR SUSPENSION
ADJUSTMENT TUBES
48
HOSE
FLAT BLACK
61
HOSE
FLAT BLACK
92
LIGHT GRAY
3
A
FIRST
SUSPENSION / CHASSIS ASSEMBLY
59
OILER TANK
ALUMINUM
(SHADED AREA ALUMINIUM)
22
SHOCK ASSEMBLY
LIGHT GRAY
Page 5

3
SUSPENSION / CHASSIS ASSEMBLY
CONTINUED
B
SATIN BLACK
C
17
ARM ASSEMBLY
(PAINT SHADED AREA SATIN BLACK)
21
SPRING
LIGHT GRAY
21
SPRING
SATIN BLACK
18
REAR AXLE
SATIN BLACK
19
FRONT AXLE
SATIN BLACK
4
A
37
PUMP BELT
FLAT BLACK
20
COOLANT PUMP
ALUMINUM
CHASSIS DETAIL ASSEMBLY
B
EXHAUST
90
STEEL
THIRD
16
EXHAUST
OUTLET HALF
STEEL
SECOND
DRIVE SHAFT
SATIN BLACK
(SHADED AREAS STEEL)
FIRST
43
Page 6

4
CHASSIS DETAIL ASSEMBLY
CONTINUED
C D
31
E
FAN SHROUD
ALUMINUM
54
FRAME
BRACE
LIGHT GRAY
54
FRAME
BRACE
LIGHT GRAY
63
PILLAR
BRACE
LIGHT GRAY
75
PILLAR
BRACE
LIGHT GRAY
F
STEERING
COLUMN
FLAT BLACK
104
DASHBOARD
TOP
FLAT BLACK
PAINT GAUGE FACES GLOSS
BLACK WITH SILVER DETAILS
53
46
STEERING
WHEEL
FLAT BLACK
23
DASHBOARD
FRONT
FLAT BLACK
27
UPPER HOSE
ALUMINUM
(PAINT SHADED
AREAS FLAT BLACK)
G
62
RADIATOR
ALUMINUM
FLAT BLACK
28
LOWER HOSE
ALUMINUM
16
SHOCK ASSEMBLY
LIGHT GRAY
(PAINT SHADED ALUMINUM)
Page 7

5
REMOVE
0
0
60
0
R
E
M
O
V
E
0
0
6
0
0
R
E
M
O
V
E
0 0600
A
BODY
GLOSS BLACK
(INSIDE LIGHT GRAY)
FINAL ASSEMBLY
2
HOOD
GLOSS BLACK
B
REAR WINDOW
114
REAR SIDE
WINDOW
CLEAR
✱
115
SIDE WINDOW
CLEAR
111
CLEAR
113
REAR SIDE
WINDOW
CLEAR
✱
✱
✱
✱
✱
✱
NOTE: PAINT ALL WINDOW TRIM SATIN BLACK
✱
110
WINDSHIELD
CLEAR
112
VENT DUCT
CLEAR
✱
C
76
OUTER WHEEL
(BACK)
GLOSS BLACK
26
OUTER WHEEL
(FRONT)
GLOSS BLACK
TIRE
D
95
DISC BRAKE
ALUMINIUM
24
INNER WHEEL
(FRONT)
FLAT BLACK
12
INNER WHEEL
(BACK)
FLAT BLACK
Page 8

6
DECAL PLACEMENT
Daytona 500 Version
85237500200
Shootout- Version
 Loading...