

1
ReSound Verso Fitting Guide

2 3
A window will appear showing the status of the connection, and
will alert you to any differences in audiometric or fitting data stored
in Noah and in the hearing instrument(s). Once the connection
process is finished, click “Continue” to proceed, or “Unite
Accessories” to pair ReSound Unite™ accessories to the hearing
instrument(s).
If you are changing receivers on a ReSound Verso instrument (e.g.,
NP to HP), it’s important to physically change to the correct receiver
and reconfigure the instrument to ensure the proper gain settings.
If the current configuration of your instruments does not match
the configuration of the recommended configuration, Aventa 3 will
prompt you to reconfigure. Follow the instructions to reconfigure
instruments for the appropriate power level and/or from an open or
closed configuration.
During the fitting, reconfiguring instruments can be accomplished
by accessing the Fitting Menu. Click “Reconfigure”.
Getting Started
Prior to connecting to Aventa 3:
1. Attach the appropriate receiver for the patient’s hearing loss to
the hearing instrument(s), if applicable.
2. ReSound Verso requires a battery when fitting. Make sure
the battery is fresh and that it is inserted correctly. When
programming with new batteries, remove the seal from the
back and wait up to 2 minutes for the zinc-air batteries to fully
activate.
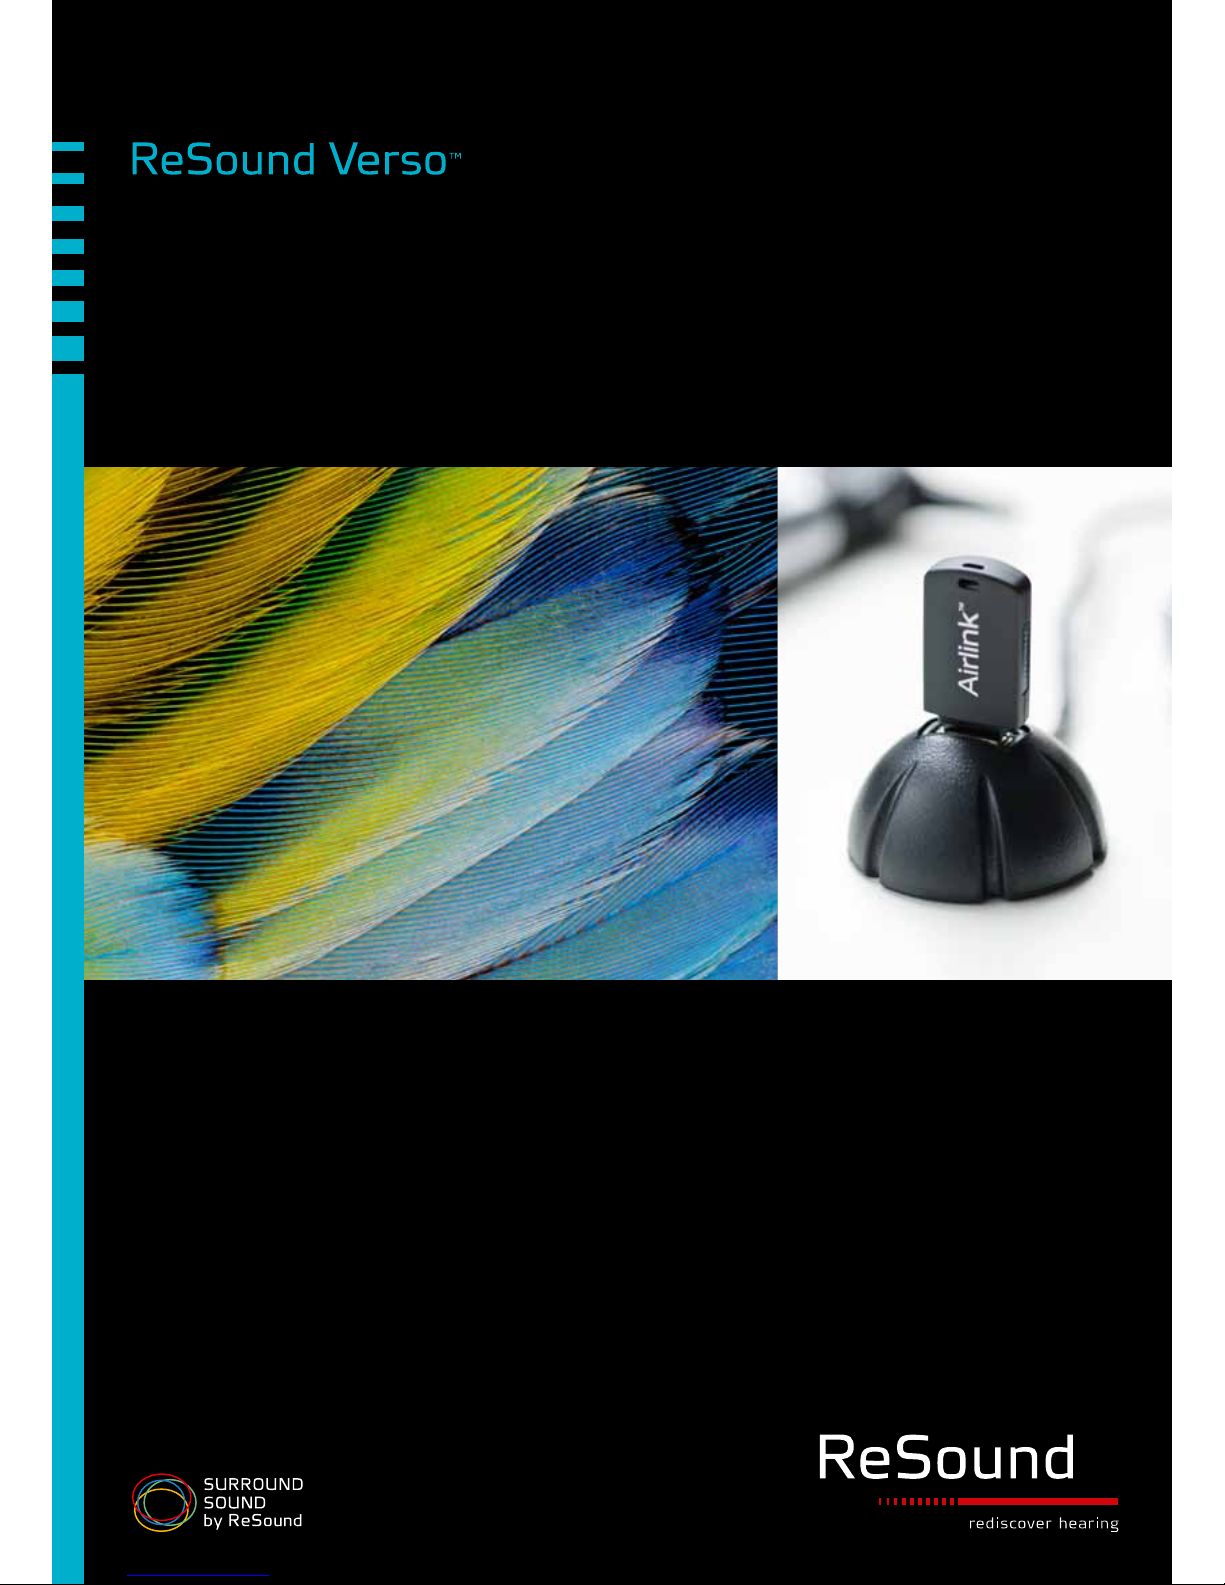
3. a) For wireless fittings, insert Airlink™ in a USB slot or USB
cradle connected to the fitting PC and wait for the message that
new hardware has been found. Then launch Aventa 3.
b) For wired fittings make sure that the programming interface
(Speedlink, Hi-PRO or NOAHlink) is connected to the PC.
4. Launch Aventa 3. For new fittings, Aventa 3 begins in the Start
screen, where the client’s experience with amplification can
be selected, and connection to hearing instrument(s) can be
established.
Connecting to the hearing instrument(s)
Select the appropriate user experience level in the Patient
information box. This will ensure the best starting gain settings for
the patient.
Click “Connect”. A window opens to allow you to choose the
appropriate programming interface. For wireless fittings, select
Airlink™.
For wireless fittings, open and close the battery door of the hearing
instrument(s). Once this is done, they will be in discovery mode
for 120 seconds. Click “Connect” in the Connect dialog to start
the wireless connection. The Airlink™ will search for the hearing
instrument(s).
When the hearing instrument(s) have been identified, they can be
assigned to the right or left ear. Click the “Beep” button to have
the hearing instrument play a beep and facilitate assigning the right
and left instruments correctly. When the instrument(s) have been
assigned, click “Continue” to proceed to the Fit screen or “Back”.
For wired fittings, connect the hearing instrument(s) to the
Speedlink, Hi-PRO or NOAHlink with the
CS63 flex strip. Click “Connect” in the Connect
dialog.
This fitting guide gives an overview of how to fit ReSound VersoTM wireless and non-wireless
hearing instruments with ReSound Aventa
®
3.5. A ReSound Verso 9 (VO961-DRW) fitting is
assumed h ere. Note that not all features mentioned here are available in ReSound Verso 7 and 5.
The ReSound Aventa 3 fitting software supports all ReSound instruments built on the
ReSound Range™ chips.
Choose patient
experience level
Select
Programming
interface and
click ‘Connect’.
Play a beep to
determine right from
left hearing instrument
Assign hearing
instrument to right or
left ear
Click “Connect”
Device-to-device communication
ReSound Verso wireless BTE’s and wireless RIE’s all support
device-to-device communication.
The master switch to disable/enable this functionality can be
found in the main menu under ‘Instrument’. When device-todevice communication is enabled, Program synchronization and
Environmental Optimizer II will be ‘On’.
Throughout the fitting process, additional available device-todevice communication features can be enabled or disabled.
These available features are Binaural Directionality, Volume
Synchronization, Synchronized SoftSwitching, Comfort Phone
(PhoneNow).
The device-to-device communication
window keeps a continual record of the
enabled device-to-device features.
To get an overview of which features
are enabled simply go to the device-todevice communication window in the
main menu, which can be accessed
from every Aventa 3 screen.
Reconfiguration recommended

4 5
Program Handling Toolbar
Program management
The Program tabs are located between the graph and the gain
handles. This is where programs can be changed, compared,
recalculated, autorelated, copied, added or removed. To the right of
the 4 standard programs are the PhoneNow program tab and the
wireless accessory program tabs (if applicable).
Binaural Directionality™
With Binaural Directionality, the hearing instruments work together
to dynamically select the best directional response for any
listening environment. This provides the user with the best speech
understanding in noise plus a more natural sense of surroundings even in the most difficult listening situations.
It is available as a program option in dual-microphone ReSound
Verso 9 BTEs as well as RIEs with wireless capabilities. Using
ReSound’s 2.4 GHz wireless technology, the microphone modes
between both hearing instruments are coordinated for an optimal
binaural response. The result may be a bilateral omnidirectional,
bilateral directional or a bilateral omnidirectional and directional
response, depending on the analysis of speech and noise detectors
from both hearing instruments.
Natural Directionality™ II
Natural Directionality™ II can be selected as a program in dualmicrophone ReSound Verso models, or when device-to-device
communication is disabled in wireless Verso 9 BTE and RIE.
When this is done, choices for the Focus (fixed directional) and
Monitor (omnidirectional) ears will appear in the Advanced Features
screen. The Focus and Monitor ears are prescribed based on the
audiogram and any speech audiometry data that may be available,
but this selection can be reversed by the clinician.
Fitting
DFS calibration
Once the hearing instrument(s) are connected, an auto-prompt for
DFS calibration will appear. It is strongly recommended to always
run the calibration at the start of a new fitting, or if venting (including
dome changes), receiver, or earmold changes are made. This is
because any such changes affect the feedback path and thus the
performance of DFS Ultra™ II. Counsel patients that a brief buzzing
sound will be presented to each ear, and that they should sit quietly.
Click “Yes” to begin the calibration.
Maximum stable gain and Safe Fitting
Once DFS Ultra™ II is calibrated, the Fit screen automatically opens
with two shaded grey areas visible on the graph (in most cases).
The darker grey shaded area indicates unavailable gain while the
light grey indicates added maximum stable gain provided by DFS
Ultra™ II. If Safe Fitting is enabled, gain settings will be locked at
the dark grey border. Safe Fitting can be turned off and on in the
Fitting menu or set as a user preference. Note that if you have not
calibrated DFS Ultra™ II, there will only be one shaded area which
indicates the full-on gain of the particular hearing instrument(s).
Maximum stable gain
Safe Fitting enabled Safe Fitting disabled
Unavailable gain
Manual gain controls
Binaural Directionality enables the hearing instruments to dynamically adjust microphone settings
and choose the optimal directional pattern to suit any environment. This provides users with the
information they need to choose what to focus on.

6 7
Advanced Features
Feature settings including Expansion, DFS Ultra™ II, Auto DFS,
NoiseTracker™ II, WindGuardTM, and directional options are
accessed by clicking “Advanced Features” in the “Tools” menu.
These settings apply to the currently selected program, and are
summarized in the “Features Summary” below the “Wireless” and
“Tools” menus. (A scroll bar may appear in some cases due to
screen resolution settings). Note that not all features are available,
and some options are not available in ReSound Verso 7 and 5.
Directionality
Directional options in standard programs except Binaural
Directionality™ and Natural Directionality™ II include Omni,
AutoScope Adaptive Directionality™, SoftSwitching and Fixed
Directionality. When AutoScope Adaptive Directionality™ is
selected, the beam width can be modified in the AutoScope
menu. AutoScope menu options include “Narrow”, “Medium”,
“Wide” and “AutoScope”, an option that enables the beam width
to automatically widen or narrow depending on the acoustic
surroundings. The SoftSwitching option seamlessly enables and
disables AutoScope Adaptive Directionality™ depending on the
listening environment. The response can be either omnidirectional
or directional, based on the signal-to-noise ratio of the listening
situation. A fixed hypercardioid directional response can also
be selected instead of the adaptive directional options. For
ReSound Verso 7 dual-microphone products, MultiScope Adaptive
Directionality™ and SoftSwitching options offer beam width
selections of “Narrow”, “Medium” or “Wide”.
Select mixing point with visual link
Selecting “Advanced Features”
allows for changing feature
settings
Tools
Gain Adjustment
When fitting Verso hearing instruments, Aventa 3 offers a third input level curve for 65 dB SPL. This allows for greater
flexibility for fine-tuning gains, as well as excellent precision for matching targets of generic prescriptive formulas. By
default, Aventa calculates the gain settings for the particular audiogram using the Audiogram+ fitting rationale. To fine-tune
a program, adjust the gain manually by using the gain handles or by using the Aventa Guide, where solutions to patient
complaints can be automatically applied.
Once fine-tuning is complete, the relative gain changes can be applied to any other program in your fitting. This can be
done by clicking the “AutoRelate” button in the tool bar beneath the program tabs. Gain adjustments can be autorelated
to all or to selected programs. Select which programs to autorelate to by checking the boxes.
Programs can be directly copied and pasted into a different program in Aventa 3. Enter the program you want to copy
and click “Copy” in the program toolbar. Then enter the Program toolbar you want to copy to and click “Paste”. Available
programs to paste to are briefly highlighted. This copying and pasting of programs can be applied for one or both ears
for each program except Binaural Directionality or Natural Directionality™ II, which require both ears to have the same
program simultaneously.
Auto-Relate to one or multiple programs
Copy and paste entire program
Directional Mix
All directional programs and options in the ReSound Verso product line use the Directional Mix Processor, which applies a
directional response for high frequencies and an omnidirectional response for low frequencies. The Directional Mix setting
defines the frequency at which the omnidirectional processing converts to directional processing. This also determines
the degree of directionality in the output of the hearing instrument(s). A higher Directional Mix setting indicates more of the
signal is being processed with directionality. The default Directional Mix setting is prescribed depending on the hearing
instrument model selected and the degree of low-frequency hearing loss.

8 9
Physical Properties
Physical Properties can also be found in “Tools” on the Fit screen.
Dome and tube selection, as well as vent configuration changes
can be made. Apart from record-keeping for the fitting, selections
in this screen affect the display of gains in the Fit screen. For
example, when venting is changed, the amount of roll-off in the
low frequencies will be adjusted to show how this physical change
affects the expected real ear response.
Select vent and tube size
Both overall gain and
NoiseTracker II levels
are dependent on the
acoustic environment.
Auto DFS options are grayed out
when DFS data is used
Adjust any available feature setting
Choose the desired DFS Ultra setting.
Environmental Optimizer™ II
Another tool in the Fit screen is the Environmental Optimizer™
II. General gain and noise reduction adjustments in a given
program may not be optimal for all types of listening environments
encountered while the listener is in that program. The Environmental
Optimizer™ II allows specific gain and NoiseTracker™ II
adjustments for a possible combination of seven different
environments, ensuring the user receives optimal gain and noise
reduction settings as the acoustic environment changes. If deviceto-device communication is enabled, the hearing instruments will
utilize the ReSound’s 2.4 GHz wireless communication to optimize
and synchronize the Environmental Optimizer™ II gain and noise
reduction settings for a binaural fitting.
Every listening situation is accurately classified with
respect to seven different environmental catagories
- the most detailed classification offered by any
manufacturer. The instruments then automatically
adjust gain optimal audibility. And our industry-leading
Noise Tracker™ II sets the most appropriate level of
noise reduction for optimal listening comfort in every
environment.
VOLUME NOISE
REDUCTION
DFS Ultra™ II
DFS Ultra II combines feedback cancellation and WhistleControl™.
Possible settings are “Off”, “Mild”, “Moderate”, “Strong” and “Music
Mode”. Choosing “Off” disables DFS Ultra™ II entirely. The “Mild”,
“Moderate”, and “Strong” settings are most appropriate for speech
and everyday inputs, and refer to the levels of WhistleControl™
that will be active together with the feedback cancellation.
WhistleControl™ restores gain to the desired response in feedbackcritical situations like phone use. The new “Music Mode” setting
controls feedback while maintaining a truer representation of
music. The default setting for DFS Ultra™ II is “Mild” in every
program except the Music program, in which the default setting is
“Music Mode”. If gain increases are made during fine-tuning, or if
intermittent feedback is reported by the patient, the setting should
be changed to “Moderate” or “Strong”.
Auto DFS is a new feature option that allows for a standard setting
of DFS to be applied, in certain cases where it is not possible to
calibrate DFS while the patient is wearing the hearing instrument
(e.g., if the hearing instruments are being pre-programmed or the
patient is not present ). Auto DFS is automatically turned ‘On’
when the “No” response is chosen for the auto-prompt to calibrate
DFS. Auto DFS can also be turned ‘Off’ in the “Advanced Features”
section. If DFS has already been calibrated, the Auto DFS options
(‘On’ and ‘Off’) are automatically grayed out.
Expansion
Expansion options include “Off”, “Mild”, “Moderate” and “Strong”.
These settings are available in all microphone-enabled programs.
NoiseTracker™ II
In ReSound Verso, NoiseTracker™ II is set to be environmentally
dependent for all listening programs except Music. This means that
the degree of noise reduction applied at any moment depends on
the listening environment. NoiseTracker™ II settings include the
traditional “Mild”, “Moderate”, “Considerable” and “Strong” settings
per program, or the “Per Environment” settings (see “Binaural
Environmental Optimizer™ II” in this guide for further information).
WindGuard
TM
WindGuardTM is available in dual-microphone Verso models, and
uses signal processing to reduce wind noise. Available settings
include “Off”, “Mild”, “Moderate” and “Strong”.

10 11
Beeps and Volume Control
Once fine-tuning is complete, click on “Beeps and Volume Control” in the Tools section on the Fit screen. A screen will
appear where all the acoustic indicators can be demonstrated, changed, added and removed. Low or high frequency
beeps can also be selected.
ReSound Unite™ Accessory Management
The functionality for managing accessories can be accessed both from the Start screen and from the Fit screen. In a new
fitting, click the “Manage Accessories” button after the instrument(s) have been assigned. To manage accessories from
the Fit screen, click the “Unite Accessories” button in the Wireless section on the left side. The same page will come up
regardless of the way it is accessed.
To pair an accessory with the hearing instrument(s) click “Add” and follow the instructions on the screen that will put the
accessory in pairing mode. Once the accessory is successfully paired, it is displayed with a graphic of the device and the
“Add” button changes to “Remove”.
Once all the required accessories are paired with the hearing instrument(s), click “Done” and continue with the fitting.
Adjust beep levels and demo beeps
Select which beeps will be activated Adjust the Volume Control range
Select “Done” to return to the
hearing instrument fitting
Selecting the “Print” button allows for customization
of the clinician or patient report
Saving to database and instrument(s) in progress
Saving the Fitting
Once the fitting is complete, click “Save” at the bottom right of the Fit screen. A Saving dialog will appear, indicating the
progress of the saving to database and/or instrument(s). When completed, it is safe to remove the instrument(s).
Click “Exit Aventa” to end the session, or “Continue Fitting” to continue the session. When removing the instrument(s)
after ended fitting, be sure to reboot the instrument(s) to activate all the just fitted features and functionality.
Another option is to go to the summary screen. If any changes are made the confirmation will disappear and it will be
necessary to re-save the data before disconnecting.
Summary
The summary page allows the clinician to print information for the patient, a third party, or clinic notes for a chart. Notes
can be entered, saved and printed as needed.

12
M200909-GB-13.03-Rev.A
New Zealand
GN ReSou nd (NZ) Ltd.
Ground Floor, North Entrance
4 Fred Thomas Drive
Takapuna
Auckla nd, 0622
Tel.: (free) 0800 90 0 126
Fax: (fre e) 0800 007 695
www.gnresound.co.nz
United Kingdom
GN ReSound Ltd.
Kirtlington Business Centre
Portway
Kirtlington
Oxon OX5 3JA
Tel.: +44 1869 352 800
Fax: +44 1869 34 3 466
www.gnresound.co.uk
Australia
GN ReSou nd Pty. Ltd.
Unit R1 Regents Park Estate
391 Park Road
Regents Park NSW 2143
Tel.: (free) 1800 658 955
Fax: 02 9743 7472
www.gnresound.com.au
Worldwide headquarters
ReSound A/S
Lautrupbjerg 7
DK-2750 Ballerup
Denmark
Tel.: +45 45 75 11 11
Fax: +45 45 75 11 19
www.resound.com
ReSound® helps people rediscover hearing. We develop hearing
solutions that emulate the natural ear to let people forget their hearing
loss and that they wear hearing instruments – enabling them to live
rich, active and fulfilling lives.
Now, ReSound breaks new ground again with ReSound Verso™.
A versatile hearing solution that empowers users to tune in to what they
want to hear, so hearing becomes like second nature.
ReSoun d and rediscover he aring are registe red trademarks o f the GN ReSound Gro up. © 2012 the GN Re Sound Group, all ri ghts reserved.
 Loading...