

Resolution RE702 Users Manual
Indoor 360 Camera
Quick Start Guide
SAVE THIS MANUAL FOR FUTURE REFERENCE

Setup
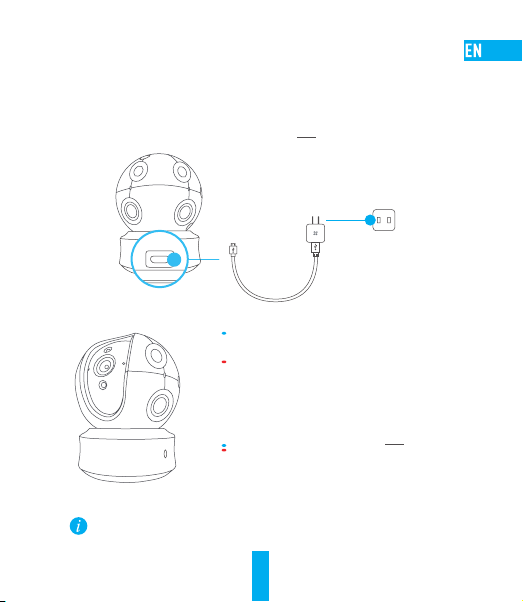
Step 1 Power-on
Plug the power cable into the camera, and then plug the power
adapter into an outlet as shown in the figure below. The LED
indicator will flash red and blue OR rapid blue when the
camera is ready for setup.
Power Outlet
Power Interface
Power Cable
LED Indicator Status
Flashing Blue: The network is
properly connected.
Solid Red: The device is activating.
Slowly Flashing Red: Invalid network
connection. Fastly Flashing Red: MicroSD
card or other error occurred.
Flashing Blue and Red OR Rapid Blue:
Camera is ready for Wi-Fi setup.
Turn on the camera and let it power up. The camera will
completely rotate side-to-side and tilt up-and-down once.
1
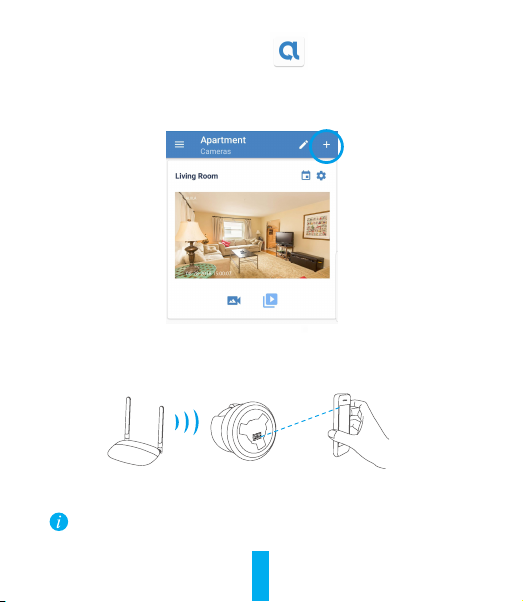
Step 2 Camera Setup
- Add a camera to the Alula app
• Log in to your account using the Alula app.
• From the Alula app Camera screen, tap “+” on
the upper-right hand corner to go to the scan QR
code interface.
- Scan the QR Code on the bottom of the camera.
- Enter the verification code located on the bottom of the camera.
- Follow the app wizard to finish Wi-Fi configuration.
If you want to change your camera's Wi-Fi, press and hold the
reset button for 10s and repeat this part.
2
 Loading...