

Page 1
R-9 05
50W X 4
Page 2
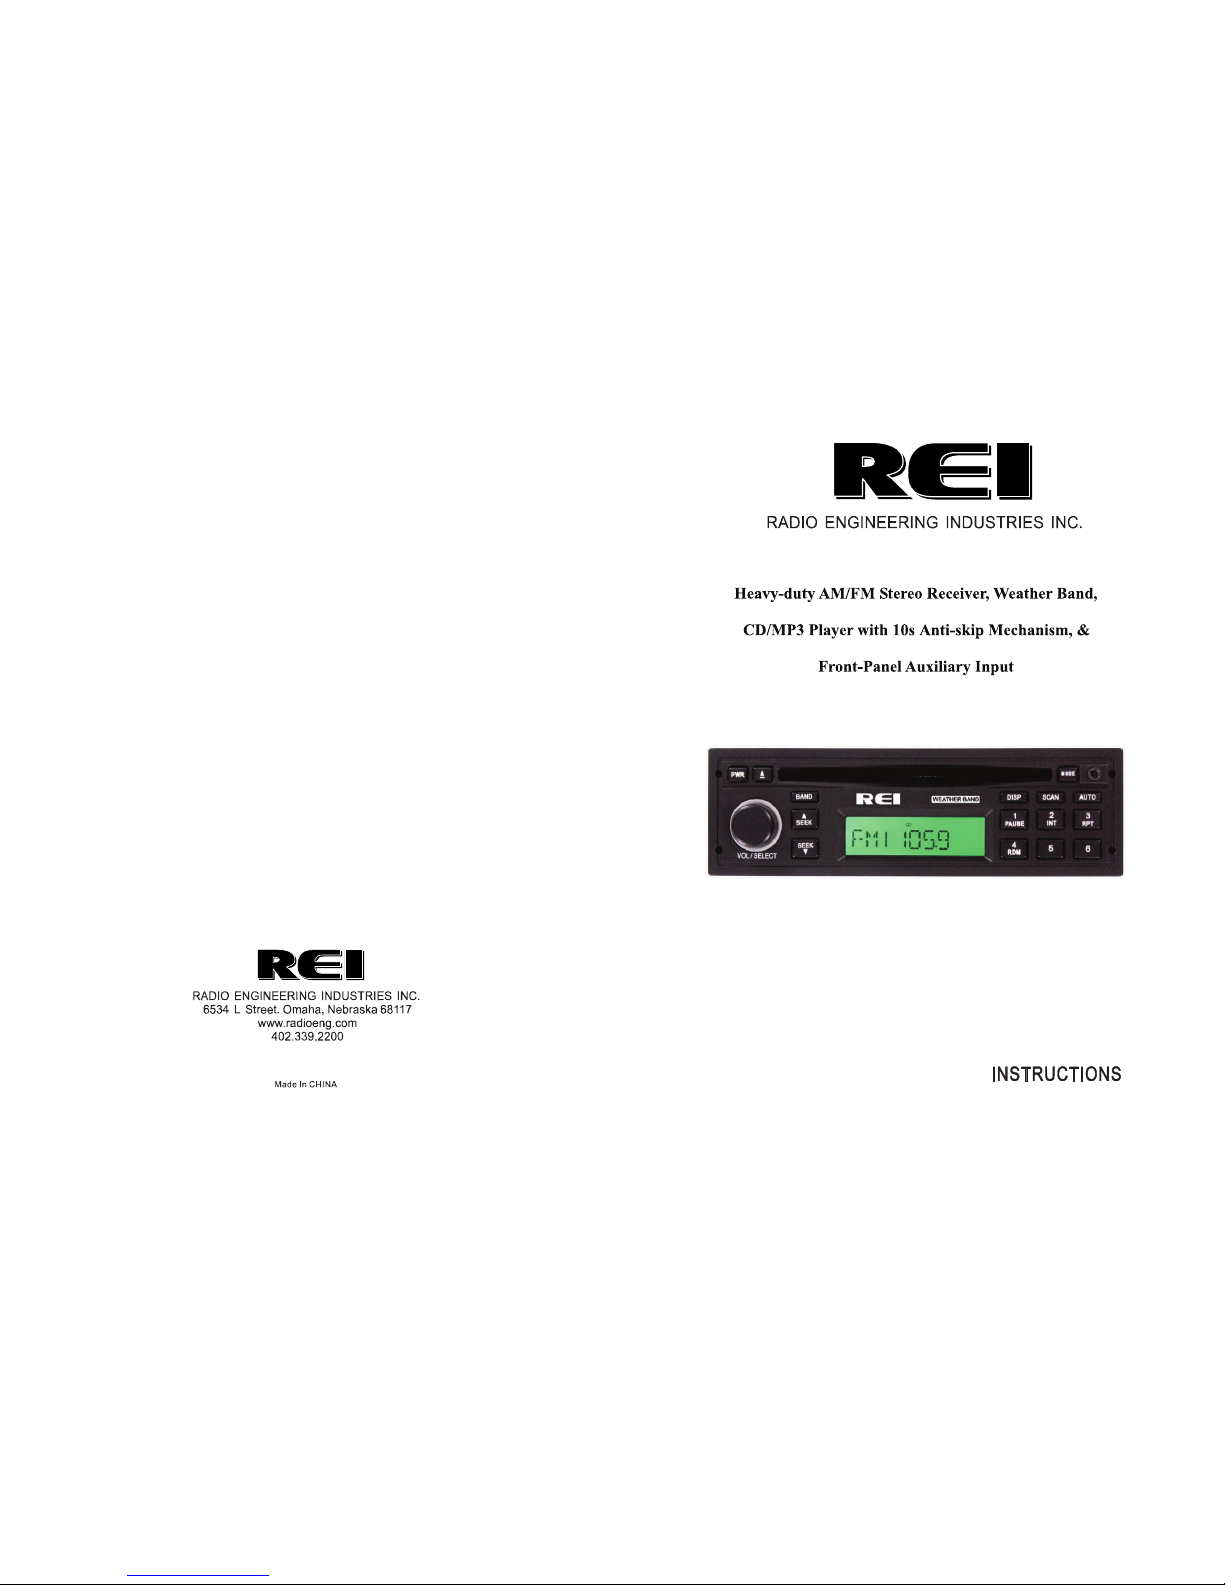
Thank you for purchasing this AM/FM/CD/MP3 Weather Band Receiver from REI.
This product is designed and tested to withstand temperature and vibration extremes.
Please read the owner's manual carefully before attempting to install this unit.
If you have an installation question or need installation assistance, please call the:
SERVICE HOT LINE
1-877-726-4617 Toll Free USA & CANADA
1-402-339-2200
FEATURES:
NOAA Weather Band Receiver
AM/FM Stereo Receiver
CD/MP3 Player 10s Anti-skip Mechanism
Digital Tune and Seek
Automatic Scan of Preset Stations
Preset Up to 30 Radio Stations (18 FM and 12 AM)
Front & Rear Aux Input
RCA pre-amp Output
Volume Select Knob
LED Backlighting
US/Euro Band Switch
IF ADDITIONAL INSTALLATION COMPONENTS ARE NECESSARY,
CONTACT YOUR REI SALES REP FOR:
** OEM /FACTORY WIRING HARNESS ADAPTERS
** ANTENNAS & ANTENNA ADAPTERS
** SPEAKERS & GRILLS
Page 3

2
9
SPECIFICATIONS
AUDIO SECTION
Power supply voltage (negative ground) ………………………….12V DC (11V-16V)
Nominal Current Consumption……...………………………………..…less than 2.5A
Max Current Consumption……...…………………………………….………. …..10A
Speaker impedance …………………….……………………… 4-8 Ohms per channel
POWER OUTPUT (RMS)
Continuous Output into 4Ω, 20 to 20,000 Hz at 3 % THD ……...………4 x 14 Watts
Maximum Power Output (Volume control Maximum)……………50W×4 (at 1kHz)
FM TUNER
Range ……………………………………………………….. (USA) 87.5 – 107.9 Mhz
(EUR) 87.50 – 108.00 Mhz
Usable sensitivity ……………………………………………..14dBf (2.0uV/75ohms)
50dB quieting sensitivity ……………………………………………… 34 dBf (50uV)
Signal to noise ratio …………………………………………………..…60 dB (Mono)
Stereo separation (@ 1K Hz) ………………………………..………………….. 35 dB
AM TUNER
Range ………………………………………………………… (USA) 530 – 1710 Khz
(EUR) 522 – 1620 Khz
Sensitivity (20 dB quieting) ……………………………………………………. 10 uV
Signal to noise ratio (@ 50 uV) …………………………………………...……. 42 dB
WEATHER BAND SECTION
CH.1 162.400MHZ CH.2 162.425MHZ CH.7 162.550MHZ
CH.3 162.450MHZ CH.4 162.475MHZ
CH.5 162.500MHZ CH.6 162.525MHZ
CD PLAYER
Signal/Noise Ratio …………………………………………………………….. >50dB
Frequency Response ………………...……………………… 20 – 20,000Hz (+/- 5dB)
Channel Separation …………………………………………………….………. >50dB
D/A Converter ……………………………………………………...……………. 1 Bit
DIMENSIONS
Chassis (W x H x D) ………………………………….………….. 178 x 50 x 154 mm
Nosepiece (W x H x D) ……………………………….…………. 188 x 58 x 17.5mm
Weight ……………………………………………………………………….…. 1.6 kg
1. Power On/Off Button
2. Disc Eject Button
3. Band Selector
4. Radio Station Tune/Seek Buttons
5. CD Slot
6. LCD Display
7. Radio Status Display Button
8. Radio Station Scan Button
9. Auto Store Preset Radio Stations
10. Radio MODE Select Button
11. Front Auxiliary Input Jack
12. Volume/Select Knob
13. Preset Memory/Recall and Weather Band Select Buttons
14. US/EURO Band Select Switch (Not Shown)
CONTROLS AND INDICATORS
Page 4

8
3
REIAudio System
REIAudio System
THE DIGITAL RADIO
(1) Power On/Off Button
Press the Power Button to turn ON or OFF the unit.
(2) Disc Eject Button
Press this button to eject the CD.
(3) Band Selector
Press this button to change radio bands as follows:
FM1—FM2—FM3—AM1—AM2
(4) SEEK Buttons
Under Radio mode, press these buttons momentarily to manually tune to the
desired station moving upward or downward. Press and hold these buttons and
the radio will automatically seek the next available radio station.
Under CD mode, press these buttons momentarily to select next track moving
upward or downward. Press and hold these buttons it goes to Fast Forward or
Fast Rewind.
(5) CD Load Slot
Load CD to this slot. This unit can also play MP3 files recorded onto CD-R and
CD-RW discs. Recommended bit rates are 8-320 kbps for MP3. The receiver can
displays the file name, song title, Artist name, and Album information (if
recorded on the disc) by pressing the Display button.
(6) LCD Display
Time or Radio(CD) display can be changed by pressing the DISP button.
(7) Display Button
Press this button to change between Time and Mode Information display. Also,
press this button to choose between desired ID3 tag information when using MP3
encoded discs.
Setting The Time.
Press and hold the display button until the hour display begins to flash.
Rotate Volume/Select Knob to adjust the hour. Press the display button again,
and the minute display will flash. Rotate Volume/Select Knob to adjust the
minute. Press the display button again and hold to exit this menu.
ACC
+12v
+12v
Rear Pre Out
ELECTRICAL CONNECTIONS
Follow this easy wiring diagram to install new or existing Radio and Speakers.
Warning:
**Shorting or grounding any of the speaker wires can damage the radio and is not
covered by warranty.
Page 5

7
4
(8) Scan Button
Under radio mode, press this button to scan to the next stations. It will stay at any
available station for 5 seconds and then scan to next available station unless
interrupted by the user.
(9) Auto Button
Press and hold this button to auto memorize the next available stations into the
preset memory buttons. This function will erase previous memorized stations and
store the newly searched stations. Press this button momentarily to scan through
the (6) preset stations of the AM/FM band that has been selected. This button
also functions as Weather Band Channel 7 button. Under weather band mode,
pressing this button will select weather band channel 7 (162.550 MHZ).
(10) MODE Button
Press this button to change input mode as follows:
Radio—Weather Band—CD—AUX—Radio
(11) Auxiliary Input Jack
The unit is equipped with a front panel 3.5mm auxiliary input so you connect
your external portable audio player or portable satellite radio receiver. On the
rear of the unit, there is a pair of RCA inputs to connect an additional auxiliary
source.
(12) Volume/Select Knob
Rotate the knob Clockwise or Counterclockwise to change the volume level.
Press the knob to rotate through the following functions:
VOL---BAS---TRE---BAL---FAD
Upon choosing the function, rotate the knob to adjust the desired setting.
PLEASE NOTE: After the Volume/Select Knob has not been adjusted for 5
seconds it will automatically revert back to volume function.
Menu Operation
Press and Hold for more than 2 seconds to choose. Once active, rotate the
volume knob and click to select
Seek DIS/LOC
Selects Distance or Local Seek sensitivity setting.
Clock 12/24
Select 12/24 hours clock mode.
INSTALLING THE RADIO
1. First put the DIN collar in the hole opening,then, use the screwdriver to bend the
tabs outward as shown on the drawing below.
4.When removing the radio, release the rear mount first and then insert the
two release keys on either sides of the radio and pull the radio out.
2. Insert the radio in the DIN collar.
3. Affix the rear mounting stud to the rear mounting bracket (option).
Page 6

5
6
NO/SYS/CD/CLK PRI
NO PRI: Factory Default is radio frequency display or CD content display. Press
“DISP” to toggle between radio frequency, CD content, or clock display. The
display will stay which ever display mode the user selects.
SYS PRI: When playing RADIO, the frequency is the priority. When playing
AUX, the AUX is the Priority. When playing CD, the CD content is the Priority.
Press “DISP” to show the clock for 5 seconds and then return to its original
display.
CD PRI: When playing Radio or AUX, the clock is the priority. When playing
CD, the CD content is the priority. Press “DISP” will change the display mode
for 5 seconds and then return to its original display.
CLK PRI: Under all modes, the clock is the priority.
(13) Preset Memory/Recall Buttons
Under Radio Mode
Press these buttons momentarily to select the preset stations.
Press and holding a button will preset the current radio station to the button being
pressed.
Under Weather Band Mode
NOAA National Weather Radio Broadcasts from over 380 Locations throughout
the U.S. on seven VHF/FM frequencies. Tune to receive continuous weather
information 24 hours a day on one of the following frequencies.
Press 1 to select weather band channel 1 - 162.400MHZ
Press 2 to select weather band channel 2 - 162.425MHZ
Press 3 to select weather band channel 3 - 162.450MHZ
Press 4 to select weather band channel 4 - 162.475MHZ
Press 5 to select weather band channel 5 - 162.500MHZ
Press 6 to select weather band channel 6 - 162.525MHZ
**Press AUTO to select weather band channel 7 - 162.550 MHZ
Under CD mode,
PAUSE: Press this button momentarily to pause music. Press this button again to
play the music and return to the same location on the CD.
RPT: Press this button to repeat current music.
RDM: Press this button to enter random play mode.
(14) US/EURO Band Select Switch
If you wish to take the receiver out of the country, the tuner frequencies and
interval can be switched to the following regions:
USA:
FM: 87.5-107.9 MHz (0.2 MHZ step)
AM: 530-1710 kHz (10 kHz step)
Europe:
FM: 87.50-108.00 MHz (0.05 MHZ step)
AM: 522-1620 kHz (9 kHz step)
This option also changes the clock display from 12 hr (USA) to 24hr (European).
***For changes to the EURO/USA switch to take affect, the Yellow +12v battery
power must be cycled to reset to the new settings.
NOTE:
For easy viewing at night, the backlighting will always be on when ACC +12V
switched power is applied. Backlighting will only shut off when the switched
ACC +12V power is removed.
Additionally, this unit features ANY KEY POWER ON function. Touching any
key will turn ON the unit. The unit can be turned back OFF with the POWER
button.
INT: Press this button to browse the first 10 seconds of each track.
 Loading...