

Page 1
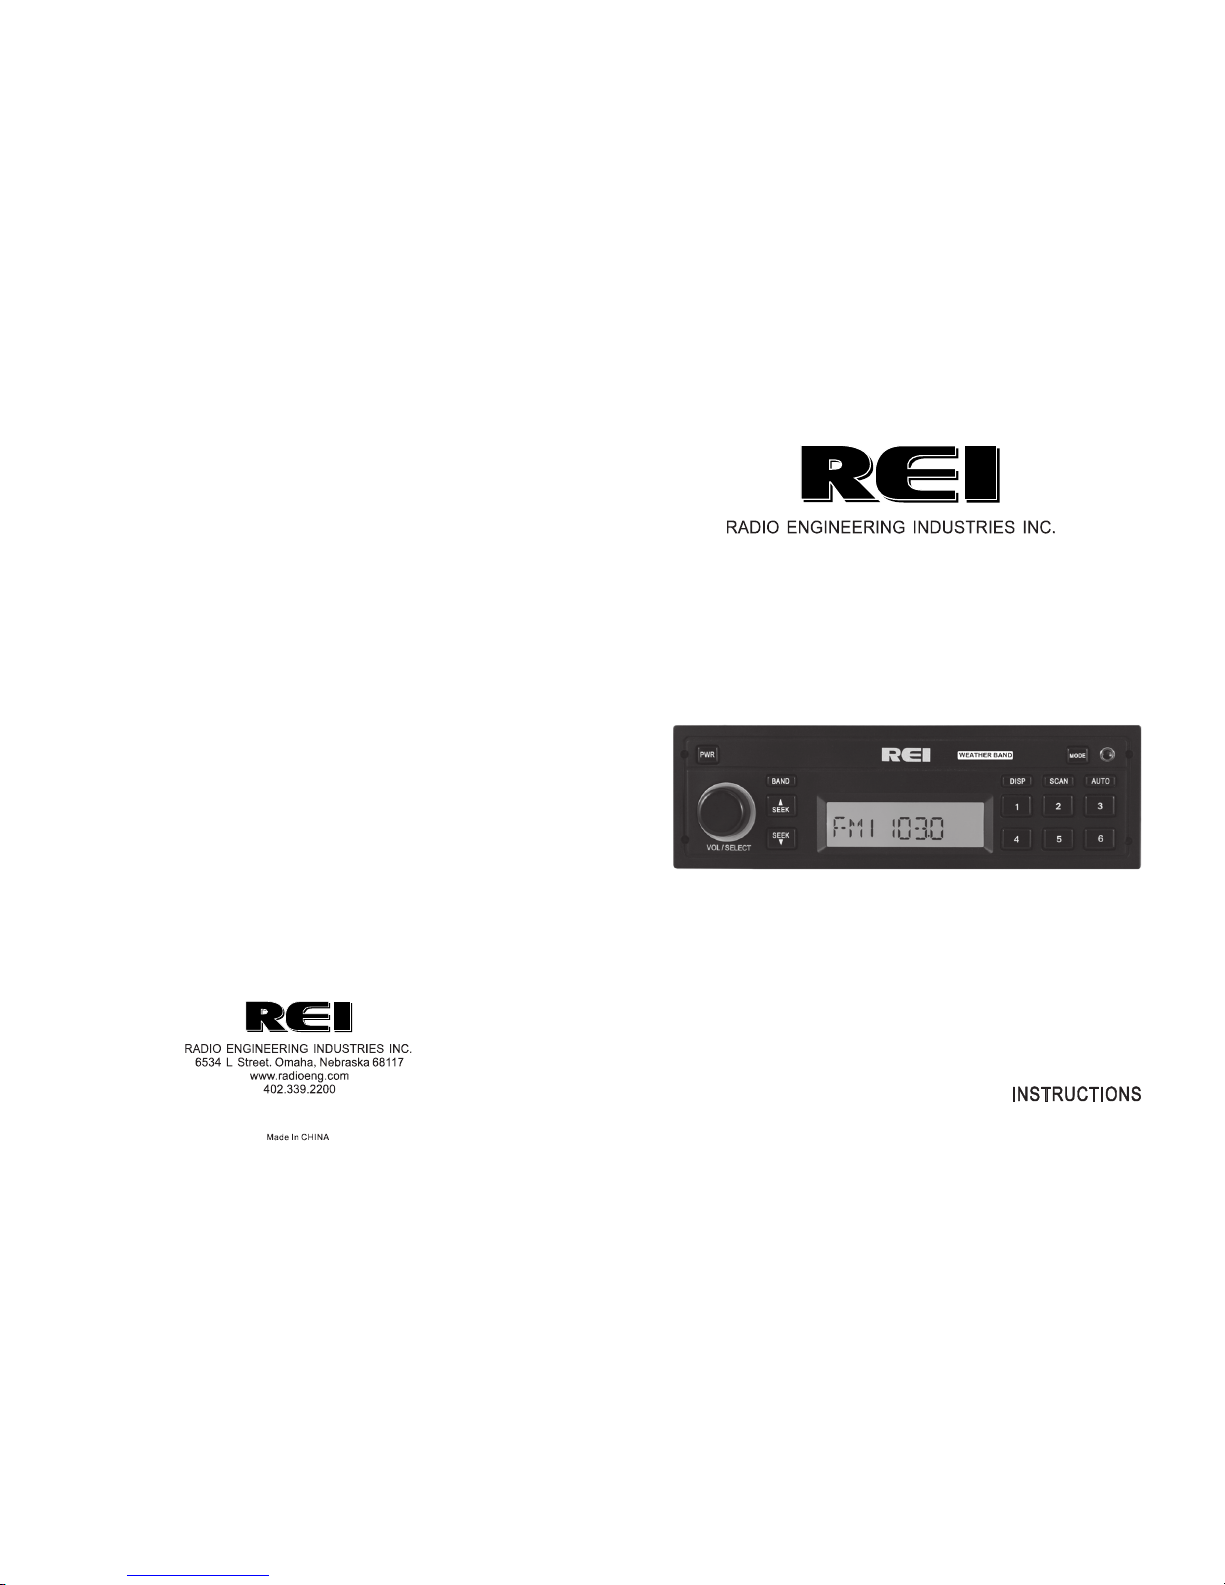
Heavy-duty AM/FM Stereo Weather Band Receiver, with
Front-Panel Auxiliary Input
R-4 75
50W X 4
Page 2
6
REI Audio System REI Audio System
Thank you for purchasing this AM/FM Weather Band Receiver from REI. This
product is designed and tested to withstand temperature and vibration extremes.
Please read the owners manual carefully before attempting to install this unit.
FEATURES:
NOAA Weather Band Receiver
AM/FM Stereo Receiver
Digital Tune and Seek
Automatic Scan of Preset Stations
Preset Up to 30 Radio Stations (18 FM and 12 AM)
Front & Rear Aux Input
RCA pre-amp Output
Volume Select Knob
LED Backlighting
US/Euro Band Switch
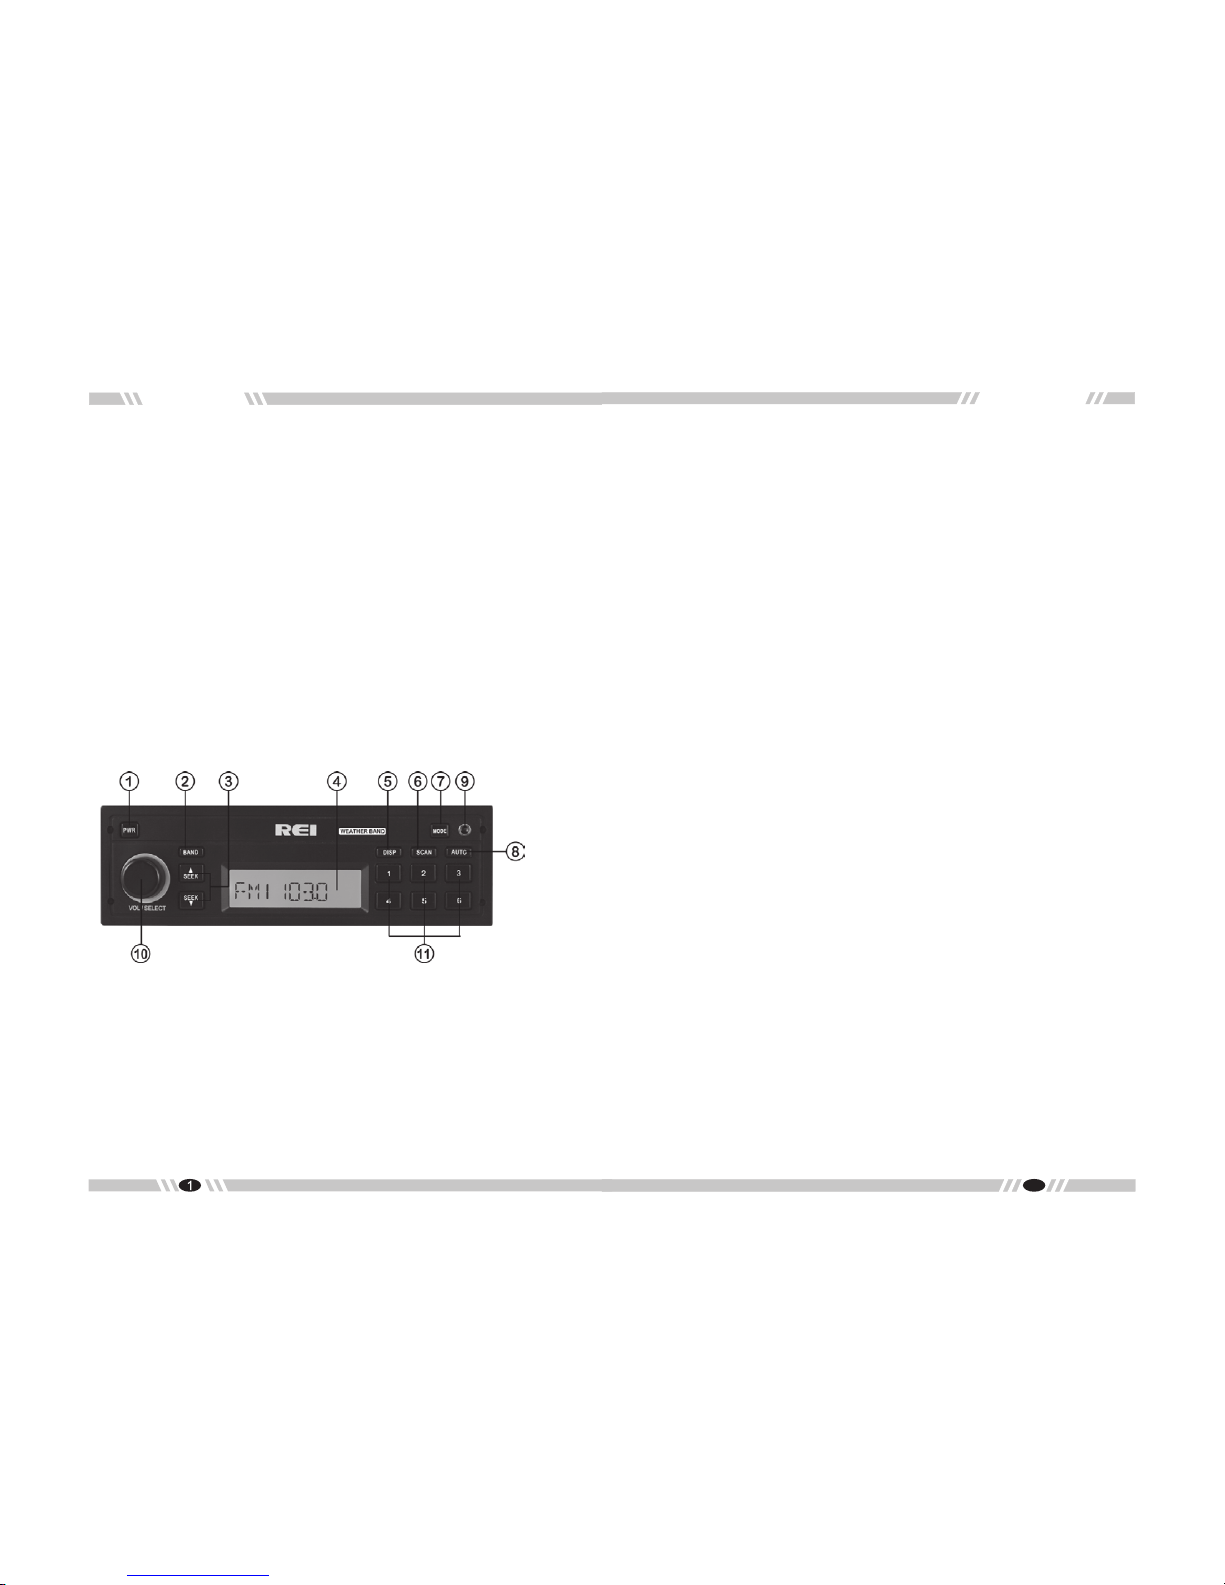
CONTROLS AND INDICATORS
SPC IFICATI ONS
AUD IO SECT ION
Pow er supp ly volt age (n egati ve grou nd) ……… …………… …12V DC ( 11V-16 V)
Nom inal Cu rrent C onsum ption ……... …………… …………… ……..l ess tha n 2.5 A
Max C urren t Consu mptio n…….. .………… …………… …………… .………. … ..10A
Spe aker im pedan ce ………… …………. …………… …………4 -8 Ohms p er chan nel
POW ER OUTP UT (RM S)
Con tinuo us Outp ut into 4Ω, 2 0 to 20,0 00 Hz at 3 % TH D …….. .………4 x1 4 Watt s
Max imum Po wer Out put (Vol ume co ntr ol Max imum)… ………50W× 4 (at 1k Hz)
FM TU NER
Ran ge ………… …………… …………… …………… …….. (U SA) 87. 5 – 107.9 M hz
(EU R) 87.5 0 – 108.0 0 Mhz
Usa ble sen sitiv ity ……… …………… …………… …………. .14dB f (2.0u V/75o hms)
50 dB q uiet ing sen sitiv ity ……… …………… …………… …………… 34 dB f (50u V)
Sig nal to no ise rat io ………… …………… …………… …………… ..…6 0d B(M ono)
Ste reo sep arati on (@ 1 K Hz) … ………… …………… ……..… …………… ….35 dB
AM TU NER
Ran ge ………… …………… …………… …………… ……… (US A) 530 – 17 10 Khz
(EU R) 522 – 16 20 Khz
Sen sitiv ity (2 0 dB q uiet ing) …… …………… …………… ……… ………… 10 uV
Sig nal to no ise rat io (@ 5 0 uV) … ………… …………… …………… …...… 4 2 dB
WEATH ER BAND SEC TION
CH. 1 1 62 .4 00 MH Z CH. 2 16 2. 425 MHZ
CH. 3 1 62 .4 50 MH Z CH. 4 16 2. 475 MHZ
CH. 5 1 62 .5 00 MH Z CH. 6 16 2. 525 MHZ
CH. 7 1 62 .5 50 MH Z
DIM ENSIO NS
Cha ssis ( W x H x D) …… ………… …………… …….…… ……178 x 5 0 x 154 mm
Nos epiec e (W x H x D) …… …………… …………… .……… 18 8 x 58 x 17.5 mm
Weig ht ……… ……… ………… ………………… ………………… ………. …. 1.6 kg
…
1.
Power On/Off Button
2.
Band Selector
3.
Radio Station Tune/Seek Buttons
4.
LCD Display
5.
Radio Status Display Button
6.
Radio Station Scan Button
7.
MODE Select Button
8.
Auto Store Preset Radio Stations Button
9.
Front Auxiliary Input Jack
10.
Volume/Select Knob
11.
Preset Memory/Recall and Weather
Band Select Buttons
12.
US/EURO Band Select Switch
(Not Shown)
Page 3

2
5
REI Audio System REI Audio System
THE D IGITAL RA DIO
(1 ) Po wer On /Off B utto n
Pre ss the Po wer But ton to tu rn ON or OF F the uni t.
(2 ) Ba nd Sel ector
Pre ss this b utton t o chang e radio b ands as f ollow s:
FM1—F M2—FM3—AM 1—AM2
(3 ) SE EK But tons
Und er Radi o mode, p ress th ese but tons mo menta rily to m anual ly tune t o the
des ired st ation m oving u pward o r downw ard. Pr ess and h old the se butt ons and
the r adio wi ll auto matic ally se ek the ne xt avai lable r adio st ati on.
(4 ) LC D Disp lay
Time o r Radio d ispla y can be ch anged b y pre ss the D ISP bu tton .
(5 ) Di spla y Butto n
Pre ss this b utton t o chang e betwe en Time an d Mod e Info rmation d isplay.
Set ting Th e Time.
Pre ss and ho ld the di splay b utton u ntil th e hour di splay b egins t o flash .
Rot ate Volume /Sele ct Knob t o adjus t the hou r. Press t he disp lay but ton a gain ,
and t he minu te disp lay wil l flash . Rotat e Volum e/Sel ect Kno b to adju st the
min ute. Pr ess the d ispla y butto n again a nd hold t o exit th is menu .
(6 ) Sc an But ton
Und er radi o mode, p ress th is butt on to sca n to the ne xt stat ions. I t will st ay at any
ava ilabl e stati on for 5 se conds a nd then s can to ne xt avai lable s tatio n unles s
int errup ted by th e user.
(7 ) MO DE But ton
Pre ss this b utton t o chang e input m ode as fo llows :
Rad io—Weath er Ban d—AUX—R adio
(8 ) Au to But ton
Pre ss and ho ld this b utton t o auto me moriz e the nex t avail able st ation s into th e
pre set mem ory but tons. T his fu nctio n will er ase pre vious m emori zed sta tions a nd
sto re the ne wly sea rched s tatio ns. Pre ss this b utton m oment arily t o scan th rough
the ( 6) pres et stat ions of t he AM /FM ban d that ha s been se lecte d. This b utto n
INSTALLING THE RADIO
1. First put the DIN collar in the hole opening, then, use the screwdriver to bend the
tabs outward as shown on the drawing below.
2. Insert the radio in the DIN collar.
3. Affix the rear mounting stud to the rear mounting bracket (option).
4. When removing the radio, release the rear mount first and then insert the
two release keys on either sides of the radio and pull the radio out.
ELECTRICAL CONNECTIONS
Follow this easy wiring diagram to install new or existing Radio and Speakers.
Warning:
**Shorting or grounding any of the speaker wires can damage the radio and is not
covered by warranty.
ACC
+12v
+12v
Rear Pre Out
Page 4

REI Audio System REI Audio System
3
4
als o funct ions as Wea ther Ba nd Chan nel 7 but ton. Un der wea ther ba nd mode ,
pre ssing t his but ton wil l selec t weath er band c hanne l 7 (162. 550 MHZ ).
(9 ) Au xili ary Inp ut Jack
The u nit is e quipp ed with a f ront pa nel 3.5 mm auxi liary i nput so y ou conn ect
you r exter nal por table a udio pl ayer or p ortab le sate llite r adio re cei ver. On t he
rea r of the un it, the re is a pai r of RCA inp uts t o conn ect an addi tional au xili ary
sou rce.
(1 0 ) Vol ume/ Se lect K nob
Rot ate the k nob Clo ckwis e or Coun tercl ockwi se to cha nge the v olume l evel.
Pre ss the kn ob to rot ate thr ough th e follo wing fu nctio ns:
VOL ---B AS--- TRE-- -BAL- --FAD
Upo n choos ing the f uncti on, rot ate the k nob to ad just th e desir ed sett ing.
PLE ASE NOT E: If the Volu me/Se lect Kn ob has no t been ad juste d for 5 sec onds
it wi ll auto matic ally re vert ba ck to vol ume fun ction .
Men u Opera tion
Pre ss and Ho ld for mo re than 2 s econd s to choo se. Onc e activ e, rota te the
vol ume kno b and cli ck to sel ect
See k DIS/L OC
Sel ects Di stanc e or Loca l Seek se nsiti vity se tting .
Clo ck 12/2 4
Sel ect 12/ 24 hour s clock m ode.
NO/ SYS/C LK PRI
NO PR I: Fact ory Def ault is r adio fr equen cy disp lay. Pre ss “DISP” to to ggle
bet ween ra dio fre quenc y or cloc k displ ay. The displa y will stay w hich ever
dis play mo de the us er sele cts.
SYS P RI: Whe n play ing RAD IO, the f reque ncy is th e prior ity. Whe n play ing
AUX, t he AU X is th e Prio rity. Pres s “DISP” t o show th e clock f or 5 seco nds
and t hen ret urn to it s origi nal dis play.
CLK P RI: Und er all mo des, th e clock i s the pri ority.
(1 1 ) Pres et Memo ry/R ecall B utton s
Und er Radi o Mode
Pre ss thes e butto ns mome ntari ly to sel ect the p reset s tatio ns.
Pre ss and ho lding a b utton w ill pre set the c urren t radio s tatio n to the bu tton be ing
pre ssed.
Und er Weathe r Band Mo de
NOA A N ation al Weathe r Radio B roadc asts fr om over 3 80 Loca tions t hroug hout
the U .S. on se ven VHF /FM fr equen cies. Tu ne to rec eive co ntinu ous wea ther
inf ormat ion 24 ho urs a day o n one of th e follo wing fr equen cies.
Pre ss 1 to sel ect wea ther ba nd chan nel 1 - 162 .400M HZ
Pre ss 2 to sel ect wea ther ba nd chan nel 2 - 162 .425M HZ
Pre ss 3 to sel ect wea ther ba nd chan nel 3 - 162 .450M HZ
Pre ss 4 to sel ect wea ther ba nd chan nel 4 - 162 .475M HZ
Pre ss 5 to sel ect wea ther ba nd chan nel 5 - 162 .500M HZ
Pre ss 6 to sel ect wea ther ba nd chan nel 6 - 162 .525M HZ
** Pr ess AU TO to sel ect we ather b and cha nnel 7 - 1 62 .5 5 0 MHZ
(1 4 ) US/ EUR O Band S ele ct Swi tch
If yo u wish to t ake the r eceiv er out of t he coun try, the t uner f reque ncies a nd
int erval c an be swi tched t o the fol lowin g regio ns:
USA :
FM: 8 7.5-1 07.9 MH z (0.2 MH z step)
AM: 53 0-171 0 kHz (10 k Hz step )
Eur ope:
FM: 8 7.50- 108.0 0 MHz (0. 05 MHz st ep)
AM: 52 2-162 0 kHz (9 kH z step)
Thi s opti on also c hange s the clo ck disp lay fro m 12 hr (US A) to 24h r (Euro pean) .
** * For ch ange s to the EU RO/US A swi tch to ta ke affe ct, the Yell ow +12v b atter y
pow er must b e cycl ed to res et to the new s ettings .
NOT E:
For e asy vie wing at n ight, t he back light ing wil l alway s be on whe n A CC +12V
swi tched p ower is a pplie d. Back light ing wil l only sh ut off wh en the s witch ed
ACC + 12V pow er is re moved .
Add ition ally, th is unit fea ture s ANY K EY POWE R ON func tion. Touchi ng any
key w ill tur n ON the un it. The u nit ca n be turn ed back O FF with t he POWE R
but ton.
 Loading...