

Page 1
User Manual
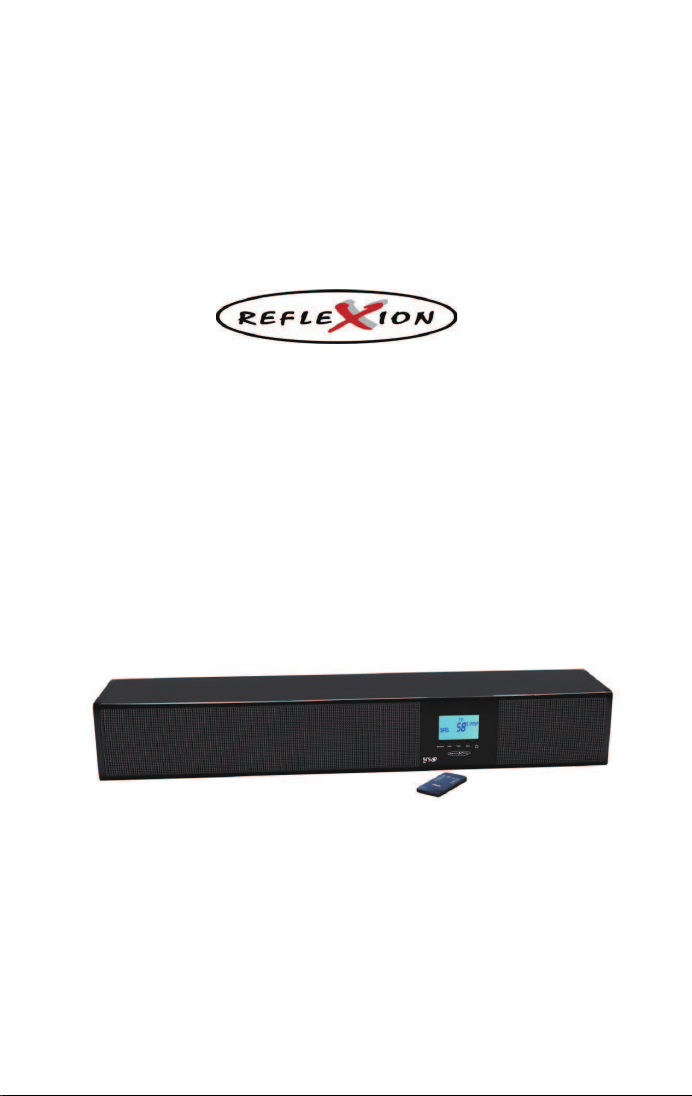
Soundbar TL-80
Page 2
Safty Information
CAUTION: To reduce the risk of fire and electric shock, do not remove
the cover of this product. Refer all maintenance requests to authorized
personnel only.
This lighting flash arrow symbol in a triangle alerts users to the
presence of non-insulated high voltage within the product's enclosure
that present an electrical shock hazard.
The exclamation point symbol in a triangle alerts users to the presence
of important operating and maintenance instructions in the literature
accompanying this product.
1. Caution: To reduce the risk of electric shock, do not remove the cover. There are no
user-serviceable parts inside. Please refer servicing to a qualified personnel.
2. Do not install the equipment in a place exposed to direct sunlight.
3. Do not install the equipment in a dusty, damp or poorly ventilated place.
4. To prevent damage to the equipment, please unplug from the mains power outlet when not
in use.
5. To unplug the equipment, always detach using the plug. Do NOT pull out the plug by
tugging the cord.
6. Avoid placing other objects on top of the speaker system.
7. Cleaning care: Use a soft, dry cloth for cleaning.
8. Please do not block the cooling vents to avoid overheating.
Thank you for choosing Reflexion Soundbar TL-80 All-in-One System. The model and serial
number are located on the rear panel of the unit. Please record these numbers as well as
purchase date in the space provided and retain this manual as a permanent record of your
purchase.
Model Number:
Serial Number:
Date of Purchase˖
Page 3
Packaging Contents
1. Speaker system
2. Remote Control
3. Wall mounting brackets
4. power adapter
5. RCA to RCA-cable
6. RCA to mini headphone jack
7. Manual
Please keep this carton in case of any transportation for warranty or after sales service.
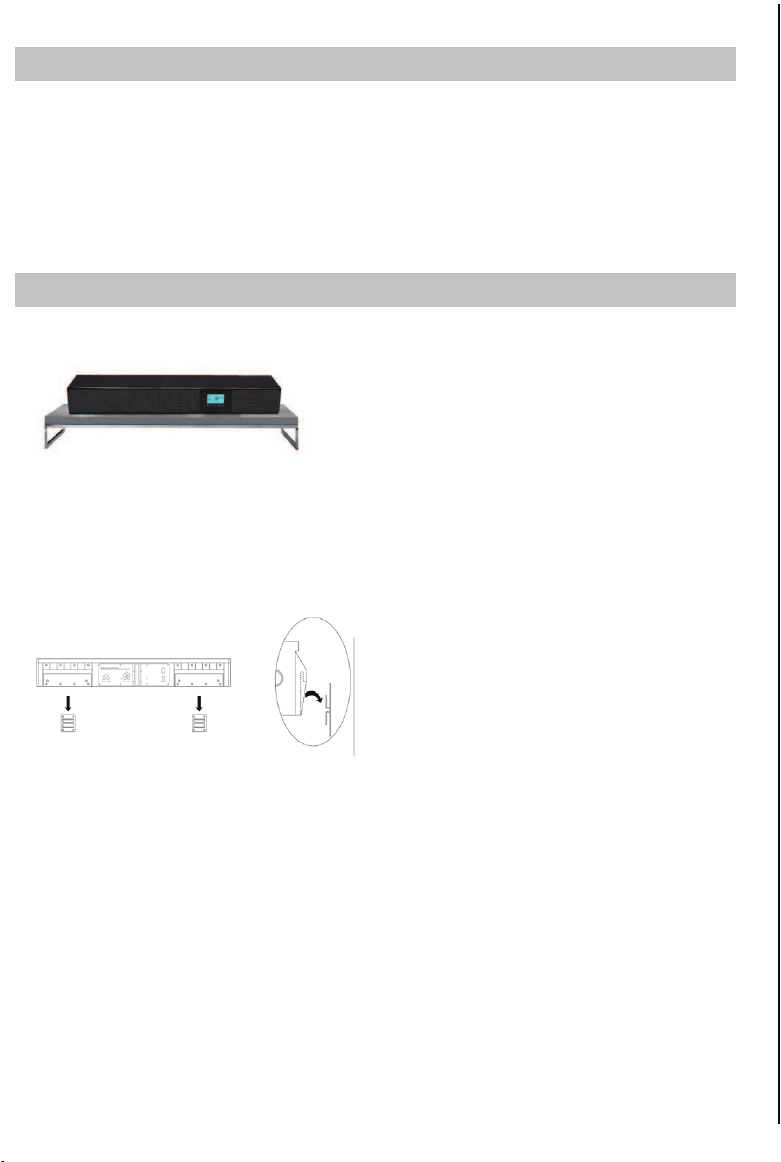
Placing the unit
Placing on a table
Locate a table or any flat surface of 82 cm wide by 16 cm deep minimum space
Leave the Reflexion Soundbar TL-80 unit on the table or on any flat surface and proceed to
wire connections.
Wall mounting
Locate spot on the wall that is strongly supported, preferably with studs. Mount the provided
mounting screws to the wall. If necessary, measure the distance between the screws center
to center. If the distance of the wall plates does not match with the distance of the
pre-installed plates on the rear panel of the Reflexion unit, relocate the pre-installed plates.
Carefully hang the Reflexion unit on to the wall by catching the mounting screws on both sides
to secure the Reflexion unit to the wall. Proceed to wire connections
Noted: Before mounting the unit to the wall, please make sure that all cords are
connected properly and switch on master power switch
Page 4

Connections
Connect to a DVD player (SRS)
For connecting to a DVD player, use an optical or coaxial digital cable.
For connecting to an S/PDIF digital device, use either an optical cable to patch between the
source and Reflexion unit’s S/PDIF “optical” connector on the rear panel, or a good quality RCA
cable to connect between the source and Reflexion unit’s S/PDIF “coaxial” connector on the
rear panel.
Please use only ONE type of connection, not BOTH
Connect to an AUX-Device or CD-Player (SRS)
For connecting to a AUX-device or a CD-player, use a RCA to RCA cable or the RCA to mini
headphone jack.
cable and connect to the “Line Output (Left & Right)” of the AUX-device accordingly.
Connect the other end of RCA cable to the RCA jack at your AUX/CD device.
You can use the optical cable to connect your AUC/CD device as well.
Please use only ONE type of connection, not BOTH
Connect Power Supply
Please connect this unit only with the provided power adaptor.
Please use only original power adaptor.
Switch
on the master power switch, located at the rear panel. Use the remote control or the
front panel
power button to switch the unit on or off (standby).
Page 5

Front Panel Control
Remote Control and Functions
1. Power ON / Standby Button
2. Select INPUT source
3. SRS down
4. Volume down
5. Reset the equalizer
6. Turn on/off back light of display
7. optical or coaxial RCA connection
8. SRS up
9. Volume up
10. Equalizer with 8 Sound Effects
11. AUX-Input
12. DVD-Input
1. Select INPUT source
2. Volume up
3. Volume down
4. Select EQ mode
5. Power ON/ STANDBY
Rear Panel
Page 6

Troubleshooting
If you experience any of the following difficulties while using the system, use this
troubleshooting guide to help you remedy the problem. Should any problem persist consult an
authorized service center.
No power
Check to make sure the power cord is firmly plugged into the power outlet. One of the safety
mechanisms may be operating. In this
case
, unplug the unit from the power outlet briefly and
then plug it in again so it will reset itself.
No sound
Check that the system is connected securely. If the connection cord is damaged, replace it with
a new one.
Make sure
that
you connected the system
with
o audio output
to
the
analogue
signal source.
Connect S/PDIF to a digital signal source. Only one type of the connection, depending on your
source, is required.
Make sure, you turned on the signal source device.
Make sure you select the audio output channel on th
e device. Refer to your device manual if you
are not sure.
Noise sound is heard
Check that the components are connected securely.
The sound loses stereo effect when you play a stereo device
Set the Audio mode to “STEREO"at the
stereo device
.
Make sure, you connected the system accordingly.
The surround effect is difficult to hear when you are playing a surround sound
sound-track
Check the speaker connections and device settings.
Make sure SRS function is turned on.
The sound comes from
one side of the
speaker only
Check cable connetions to see if it is securely connected or is damaged. Disconnect and
reconnect cable, or replace any damaged cables.
Difficulty in hearing dialogue
Make sure your input source contains dialogue information.
Program your S/PDIF source device to send 2 ch.
Stereo programs instead of 5.1 ch. RAW/PCM audio program output.
The system does not operate properly
Static electricity etc., may affect the system’s operation. Press the
POWER
button to turn off the
system.
P
ress the
POWER
button again to turn
on
the system.
Page 7

Specification for Reflexion Soundbar
TL-80
Total Output Power: 240 watts max. / 90 watts sinus
Frequency responds: 60~20K Hz
Impedance: 4 ohm
Measurements: 870 (L) mm x 250 (W) mm x 180 (D) mm
Net weight / Gross weight: 6 Kg/ 7 Kg
- All-In-One System
- SRS 3D Surround System
- Equalizer Technology with 8 Sound Field Effects: Disco, Blues, Jazz, Classic, Pop, Pure, Flat
and Rock
- easy connection to TV/DVD and AUX-devices
- Audio-Input: Aux Input/ Line In
DVD/optical and coaxial
Line In 3,5mm cable incl.
- Wall mounting brakets including
Design and specification are subjected to change without notice. Weight and dimension are approximate
is a trademark of SRS, Inc. SRS technology is incorporated under license from SRS Labs, Inc.
SRS® restores the original three-dimensional sound field of stereo recordings by retrieving spatial information buried in the recordings to create
an immersive 3D sound-field using only two speakers or headphones
UltraMedia GmbH + Co. Handels KG
Steinstrasse 5, 21357 Bardowick, Germany
www.ultramedia.de
 Loading...